The Ultimaker 3 Maintenance kit contains the most commonly used parts for maintenance or replacement on the Ultimaker 3 or Ultimaker 3 Extended. This kit optimizes your maintenance workflow and prepares you to quickly resolve most issues with your printer.
What’s included?
Below you can find an overview of all the parts that are included in the maintenance kit.
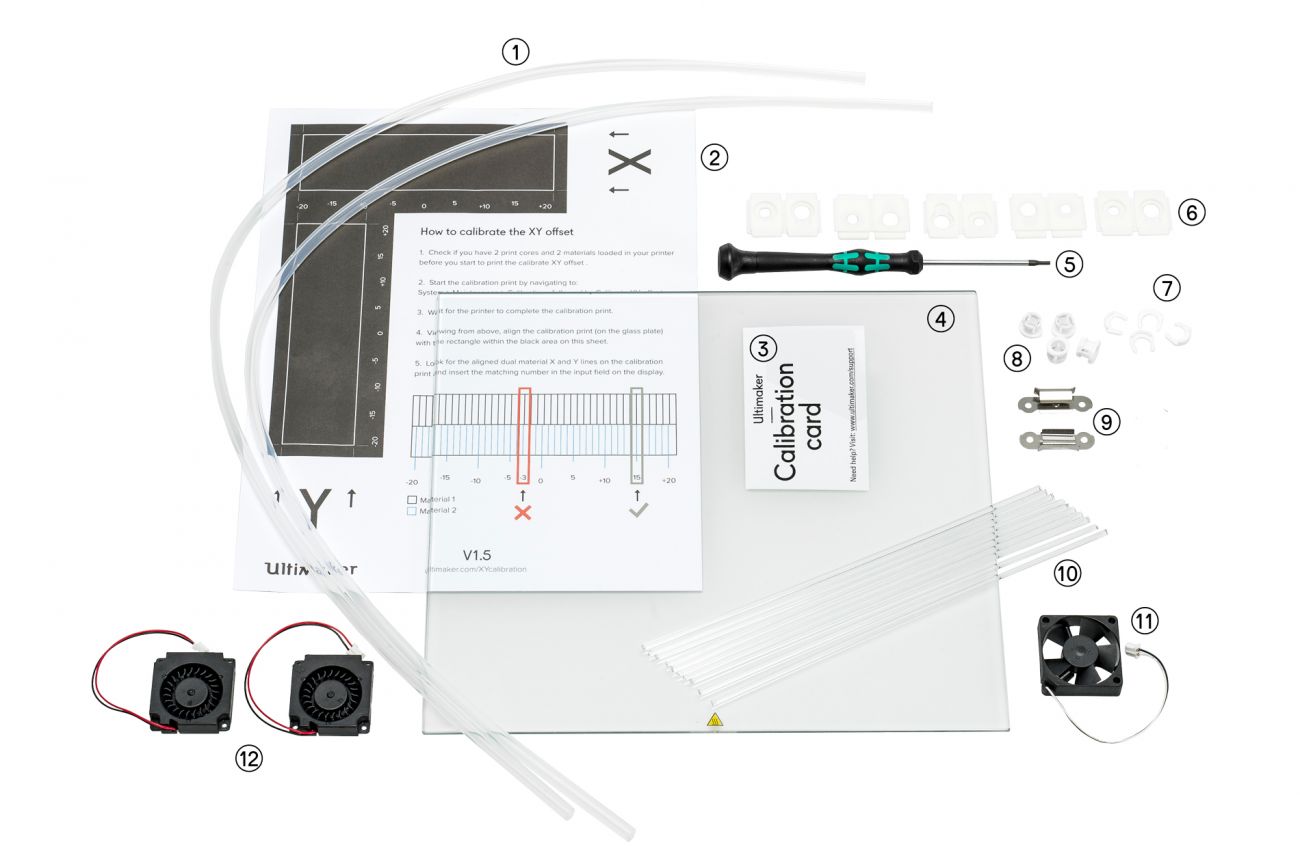
Tip: Click the links above to find the instructions for how to replace or use the items in the kit. The hex screwdriver has no link; this is used for most maintenance procedures and repairs.
Maintenance schedule
To keep your Ultimaker 3 in optimal condition we recommend the following maintenance schedule, based on 1,500 printing hours per year.
Tip: For more information about the Ultimaker 3 maintenance actions, visit this page.
| Every month | Every 3 months | Every year |
| Clean the printer | Check for play on the axles | Clean the feeders |
| Lubricate the axles | Check the tension of the short belts | Lubricate the feeder gear |
| | Clean the front print head fan | Replace the Bowden tubes |
| | Check the nozzle cover | |
| | Lubricate the lead screw | |
| | Clean the print cores | |
Note: If the usage frequency is higher, please increase the frequency of maintenance on your machine to maintain optimal printing results.


