Product notification
This product has been discontinued, and its end-of-service date has passed. While it is no longer supported, the information on this page remains available for your reference.
|
The build plate clamps hold the glass plate in place on the heated bed. There are two fixed in place at the back of the heated bed and two at the front that can both be opened. When the glass plate is installed, it is pushed into the clamps at the back.
After removing and reinstalling the glass plate many times, the back build plate clamps may lose their grip on the glass plate. If that happens, the glass plate can move during printing, leading to print issues such as shifted layers. In that case, you can first try bending them back a little by pushing them down without the glass plate installed.
If excessive force is applied to the clamps, they could break off. This can happen if the print is removed from the glass without taking the plate out of the printer first, or if the glass plate is lifted up while it is still in the back build plate clamps.
Tip: This guide describes how to remove all four build plate clamps, including those at the back of the build plate. The front clamps are less prone to damage, but to replace these, only follow disassembly steps 1-5 and reassembly steps 4-9 (not 7).
Caution: Before you start, ensure the build plate has completely cooled down. Turn off the printer or ensure the UltiMaker 3 cannot accept new print jobs through the Digital Factory.
Requirements and info
| Part(s)* | 1 - 2× 1256 - Build plate clamp (back), and/or:
1× 1987 - Build plate clamp (front-right), and/or:
1× 1988 - Build plate clamp (front-left) |
|---|
| Tool(s) | Pliers or 5mm (socket) wrench
2 mm hex screwdriver (optional)
Ruler or spacer tool |
|---|
| Time | 15 minutes |
|---|
| Difficulty level | 3 - Medium |
|---|
Note: Although the UltiMaker 3 is discontinued and the availability of spare parts is not guaranteed, the build plate clamps are also used on S series printers with a glass build plate and 2+ Connect.
The clamps are available in the build plate mounting pack (80-121445), which includes all components to secure the heated build plate, or as a bulk pack (81-125231), which includes 10 of each clamp.
Disassembly
 |  |
|
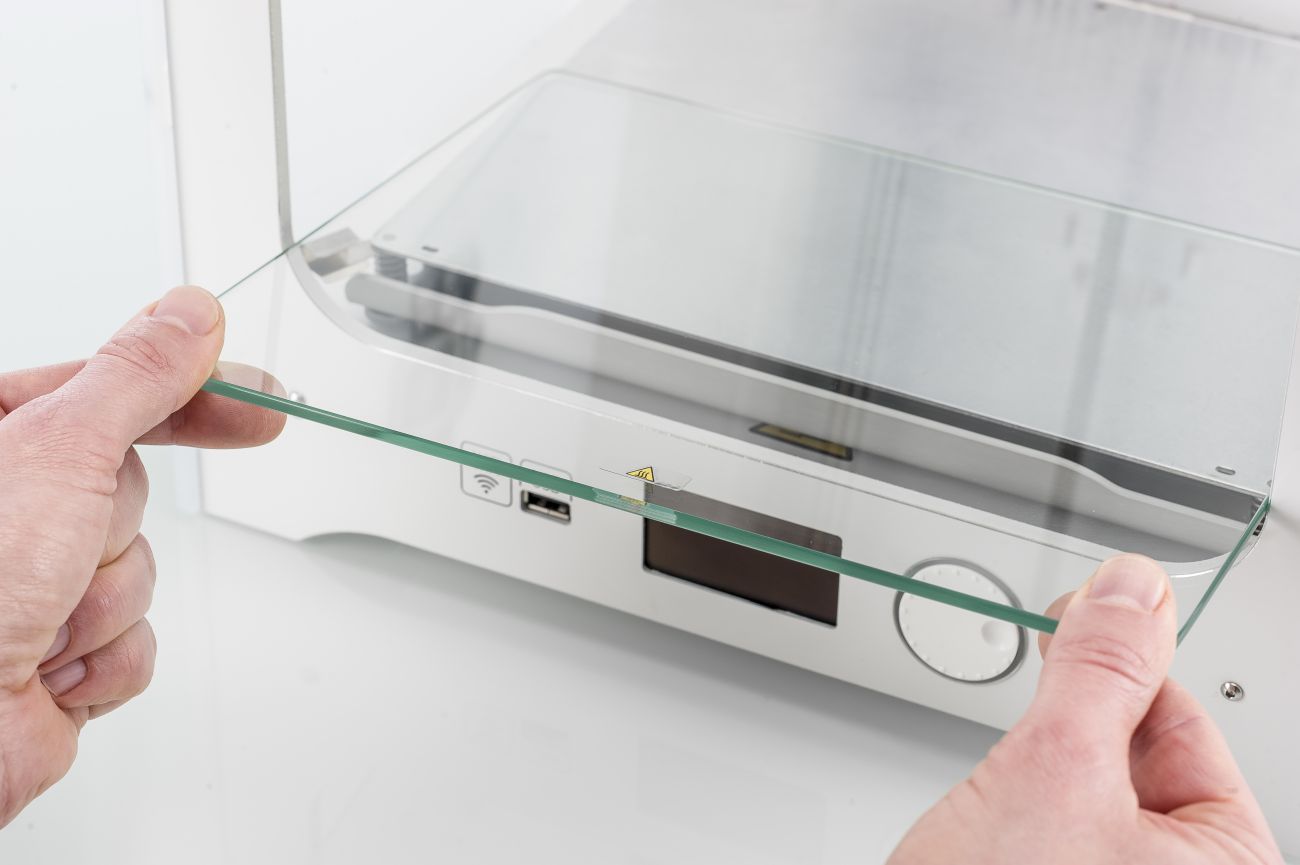
1. Remove the glass plate
Open the two build plate clamps at the front. Slide the glass plate towards the front and remove it from the printer.
|
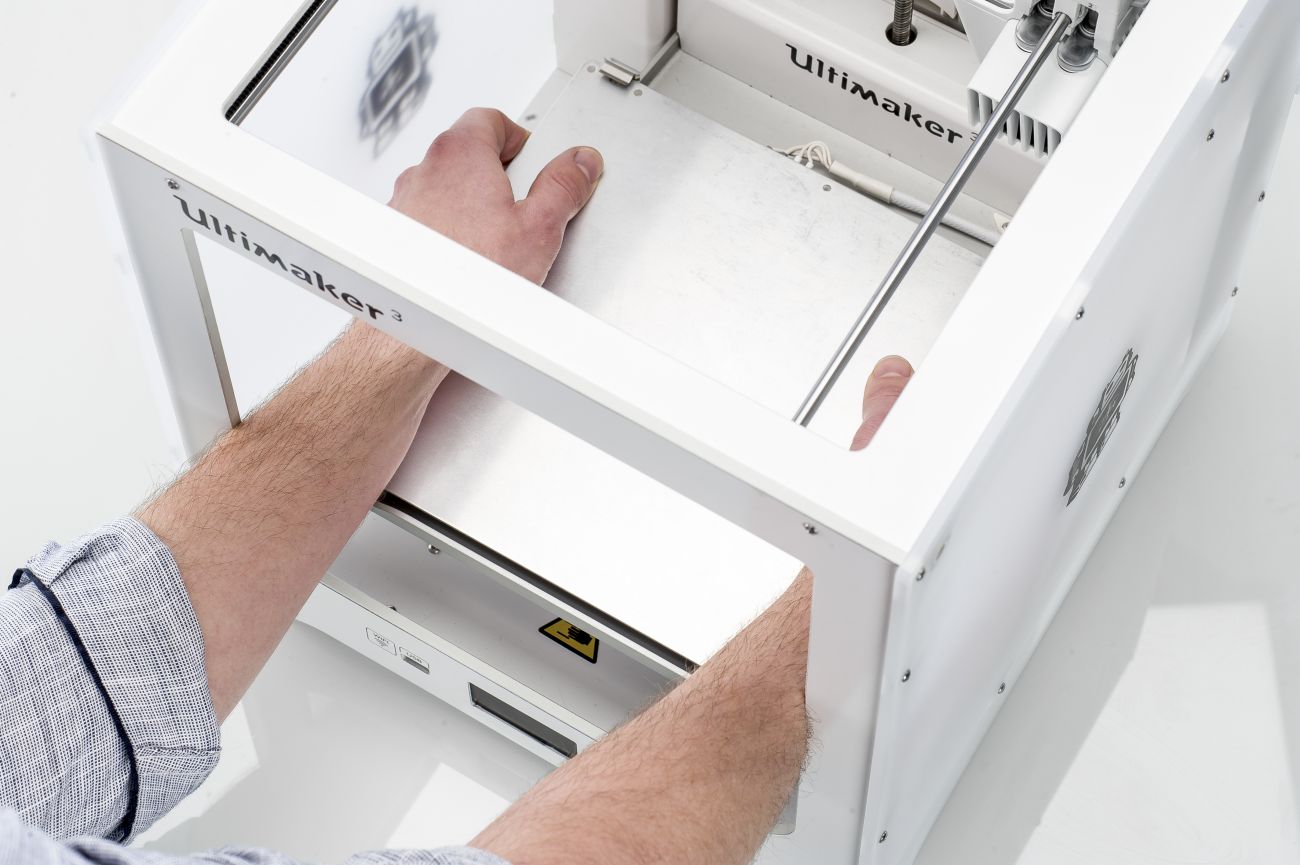
2. Move the Z stage up
Place the print head in a corner for better access. Hold the build plate on each side and manually move it halfway up.
|
|
|
|
|
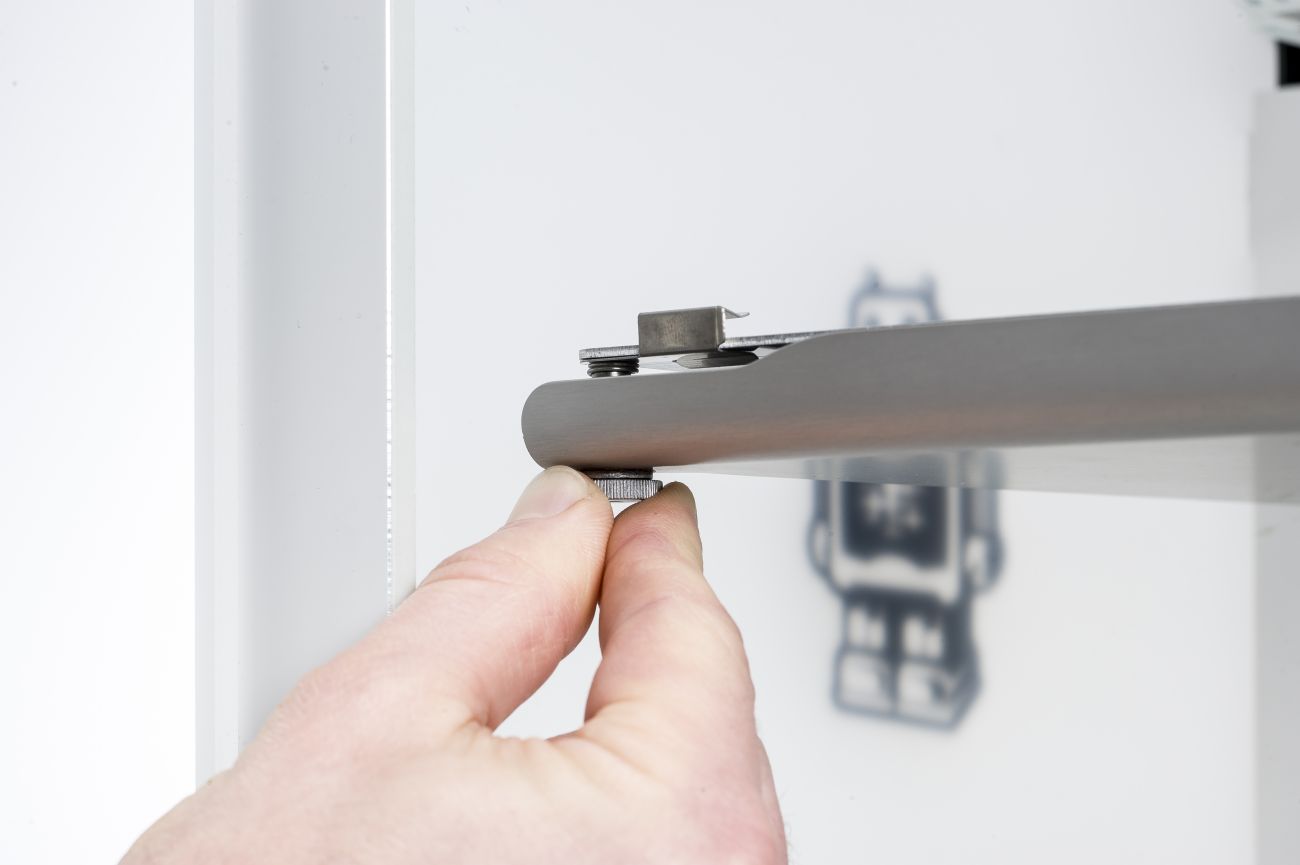
3. Remove the thumb wheels
Loosen and remove the three thumb wheels from the underside of the base plate. Also remove the washers, which may remain stuck to the plate. Place them around the thumb wheels with the greased side facing up.
|
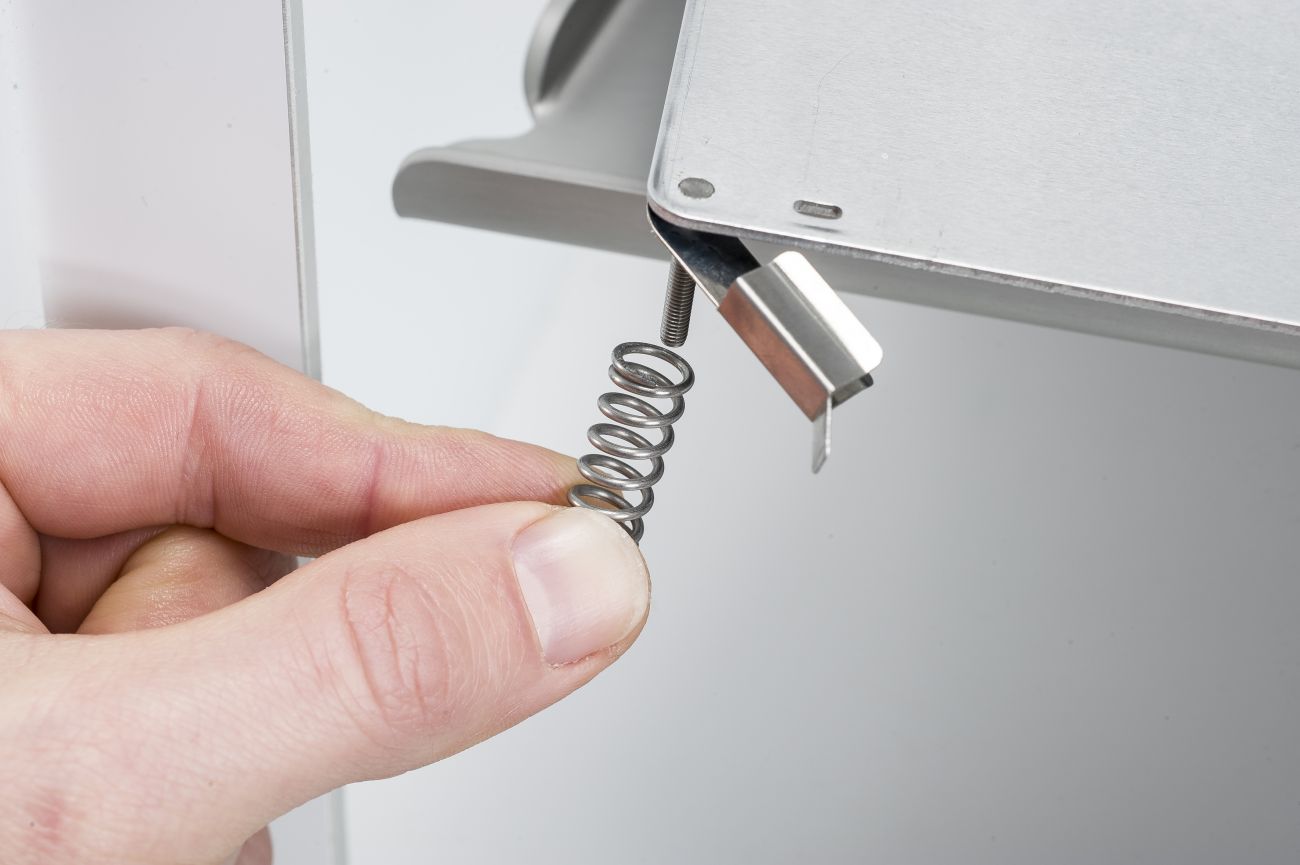
4. Remove the springs
Gently lift up the heated bed and remove the springs from all three bolts which are integrated into the build plate.
|
|
|
|
|
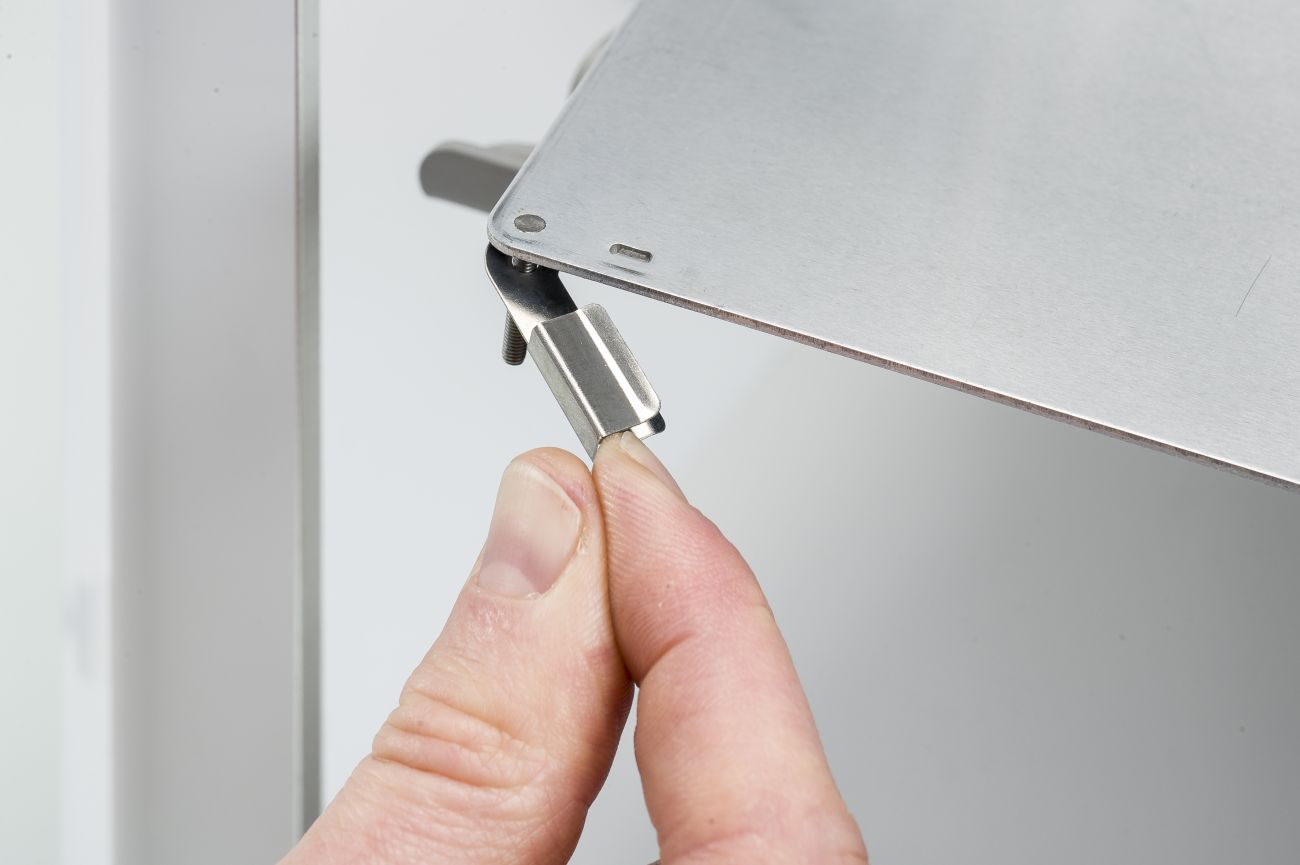
5. Remove the front clamps
Remove the two build plate clamps at the front of the build plate and place them aside. They can otherwise easily fall off and get lost.
|
6. Move the Z stage down
Manually lower the build plate to the bottom of the printer again. This creates more room to perform the following steps.
|
|
|
|
|
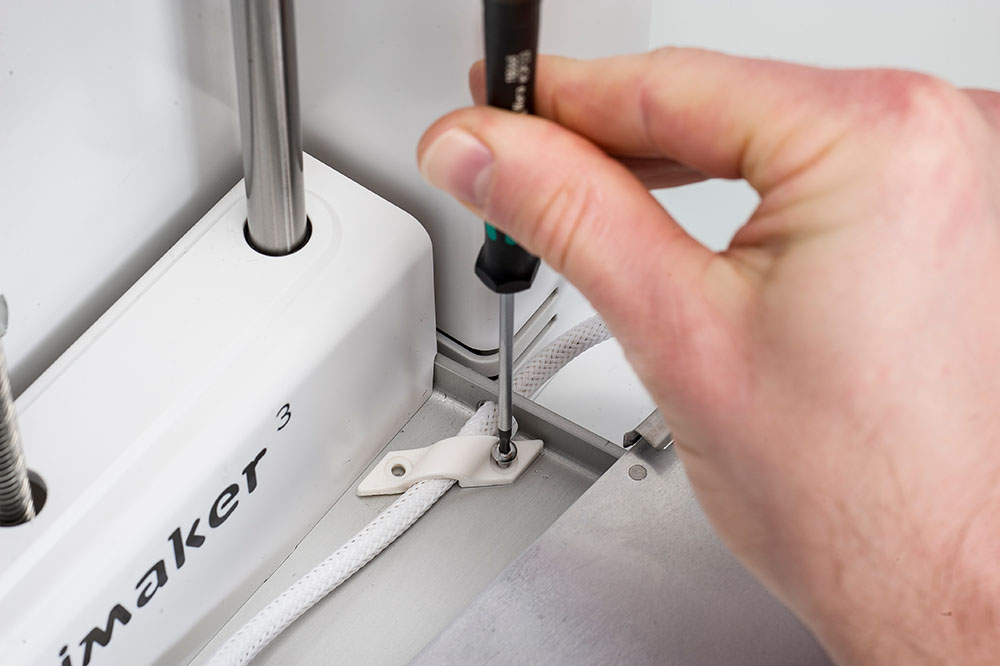
7. Remove the cable clip
Use a 2 mm hex screwdriver to loosen and remove the bolts that secure the heated bed cable clip. This step is not required, but allows you to move the build plate out of the printer.
|
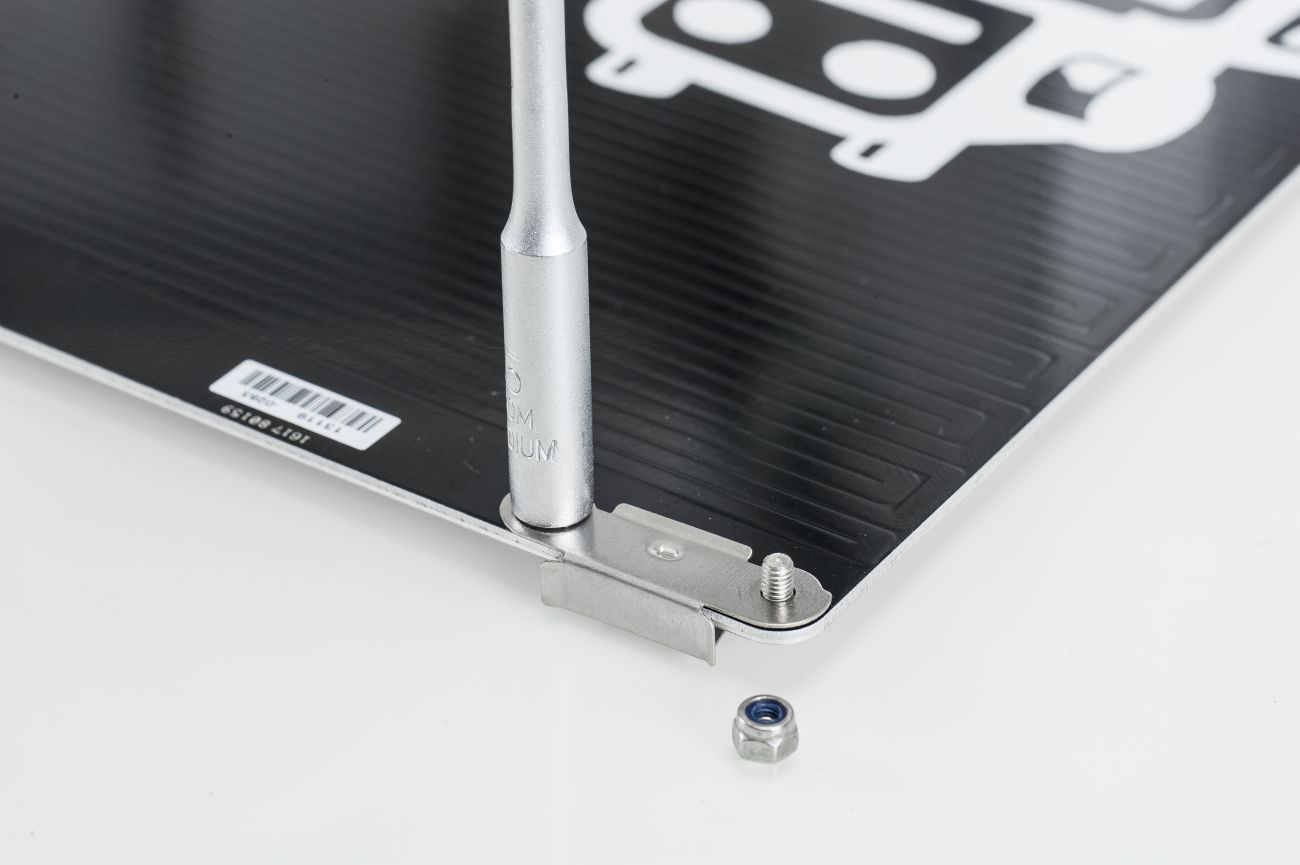
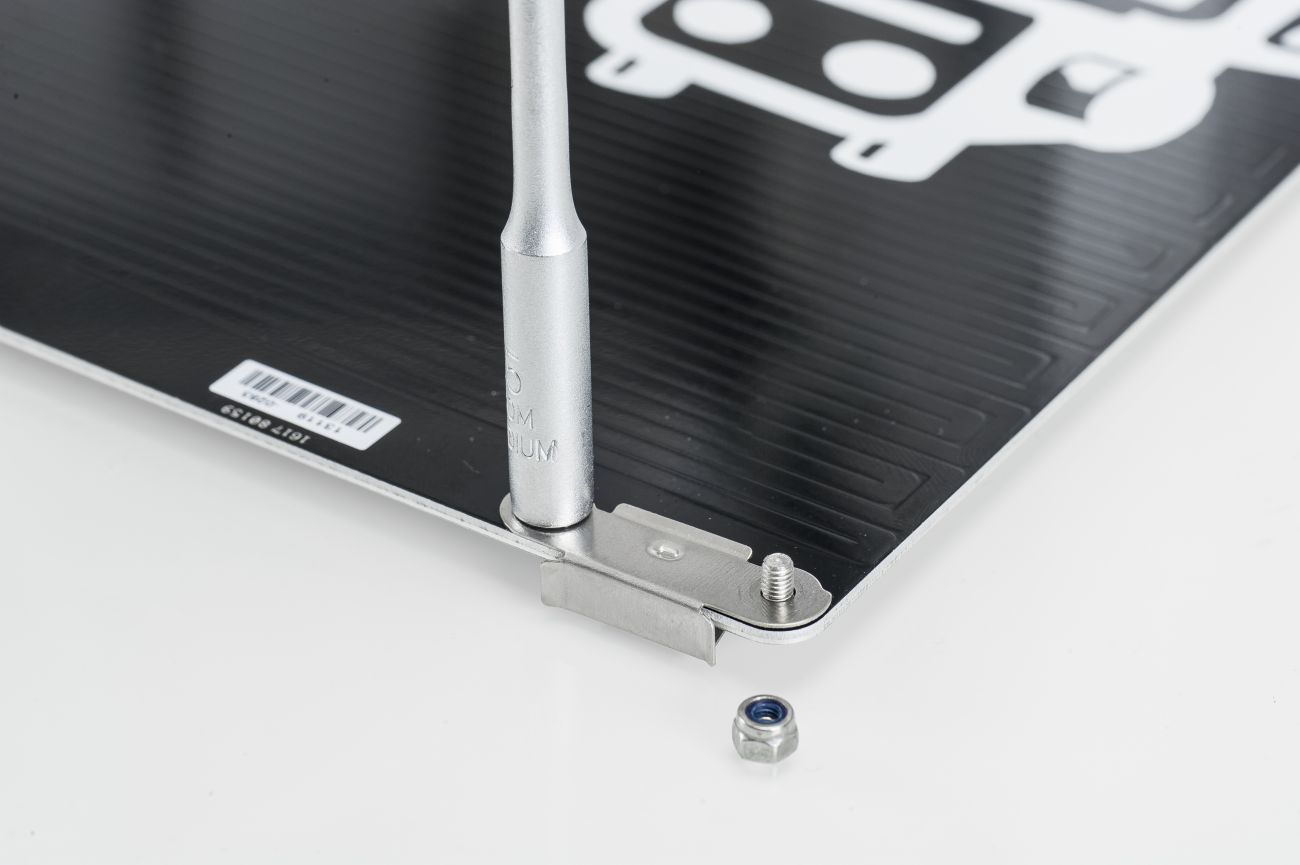
8. Remove the lock nuts
Turn around the heated bed so the black side is facing up. Use pliers or a (socket) wrench to remove the two lock nuts from each of the build plate clamps at the back of the bed.
|
|
|
|
|
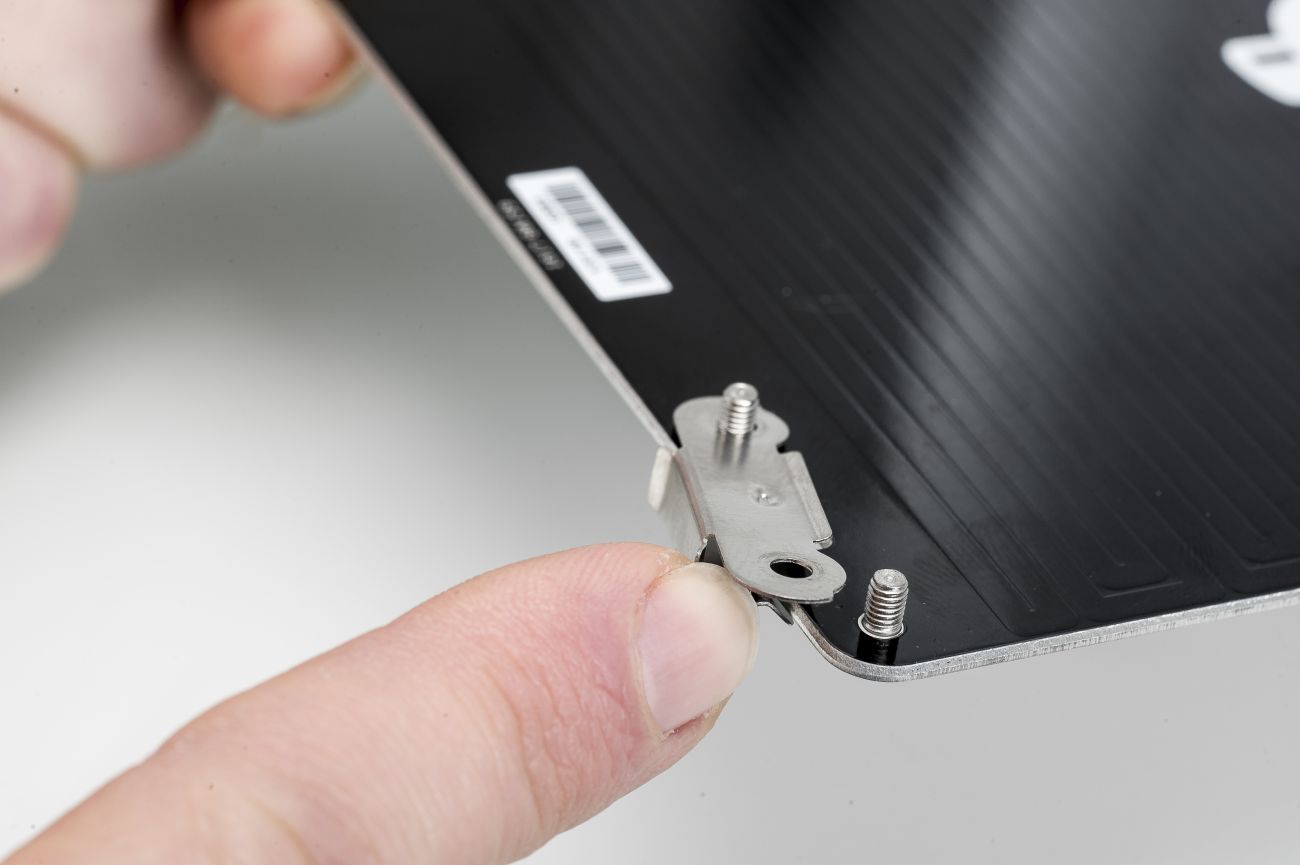
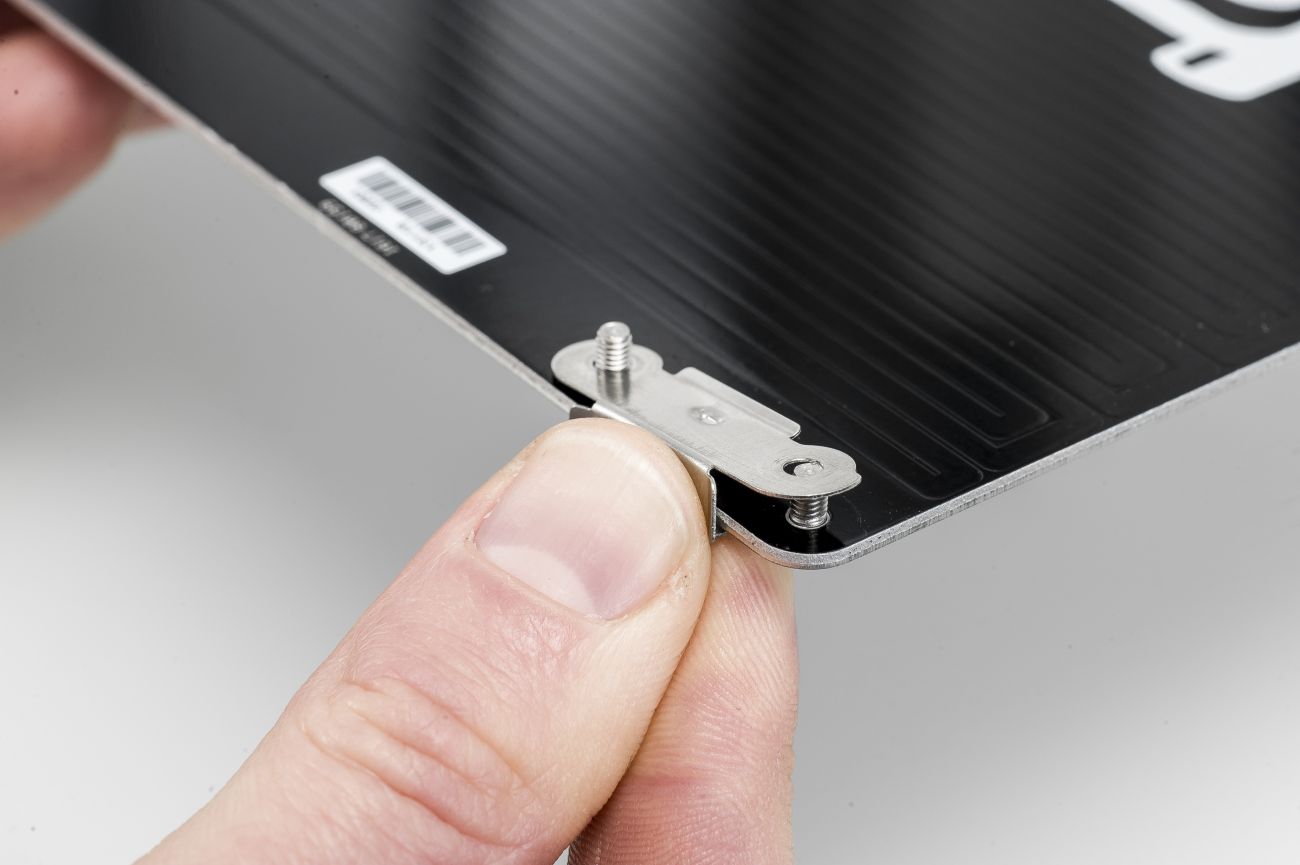
9. Remove the build plate clamps
Press the build plate clamp against the top side of the heated bed. First, lift up the side of the clamp on the outside of the bed and move it over the bolt. Now rotate the clamp 45° and remove it from the other bolt.
|
|
Reassembly
 |  |
|
1. Place the new clamps
Align the new build plate clamps with the bolts at the back of the build plate. First place them around the bolts on the inside, then rotate and lower them into position.
|
2. Secure the clamps
Place the lock nuts around the bolts, with the plastic insert facing up. Use pliers or a (socket) wrench to fully secure the lock nuts.
|
|
|
|
|
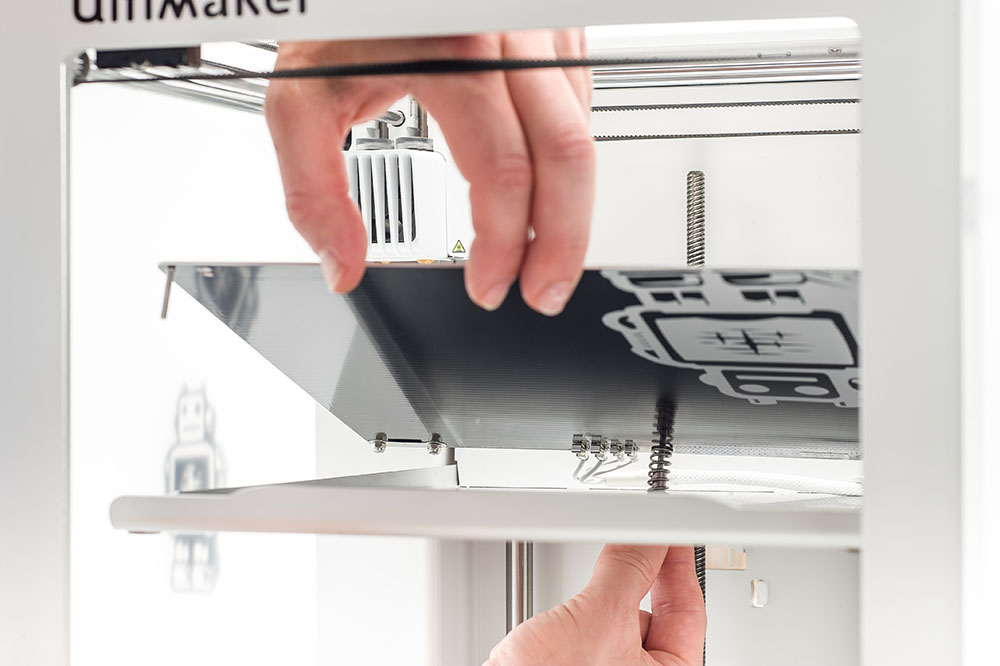
3. Secure the back
Turn the heated bed around again and align it with the base plate. Ensure the heated bed cable is not twisted. Place a spring around the bolt in the back-center and insert the thumb wheel from the bottom. Loosely secure it.
|
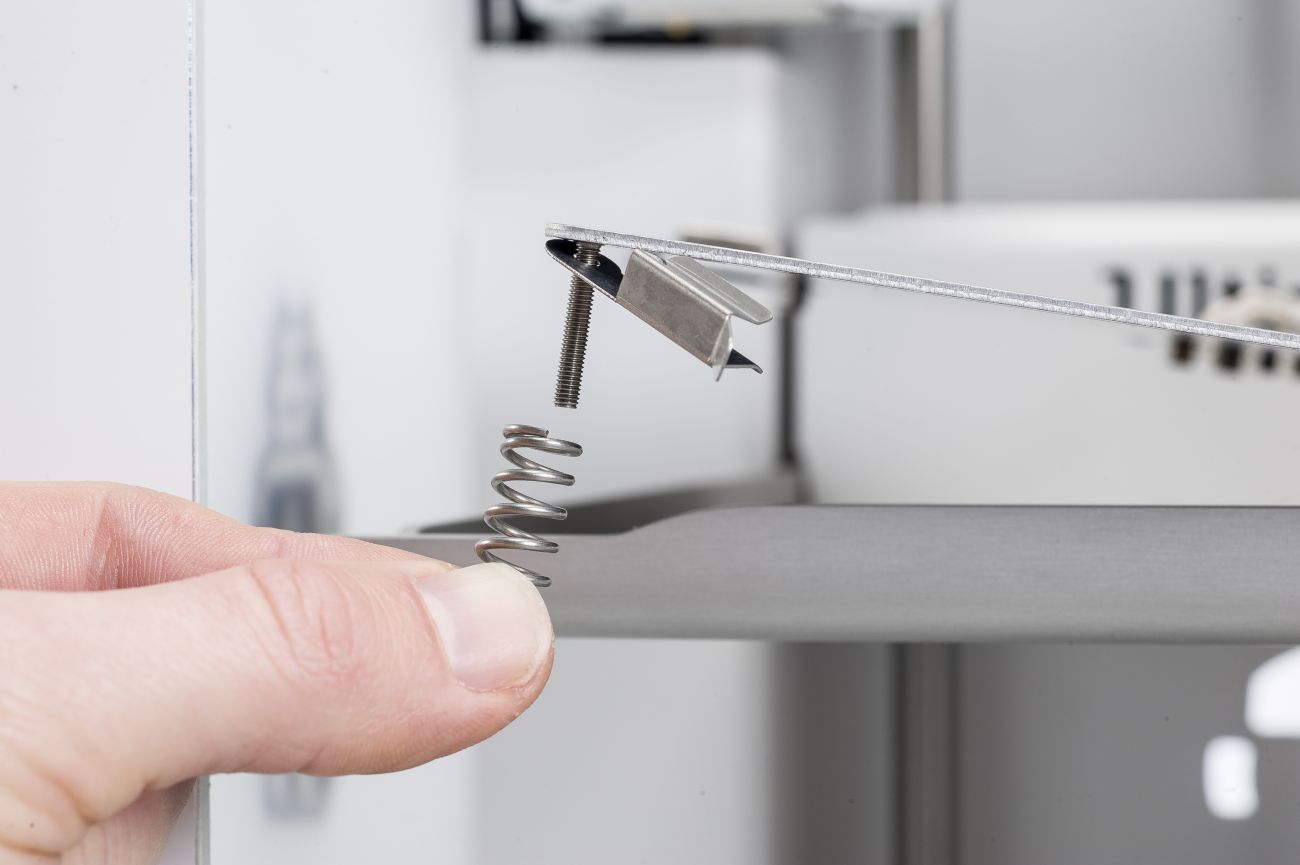
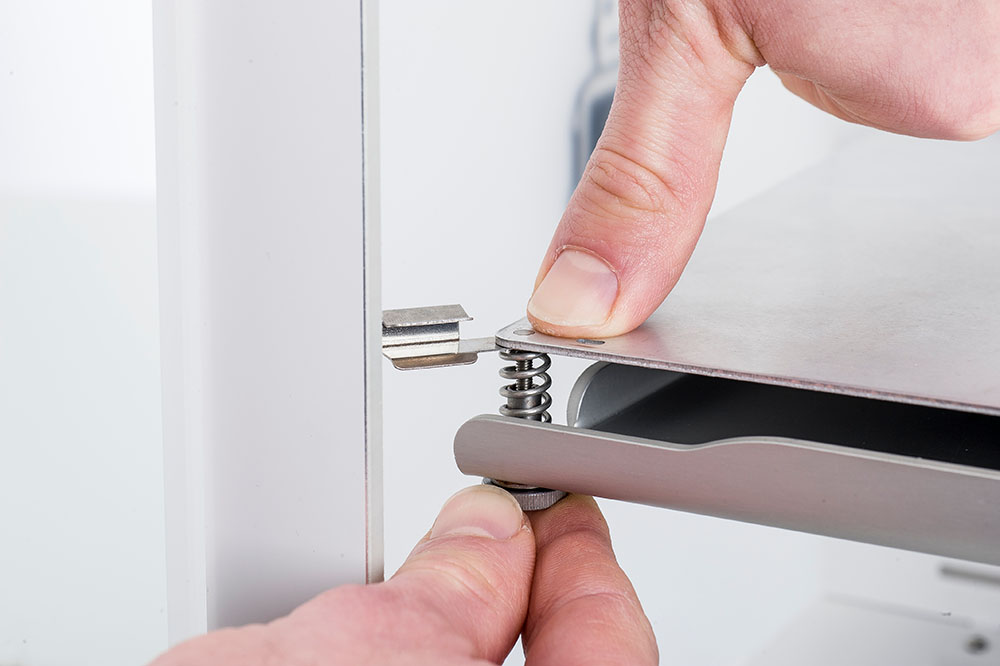
4. Place the front clamps
Gently lift up the front of the bed. First place the front-left build plate clamp around the front-left bolt, then place a spring. Repeat this for the front-right build plate clamp and spring.
|
|
|
|
|
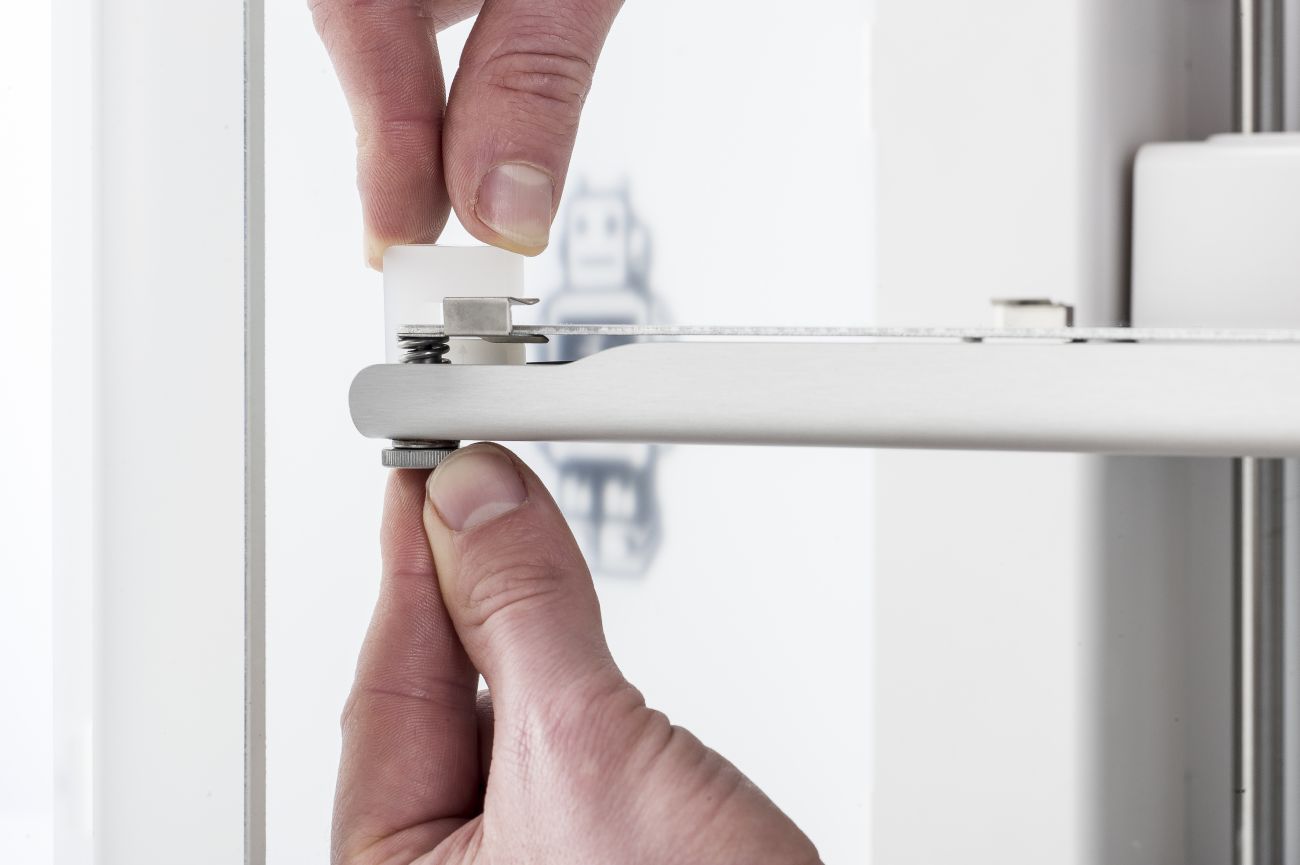
5. Secure the front
Align the bed with the base plate. Insert a thumb wheel through the bottom of the base plate. Gently push the bed down and turn the thumb wheel counterclockwise to loosely secure the heated bed. Do this on both sides.
|
6. Set the right height
Tighten all three thumb wheels until there is a distance of ~14 mm between the top of the base plate and the bottom of the heated bed. Use a ruler or a (printed) spacer to set the correct height.
|
| |
|
7. Place the cable clamp
If removed earlier: Pull the heated bed cable tight so there is no slack behind the heated bed. Place the cable clamp onto the base plate and secure it with the two bolts, use the 2mm hex screwdriver.
|
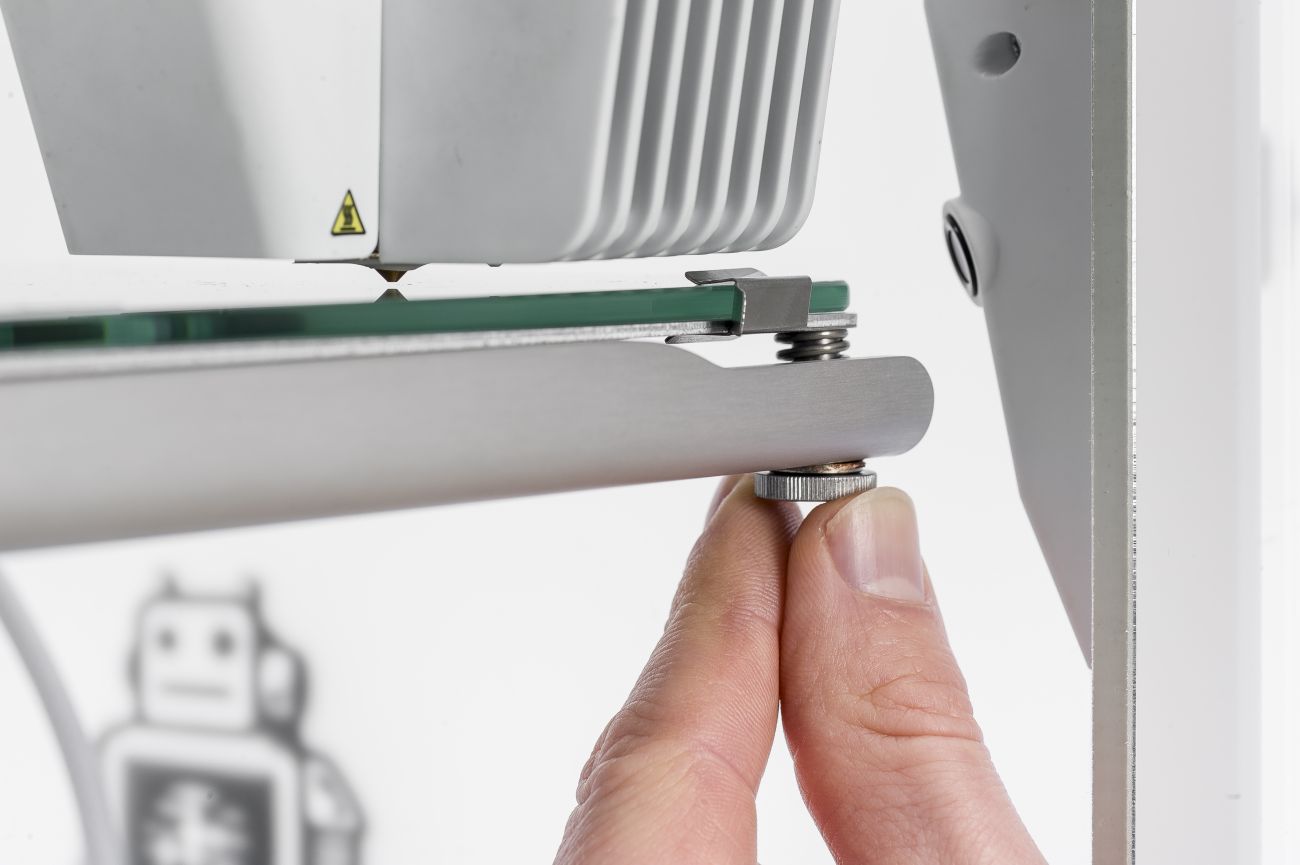
8. Install the glass plate
Slide the glass plate back into the printer until it snaps into the build plate clamps at the back. Close the front two clamps to secure it.
|
|
|
Finished!
You can now continue printing.
Note: Remember to always hold the glass plate flat when removing it from the build plate or reinserting it into the clamps. Tilting the glass plate while it is still placed in the clamps can cause damage to the clamps. It can also loosen the grip on the glass plate; this may lead to shifting during the print.
|
|
9. Level the build plate
Turn on the printer. In the UltiMaker 3 menu, go to System → Build plate → Manual leveling. Follow the instructions on the display, or visit this page for more information.
|
|
Downloads
UltiMaker 3 repair manual - Build plate clamps
Bed height adjustment tool (STL file)


