Product notification
This product has been discontinued, and its end-of-service date has passed. While it is no longer supported, the information on this page remains available for your reference.
|
The tube coupling collets hold the Bowden tubes in place in the print head and feeders. The collet has small metal tabs on the inside that grip the Bowden tube to keep it in place.
Over time, these tabs can wear out or bend outwards. When this happens, the collet's grip on the Bowden tube loosens, which can negatively impact print quality. Replace the tube coupling collet if it appears damaged or worn, following the instructions below.
Caution: After unloading the material(s), turn off the printer or ensure the UltiMaker 3 cannot accept new print jobs through the Digital Factory.
Requirements and info
| Part(s) | 1 - 4x 1069 - Tube coupling collet |
|---|
| Tool(s) | None required |
|---|
| Time | 1 - 5 minutes |
|---|
| Difficulty level | 1 - Easy |
|---|
Disassembly
 |  |
|
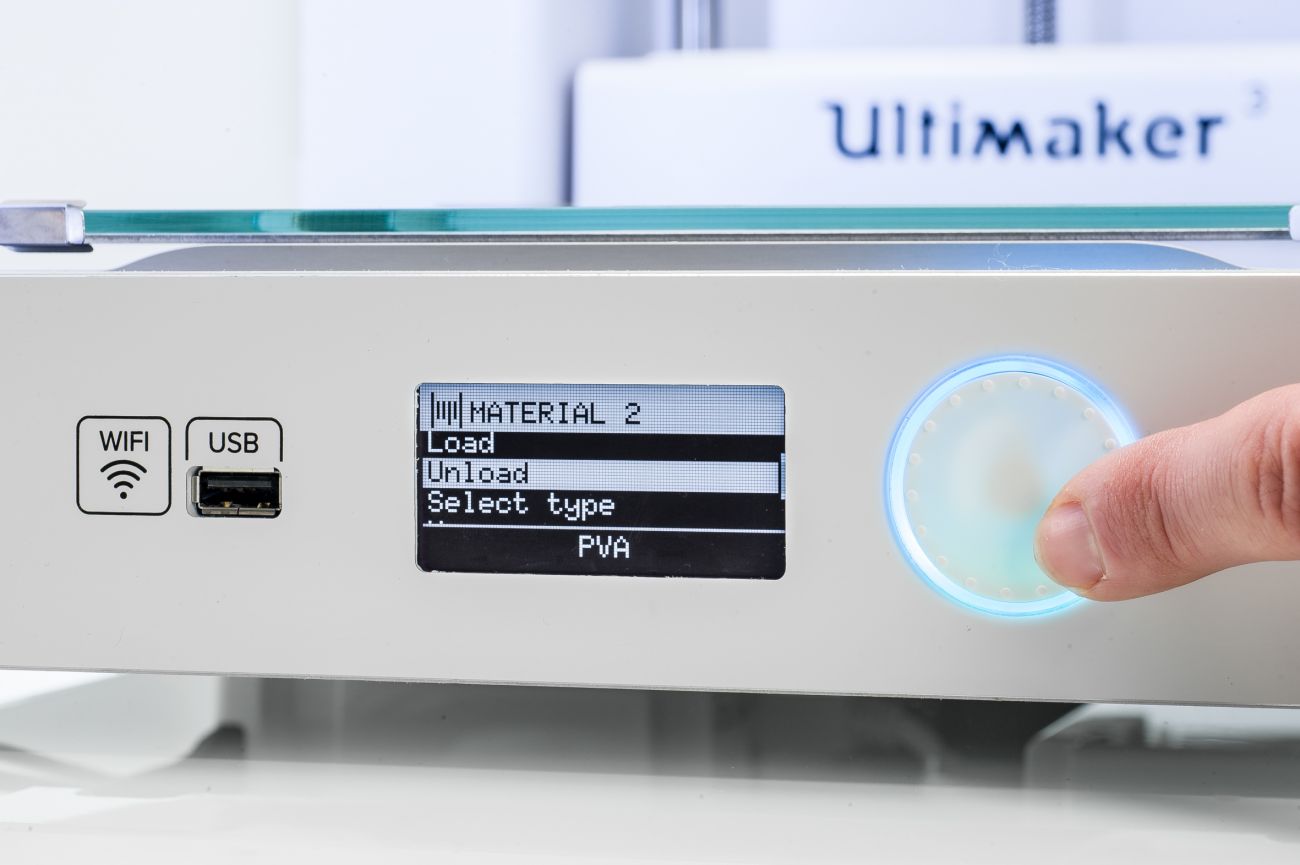
1. Unload the material(s)
In the UltiMaker 3 menu, go to Material/PrintCore → Material [X] → Unload. Select the material(s) for the side(s) where you want to replace the collet. You do not have to remove the spool from the spool holder.
|
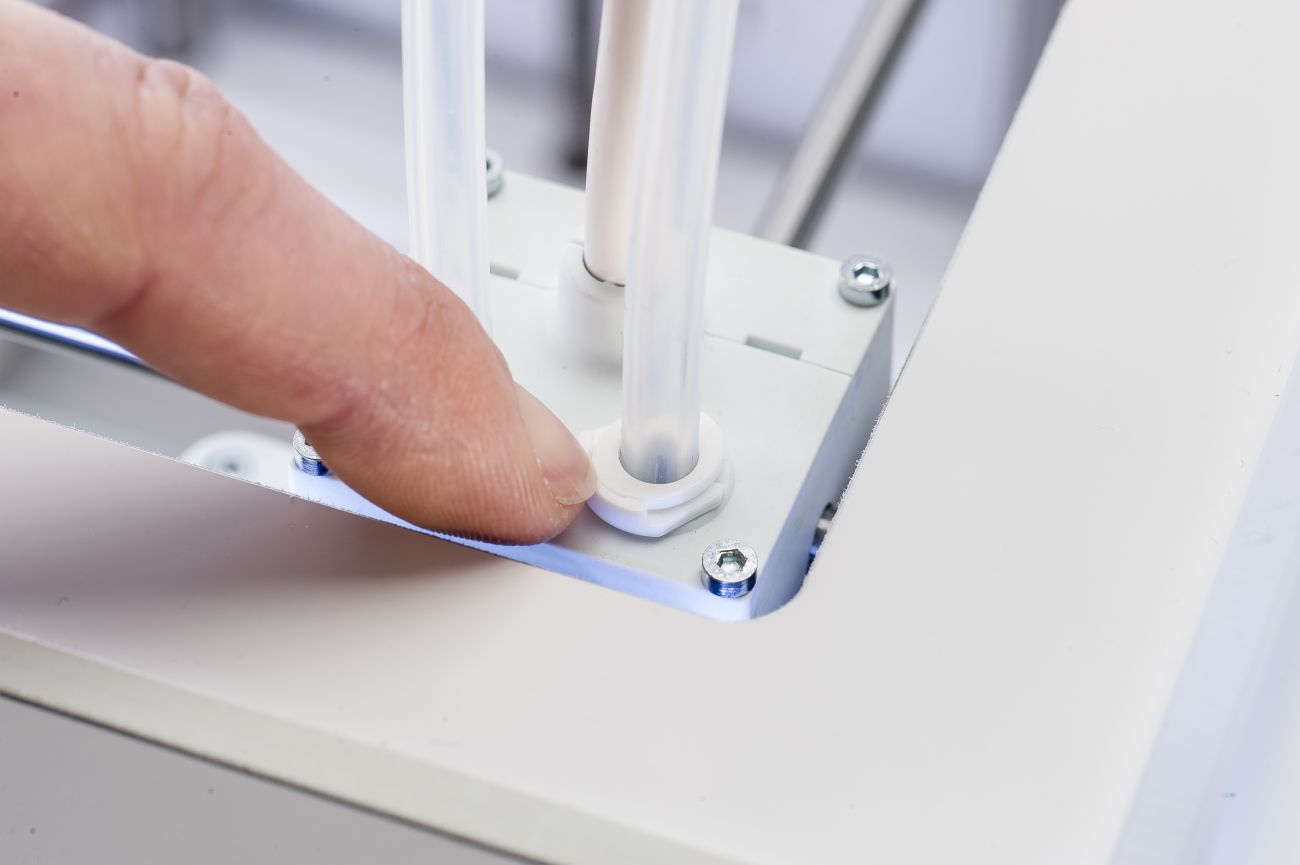
2. Remove the clamp clip
Place the print head in the front-right corner for easier access and remove the clamp clip from around the tube coupling collet.
|
 |  |
|
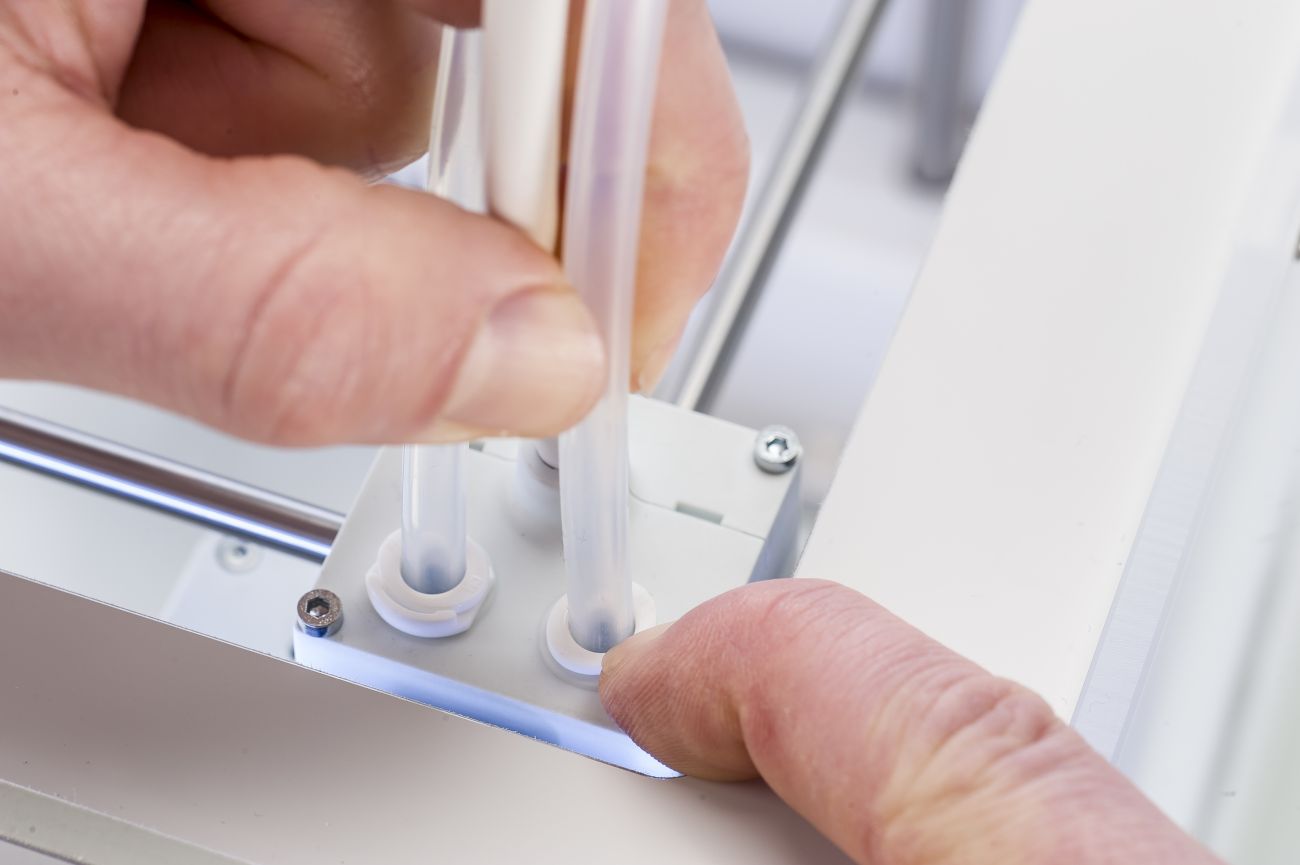
3. Remove the Bowden tube
Press down on the tube coupling collet while pulling the Bowden tube out of the print head or feeder.
|
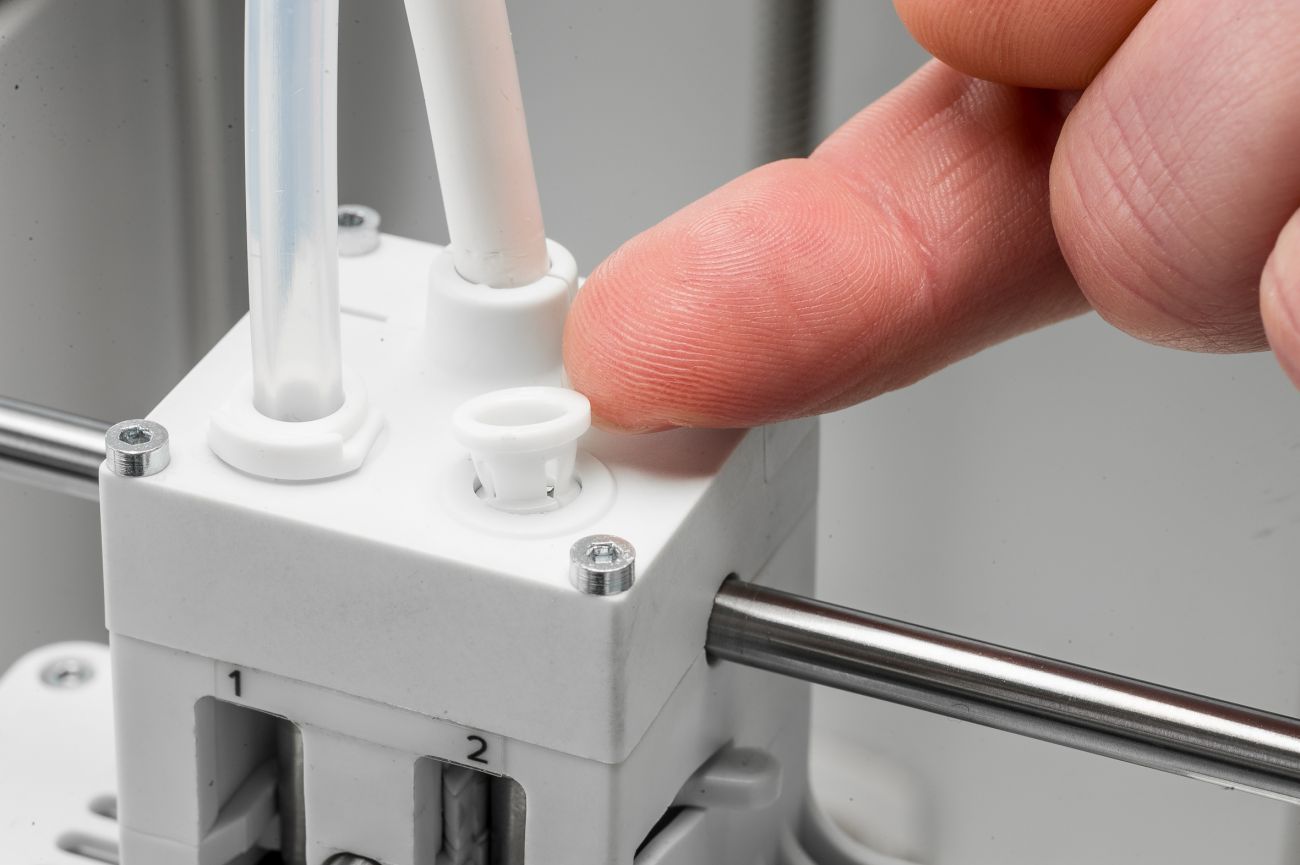
4. Remove the tube coupling collet
Place your fingernail under the edge of the tube coupling collet and pull it out of the print head or feeder.
|
Reassembly
 | |
|
1. Insert the tube coupling collet
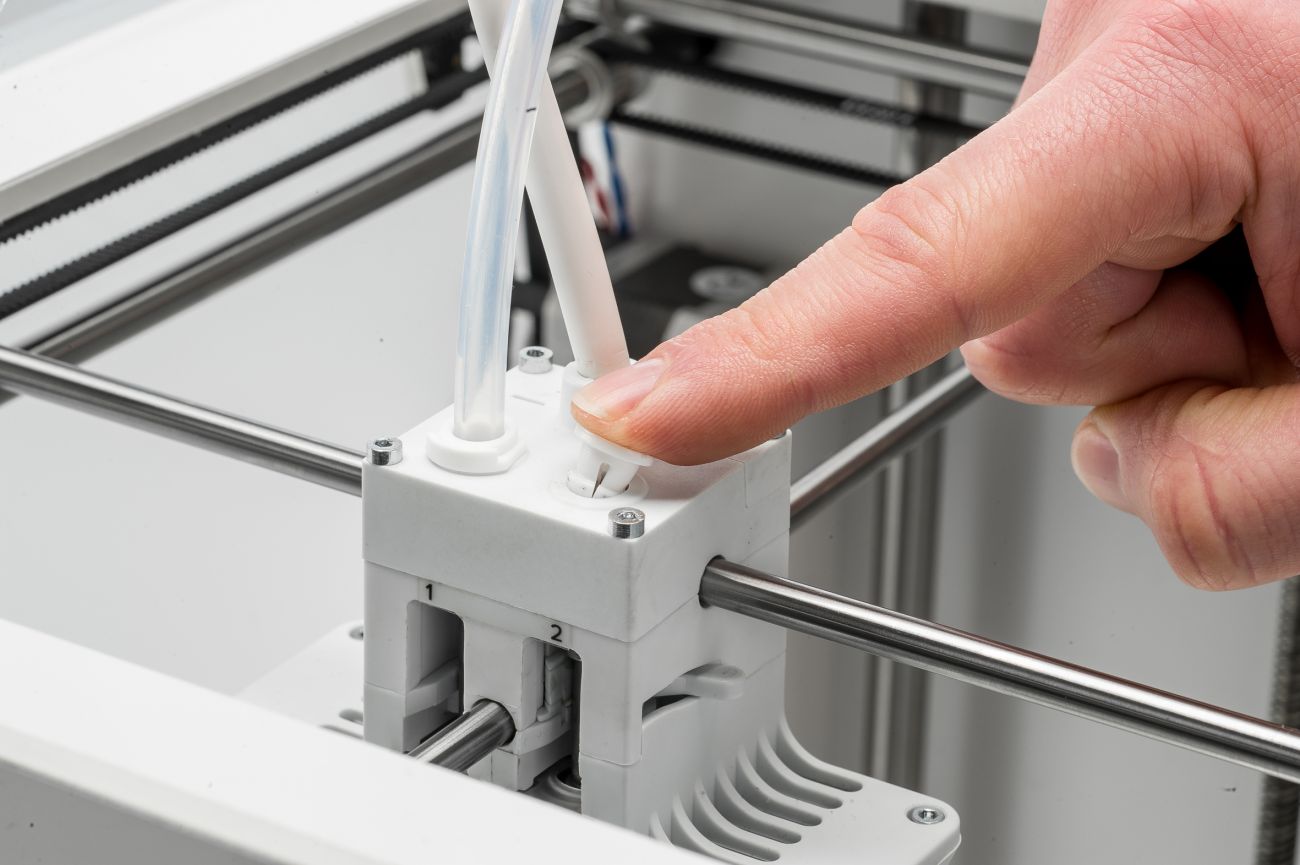
Push the four legs of the new tube coupling collet slightly inwards and insert it into the hole in the print head or feeder.
|
2. Insert the Bowden tube
Keep the collet pressed down while pushing the Bowden tube back into the print head or feeder.
|
 |  |
|
3. Place the clamp clip
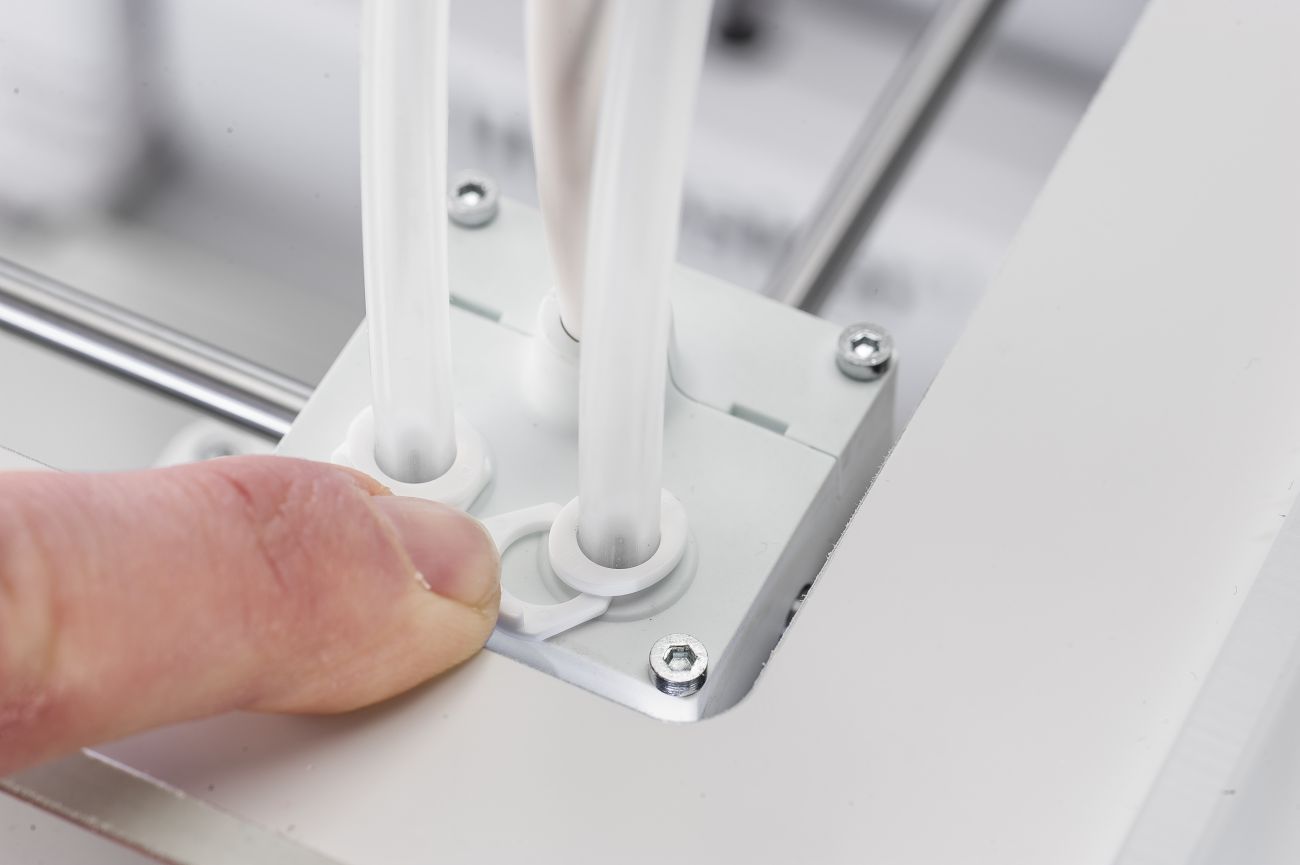
Keep the Bowden tube in position and place the clamp clip around the tube coupling collet to lock the Bowden tube in place.
|
4. Reload the material(s)
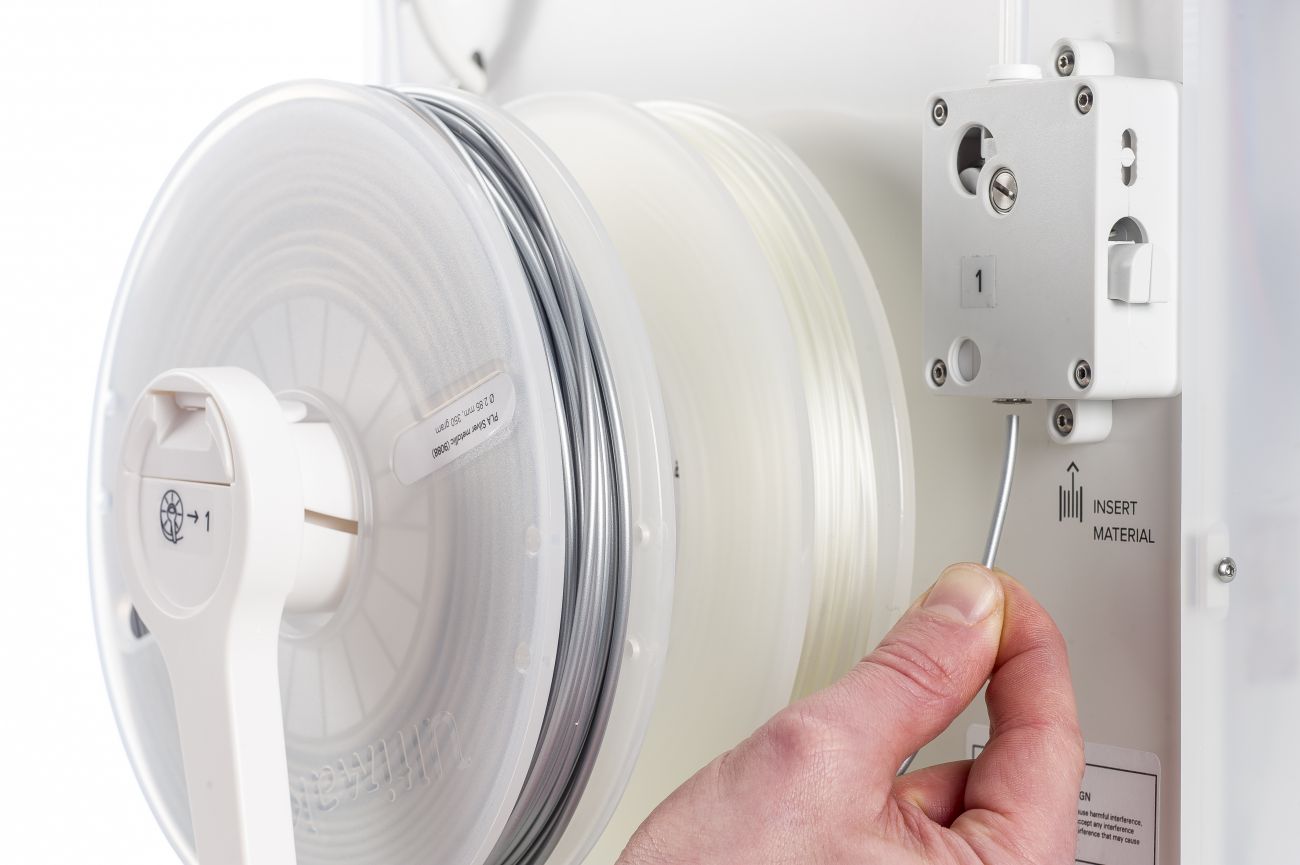
In the UltiMaker 3 menu, go to Material/PrintCore → Material [X] → Load. Insert the material into the feeder and follow the instructions on the display.
|
Download PDF version
UltiMaker 3 repair manual - Tube coupling collet


