Product notification
This product has been discontinued, and its end-of-service date has passed. While it is no longer supported, the information on this page remains available for your reference.
|
The Bowden tubes guide the filament from the feeders to the print head. Over time, the inside and outside of the tubes may have become scratched. This can cause print quality issues, or the tubes may not be held securely in place anymore.
It is recommended to check the surface of the Bowden tubes once a year. Replace them when necessary to retain optimal print quality and reliability.
Caution: After unloading the material(s), turn off the printer or ensure it is disabled in the Ultimaker Digital Factory to prevent new print jobs from starting remotely.
Requirements and info
| Part(s) | 1 or 2× Bowden tube (length 705 mm)* |
|---|
| Tool(s) | None required |
|---|
| Time | 3 - 5 minutes |
|---|
| Difficulty level | 1 - Easy |
|---|
Note: Although the UltiMaker 3 is discontinued and the availability of spare parts is not guaranteed, the Bowden tubes with length 705 mm are also used in the UltiMaker S3 and 2+ Connect. The Bowden tube is included in a pack, which has part number 80-226572 and contains a Bowden tube, two tube coupling collets, a white clip (for the print head side), and a black clip (for the feeder side). You can replace the collets and clips at the same time, or keep them for later.
Disassembly
 |  |
|
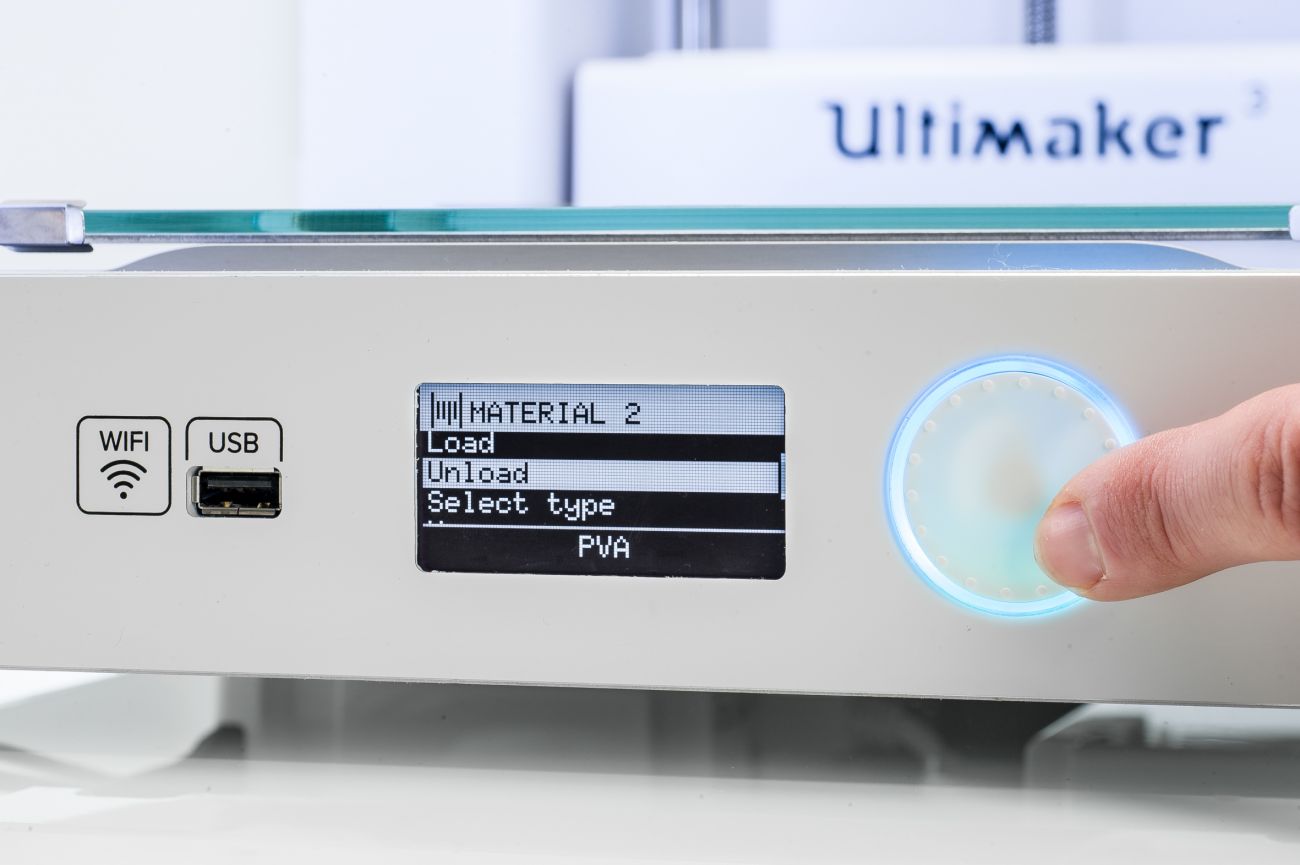
1. Unload the material(s)
In the UltiMaker 3 menu, go to Material/PrintCore → Material [X] → Unload. Select the material(s) for the side(s) where you want to replace the Bowden tube. You do not have to remove the spool from the spool holder.
|
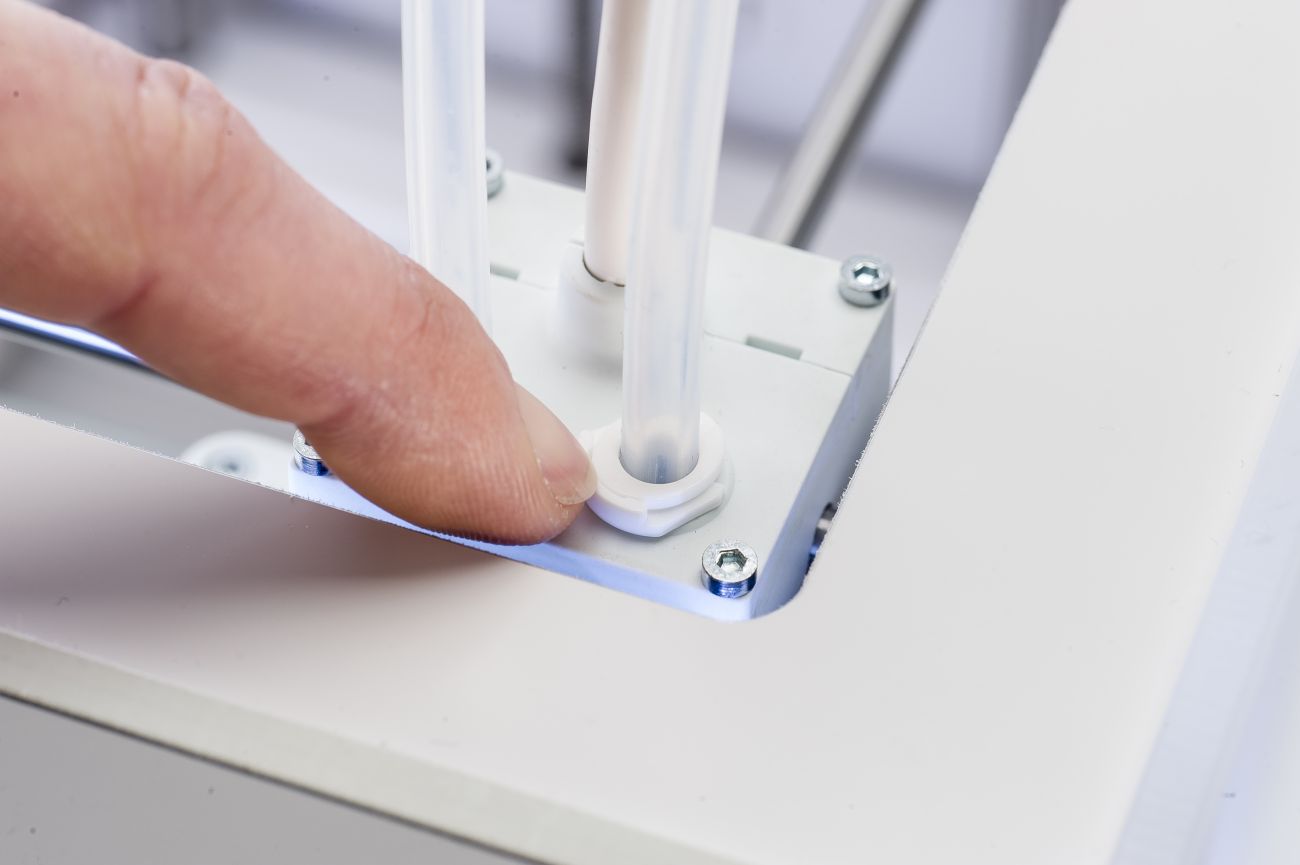
2. Remove the print head clamp clip(s)
Place the print head toward the front for easier access and remove the clamp clip from around the tube coupling collet. Repeat this for the other side, if both Bowden tubes will be replaced.
|
 |  |
|
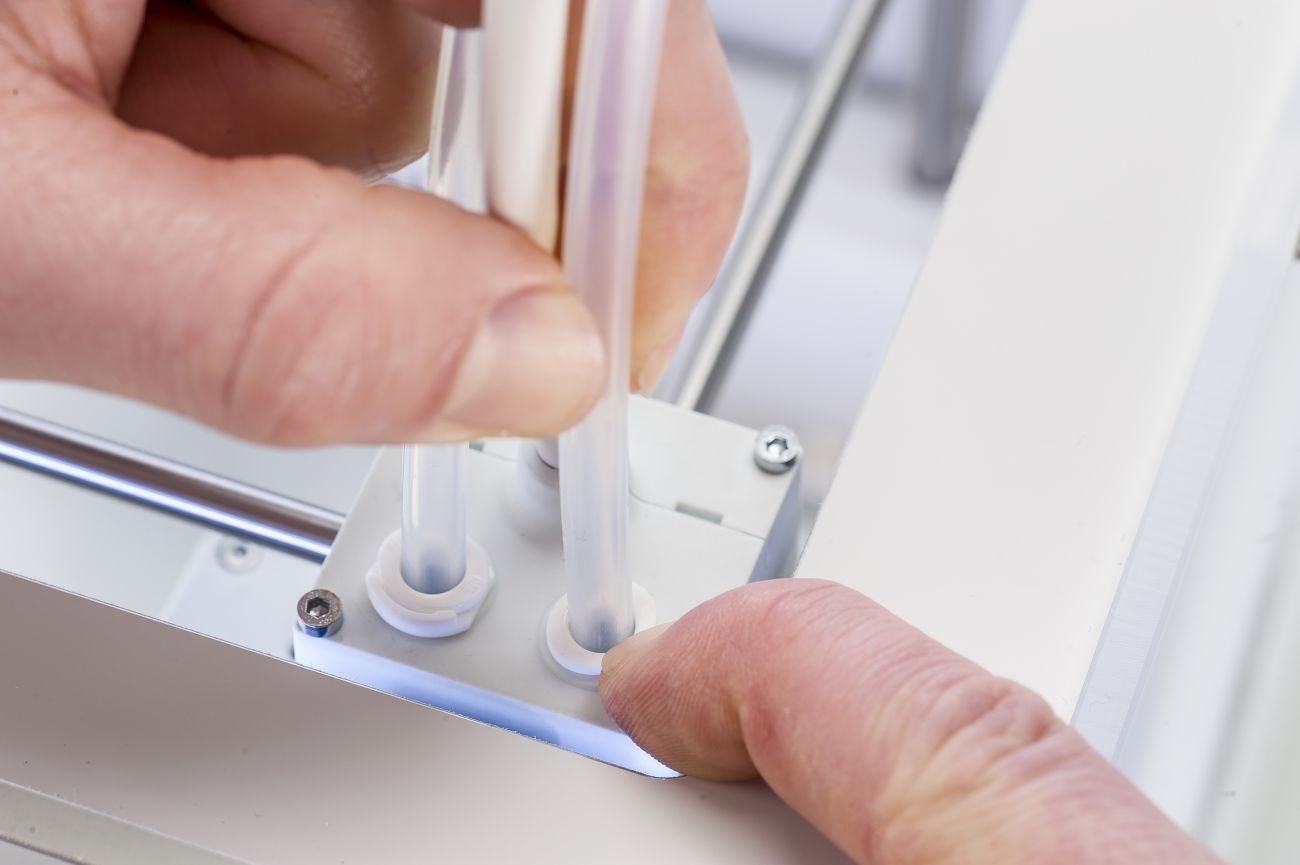
3. Remove the Bowden tube(s) from the print head
Press down on the tube coupling collet while pulling the Bowden tube out of the print head. Repeat this for the other tube, if both will be replaced.
|
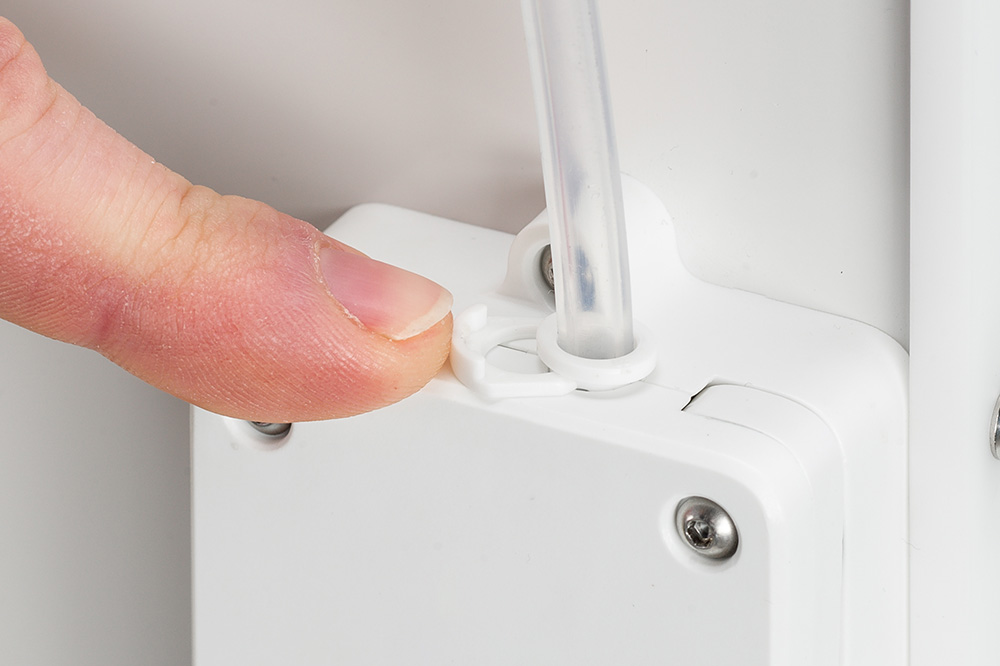
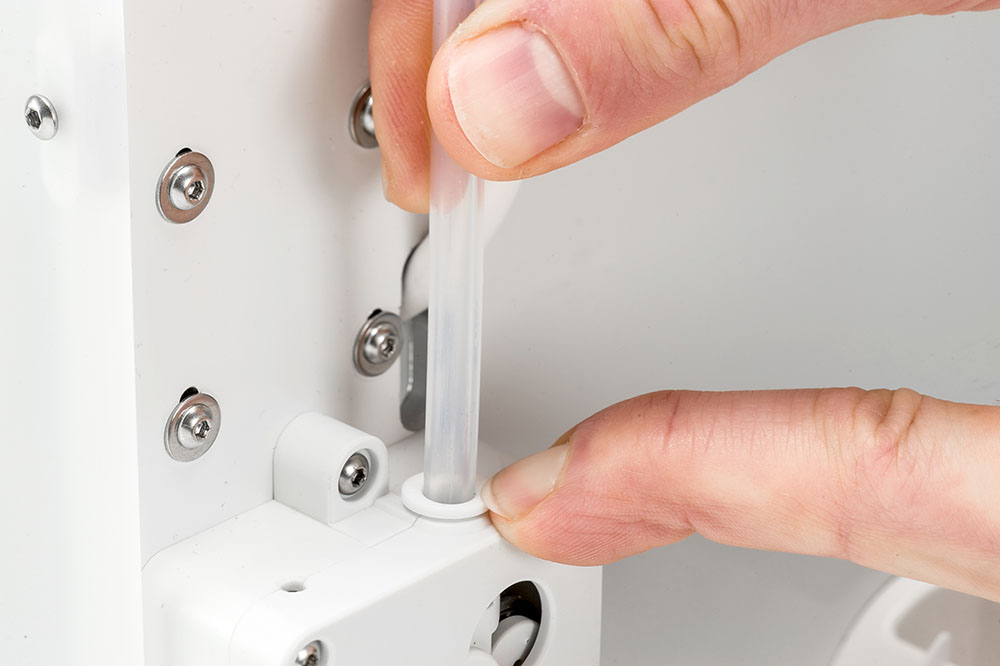
4. Remove the feeder clamp clip(s)
At the back of the printer, remove the clamp clip from the tube coupling collet on feeder 1 and/or 2.
|
|
|
|
|
5. Remove the Bowden tube(s) from the feeder(s)
Press down on the tube coupling collet while pulling the Bowden tube out of the feeder. Do this for feeder 1 and/or 2, depending on which tube(s) will be replaced.
|
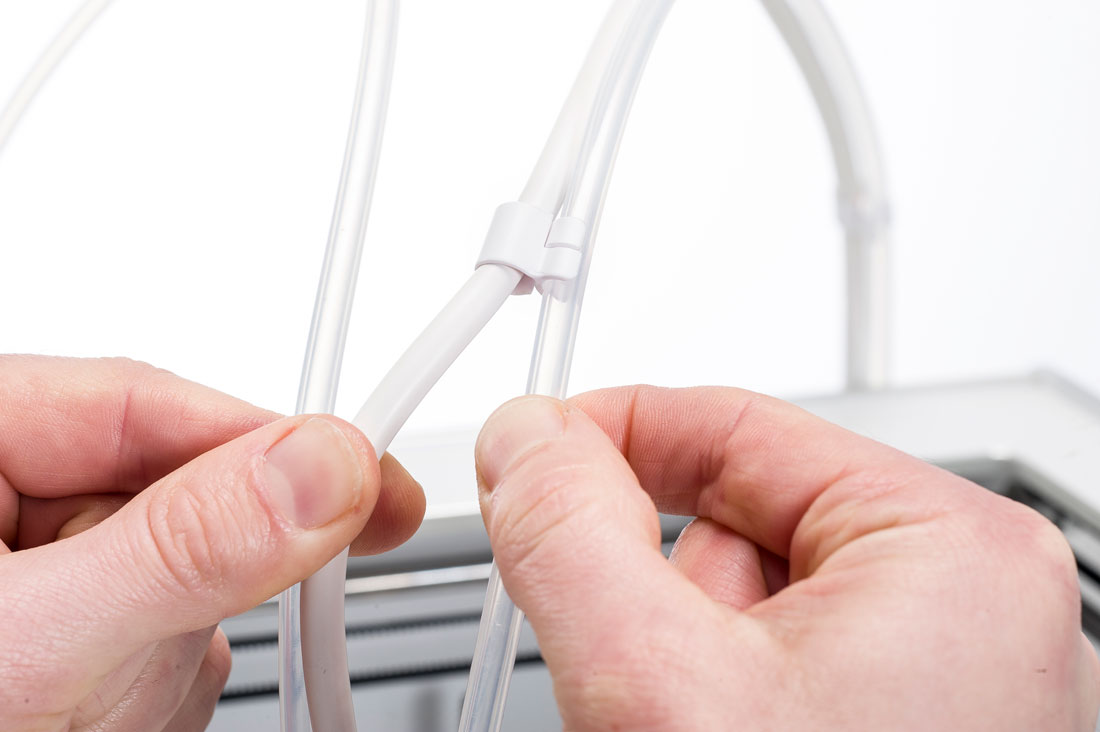
4. Loosen cable clips
When removing the Bowden tube from extruder 2 (right), loosen the four cable clips from the Bowden tube to remove it completely.
|
Reassembly
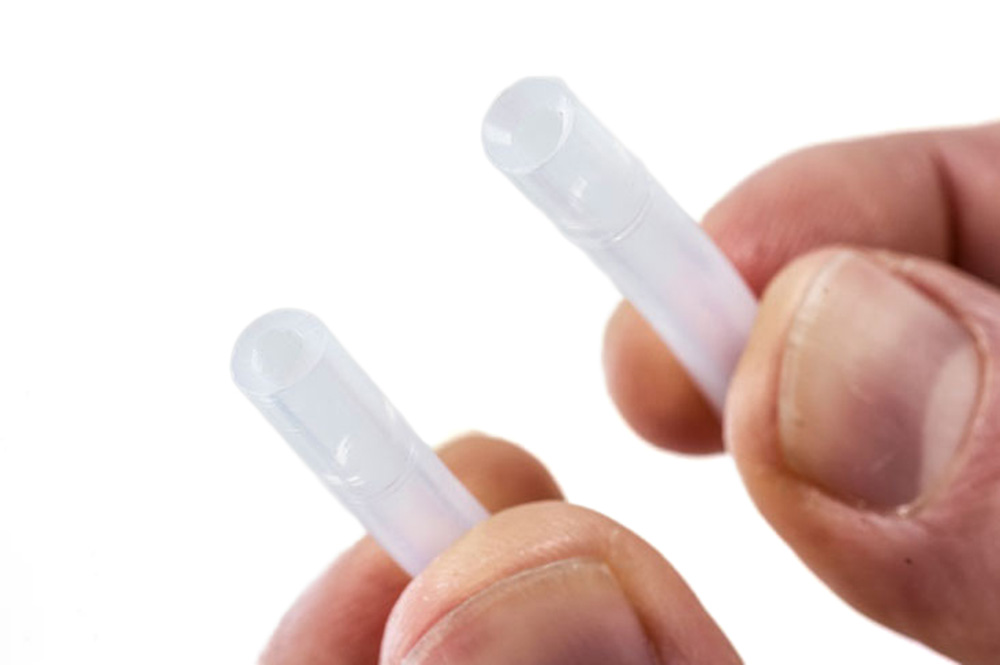 | 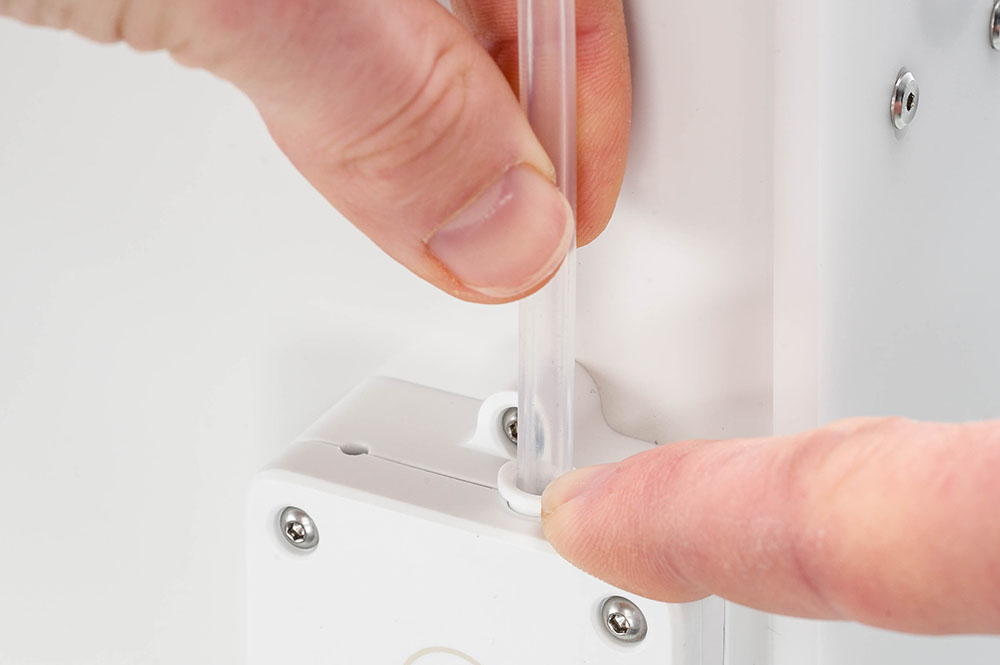 |
| 1. Note the two sides of the Bowden tube | 2. Insert into feeder |
|
Take the new Bowden tube and check the two sides. Older Bowden tubes may have one flat and one chamfered side. The chamfered side should be inserted into the feeder so that the filament enters the tube smoothly. The flat side goes into the print head.
Tip: If both sides are chamfered, the orientation does not matter.
|
Insert (the chamfered side of) the Bowden tube into the feeder. Keep the collet pressed down and push the Bowden tube all the way in. Secure the tube with the clamp clip.
|
 |  |
|
3. Insert into print head
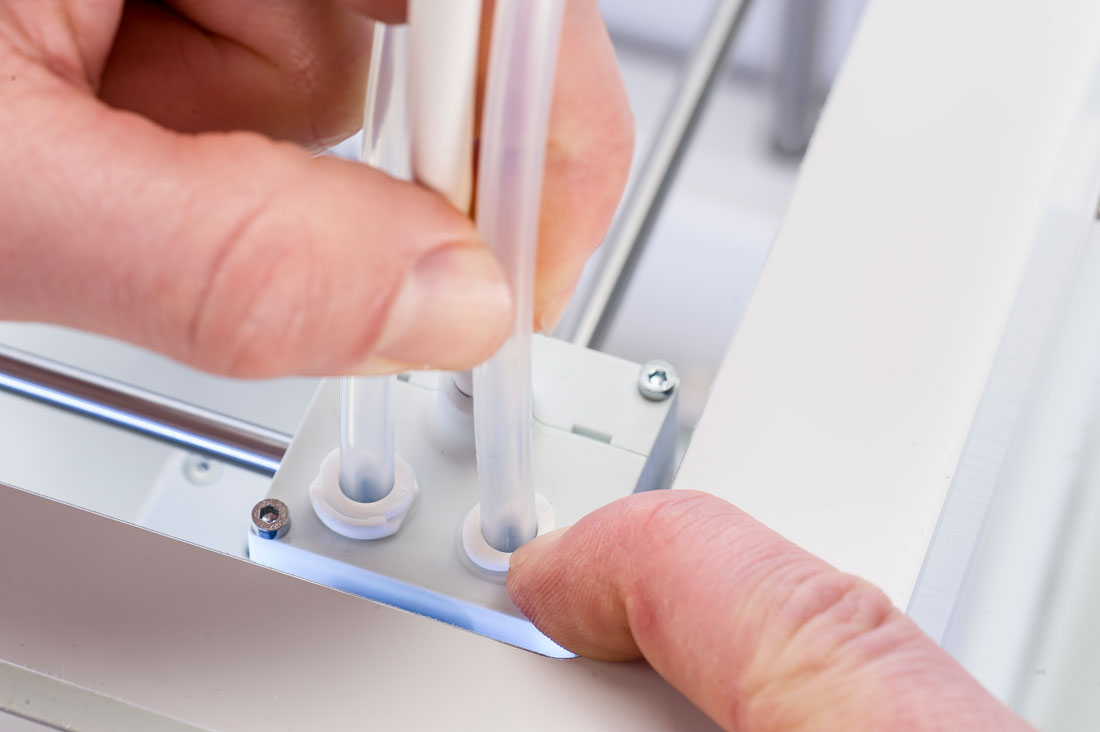
Insert the other side of the Bowden tube into the print head. Keep the collet pressed down and push the Bowden tube all the way in. Secure the tube with the clamp clip.
|
4. Place the cable clips
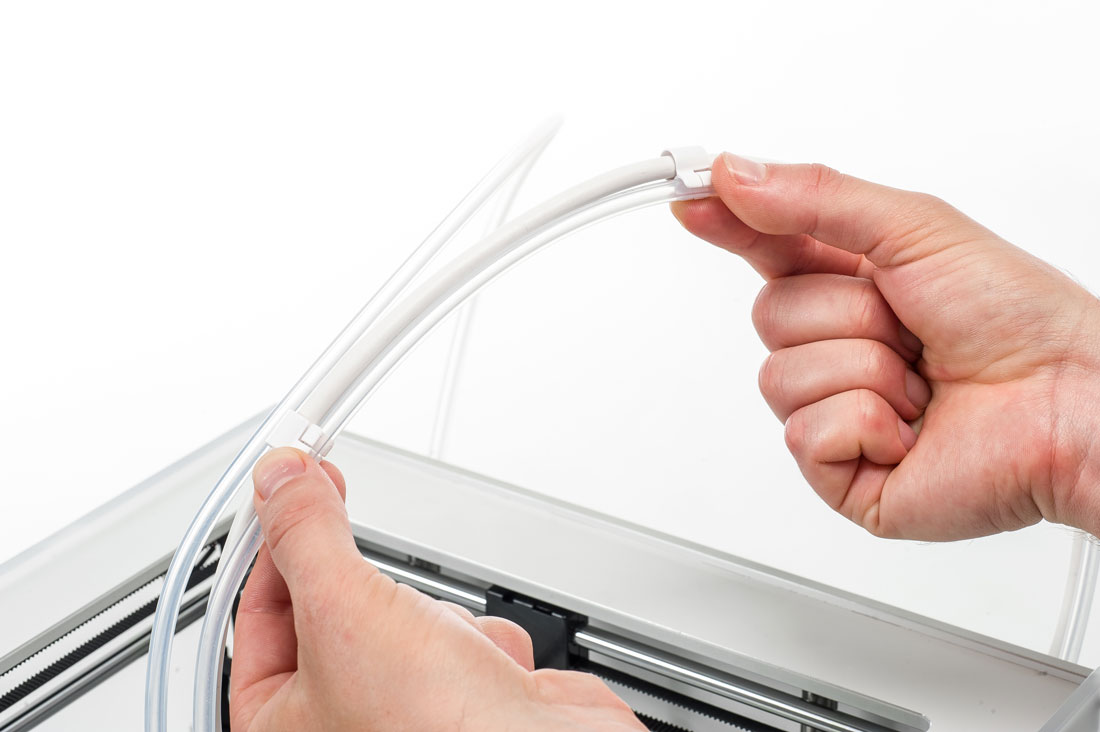
For Bowden tube 2 (right), click the header cable clips from the print head cable onto the Bowden tube. Equally divide the clips over the Bowden tube, starting at ~10 cm above the print head.
|
|
|
Finished!
You can now continue printing.
Tip: Remember to apply regular maintenance to your UltiMaker 3 to ensure the printer stays in optimal shape.
|
|
5. Reload the material(s)
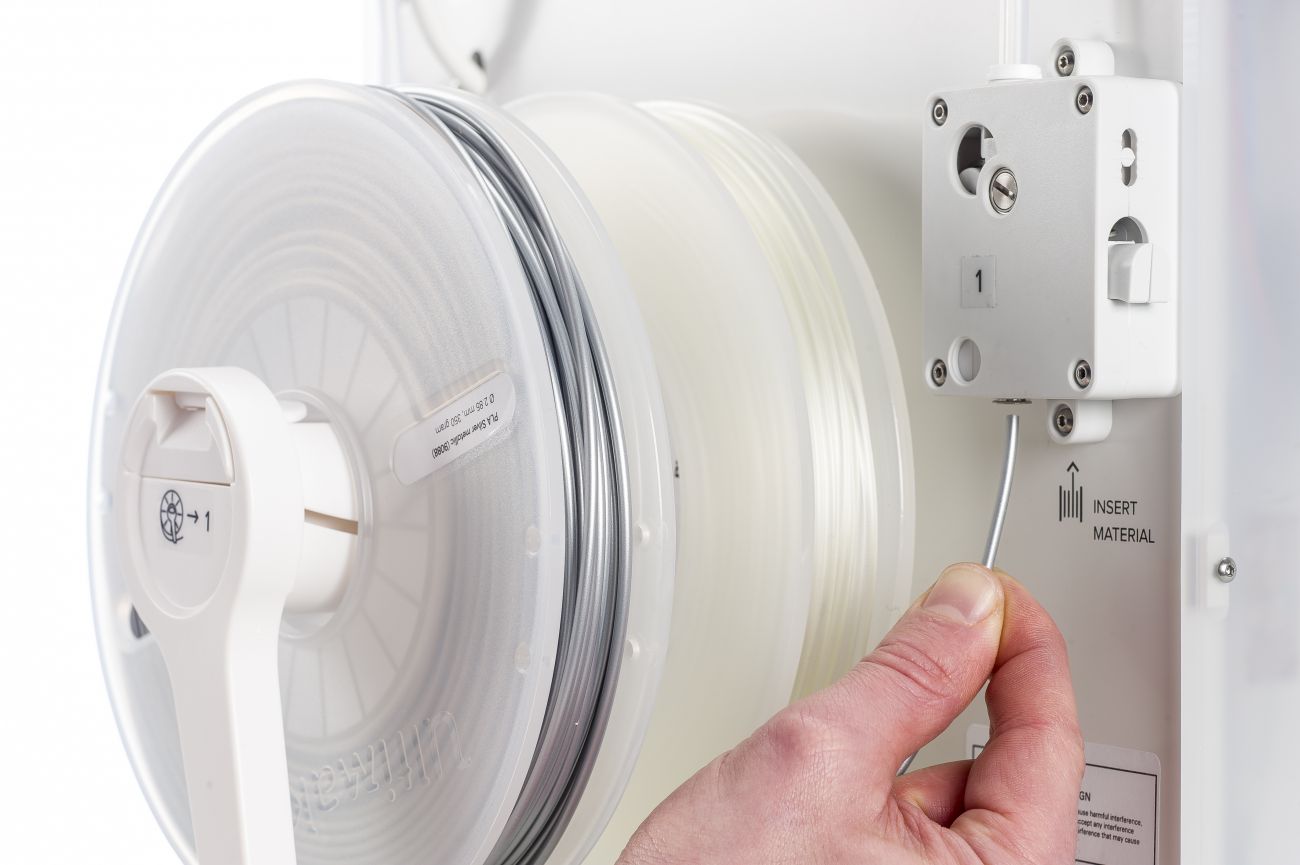
In the UltiMaker 3 menu, go to Material/PrintCore → Material [X] → Load. Insert the material into the feeder and follow the instructions on the display.
| |
| |


