Product notification
This product has been discontinued, and its end-of-service date has passed. While it is no longer supported, the information on this page remains available for your reference.
|
The fans at the side of the print head (the radial fans) spin during printing. This ensures that the layer of filament is properly cooled down before the next layer is put on. Most materials require this extra cooling to retain optimal print quality.
If the fans are not spinning when they should be, they need to be replaced. The following steps describe how to correctly replace the model cooling fans on the UltiMaker 3 or 3 Extended.
Caution: Before you start, ensure the print cores have completely cooled down. Turn off the printer and disconnect the power cable.
Requirements and info
| Part(s) | 1 - 2× 2135* - Radial fan 35x35x10
1 - 2× 2158 - Foam tape 25x9x4 (optional) |
|---|
| Tool(s) | 2 mm hex screwdriver
Tape (optional) |
|---|
| Time | 10 - 15 minutes |
|---|
| Difficulty level | 3 - Medium |
|---|
Note: Although the UltiMaker 3 is discontinued and the availability of spare parts is not guaranteed, these fans are also used in S series printers. The current part number for the radial fan set (pack of two) is 80-213500.
Disassembly
 |  |
|
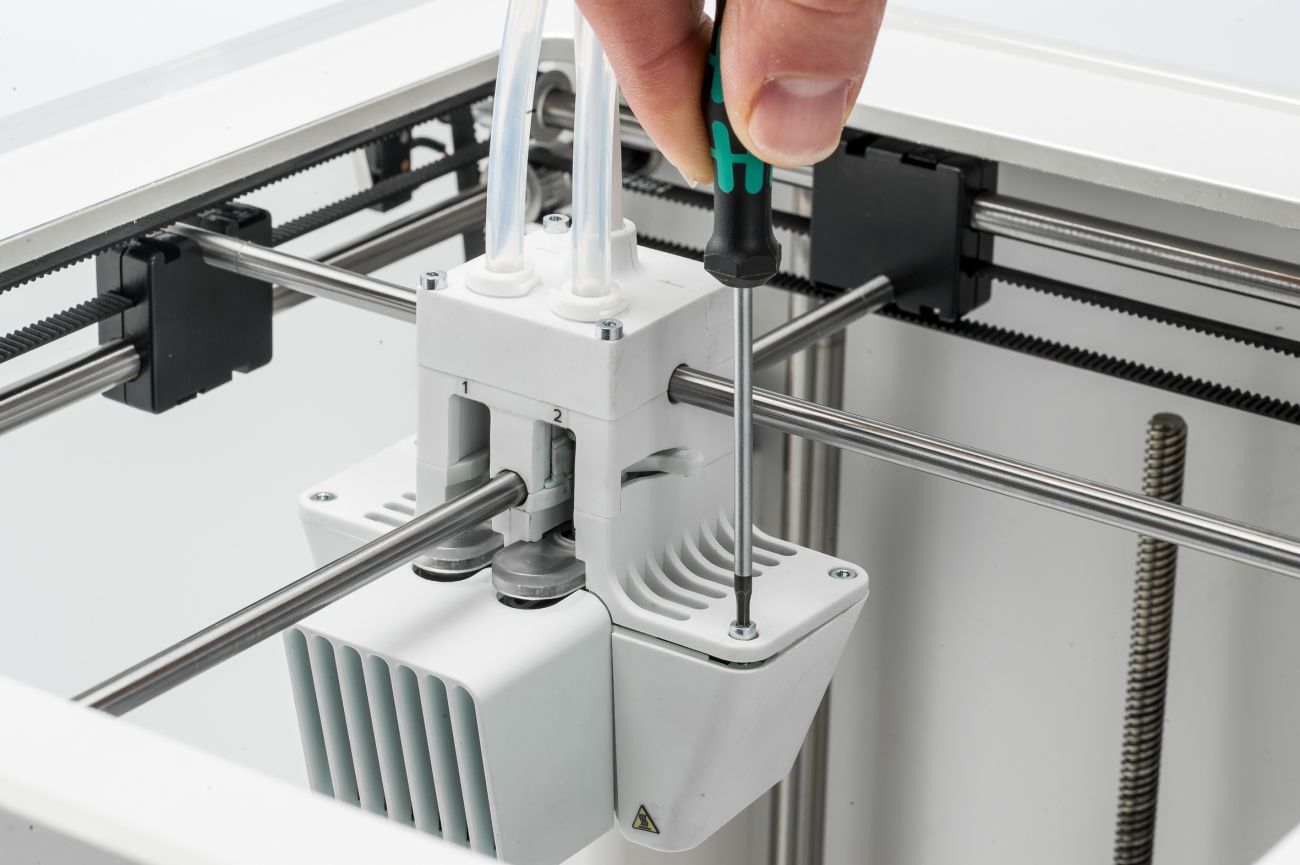
1. Loosen side fan bracket
Use the hex screwdriver to remove the four screws that hold the side fan bracket.
|
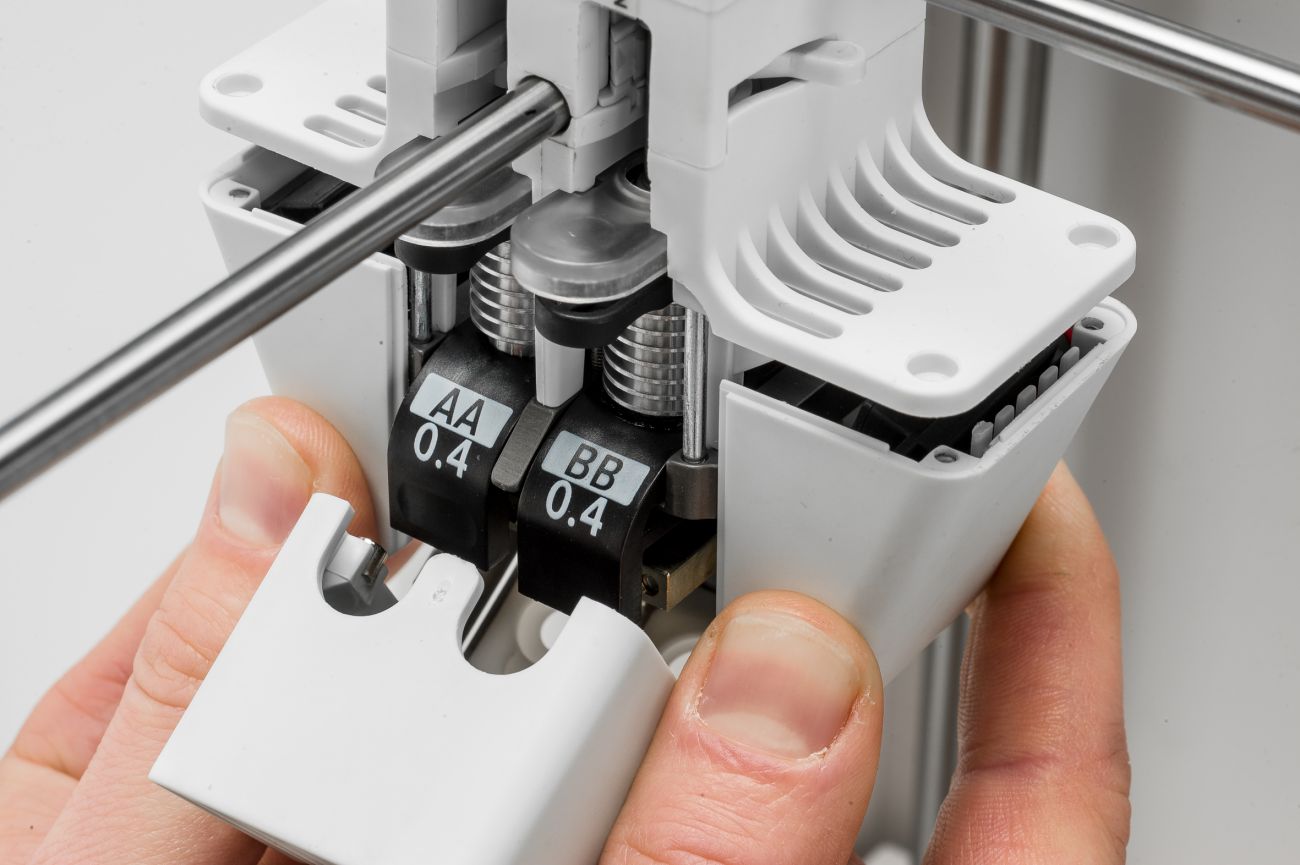
2. Move bracket down
Slightly open the front fan bracket and move the front and side fan bracket assemblies down to create some room.
|
|
|
|
|
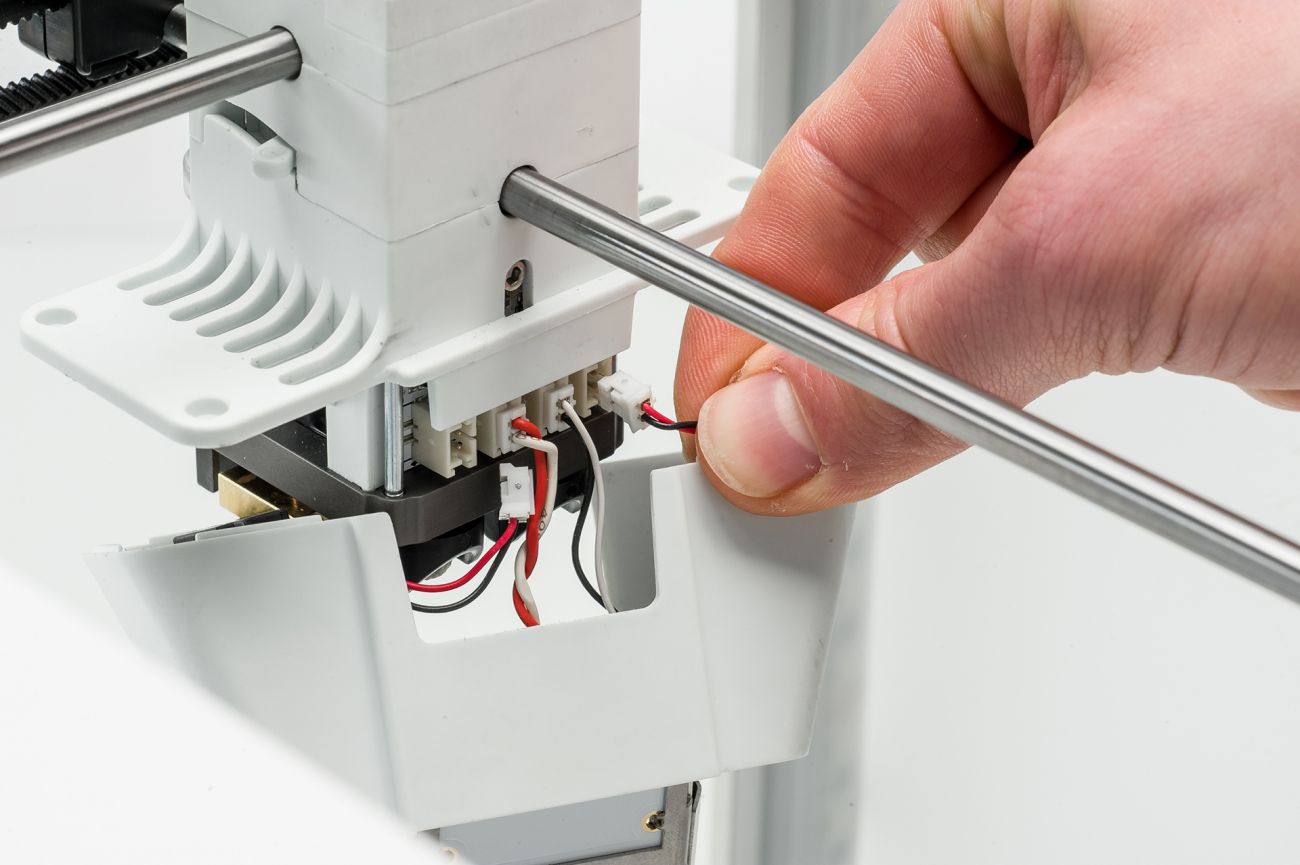
3. Disconnect the fans
At the back of the print head, carefully disconnect the side fans from the left and right connectors of the print head PCB.
|
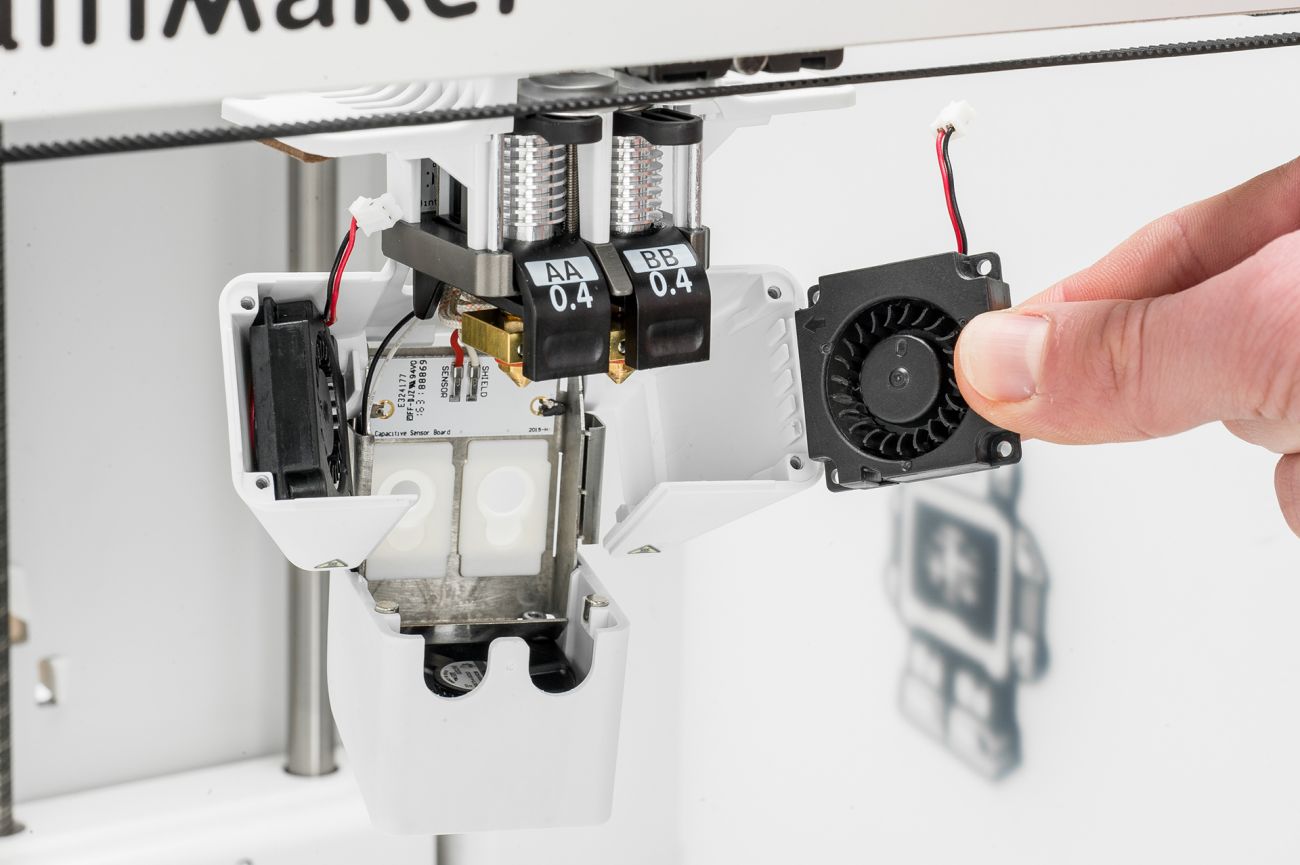
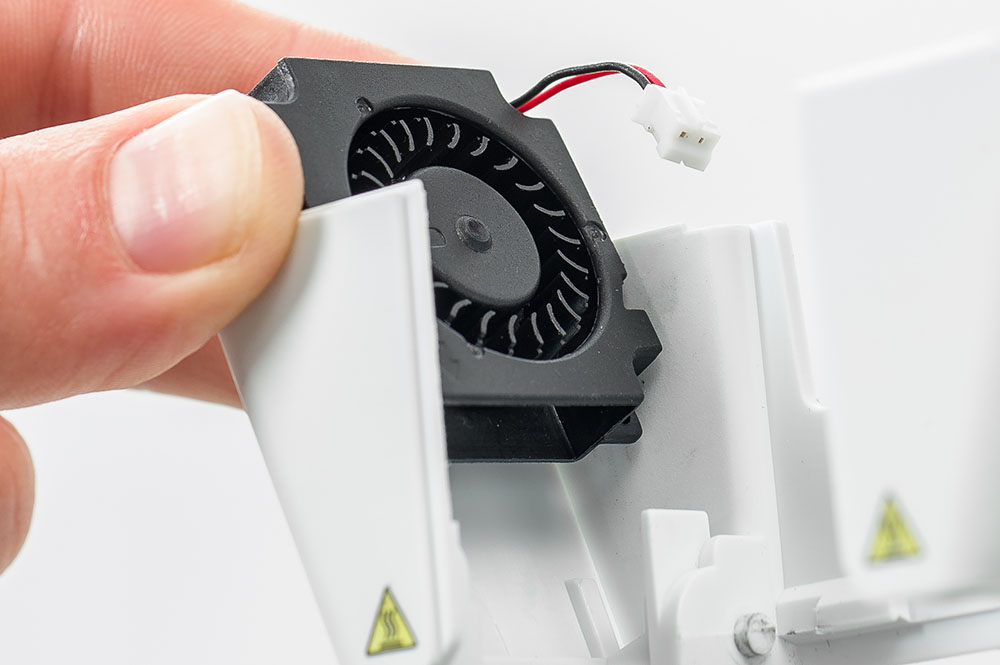
4. Remove the fans
You can now take both fans out of the side fan bracket (they are not screwed into place).
|
Reassembly
 |  |
|
1. Fan orientation
Look at how the fans will be placed in the print head; the fan will face towards the inside of the print head, and the open side will face down.
Note: Reference image only, do not place the fan yet!
|
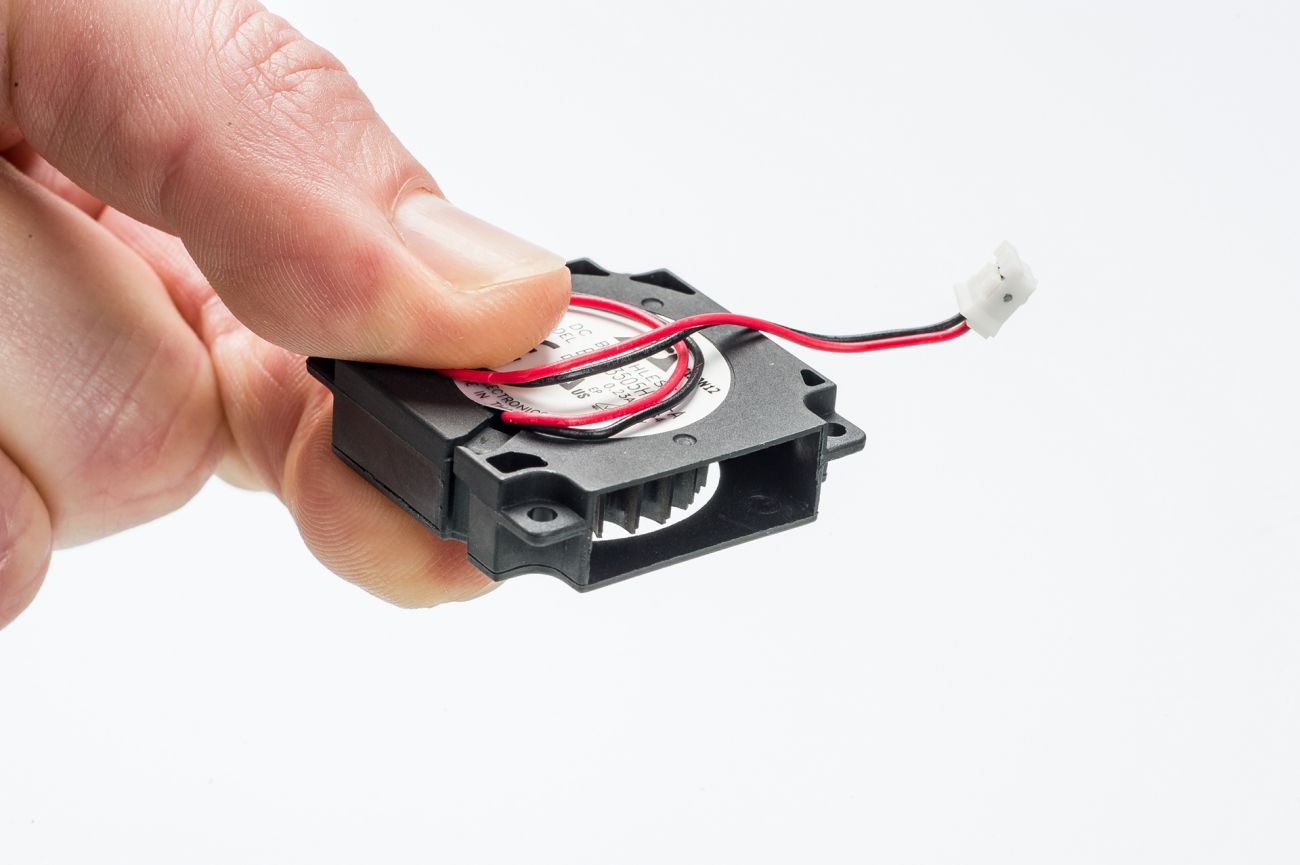
2. Fan wires
Loop the fan's wires at the back of the fan, taking the orientation into account. Ensure the connector comes out at the back, with ~3 cm of wire sticking out. You can secure the wire with a piece of tape.
|
 |  |
|
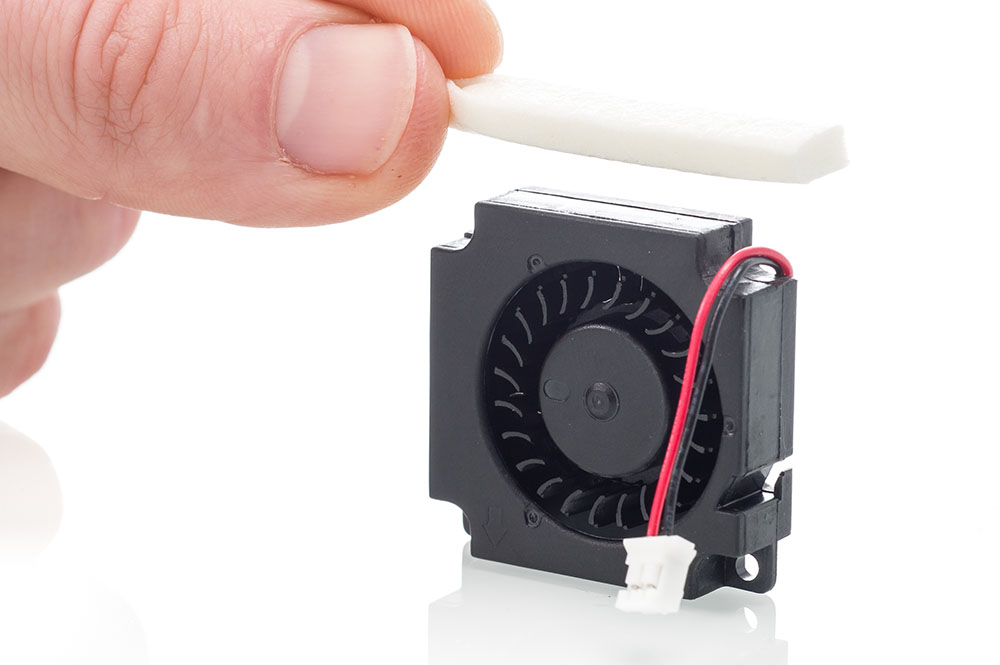
3. Foam tape
The fans are held in place with some foam tape. If this tape is on the print head header bracket, move to the next step. If it was on the fan, apply a new piece of foam tape to the top of the fan.
|
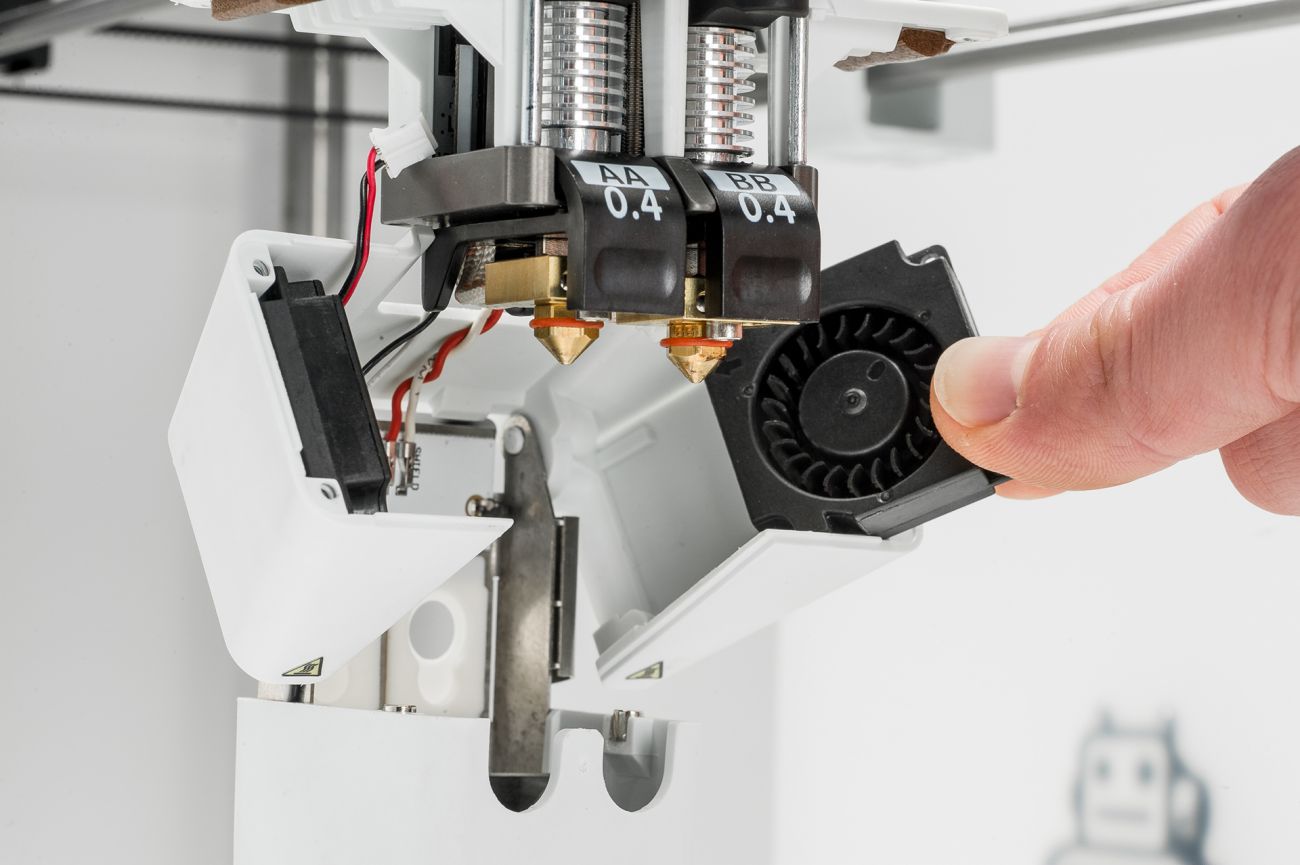
4. Insert the fans
Slide the right fan into the right side of the fan bracket. Ensure the orientation is correct and the fan's wires come out at the back. Repeat this for the left fan.
|
|
| |
|
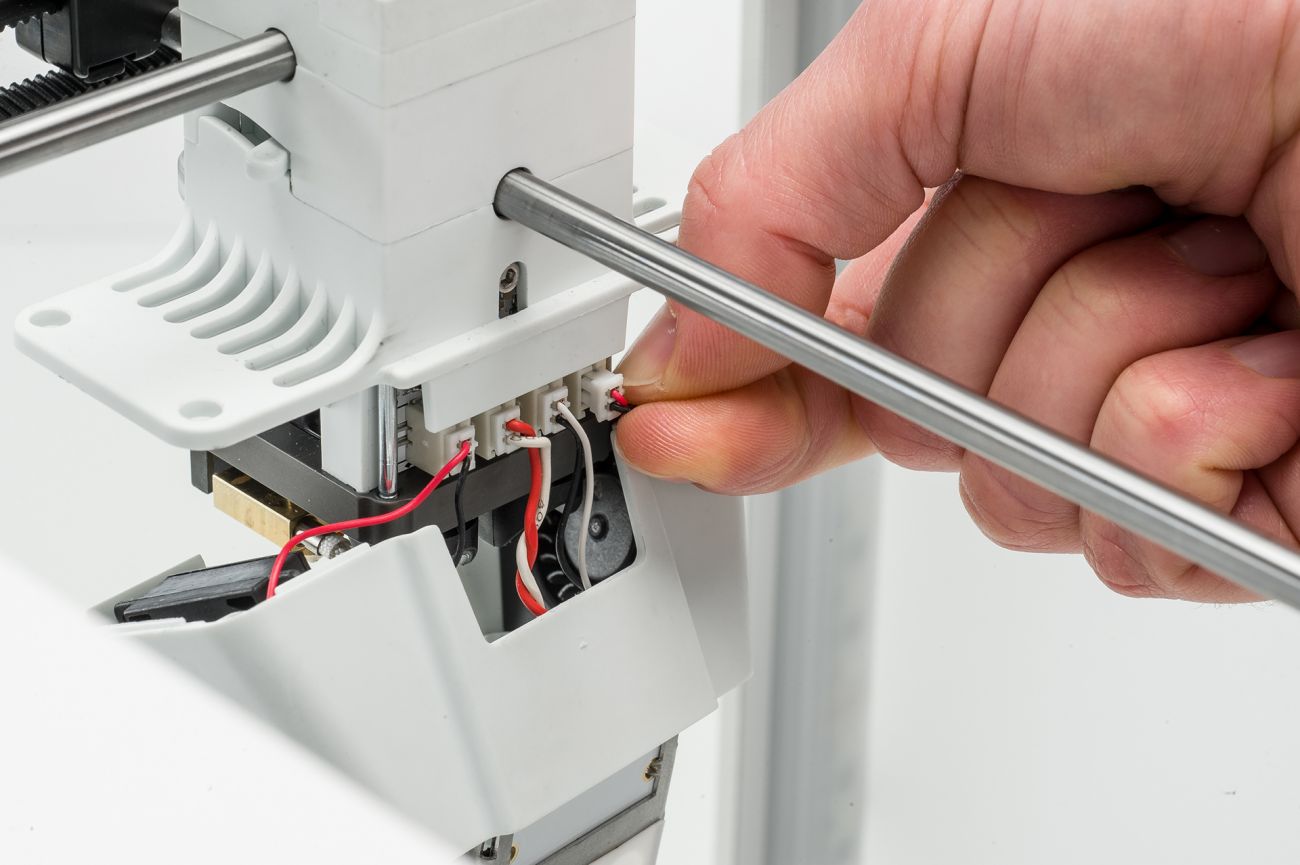
5. Connect the fans
Connect the fans' plugs to the connector on the corresponding side of the print head PCB. Ensure that the fans stay in the bracket while doing so and move the fans' wires behind the plastic.
|
6. Align the bracket
Carefully move the side fan bracket upward again so you can fully close it. It should align nicely with the header bracket. At the back, check that no wires have gotten pinched.
|
|
|
|
|
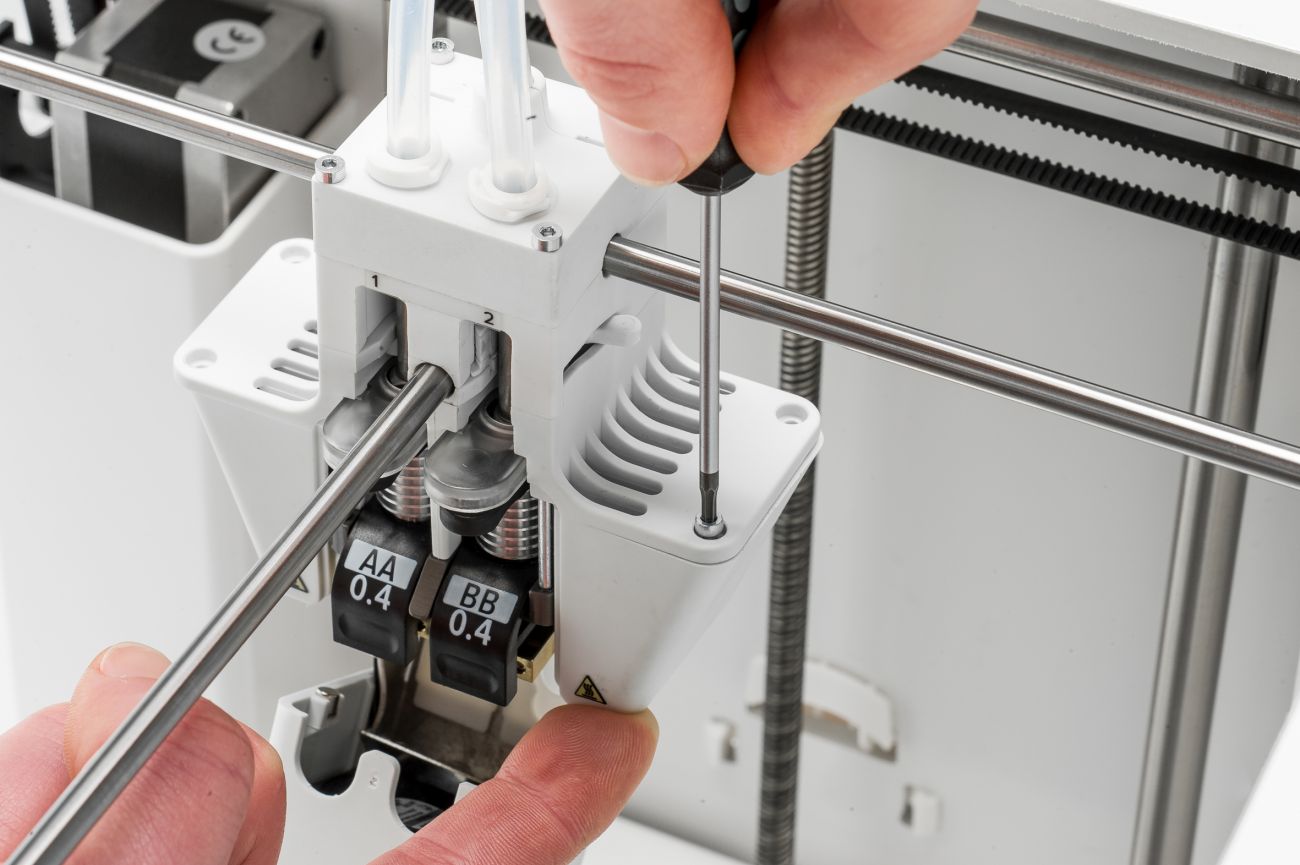
7. Secure the bracket
Insert the four screws in the holes of the header bracket. Use the 2mm hex screwdriver to tighten them. Ensure the side and header brackets stay well-aligned while securing the screws.
|
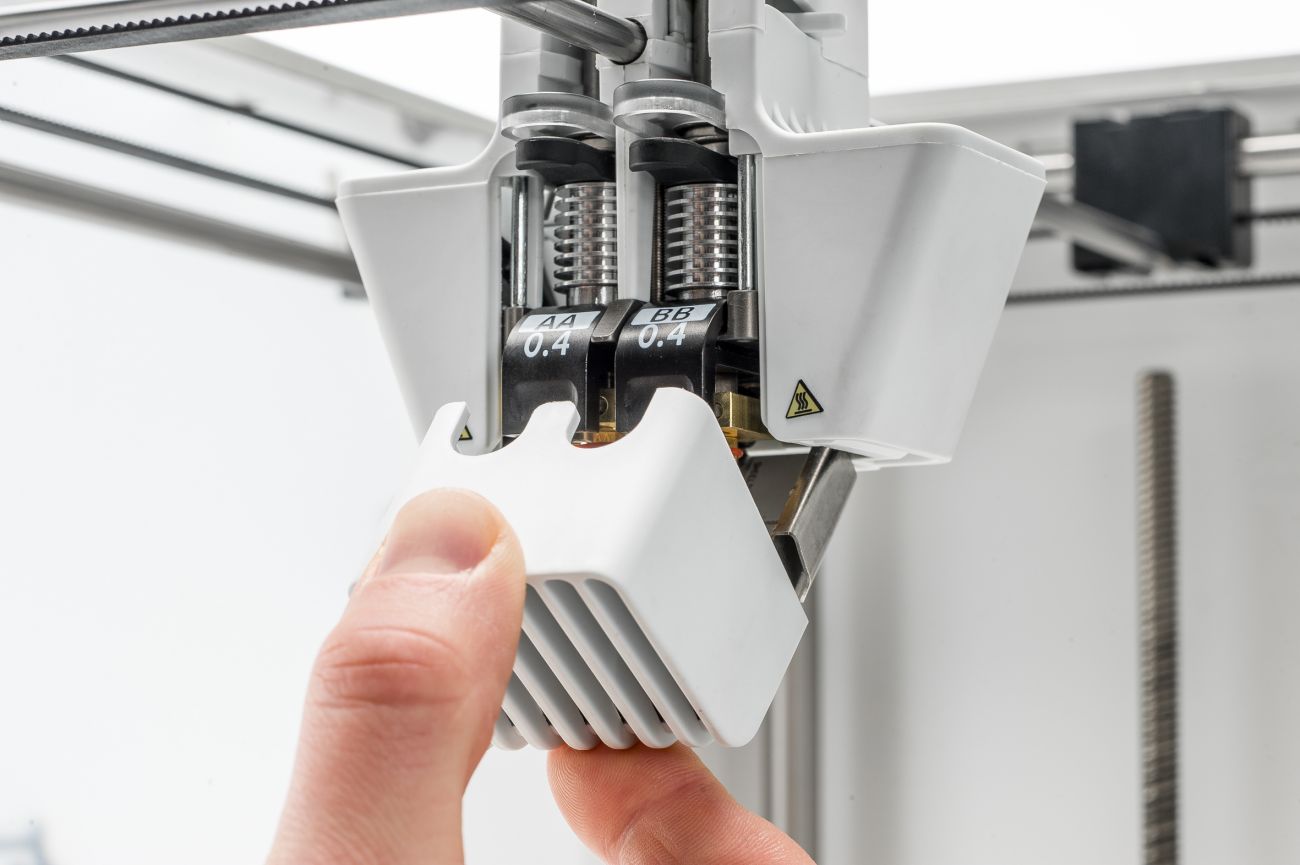
8. Close front fan bracket
Finally, close the front fan bracket again. Check if it can still be closed easily and it remains firmly closed. If not, check the wires on the inside of the print head; you may have to improve the wire positions.
|
Download PDF version
UltiMaker 3 repair manual - Radial fans


