Product notification
This product has been discontinued, and its end-of-service date has passed. While it is no longer supported, the information on this page remains available for your reference.
|
The clamp clips lock each Bowden tube in place. Without the clamp clips, the tube coupling collets, which hold Bowden tubes, can move up and down during printing, especially when retracting. This can negatively impact print quality.
If the clamp clip breaks or gets lost, you need to replace it. The following steps describe how to correctly install the clamp clip. These instructions are the same for the clamp clips at the print head and the feeder.
Caution: Before you start, turn off the printer or ensure the UltiMaker 3 cannot accept new print jobs through the Digital Factory.
Requirements and info
| Part(s) | 1 - 4× 2137* - Clamp clip |
|---|
| Tool(s) | None required |
|---|
| Time | 1 - 3 minutes |
|---|
| Difficulty level | 1 - Easy |
|---|
Note: Although the UltiMaker 3 is discontinued and the availability of spare parts is not guaranteed, these clips are also used in S series printers. The clips are included in the Bowden pack, which has part number 80-226572 and contains a Bowden tube, two tube coupling collets, a white clip (for the print head side), and a black clip (for the feeder side).
Disassembly
 |  |
|
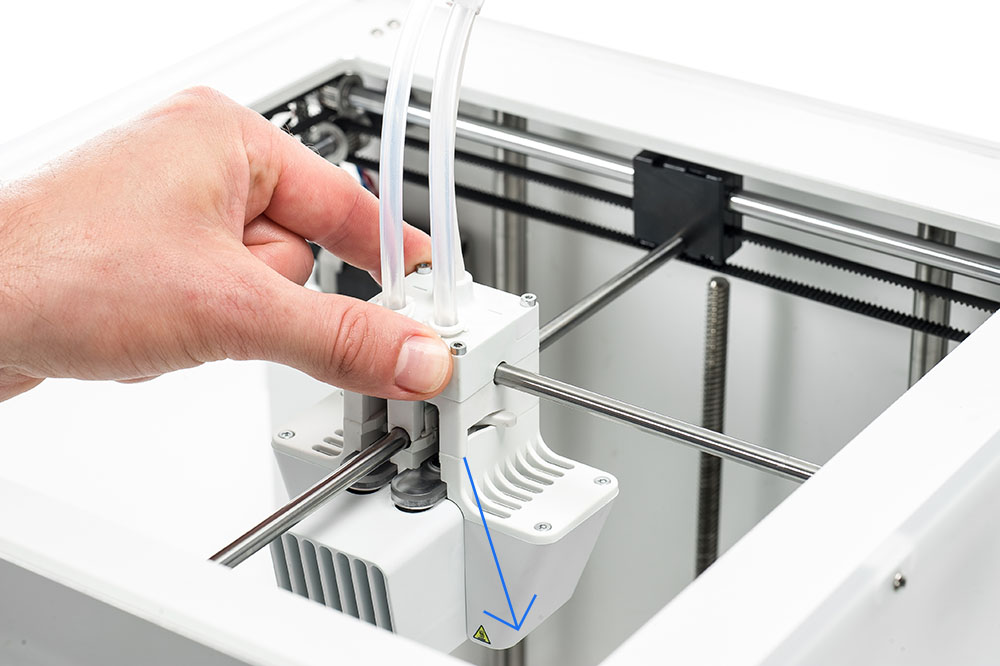
1. Move the print head
Manually place the print head in the front-right corner.
Tip: This is only for easier access to the print head clamp clip. Not required when replacing the feeder's clamp clip.
|
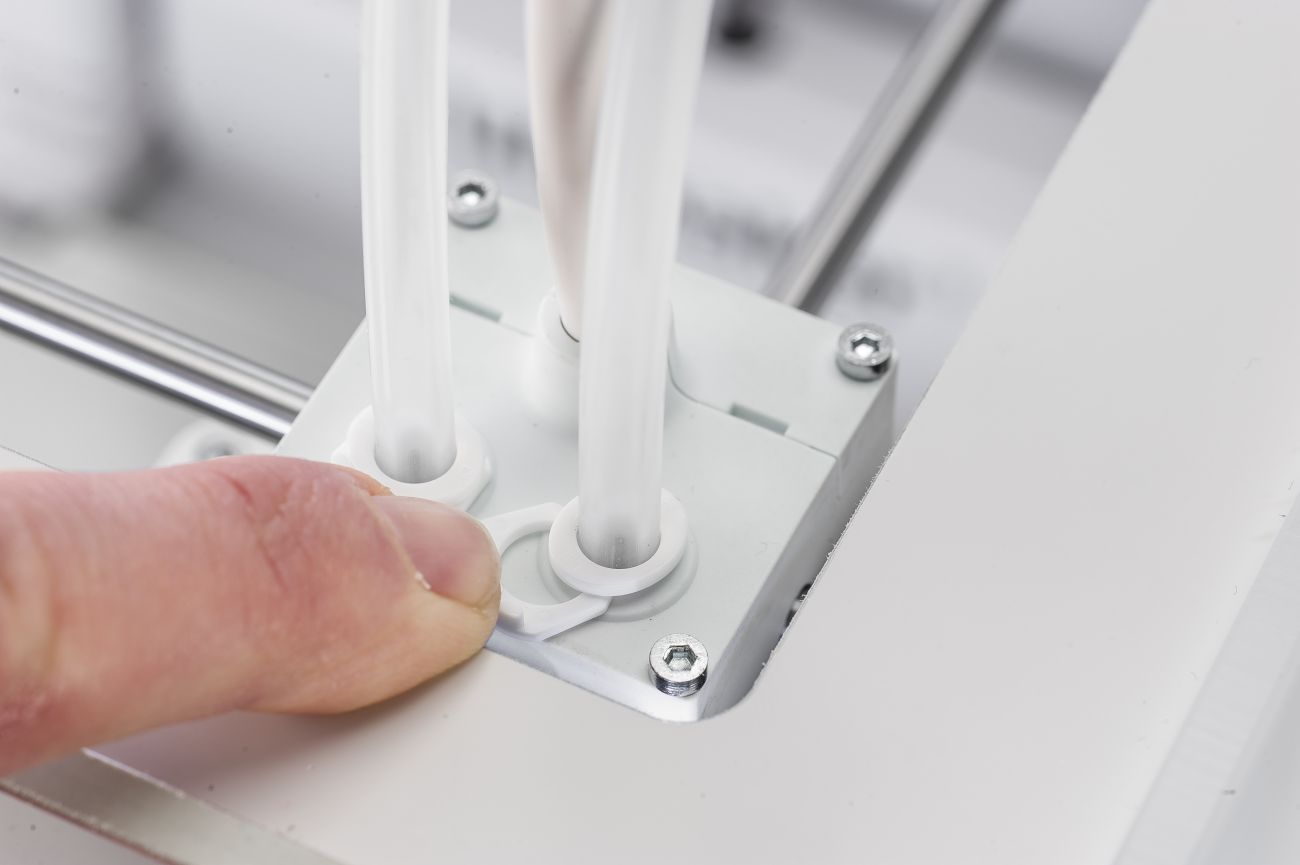
2. Remove the clip
Use your fingernail to remove the old clamp clip from the print head or feeder.
|
Reassembly
 |  |
|
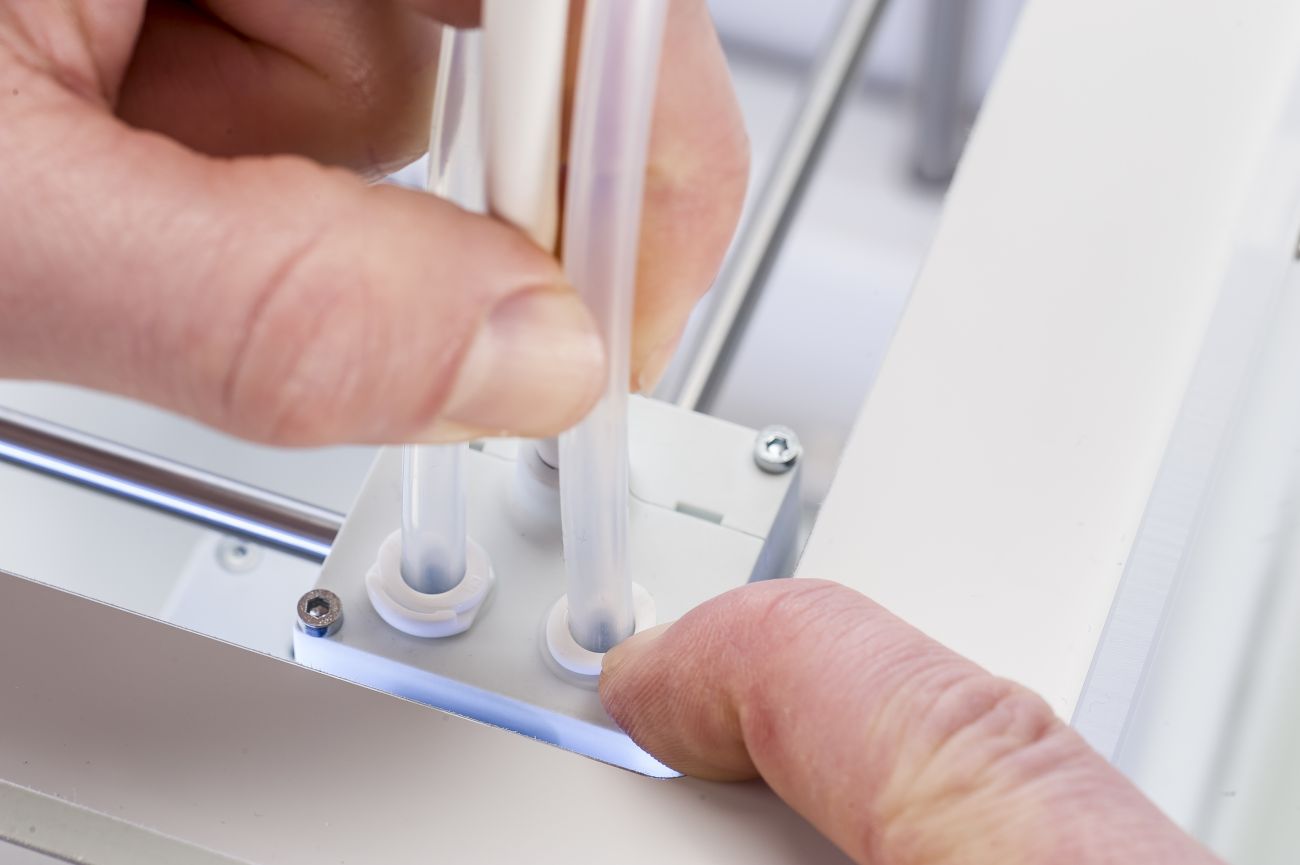
1. Insert the Bowden tube
Make sure the Bowden tube is still fully inserted into the tube coupling collet. Firmly push the tube into the feeder or print head, while keeping the tube coupling collet down.
|
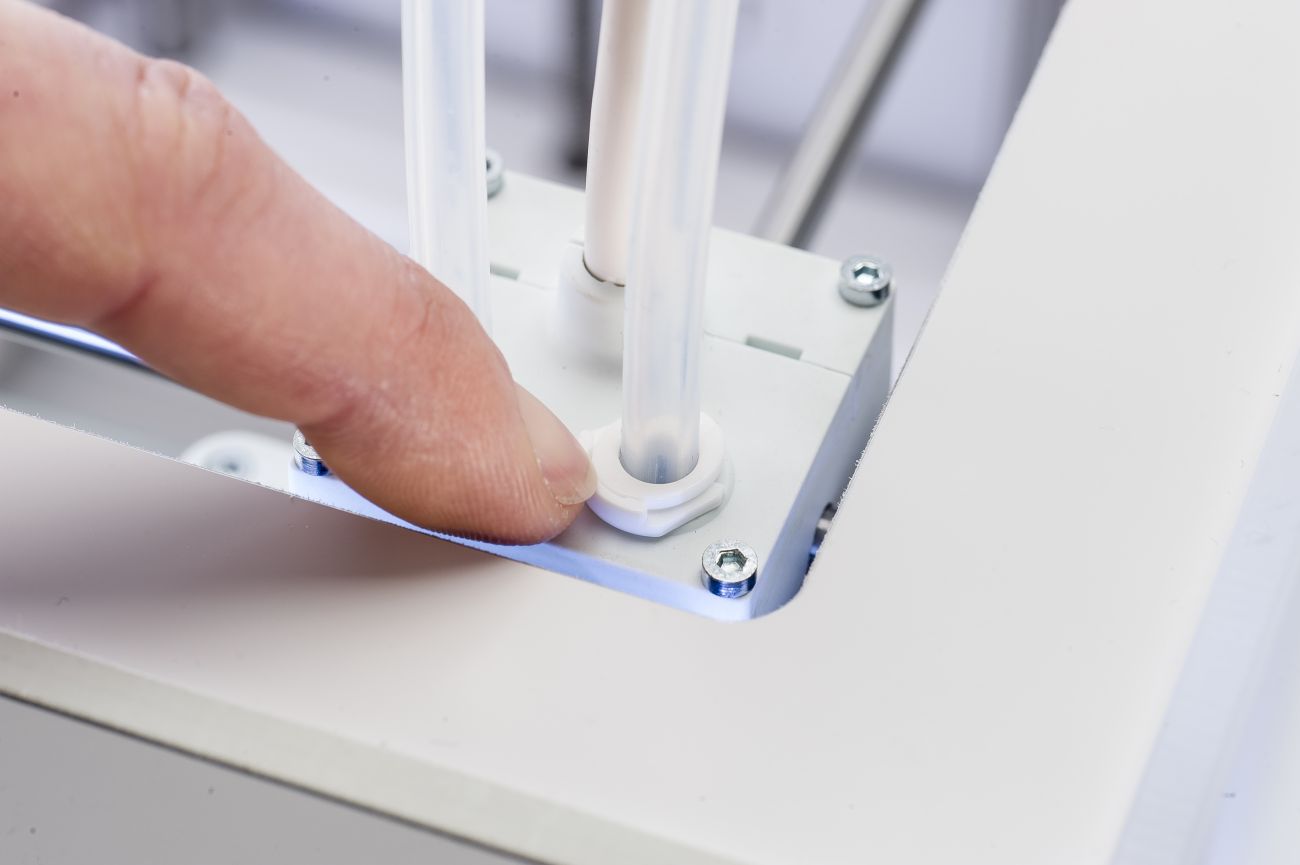
2. Place the new clip
Keep the Bowden tube in position and place the new clamp clip around the tube coupling collet to lock the Bowden tube in place.
|
Download this guide as PDF
UltiMaker 3 repair manual - Clamp clip


