The information in this article applies to UltiMaker 3D printers with a Bowden tube extruder system. This includes the S series, 2+ Connect, 3, 2, and Original series. The Method, Sketch, and Replicator use direct drive extruders, and the troubleshooting information in this article is not relevant for those printers.
Grinding is when the knurled wheel of the feeder flattens and digs into the material instead of forwarding it reliably. This will lead to extrusion issues and tends to get worse if left unattended. The material particles can end up in the Bowden tube(s) or hot end, which can continue to cause extrusion problems even after removing the damaged material from the printer.
If you notice or suspect grinding problems, stop the print, unload the material, and clean the printer before continuing to print. Follow the tips on this page to resolve the grinding issues and learn how to prevent this in the future.
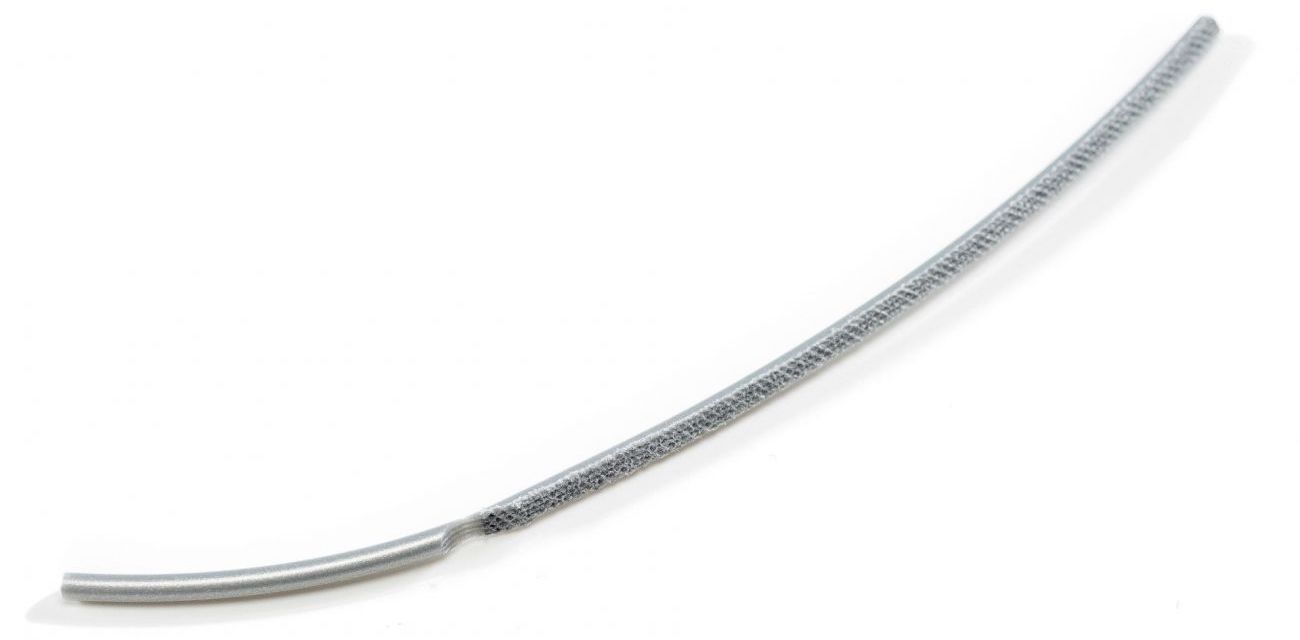
Removing the filament
First, remove the material that has been ground down by the feeder. Unload the filament following the standard procedure on your UltiMaker 3D printer:
- UltiMaker S series: In the Configuration menu, select the affected material and choose Unload. Alternatively, heat up the print core, lift up the feeder lever, and manually pull out the filament.
Note: On the UltiMaker S3, S5, and S7 grinding is less likely to occur thanks to the flow sensor in the feeder. If extrusion problems are detected, the print will automatically be paused. If the flow sensors are disabled, grinding can still occur and will not be prevented.
- UltiMaker 3 (Extended): Go to Material/PrintCore, select Material 1 or Material 2, then Unload.
- UltiMaker 2(+) series: Go to Material → Change in the printer menu. The material will be rewound.
- UltiMaker 2+ Connect: Select the Material icon, then Unload material. Wait for the nozzle to heat up, open the feeder lever, and pull out the material.
- Ultimaker Original(+): Go to Control → Temperature &rarr Nozzle, then set the temperature. Open the feeder and remove the filament manually.
The filament may not completely rewind, due to the ground part in the feeder. To resolve this issue, gently pull on the filament when removing it. This will allow you to put extra force on it and will help the knurled wheel of the feeder get a grip on the material again. With the UltiMaker 3 and UltiMaker 2+ printers, you can also release feeder tension by lifting the lever at the side of the feeder, which allows you to manually pull out the material.
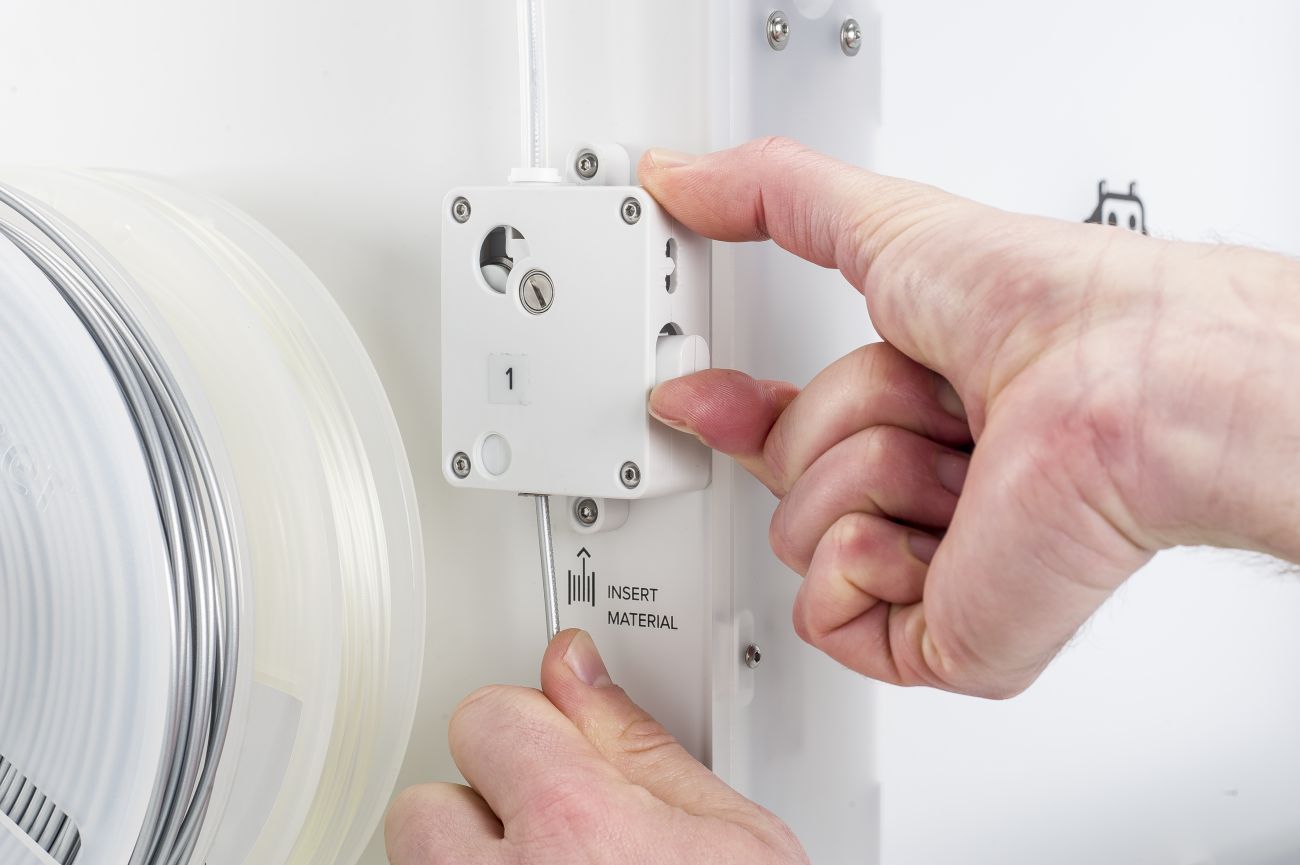
If the material breaks during removal or is impossible to extract, additional action is required:
- Cut the filament under the feeder, so that just a small piece remains.
- Remove the feeder clamp clip.
- Loosen the Bowden tube by pressing on the tube coupling collet and pulling the Bowden tube out.
- Pull the piece of the filament (sticking out at the bottom side of the feeder) from the top side of the feeder. Remove any small pieces of filament left in the feeder with tweezers.
- Now you should be able to remove the filament from the Bowden tube. Ensure the nozzle is heated whilst the material is still in the hot end.
Cleaning the feeder
After removing the damaged material, clean the feeder to prevent issues during the next print job. Filament particles left in the feeder can prevent a reliable grip on the material, and travel up into the Bowden tube and hot end. The instructions for cleaning the feeder depend on your UltiMaker 3D printer model:
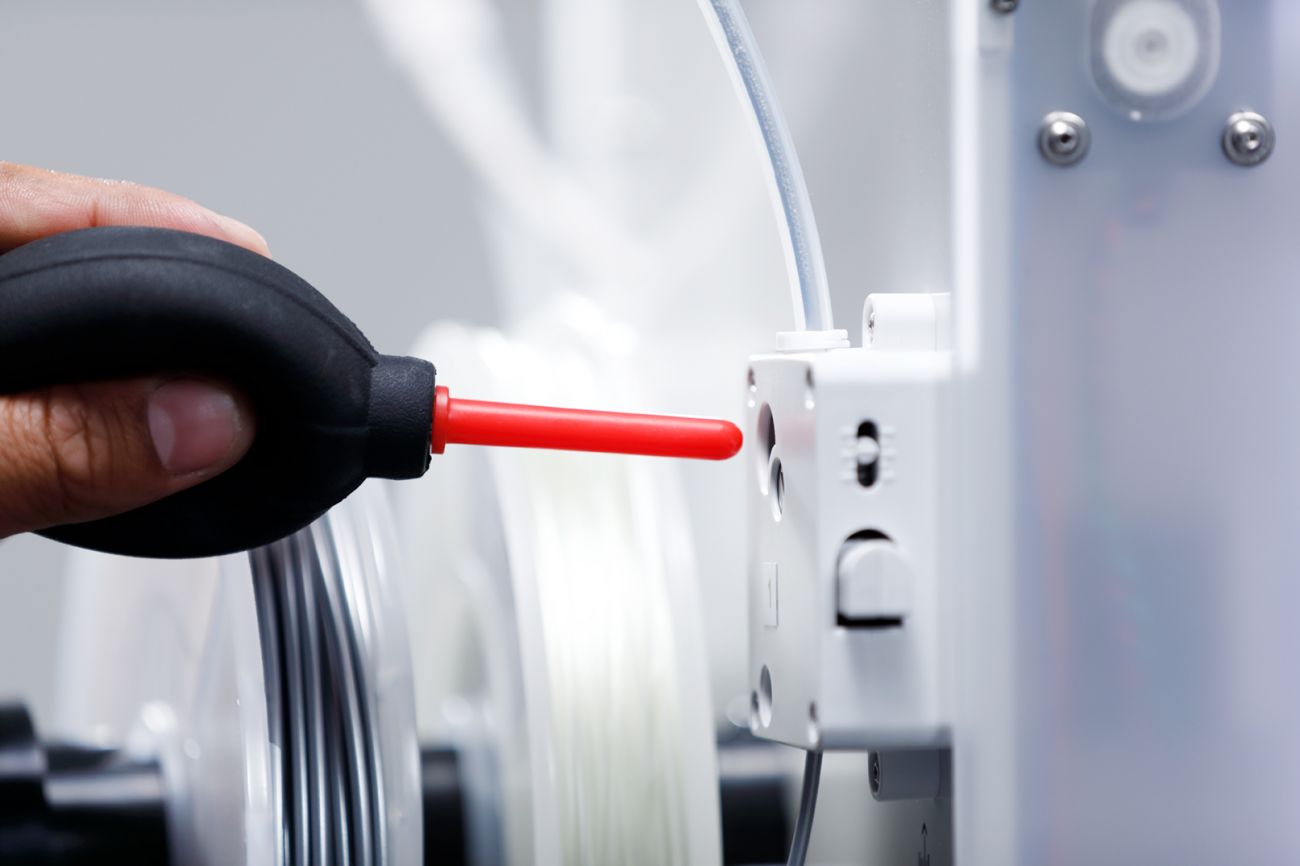
Note: If there are any small particles in the Bowden tube, this must be cleaned too. To learn how to properly clean the Bowden tube, visit this page.
Cleaning the nozzle or print core
When you have experienced grinding problems, it is recommended to clean the nozzle or print core for several reasons:
- A blockage in the hot end may have caused the grinding issues in the first place.
- Ground material particles may have been pushed into the hot end, causing color or material mixing in the next print job.
- If material has not been extruding properly due to grinding, the material may now have degraded inside the hot end, causing a blockage.
Cleaning the inside of the nozzle or print core can be done using the hot and cold pull method. This is a quick, simple, and efficient way of removing any particles or degraded material without disassembling the print head. Learn more about cleaning the nozzle or print cores on this page: How to perform a hot and cold pull.
Checking the feeder tension
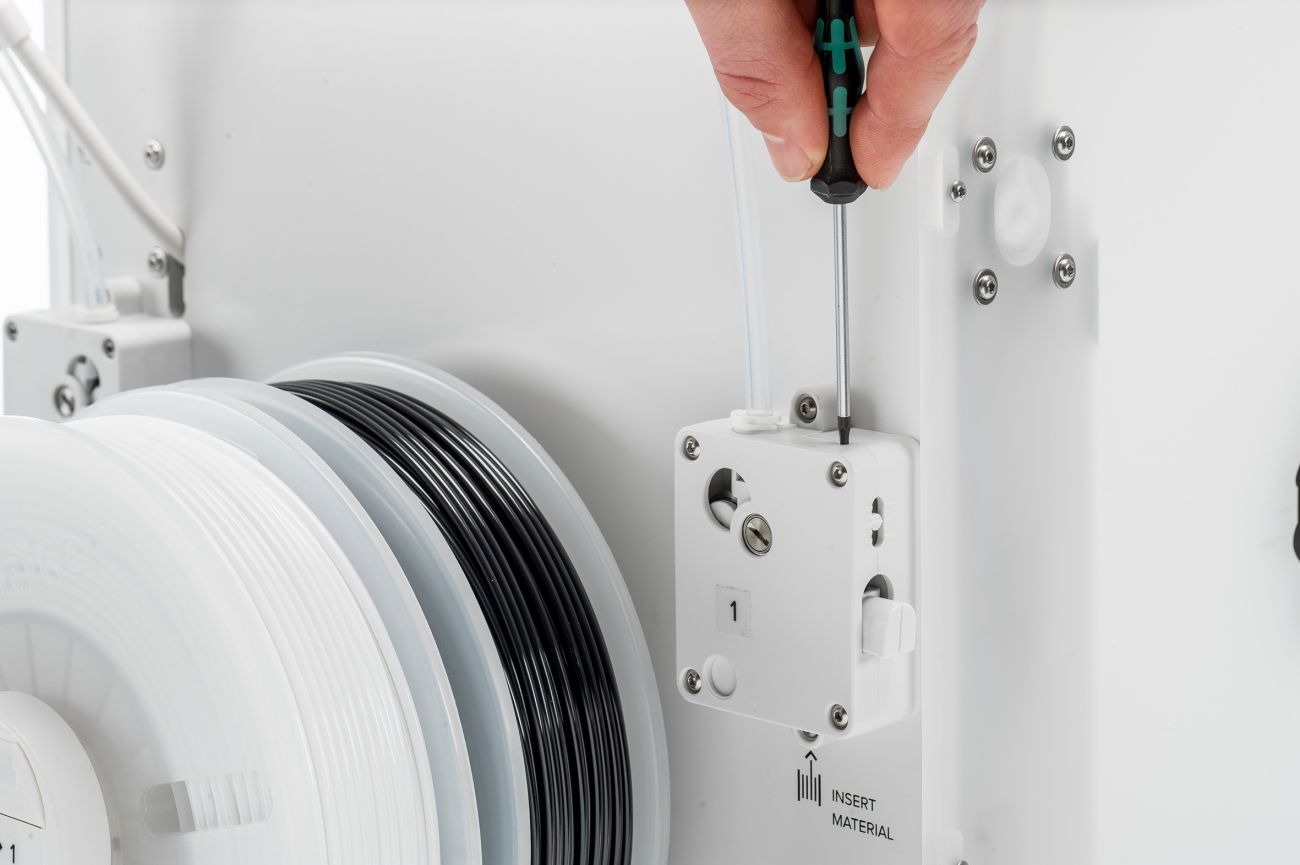
A possible cause of grinding is incorrect feeder tension. All UltiMaker 3D printers have a feeder that works with a spring mechanism to put tension on the filament. If the feeder tension is too low, the material can slip inside the feeder, but if the tension is too high, the knurled wheel can flatten the filament and cause grinding.
On the UltiMaker 2 series, the feeder tension is usually set to its loosest setting (with the indicator all the way at the top). On all other UltiMaker 3D printers, the feeder tension is in the middle. Adjust the feeder tension by turning the bolt in the top of the feeder. Move the indicator up for a low feeder tension, and down for a higher feeder tension.
Tip: Learn more about the feeder tension in this article: Feeder tension and how to adjust
Checking the material
Especially when using materials that easily absorb moisture (e.g. PVA), it is important to check the filament before printing. If a material like PVA absorbs too much moisture it will become soft, malleable, and, in some cases, even sticky. This may prevent the printer from forwarding the material, which can lead to feeder grinding. If this occurs, replace the material with a new, correctly stored spool to resolve the problem. You can also try drying the material to improve the quality. Learn more about drying UltiMaker PVA and other UltiMaker materials.
Tip: To prevent issues with material degradation, always ensure your materials are stored properly when not in use.
Need further support?
If you have any questions about the troubleshooting advice on this page, or if you are experiencing persistent grinding issues, please contact support or your local reseller for further assistance. List your printer model, clearly explain the issues you observe, and include relevant information such as videos, log files, and error messages (if applicable).


