Fine strands of filament or small particles of material in the Bowden tube cause friction and will eventually lead to under-extrusion and failure to print properly. Follow this guide to properly clean the Bowden tubes.
Tip: The information in this article applies to the UltiMaker Original(+), 2(+), 3, and S series printers. The images show the UltiMaker 2+, but the instructions for all listed models are similar.
Note: The instructions to clean the Factor 4 Bowden tubes are quite different, as this requires access to the back compartment. Due to the direct drive system, it is not as likely that material particles end up in the Bowden tubes; cleaning the Factor 4 tubes should not be necessary as frequently.
Preparation
Tip: When disconnecting a Bowden tube that is secured to the print head cable, you do not have to unclip it from the cable. This helps to keep the tube in place during cleaning and ensures that it will be reinstalled in the same orientation.
- First, unload the material from the printer. Most printer models have a guided procedure for this in the Materials menu. Consult your user manual or navigate to the support section for your printer type for more information on how to unload material.
- Remove the clamp clips from both sides of the Bowden tube. One is on the print head and the other is on the feeder.
- Press down on the tube coupling collet while pulling the Bowden tube upward, out of the print head and out of the feeder.
Cleaning
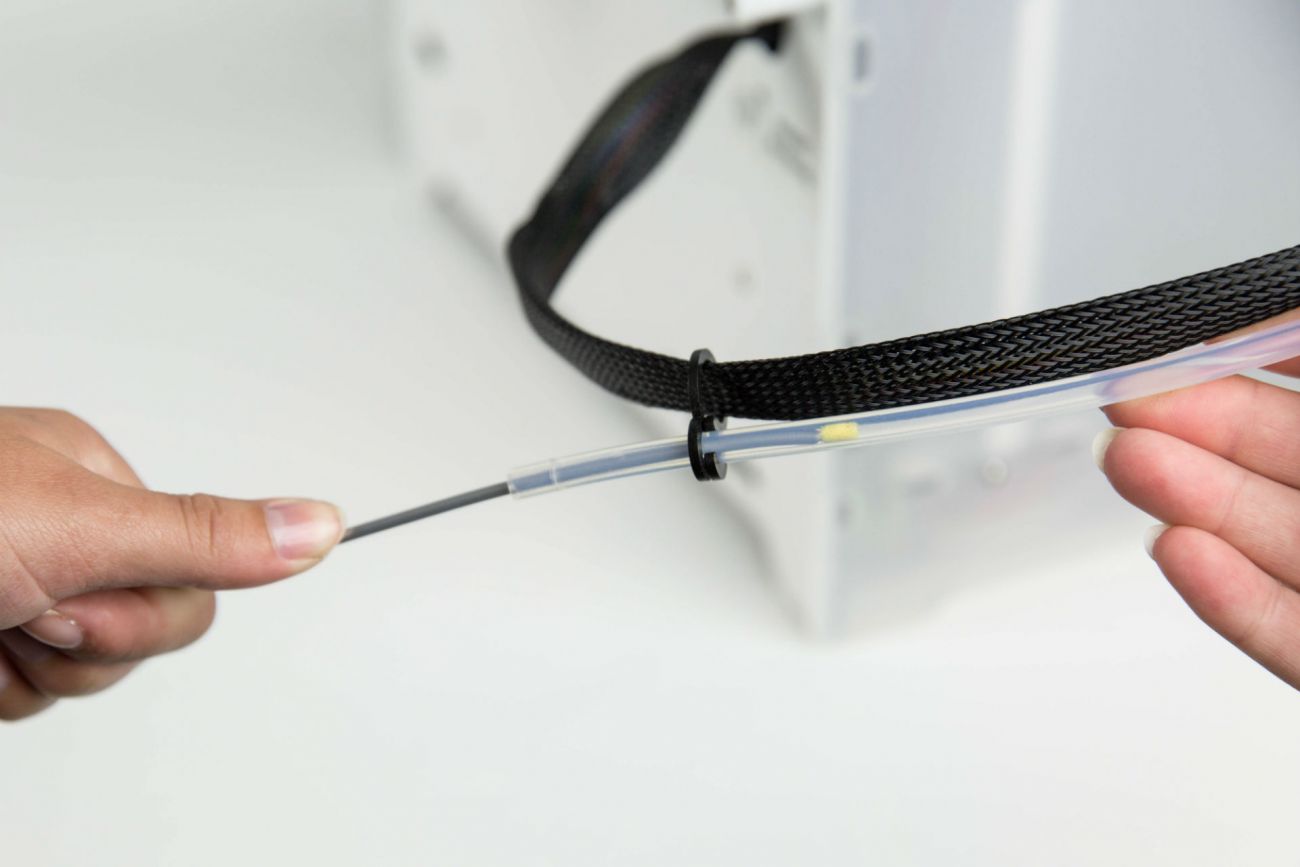
Use a bit of filament to push a small piece of sponge or paper through the Bowden tube to push the small particles out. Make sure that the particles from the tube do not fall into the printer. Repeat until the Bowden tube is clean.
Tip: To clean the tube most efficiently, make sure the sponge or ball of tissue is a tight fit inside the Bowden tube. Note that if it is too big, it will be difficult to push through.
Reinstallation
- Before reinstalling the Bowden tube, take a look at the two sides of the tube. (At least) one side is chamfered. The chamfer ensures an easier entry of the material into the feeder. If both sides are chamfered, the orientation of the tube does not matter.
- Insert the chamfered end into the tube coupling collet of the feeder. Secure the tube with a clamp clip.
- Insert the other side of the tube into the print head. Ensure it is fully inserted before securing the tube with a clamp clip.
Tip: The clamp clips may have different colors (blue, white, or black). If all your clamp clips have the same color, it does not matter which clip is installed where. If you have white and black clamp clips, place the white clip on the print head and the black clip on the feeder. The black clip is slightly thicker and provides a more secure grip.
Finished! You can now reload your material(s) and continue printing.
Related articles:


