The information in this article applies to UltiMaker S series printers, including the UltiMaker S3, S5, and S7. If the UltiMaker S5 or S7 is used in combination with a Material Station, additional instructions are highlighted with a Material Station icon.
The feeders forward filament to the print head. To make sure that exactly the right amount of material is extruded, it is important that the feeder gears can turn smoothly.
After many hours of printing, or when the material has been ground down, there is a chance that there are small filament particles in the feeders. It is recommended to clean the inside of the feeders after three months. In order to do this, the feeders must be opened up.
Instructions
Caution: Before you start, turn off the printer or ensure it is disabled in the UltiMaker Digital Factory to prevent new print jobs from starting remotely.
 |
For the UltiMaker S5 or UltiMaker S7 in combination with the Material Station, only start this maintenance action when all materials have retracted to the Material Station. Disconnect the Bowden tube from the bottom of the feeder before starting and reinsert it after reassembling the feeder.
|
The following steps need to be performed for both feeder 1 and feeder 2.
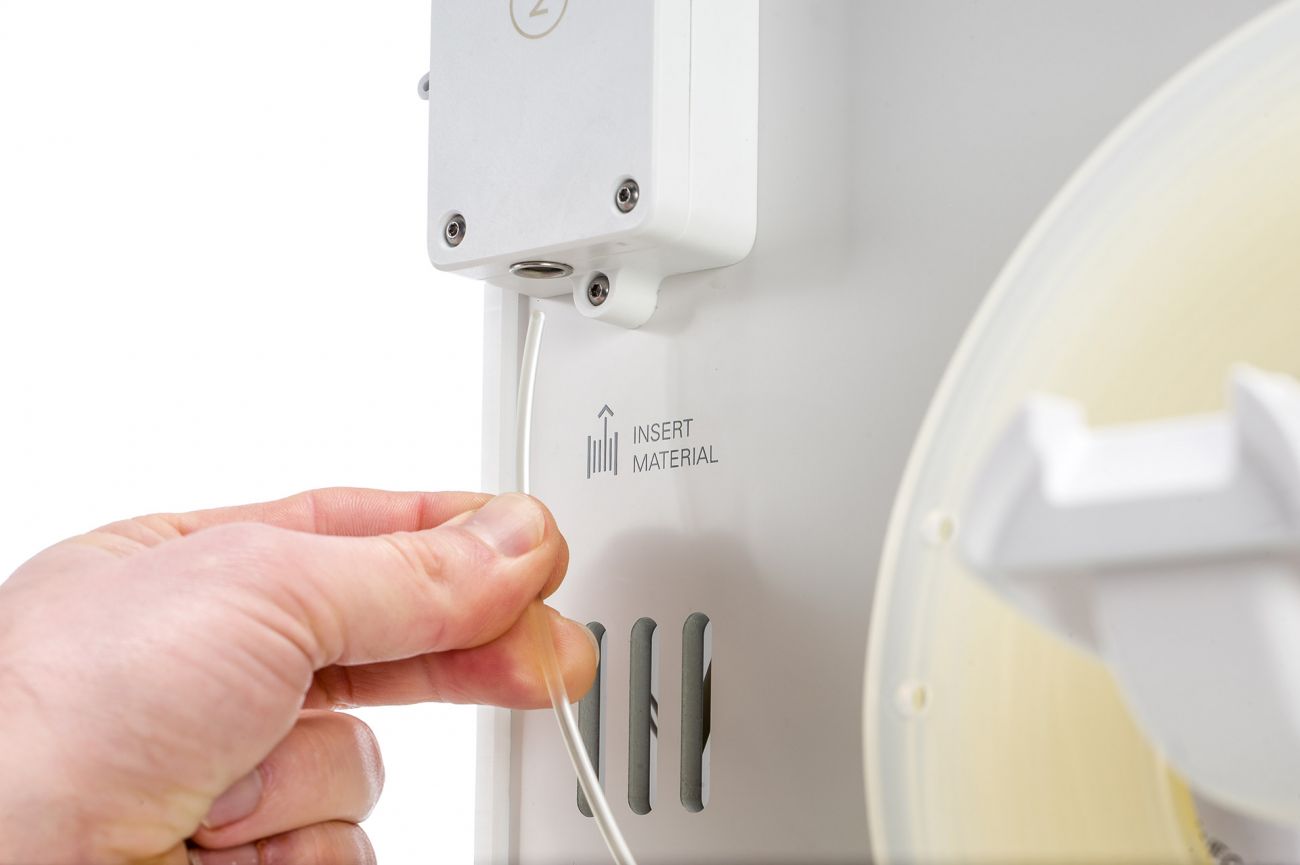 |  |
1. Unload material
In the Configuration menu, select Unload for both materials. Take the filament out of the feeders. You can, but do not have to, remove the spools from the spool holder. Next, turn off the printer. | 2. Reduce feeder tension
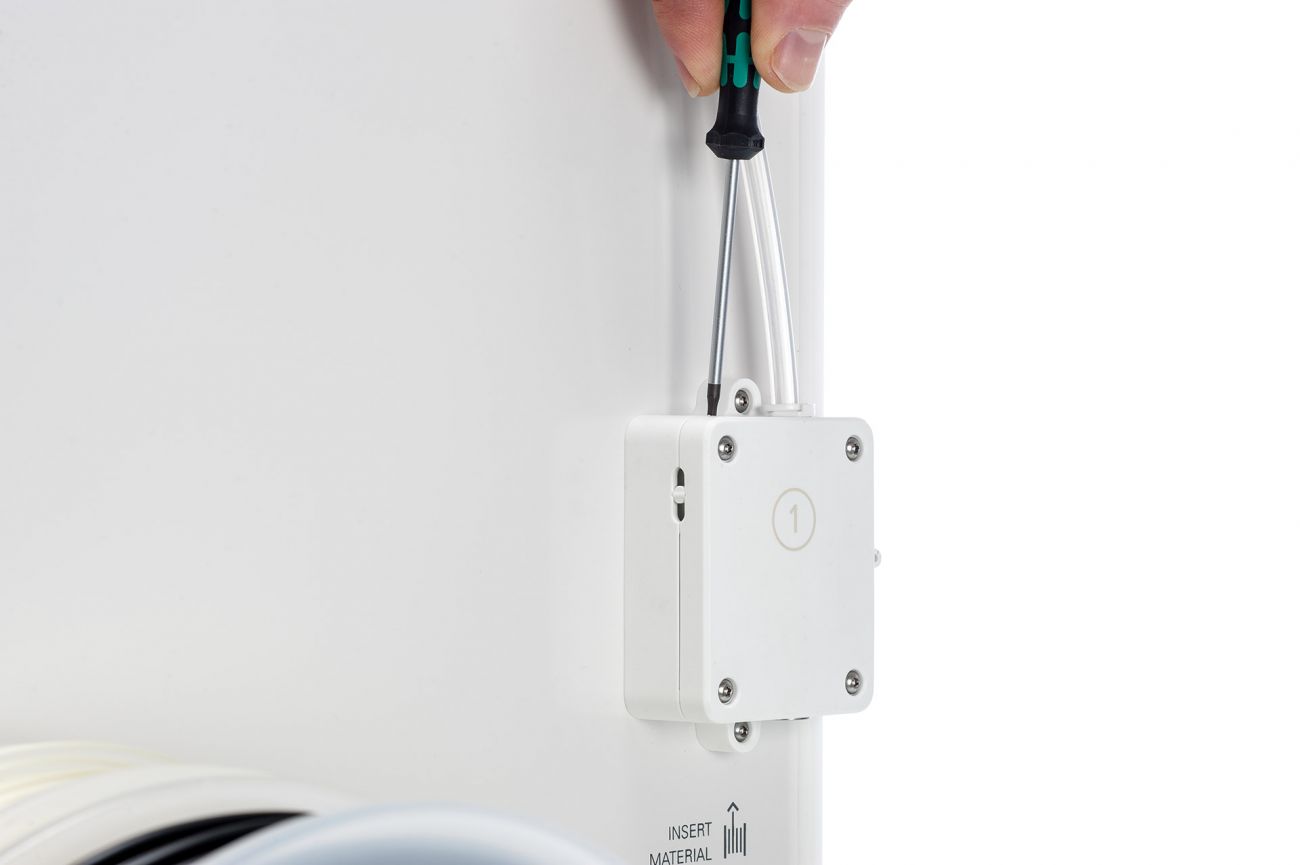
Reduce the tension of the feeder by turning the bolt in the top of the feeder with the hex screwdriver, until the indicator is completely at the top. |
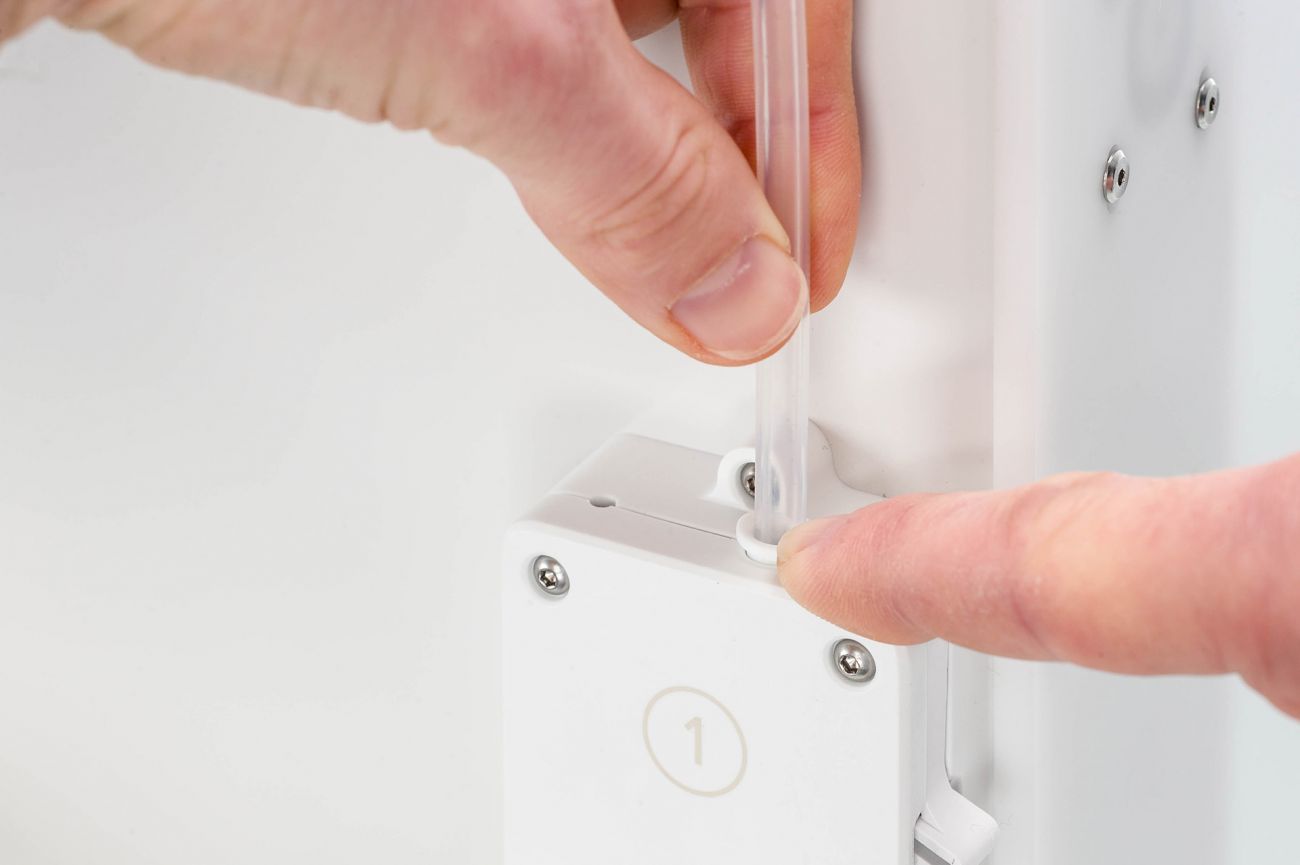 |  |
3. Remove Bowden tube and collet
Remove the clamp clip from the feeder-end of the Bowden tube, press down on the tube coupling collet and pull the Bowden tube upwards out of the feeder. Next, remove the tube coupling collet too. | 4. Open feeder
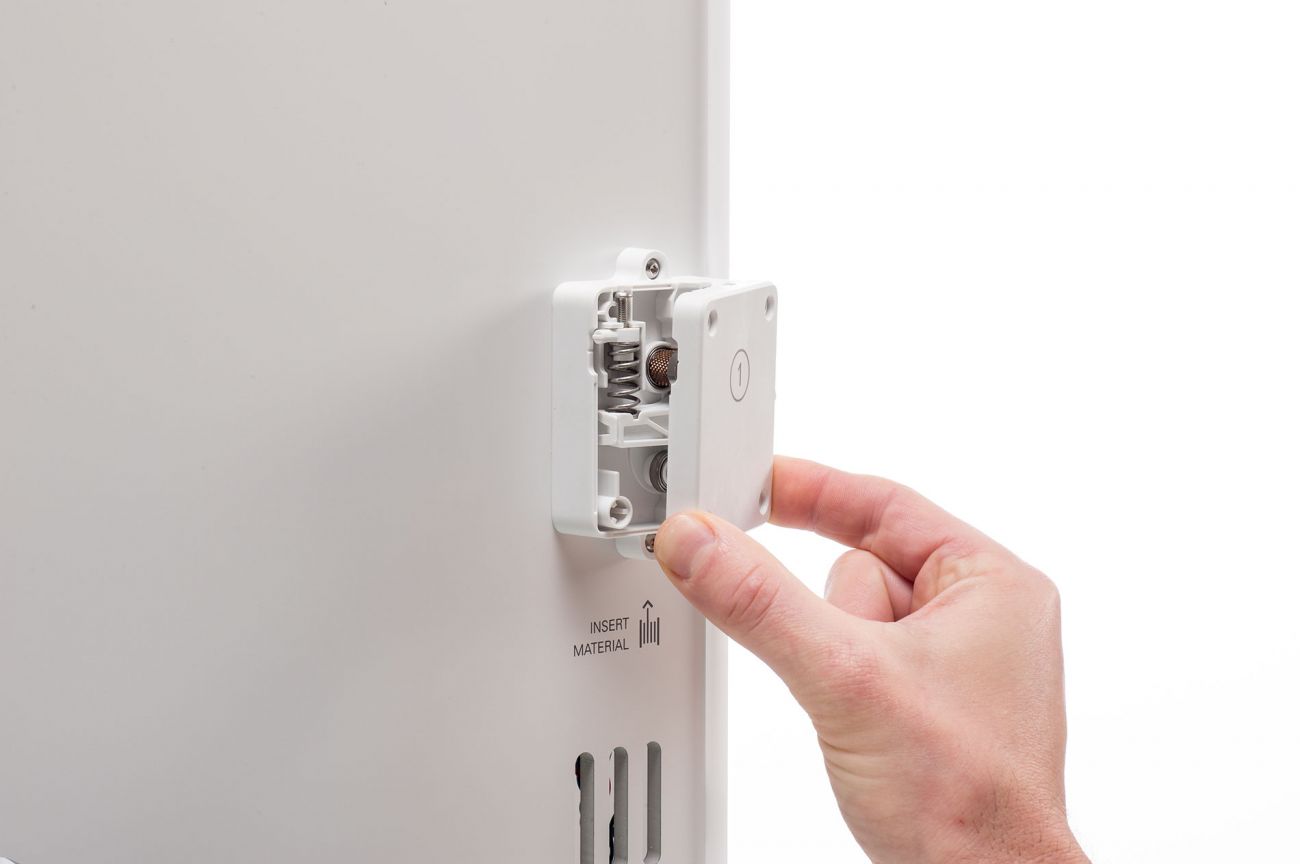
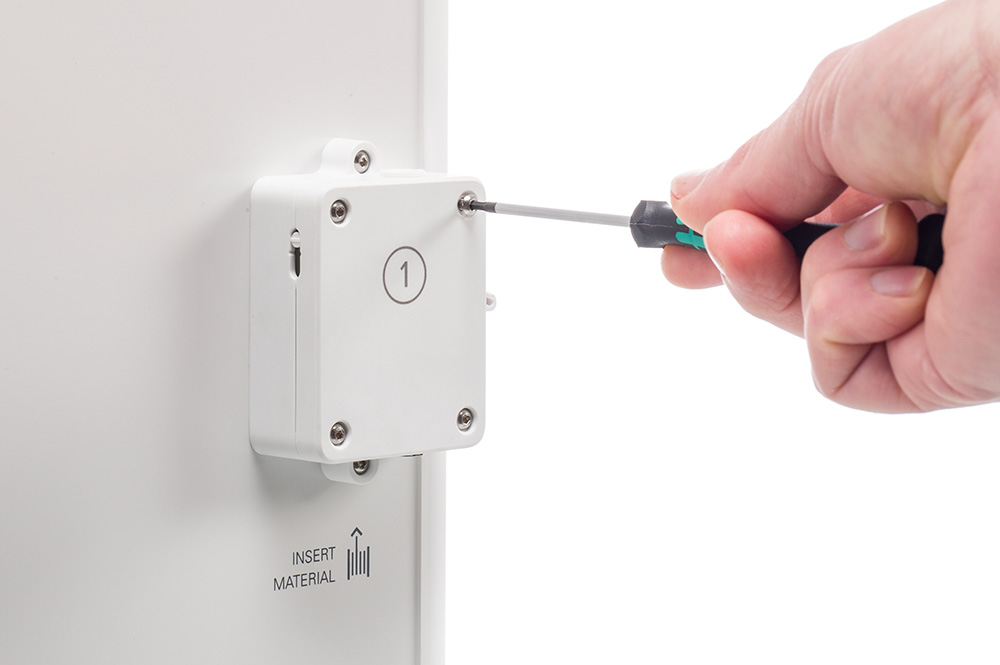
Use the hex screwdriver to loosen the four bolts of the feeder housing. Carefully pull the front part of the feeder away from the printer and put it aside. |
 |
|
5. Clean the feeder
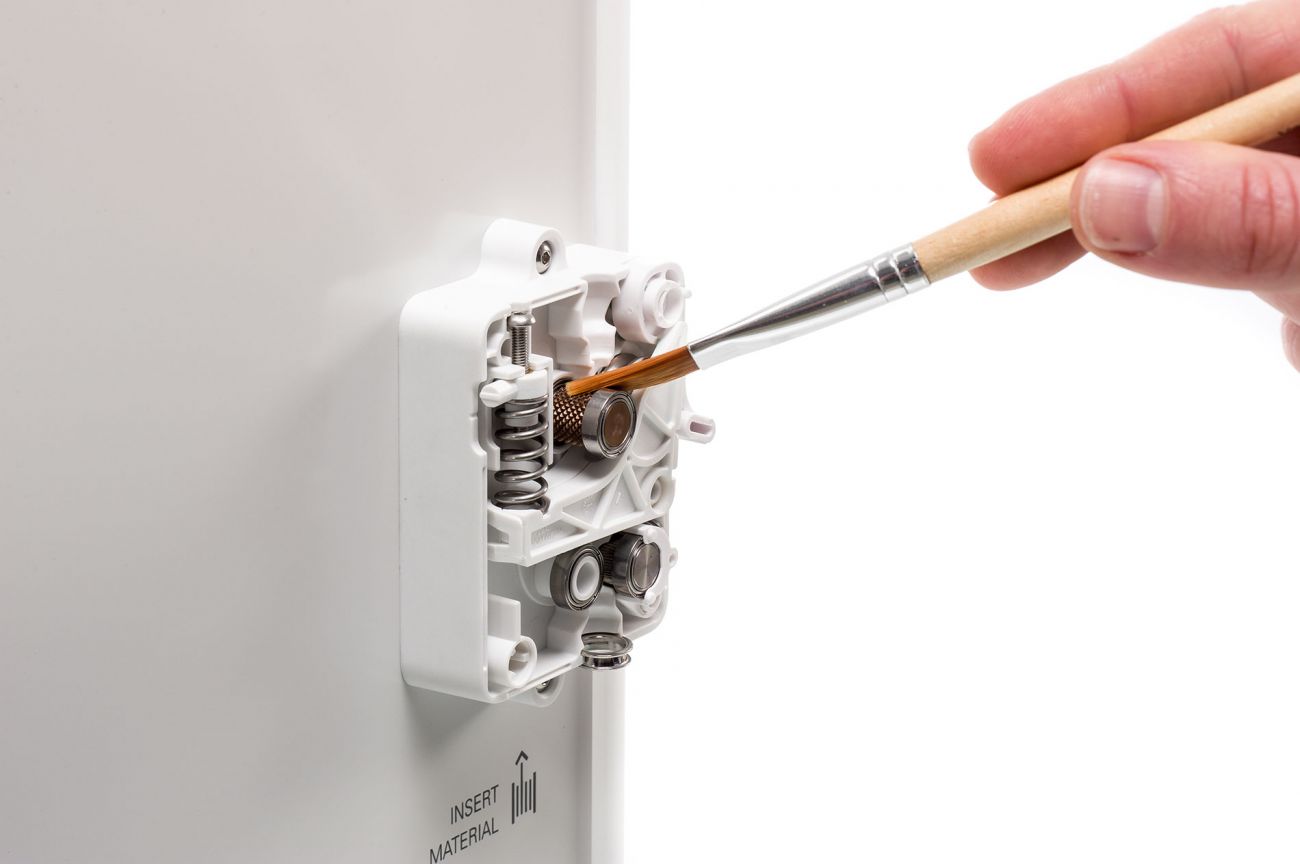
Use a small brush to gently clean all filament particles from the knurled wheel, the flow sensor axis, and the inside of the feeder housing. | 6. Reassemble the feeder
Place the front part over the feeder again and firmly push it into place. Insert the four bolts and tighten them in a cross pattern, starting in the top-left corner. |
|
Tip: While cleaning the feeder, take note of the pattern on the knurled wheel. This may be relevant if the feeder ever needs to be replaced. See this page for more information.
|
Tip: Ensure that all feeder parts are still in place. If the feeder ring at the bottom came out, place it back with the widest side at the bottom. Ensure that the top of the tension indicator bolt is inside the feeder housing.
|
 |
|
7. Insert collet and Bowden tube
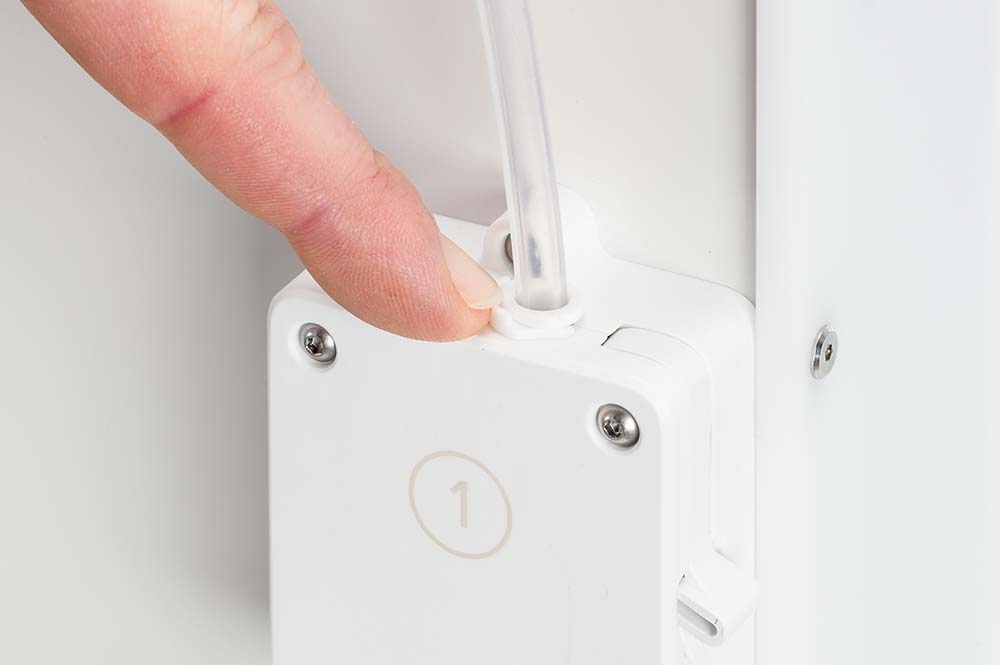
Place the tube coupling collet back into the feeder, then push in the Bowden tube. Secure it with the clamp clip. | 8. Reset feeder tension
Reset the tension of the feeder by turning the bolt in the top of the feeder, until the indicator is at the middle mark (or the correct tension setting for your material). |
|
For the UltiMaker S5 or UltiMaker S7 in combination with the Material Station, reinsert the Bowden tube into the tube coupling collet at the bottom of the feeder after reassembling.
|
Note: Before reloading your materials, check if other maintenance actions are also required, such as cleaning the Bowden tubes (once a month) or lubricating the feeder gear (once a year). Work efficiently by combining the maintenance actions.


