Product notification
This product has been discontinued, and its end-of-service date has passed. While it is no longer supported, the information on this page remains available for your reference.
|
This article applies to the UltiMaker 2+ and 2 Extended+. The feeders of the UltiMaker 2, 2 Extended, and 2 Go are different. The feeders for the UltiMaker 3, 2+ Connect, and S series look similar, but the instructions might differ slightly. Please visit the article for your specific printer model for accurate instructions.
The feeder forwards filament to the print head. To make sure that exactly the right amount of material is extruded, it is important that the feeder gears can turn smoothly.
After many hours of printing or when the material has been ground down, there is a chance that there are small filament particles in the feeder. In addition to blowing out the particles once a month, it is recommended to also clean the inside of the feeder after one year of printing. In order to do this, the feeder has to be removed from the printer.
Preparation
Prepare the printer for maintenance by removing the material and the feeder. First, unload the material. In the Material menu, select Change and take the material out of the feeder. After this, turn off the printer.
Next, remove the feeder from the printer. Take the following steps:
- Remove the clamp clip from the top of the feeder housing.
- Press down on the white tube coupling collet while pulling the Bowden tube upwards.
- Reduce the tension of the feeder by turning the bolt in the top of the feeder, until the indicator is all the way at the top.
- Use the hex screwdriver to remove the two bolts that hold the feeder to the back panel.
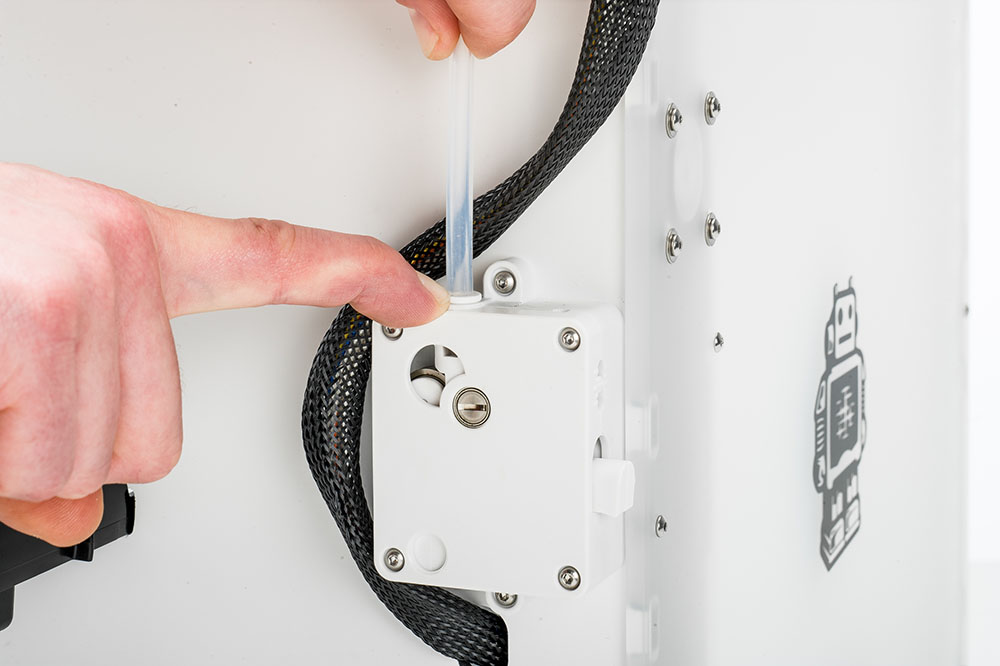 | 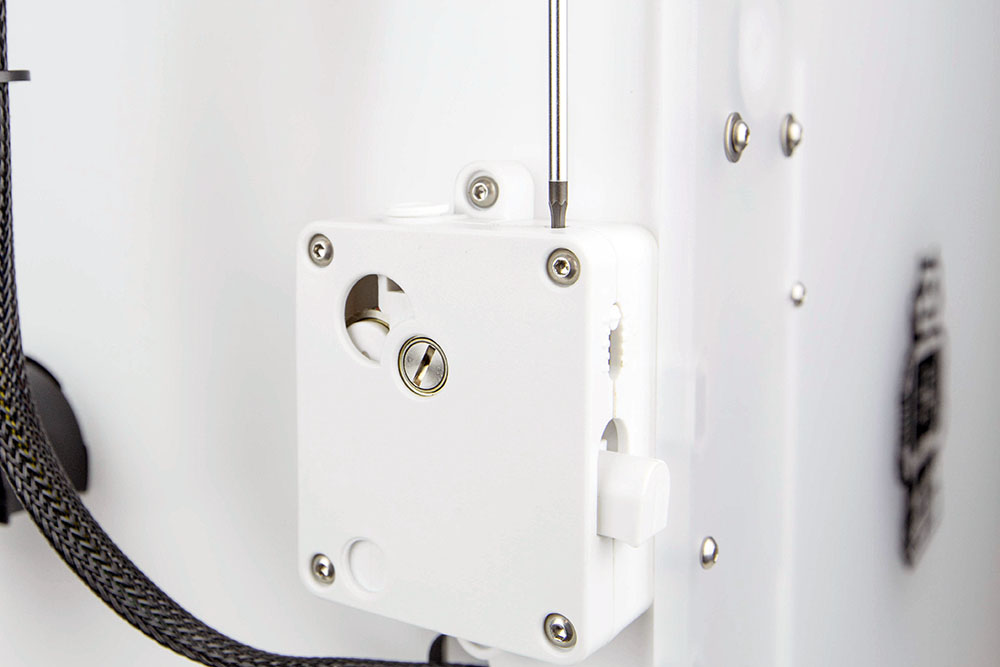 | 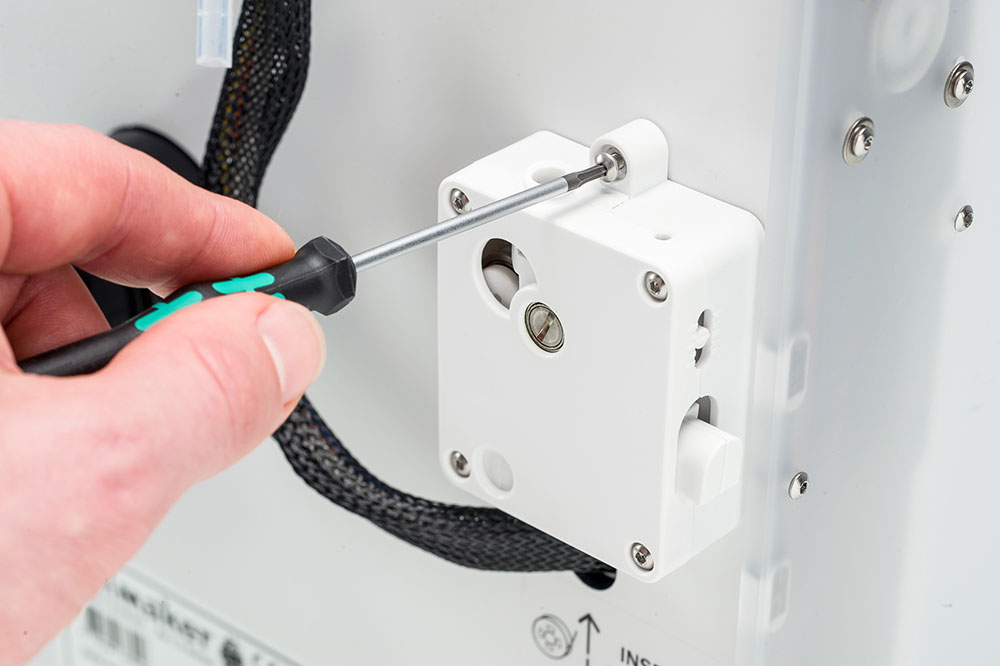 |
| Remove the Bowden tube | Reduce feeder tension | Remove the feeder |
Cleaning
To properly clean the feeder, you must take the two halves of the housing apart:
Use the hex screwdriver to remove the four bolts from the front of the feeder housing. Take the two halves of the feeder apart and place them in front of you. Be careful not to lose the bolts; place them somewhere safe or keep them in the front part of the feeder housing. Make sure that the feeder ring, lever, and tension spring remain in the back part of the feeder housing.
Use a clean cloth, brush, or cotton swab to wipe all filament particles from the feeder parts. Use a small brush to clean the knurled wheel.
Feeder gear
While the feeder is removed from the printer, it is also recommended to clean and relubricate the feeder gear. Use a clean cloth, tissue, or cotton swab to wipe all filament particles and grease residue from the feeder gears. Clean both the gear connected to the motor and the larger gear at the back of the feeder.
After cleaning, apply a small amount of grease to the gear attached to the feeder motor. There is no need to spread this out; the feeder will do this automatically when it turns.
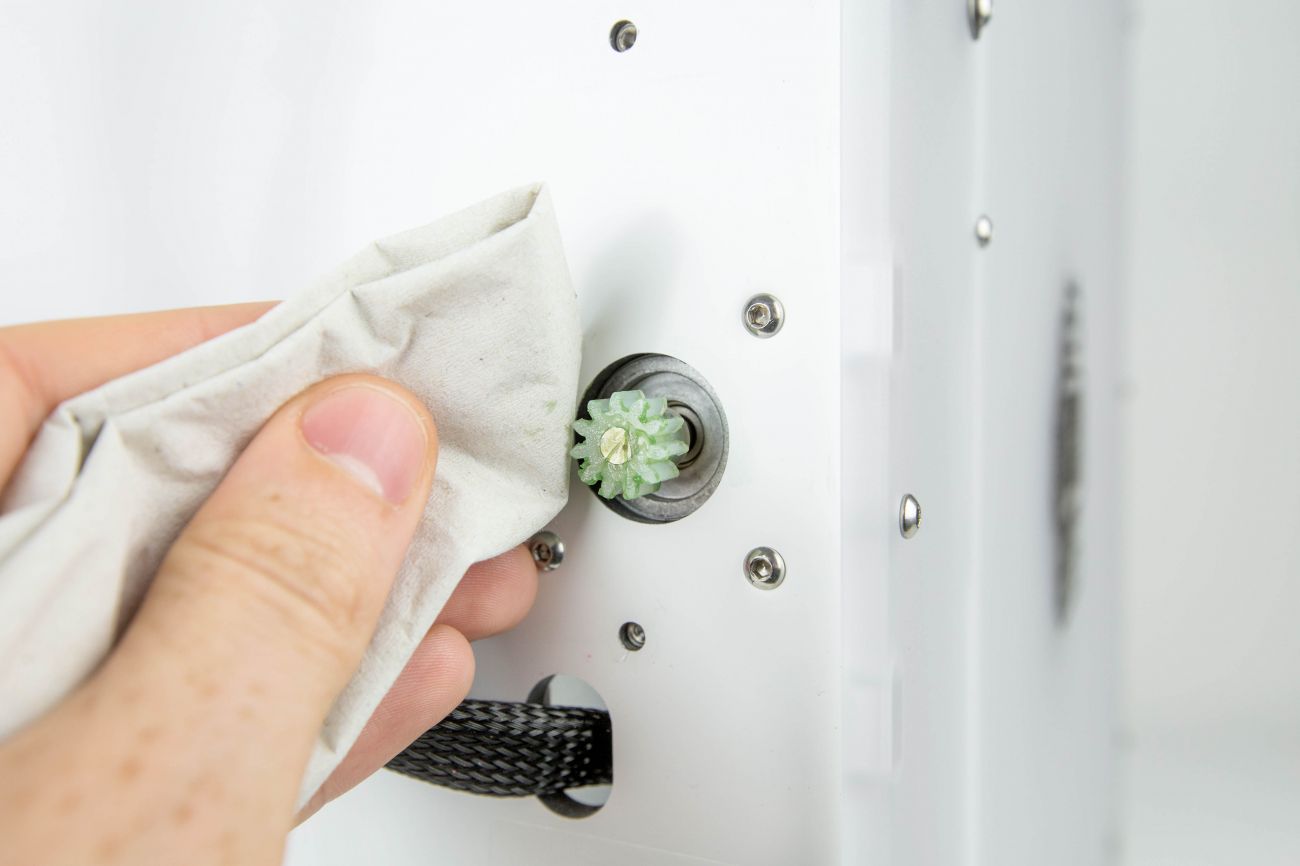 | 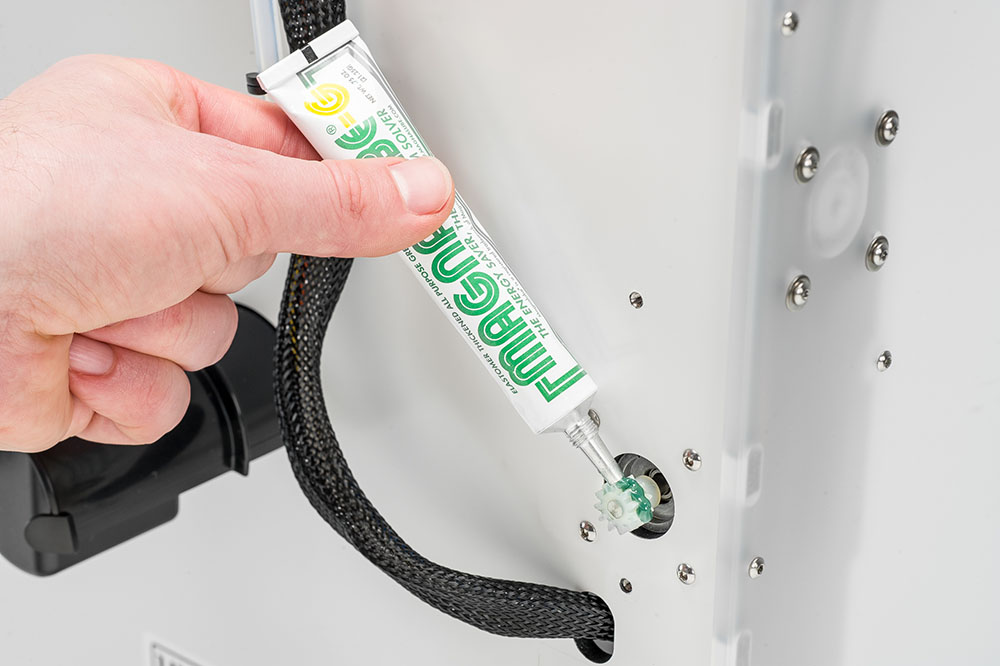 | |
| Clean the feeder gear | Reapply grease | |
Reinstallation
To complete the maintenance action, reassemble the feeder and put it back on the printer.
Take the front section of the feeder, place it over the back section, and align the two parts. Ensure that all parts (feeder ring, lever, and tension spring) are still in place. Snap the two halves together and secure them with the four bolts. It is recommended to tighten the bolts in a cross pattern, starting in the top-left corner.
Place the feeder back on the back panel and secure it with the two bolts. Insert the Bowden tube into the printer and secure it with the clamp clip. Lastly, reset the feeder tension by turning the bolt in the top of the feeder until the indicator is at the middle mark.
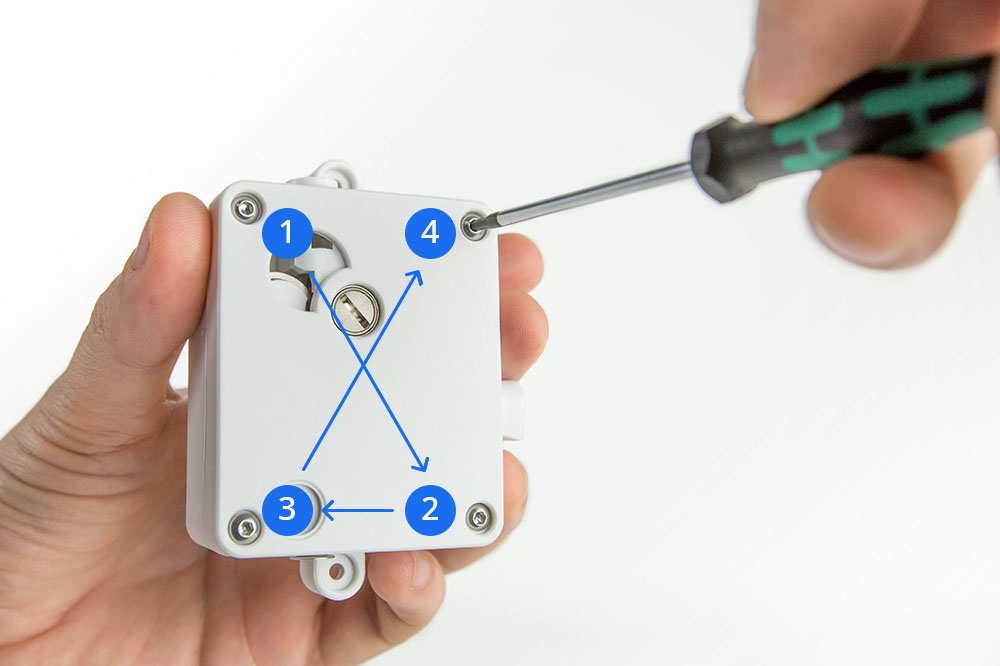 | | 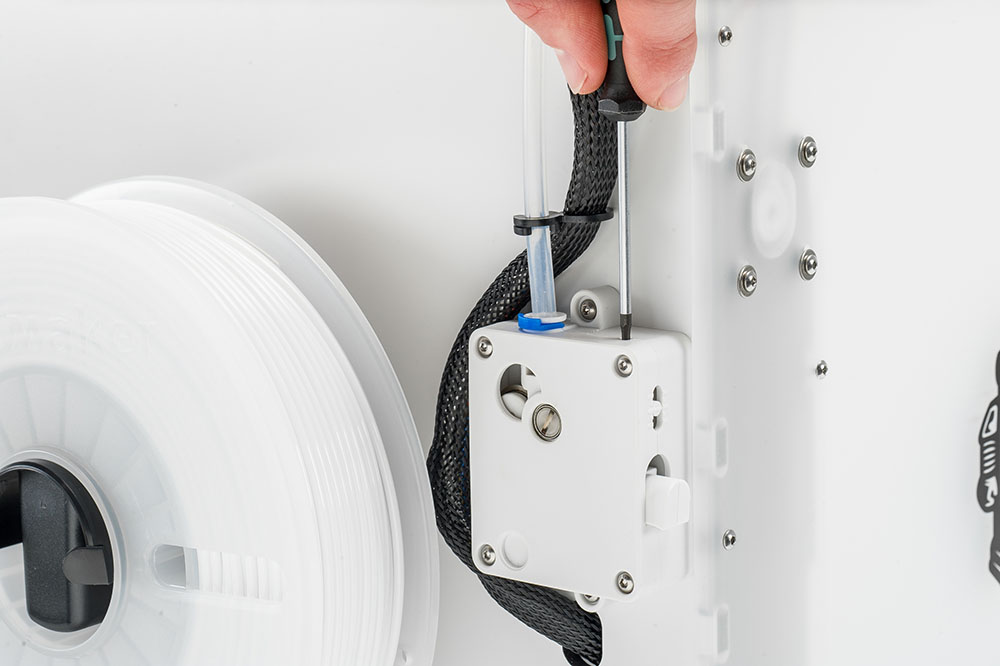 |
| Tighten the feeder bolts | Secure the feeder | Reset the feeder tension |
Now that the maintenance action is complete, you can turn on the printer again. Reload your material either via Material → Change, or via Maintenance → Advanced → Insert material.
Note: It is also recommended to check and possibly replace the Bowden tube after one year. Before reinserting the tube into the feeder, follow the instructions for checking the Bowden tube.


