After a lot of printing, the knurled wheel in the material feeder can accumulate small filament particles. The knurled wheel can easily be taken out and cleaned. It is recommended to check and clean the feeder once a year, or when you experience extrusion problems.
Unload material
First, unload the filament from the printer by taking the steps below:
- Heat up the nozzle. Heat up the nozzle via the UltiController menu.
- Open the feeder. Open the feeder by pulling the lever upwards.
- Remove material. Pull the material through the Bowden tube and out of the feeder.
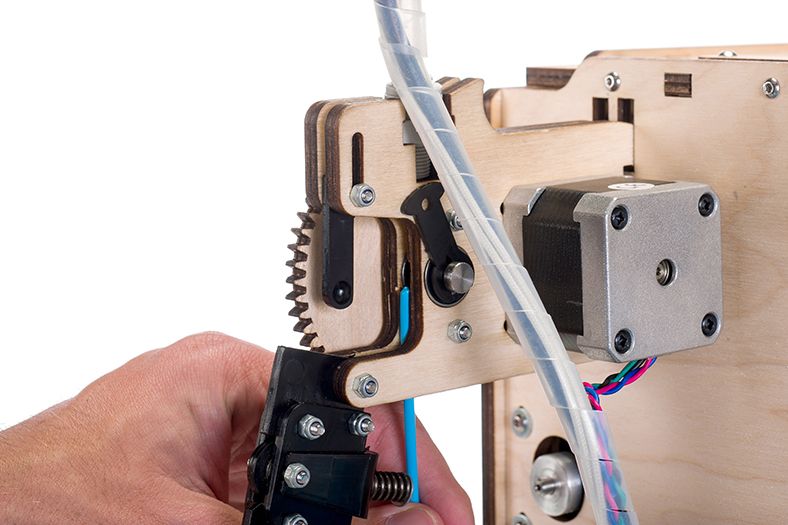
Remove feeder gear
Next, take out the feeder gear. First, remove the feeder bolt clip from the knurled wheel on the right side of the feeder (as seen from the back). Hold the feeder gear on the left side of the feeder and slide the knurled wheel out of the feeder assembly.
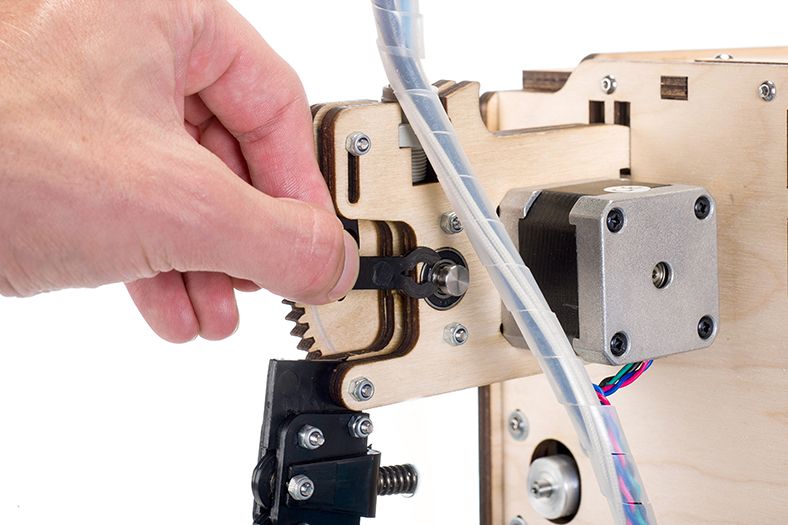 | 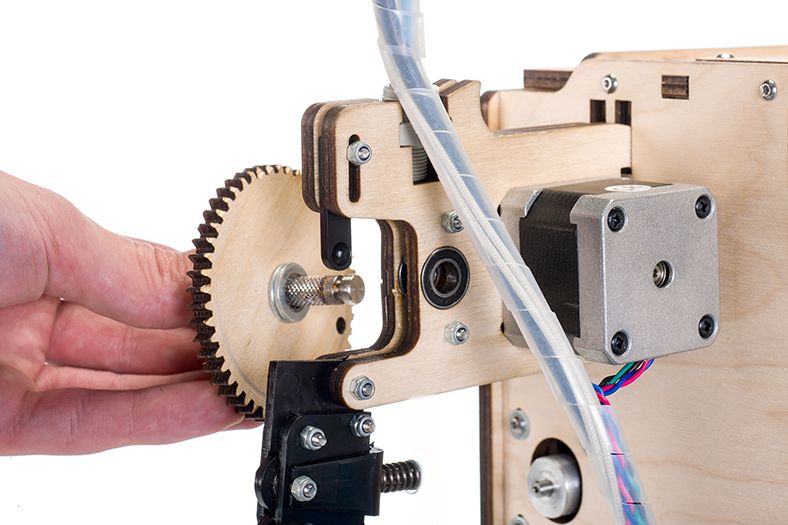 |
| Remove the feeder bolt clip | Slide out the feeder gear and knurled wheel |
Cleaning
You may see a lot of small particles in the grooves of the feeder's knurled wheel. To clean it, you can either use (compressed) air, or a small brush (such as an old toothbrush). Make sure all the filament particles are removed.
Tip: Some filament particles from the knurled wheel may have gotten into the Bowden tube. If this is the case, clean the Bowden tube at the same time as the feeder knurled wheel. Find more instructions on this page: How to clean the Bowden tube.
Reassembly
To reassemble the feeder, first ensure that the washers are still around the knurled wheel. Align the knurled wheel with the bearings in the wooden parts. Slide it through the feeder, and secure it with the feeder bolt clip.
You can now reload the material by pushing it through the Bowden tube, all the way to the print head.
Close the black part of the feeder and push the feeder lever back into a horizontal position to secure it. Manually turn the extruder gear at the side of the feeder to move the material. Turn it until material extrudes from the nozzle.
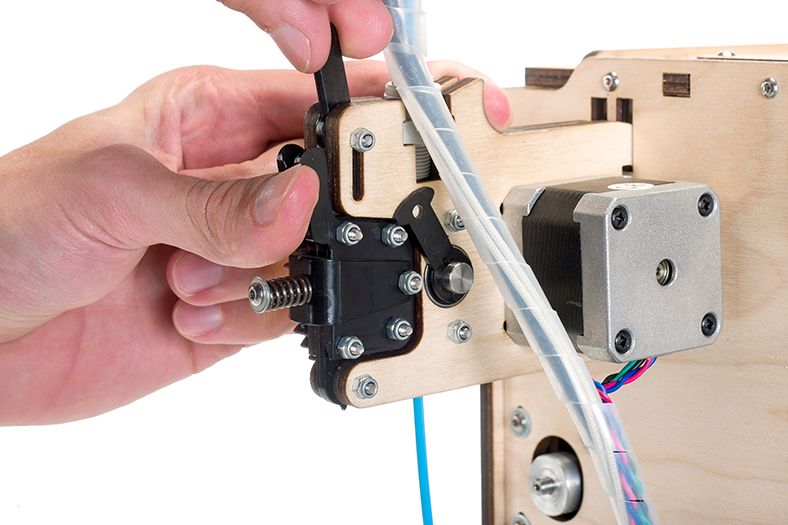
The feeder is now clean and reinstalled, so you can continue with your next print!


