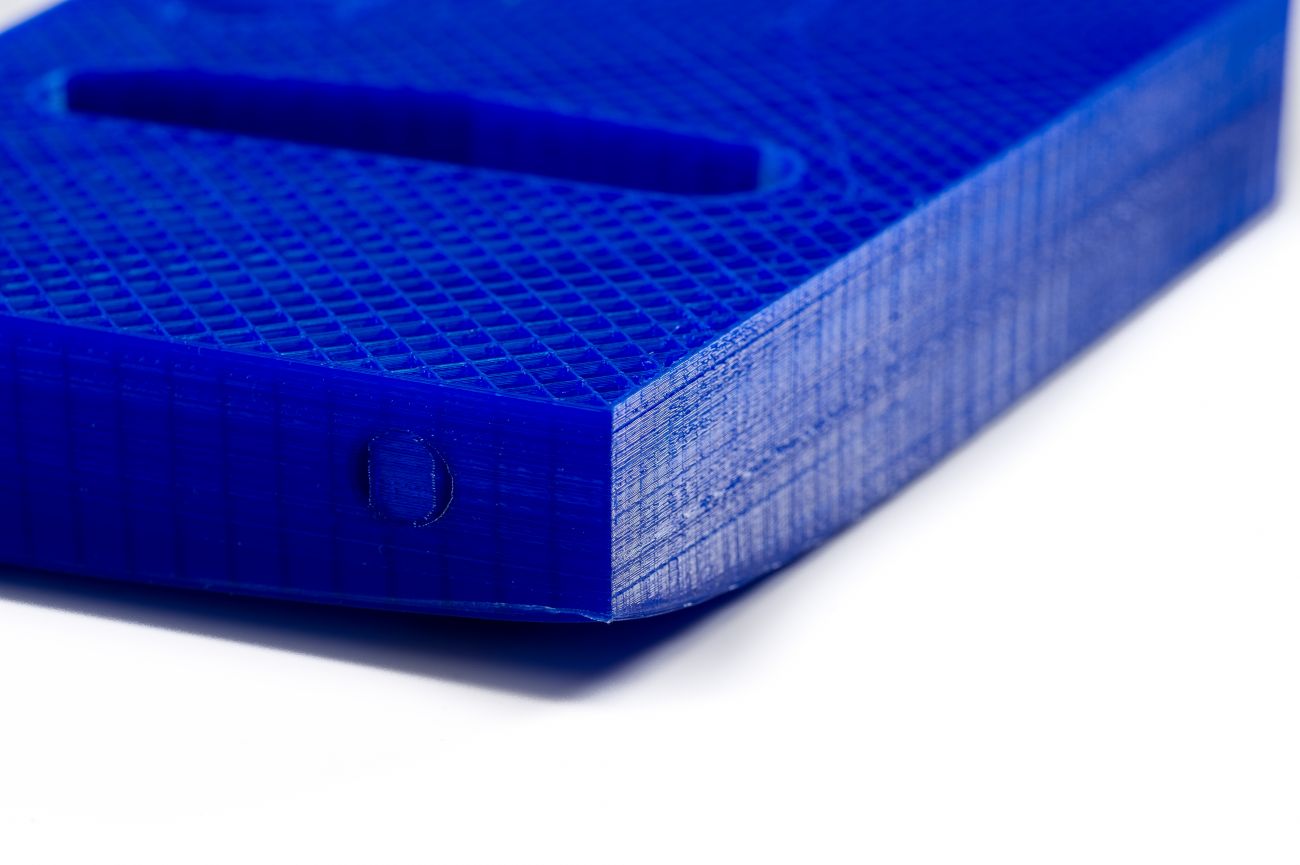
Warping occurs due to material shrinkage while 3D printing, which causes the corners of the print to lift and detach from the build plate. When plastics are printed, they first expand slightly but contract as they cool down. If the material contracts too much, this causes the print to bend up from the build plate. Some materials shrink more than others (e.g. PC has a higher shrinkage than PLA), which means there is a larger chance of warping when using these filaments.
This article contains several tips and tricks on how to avoid or minimize print warping.
Note: Although most of the information on this page will generally apply to all printers, the content was written specifically for UltiMaker 3D printers, in combination with UltiMaker materials and our Cura software.
Adhesion to the build plate
To prevent warping, you need to ensure that the 3D print adheres well to the build plate. Without good adhesion, the whole print can come loose, usually starting at the corners of the model. There are several ways to improve build plate adhesion.
Tip: For a comprehensive guide on improving build plate adhesion, please visit this page: Build plate adhesion: How to get your print to stick to the build plate
Use a heated build plate
The best way to avoid warping is by using a heated build plate. This keeps the material at a temperature just below the point where it fully solidifies (the glass transition temperature). This prevents the material from contracting too fast and keeps the object nicely adhered to the build plate.
It is important to use the right temperature. If the build plate temperature is too low, the material could still contract and the print can warp. If the build plate is too hot, this can cause print to deform. For UltiMaker printers and UltiMaker materials, the right temperatures have already been configured in the preset printing profiles. For third-party materials, always check with the manufacturer.
Ensure the build plate is leveled correctly
It is important that the first print layer of a print is pressed firmly onto the build so it will bond properly. If the nozzle is too far from the build plate, the first layer will not adhere properly and the print can come loose.
The UltiMaker S series printers and the UltiMaker 3 use an active leveling process. This multipoint build plate calibration compensates for any inaccuracies or tilt of the build plate. Learn more about More information on how to level the Ultimaker S5 build plate can be found here.
Always ensure your build plate is leveled correctly. If you are experiencing problems with the first print layer, such as warping or the print detaching, relevel the build plate. Most UltiMaker 3D printers contain assisted leveling procedures via the printer's menu. Learn how to manually level your build plate in your printer's user manual or in the support articles listed below:
Apply an adhesive
Correctly preparing your build plate surface is essential for good adhesion. Firstly, ensure to regularly clean the build plate. There should be no traces of oil or grease on it, as this will worsen the adhesion.
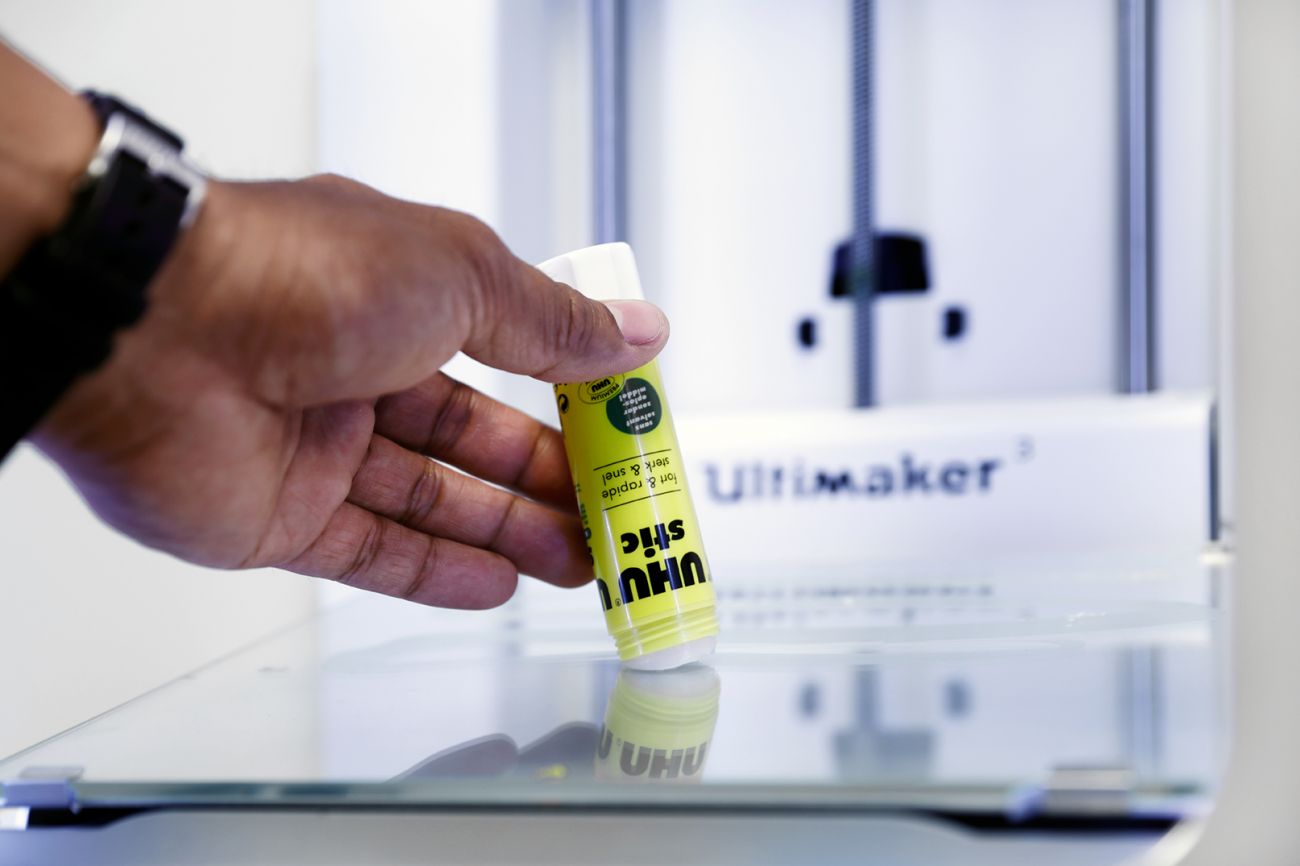
On UltiMaker printers without a heated build plate, such as the Original and UltiMaker 2 Go, preparing the build plate with a layer of blue tape is recommended. Most UltiMaker printers have a heated glass build plate. On a glass plate, many materials benefit from a thin layer of glue applied evenly. Alternatively, an adhesion sheet can be used. The UltiMaker S7 has a flexible build plate; most materials should be printed directly on a clean surface.
Tip: The optimal adhesion methods differ per material. Please see the How to print guides or the recommended glue overview for UltiMaker materials.
Cura adhesion settings
UltiMaker Cura has several settings for improving build plate adhesion. The following options are available:
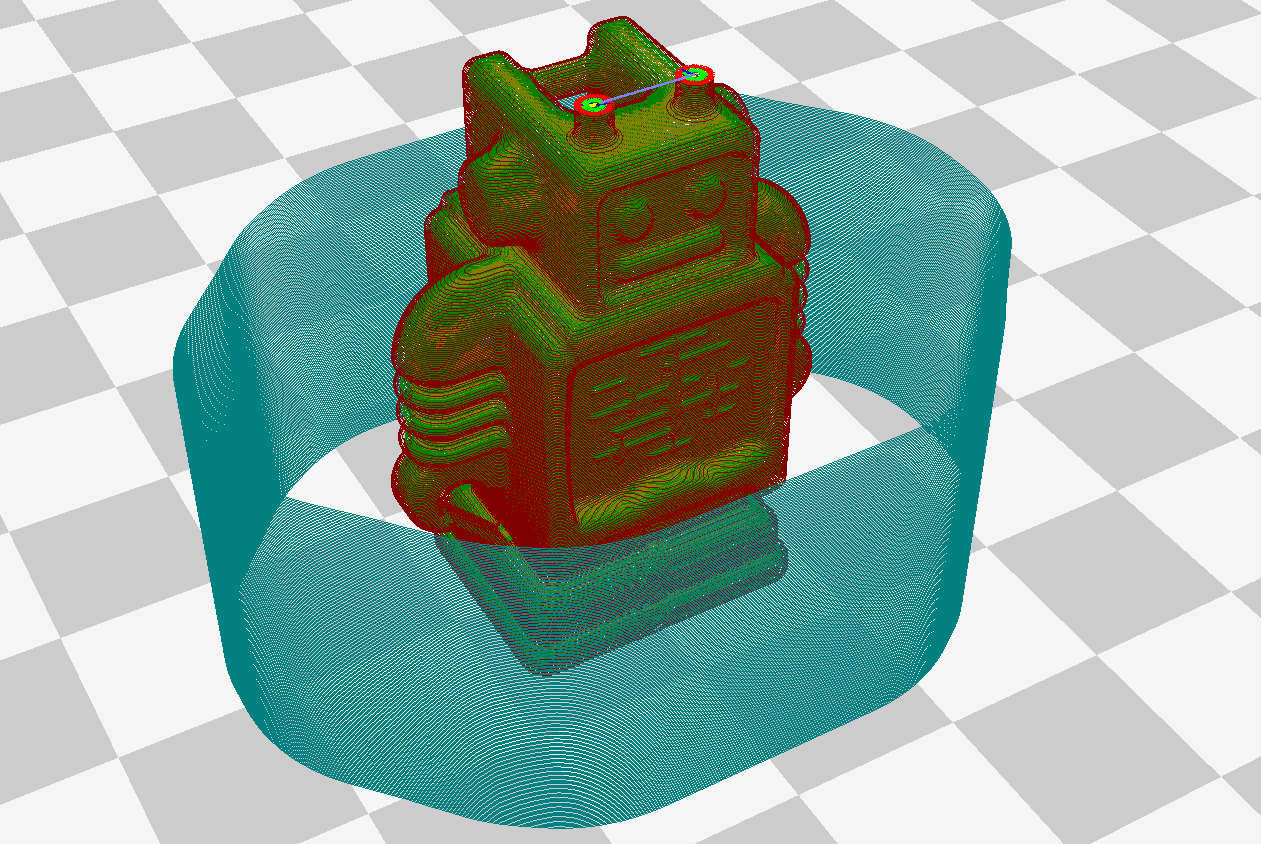
- Brim. A brim places a single-layer-thick, flat area around your object, which resists the pulling forces as the print cools. As the brim is only a single layer thick, it is easy to remove once the print is finished.
- Raft. A raft adds a thick grid between the model and the build plate, ensuring that the heat is distributed equally. It is particularly useful when the bottom of a model is not completely flat, or when printing with certain engineering materials.
Tip: The recommended adhesion methods are automatically configured correctly for UltiMaker printers and UltiMaker materials. Learn more about the build plate adhesion settings in UltiMaker Cura here.
Cura initial layer settings
There are a few settings relating to the first layer that influence the build plate adhesion, including Initial Layer Height and Initial Layer Speed. A thicker initial layer will more easily bond with the build plate and compensates for leveling inaccuracies. A lower printing speed during the initial layer(s) help the material to stick properly instead of getting stuck to and dragged away by the nozzle.
Cooling
Cooling is one of the main causes of warping, because material contracts when it cools down. Although it is important that the printed layer is cooled properly before the next layer is added to prevent sagging and deformation, excessive cooling should be avoided to ensure a smooth, warp-free print.
Tip: Always ensure that there are no external influences affecting the print, such as drafts from open doors or windows, or an extremely low ambient temperature.
Use the fan settings properly
All UltiMaker printers have one or two fans on the print head too cool the material during printing, as do most other 3D printer brands. The print head fan speeds are optimized per material. The print head fans are usually turned off (fan speed = 0) for the first print layer to improve adhesion and prevent cooling down the build plate. UltiMaker Cura offers a range of fan settings to help avoid warping, such as Regular Fan Speed at Height and Number of Slower Layers.
Tip: Learn more about all available cooling settings in UltiMaker Cura here.
Use a front enclosure
Closing the front of the printer helps create a controlled environment inside the 3D printer and the temperatures are maintained better.
UltiMaker S series printers have a glass door or doors built in. It is recommended to always keep the door(s) closed during printing. For the UltiMaker 3 and UltiMaker 2+, you can install the front enclosure from the Advanced 3D Printing kits. For the UltiMaker 2+ Connect, a front enclosure is included with the Air Manager.
Print with a draft shield
UltiMaker Cura offers the (experimental) option to print with a draft shield. This creates a one-layer thick wall around your model, preventing unwanted airflows from cooling it excessively.