Ensuring a good adhesion of your print to the build plate is vital for successful 3D printing. If the print does not stick well to the build plate, there is a chance that it detaches during the print progress and the print will fail.
This page contains several tips for improving the adhesion of your print to the build plate. Good adhesion will also minimize the amount of warping (the corners of the material curling up at the bottom layer of a print). For further advice about warping problems, please check this page: How to fix warping
Build plate leveling
Good adhesion starts with a well-calibrated build plate. The distance between the nozzle and the build plate should be set correctly. If the gap is too wide, the first layer will be too loose. This may cause your print to separate from the build plate while printing. The gap should not be too small either, as this may prevent the filament from extruding correctly.
The Ultimaker 3, Ultimaker S3, and Ultimaker S5 have an active leveling feature. This automatically compensates for any inaccuracies on the build surface. Other Ultimaker 3D printers rely solely on manual build plate calibration. Check the leveling instructions for your printer type here:
Tip: If active leveling cannot compensate, you can also manually level the build plate of your Ultimaker 3 or S-line printer.
Heated build plate temperature
Most Ultimaker printers have a heated build plate. When using a heated build plate, you need to check that the correct temperature is used. This ensures that the first layers of the print stay warm and do not contract too fast due to cooling. Using the correct build plate temperature starts with selecting the right material profile on the printer and in Ultimaker Cura.
For all Ultimaker materials, the correct build plate temperature is automatically set in Ultimaker Cura. For third-party materials, please check the manufacturer's recommendations.
Note: For the Ultimaker 2 and Ultimaker 2+, all material settings, including the build plate temperature, are only set on the printer and not in Ultimaker Cura.
In case of adhesion problems, you can try slightly tweaking the build plate temperature. You can either adjust the settings in Ultimaker Cura or on the printer.
Print surface
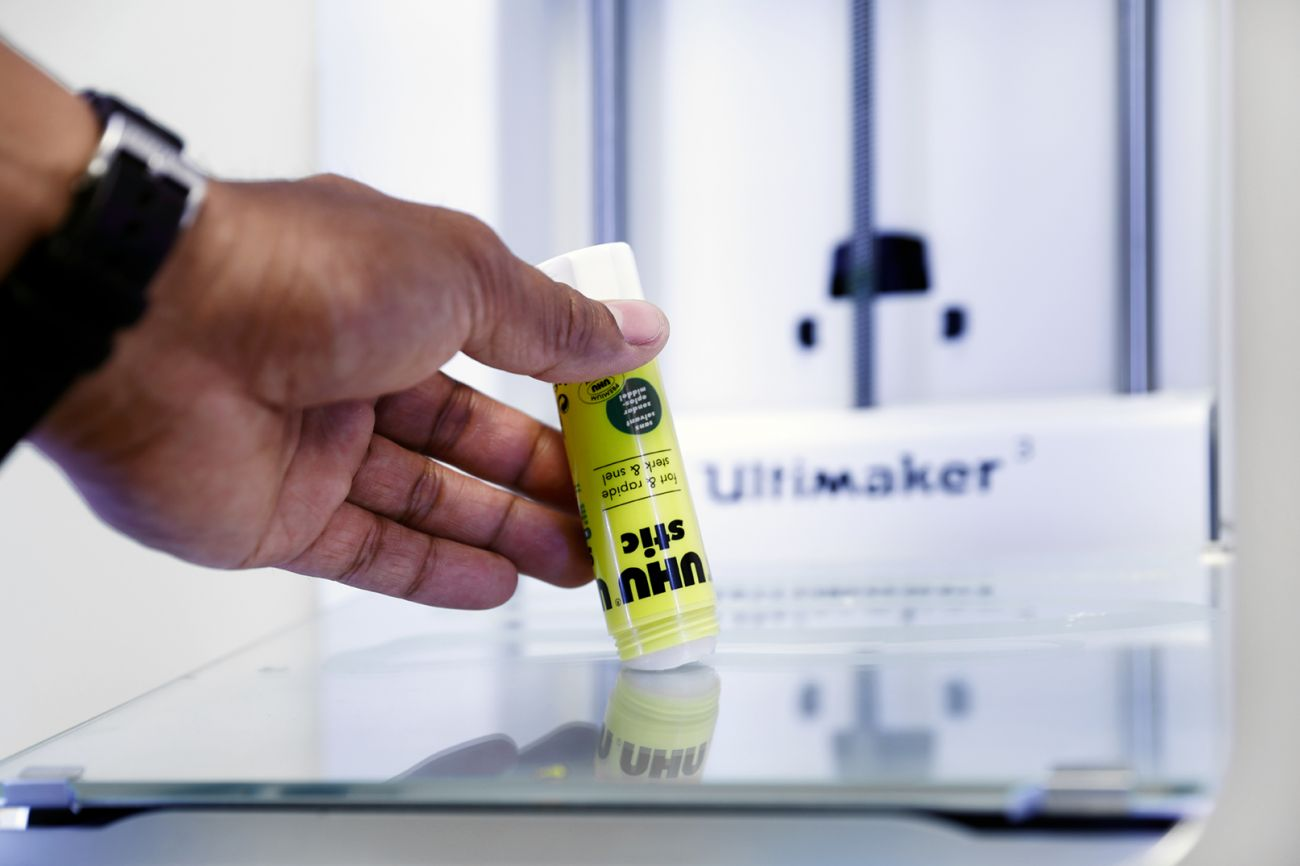
To achieve good adhesion, the build plate surface needs to be smooth and clean. There should be no traces of oil, grease, or fingerprints on the build plate. Some materials may require an adhesive on the build plate, such as glue or an adhesion sheet. For Ultimaker materials, check the recommendations in the 'How to print' guides in the Materials section or check this page What type of glue should I use for build plate adhesion?. For third-party materials, please check the manufacturer's recommendations.
It is also important to regularly clean the build plate. If glue residue builds up or the adhesion sheet is damaged, the build plate surface becomes uneven, which could cause adhesion problems. The same adhesion type can often be used for multiple prints, but it is recommended to inspect the build plate surface before each print.
- Adhesion sheets: Remove the adhesion sheet from the build plate when it is damaged. For more information about applying and removing adhesion sheets, please visit this page.
- Tape: For printers without a heated build plate, it is recommended to prepare the build plate with blue tape. This layer should be applied evenly and without overlaps. Replace the tape if it is damaged. See the instructions for the Ultimaker Original and the Ultimaker 2 Go.
- Glue: The layer of glue can easily be removed with water and, if necessary, some soap. Thoroughly dry the plate and reapply a thin layer of glue.
- No adhesion: If you print directly on the glass build plate, ensure the plate is completely clean. Wipe the build plate with a (microfiber) cloth and some isopropyl alcohol (IPA) to remove any oils, greases, or fingerprints.
Caution: Not all materials can be printed directly on the glass build plate. Materials such as ABS and CPE may adhere too well, which can cause chipping of the glass plate. Always use the recommended adhesion method to prevent damage.
Printing environment
Materials that require a high build plate temperature (e.g. PC and CPE+) benefit from a stable printing environment. Especially at very high build plate temperatures (100 °C or more), cool airflows from the environment can cause the build plate temperature to drop and the print could then separate from the build plate.
Although good ventilation is always important, the printer must never be placed in a drafty environment. To protect the print from external influences, the front of the printer can be closed. The Ultimaker S3 and Ultimaker S5 have a glass door / doors by default. Keep the door(s) closed during the printing process. For other Ultimaker 3D printer models, add-ons are available:
- Ultimaker 2+ Connect. The Air Manager for the Ultimaker 2+ Connect includes a front enclosure.
- Ultimaker 2+. For the Ultimaker 2+ series, an Advanced 3D Printing Kit is available. This includes a front enclosure.
- Ultimaker 3. Also for the Ultimaker 3 series, an Advanced 3D Printing Kit is available that includes a front enclosure.
Closing the front of the printer typically ensures a stable temperature of around 45 °C inside the printer, leading to a higher success rate and better print quality.
Caution: Never enclose the entire printer with third-party or DIY kits that do not have air control. Sealing off the printer without allowing airflow can increase the temperatures inside the printer. Build chamber temperatures of 50 °C and higher for a longer period of time can permanently damage the printer.
Ultimaker Cura adhesion type
Ultimaker Cura offers several build plate adhesion helpers. In the Recommended mode, you can simply choose to turn build plate adhesion off or on. The Custom mode offers additional options, such as 'Skirt', 'Brim', or 'Raft'. Learn more about Ultimaker Cura's build plate adhesion settings on this page.


