Product notification
This product has been discontinued and the end-of-service date has passed. The information on this page remains available, but is no longer supported.
|
During printing, it is important that the first layer sticks well to the build plate. Leveling the build plate ensures that you have the correct distance between the build plate and the nozzle during printing, for optimal adhesion. This must be done before using the Ultimaker 2 Go for the first time and then periodically.
Tip: Leveling the build plate is part of the welcome setup. You can also find this option in the menu by navigating to Maintenance – Build plate.
The printer will automatically guide you through the steps. Leveling the build plate consists of two steps: rough leveling and fine-tuning. Before you start, make sure that the tip of the nozzle is clean and the build plate is prepared with a well-applied layer of tape. You will need the calibration card from the accessory box.
Tip: If you no longer have the calibration card, you can just use a normal piece of paper instead.
Rough leveling
In the first part of the process, you set the approximate correct height of the build plate.
- Wait for the Ultimaker 2 Go to do its homing procedure and continue when the print head is in the center at the back of the build plate.
- Rotate the button at the front until there is approximately a 1 mm distance between the nozzle and the build plate. Make sure that the nozzle is close to the build plate without touching it.
- Adjust the front right and front left knurled nut to roughly level the build plate at the front side. Again there should be a distance of approximately 1 mm between the nozzle and the build plate.
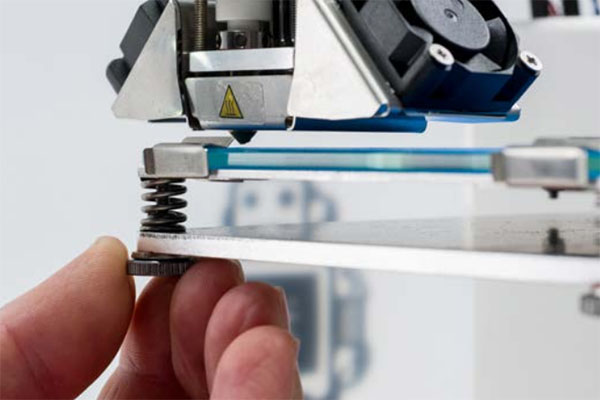
Fine-tuning
In the next part, you will fine-tune the position of the build plate. For these steps, you will use the calibration card to ensure the same distance between the nozzle and the glass plate on all points.
- Place the calibration card in between the nozzle and build plate when the print head is in the center back of the build plate
Note: Do not push on the build plate while fine-tuning with the calibration card. This will lead to inaccuracies.
- Adjust the knurled nut in the middle back until you feel slight friction when moving the card.
- Press Continue. The print head moves to the second point.
- Repeat steps 1 and 2 for the second point.
- Press Continue again. The print head moves to the third point.
- Repeat steps 1 and 2 for the third point.
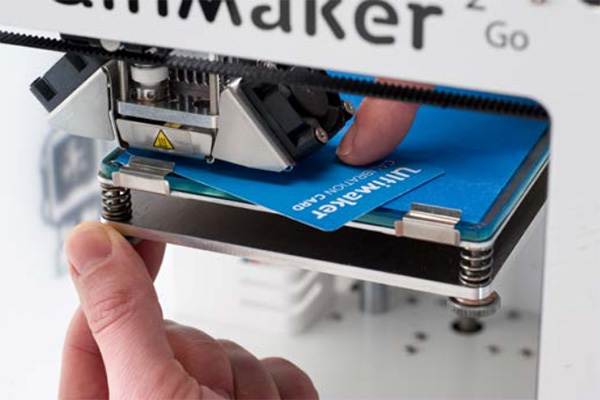
That's it! The bed is now leveled and you can start (or continue) printing with the Ultimaker 2 Go.
Successful first layer
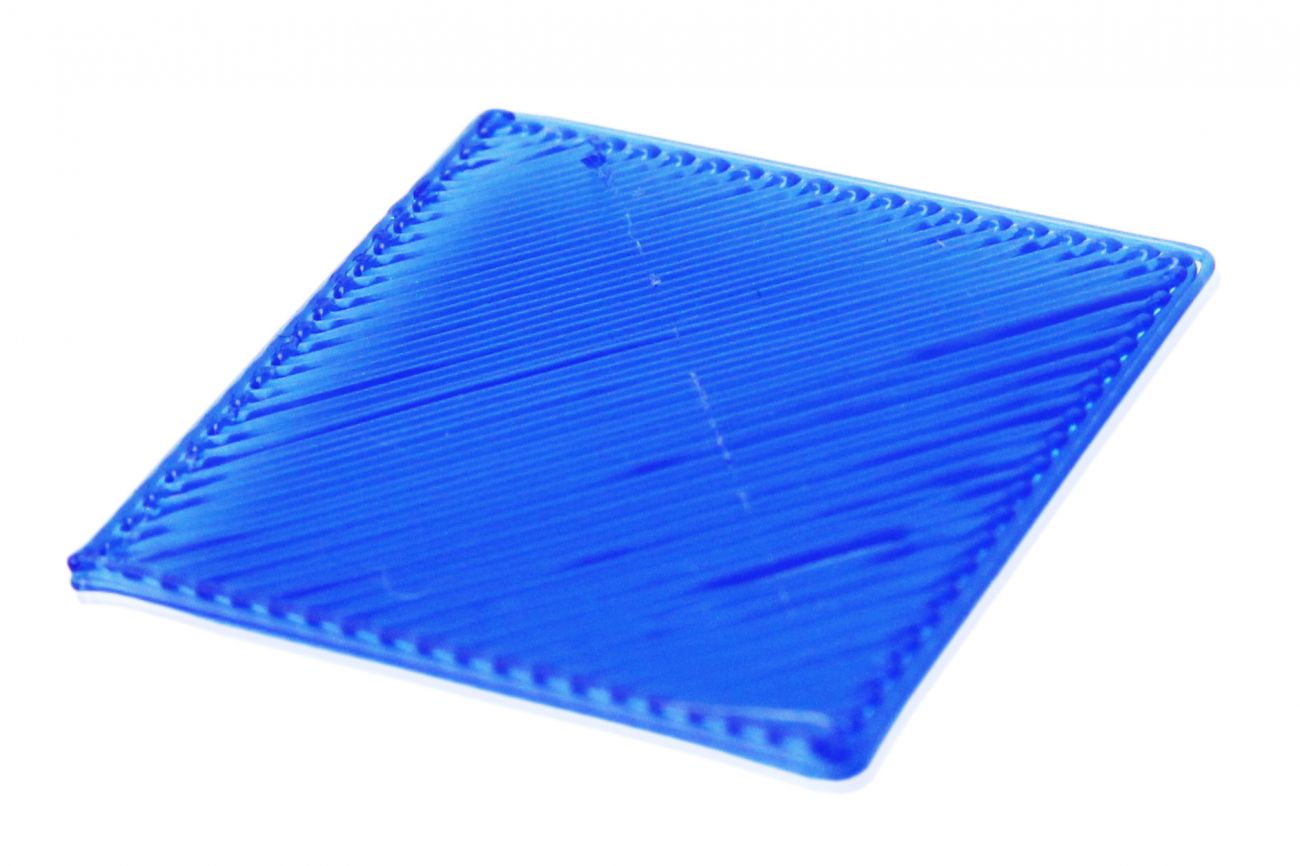
When 3D printing, it is very important that the first layer is nicely pressed onto the glass plate with flat lines of filament and no gaps in between. Check the following images to see a successful first layer and two unsuccessful ones.
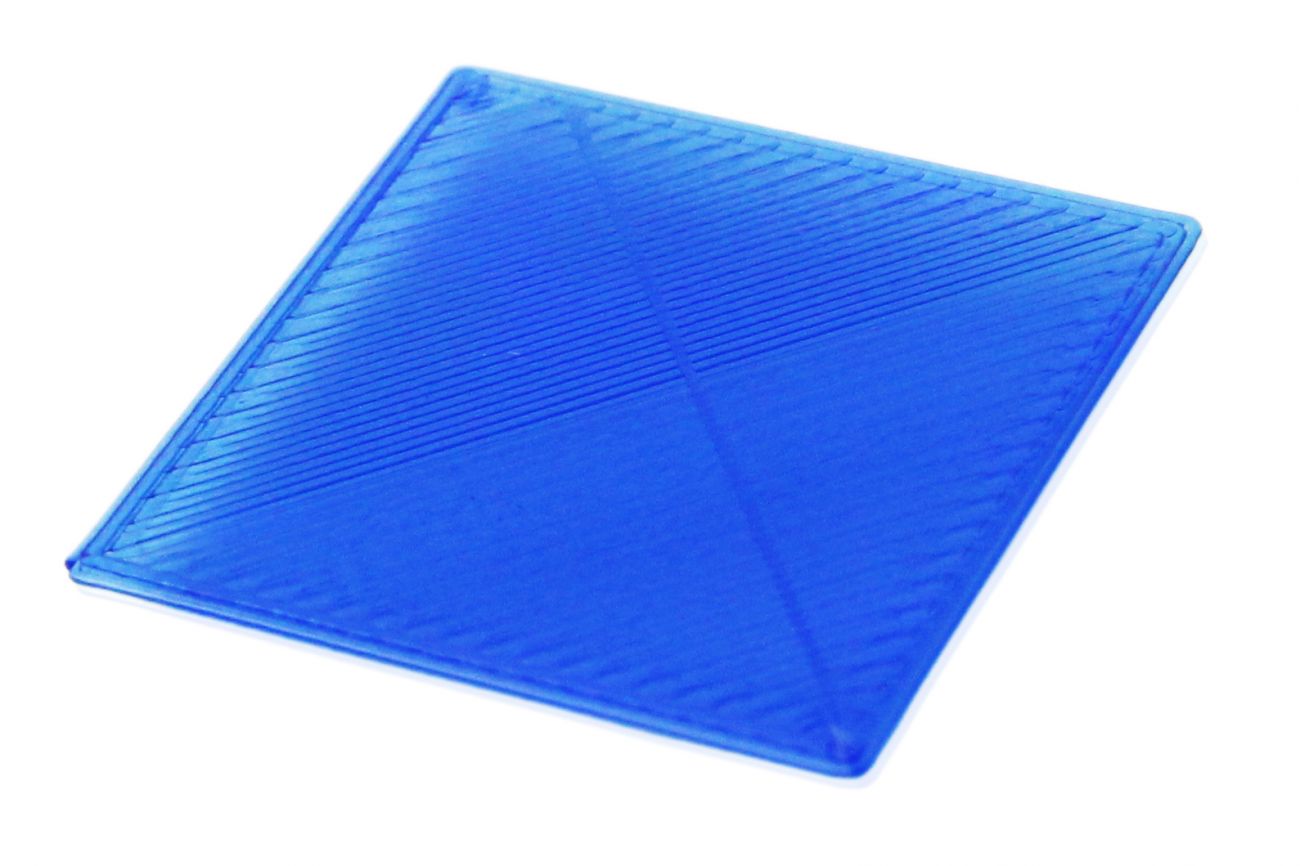 |
Successful first layer
The print properly sticks to the glass plate and all lines are nicely uniform.
The adhesion and extrusion are good, so there is a high chance of print success!
|
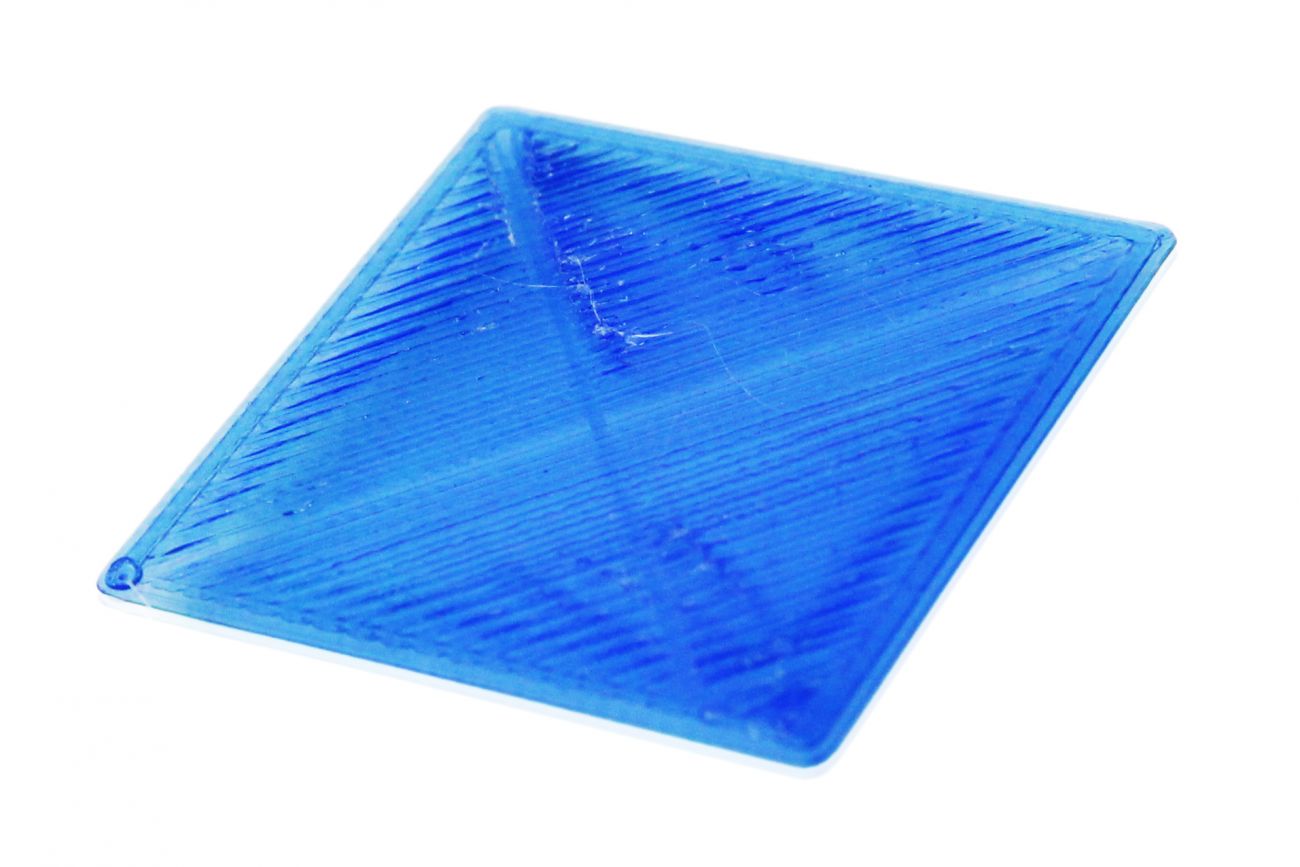 |
Too close
The build plate is too close to the nozzle. The material cannot extrude from the nozzle properly. The first layer is very thin.
Relevel the build plate with a bit more distance between the nozzle and the build plate.
|
 |
Too far
The build plate is too far from the nozzle. The lines are not pressed into the glass build plate. There is a high chance that the print comes loose from the plate during printing.
Relevel the build plate with less distance between the nozzle and the build plate.
|


