The Advanced 3D Printing Kit for the Ultimaker 3 is designed to ensure an even smoother, more reliable 3D experience, especially when printing with engineering materials. The items provided in the kit help minimize printer downtime and significantly increase print success rates.
Note: There are separate versions for the Ultimaker 3 and Ultimaker 3 Extended because of the sizes of the front enclosures.
What’s included?
The Advanced 3D Printing Kit for the Ultimaker 3 contains the following items:
- 1x Front enclosure
- 25x Adhesion sheet
- 1x Adhesive applicator
- 1x Glass plate
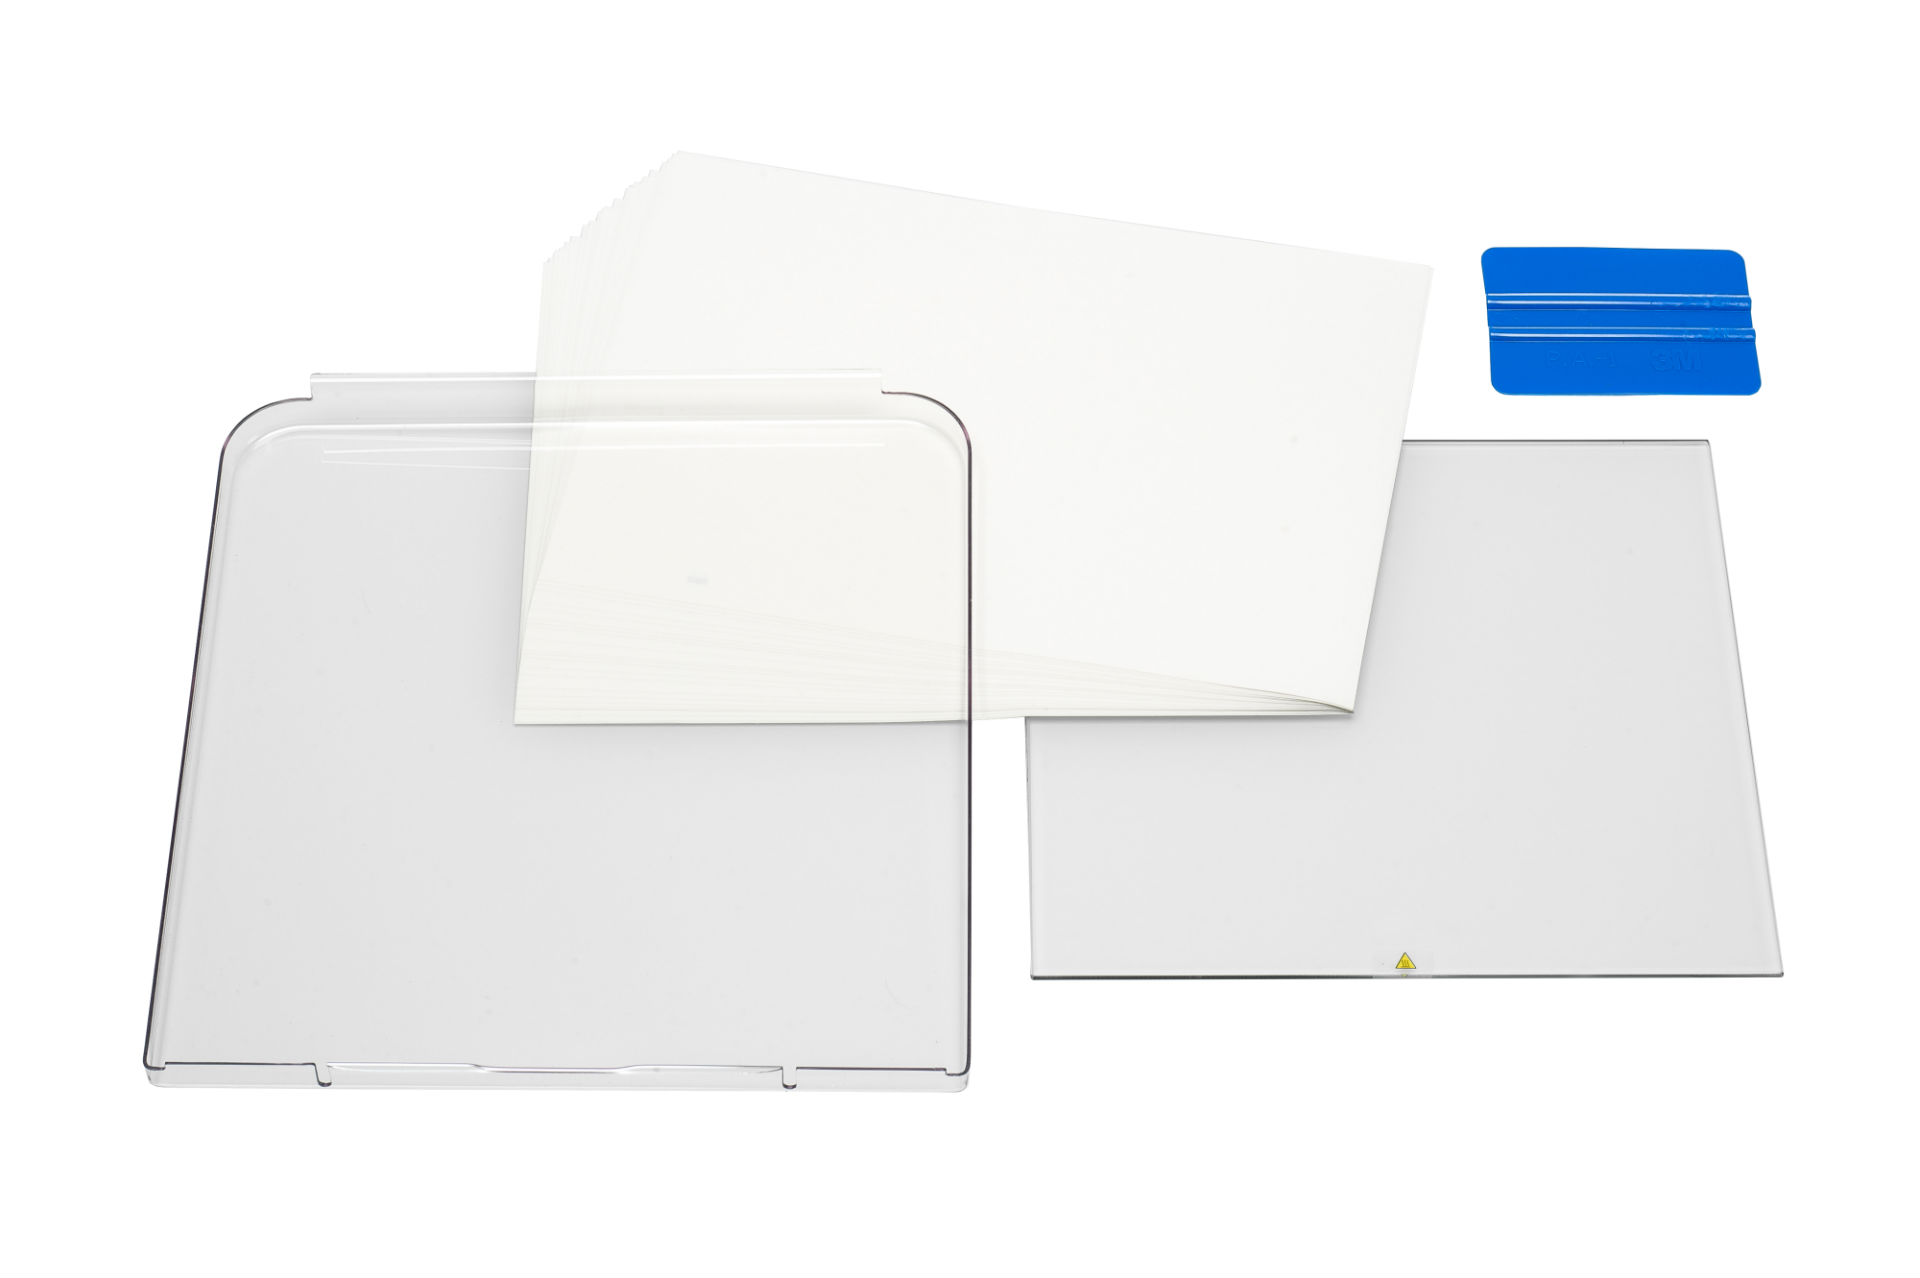
Front enclosure
The front enclosure is very effective when using materials that are prone to warping or delaminating. It stops heat from escaping, creating a constant temperature of 45 ºC, while also protecting the print from external influences. The stable environment ensures that the printed material cools down more slowly and that the temperature is more evenly distributed throughout the print. This helps lower shrinkage and decreases the risk of warping and delamination.
You can find detailed instructions on how to install the front enclosure here:
How to install the front enclosure for the Ultimaker 3
Adhesion sheets
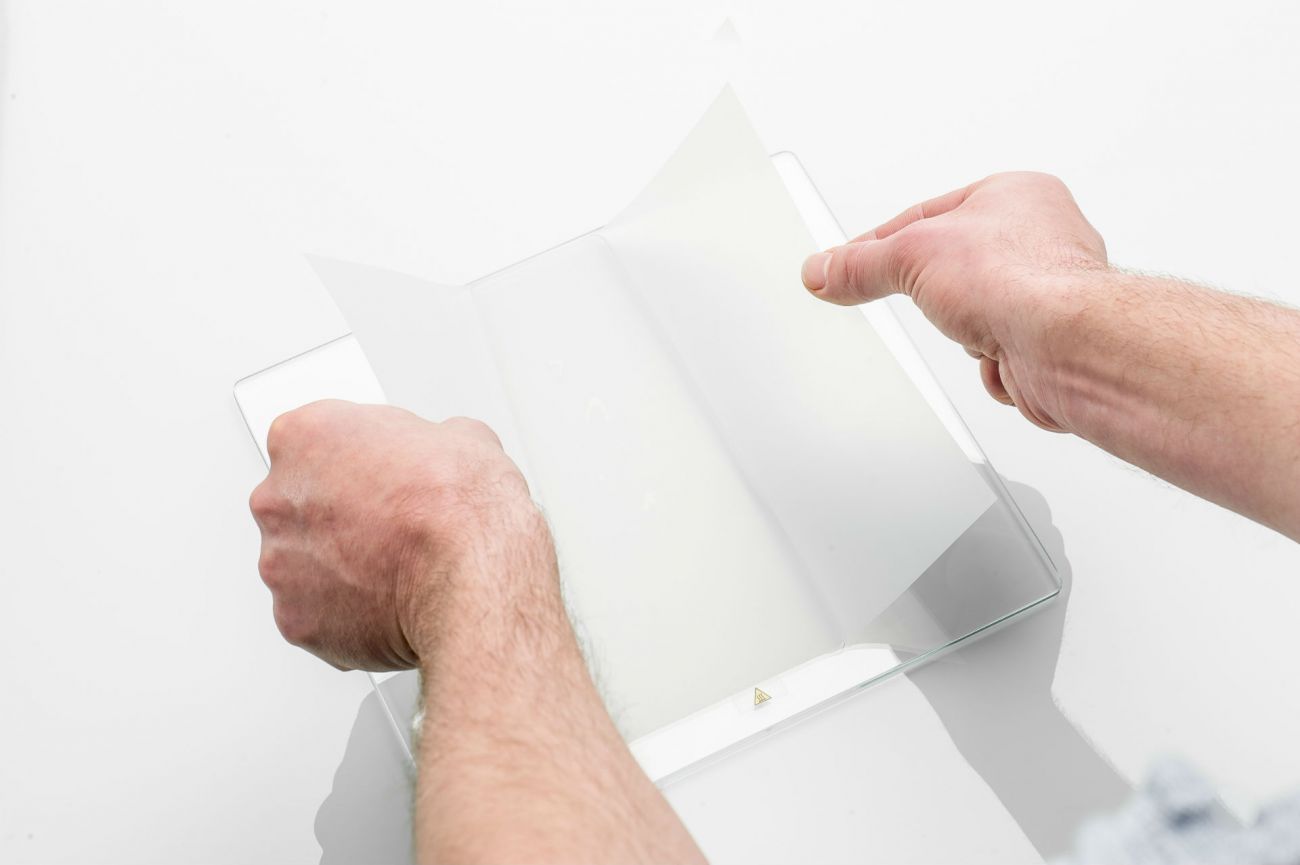
The adhesion sheets improve build plate adhesion and can be used with most materials. They make a great alternative to a glue stick and are designed for multiple uses. To create a flat printing surface, it is important to ensure the sheet is applied correctly to prevent air bubbles. You can find instructions on how to apply the sheet here:
How to use adhesion sheets for the Ultimaker 3
Glass plate
In addition to the above add-ons that increase reliability while printing, the Advanced 3D Printing Kit also features a glass plate. This extra glass plate means you no longer have to wait to remove the finished print from the Ultimaker 3 printer. Instead, you can quickly swap the glass plate for a new one, allowing you to directly start a new print, which minimizes downtime.
Instructions on how to install the glass plate can be found here:
Installing the Ultimaker 3 hardware accessories
When to use the Advanced 3D Printing Kit for the Ultimaker 3
The Advanced 3D Printing Kit can be used in combination with all Ultimaker materials, although the benefits are greater for some materials than others. See the table below for a compatibility overview and some general advice:
| Material | Front enclosure | Adhesion sheet |
| PLA | Optional | Optional |
| Tough PLA | Optional | Optional |
| ABS | Highly recommended | Optional |
| CPE | Optional | Optional |
| CPE+ | Highly recommended | Optional |
| PC | Highly recommended | Optional |
| Nylon | Optional | Optional |
| TPU 95A | Optional | Not advised |
| PP | Recommended | Highly recommended |
| PVA | Optional | Optional |
Note: When using PVA, the recommendations for using the front enclosure and adhesion sheets depend on the accompanying build material.
Front enclosure
The use of the front enclosure is strongly advised for most filaments that print at higher temperatures and that may have problems with layer bonding. The front enclosure controls the temperature inside the printer, which prevents delamination and improves the print surface quality.
For the other materials (PLA, Tough PLA, CPE, Nylon, and TPU 95A) the front enclosure is not necessary. However, the use of this add-on will not negatively impact print quality and may even lead to more reliable print results.
Adhesion sheets
The adhesion sheets are required for PP and (highly) recommended for CPE+ and PC. These materials require a high build plate temperature, but despite this high temperature, they may still have problems with build plate adhesion.
Adhesion sheets are optional for most of the other materials, as they replace the glue stick. Please note, for TPU 95A, we advise against printing on the adhesion sheet, as this material sticks too well to it, making removal extremely difficult.


