To verify a stable connection between UltiMaker Cura and your UltiMaker 3D printer, walk through the steps below to ensure your setup meets the requirements. The steps are given per subject: your UltiMaker 3D printer, your network router, and the UltiMaker Cura software.
Note: The information in this article applies to the following UltiMaker printers with network functionality: Factor 4, S series, and UltiMaker 3. A direct connection to other UltiMaker or MakerBot printers (UltiMaker 2+ Connect, Method series, Sketch series, Replicator series) is not supported; these printers require a cloud connection via the Digital Factory.
Check your printer
Let's start by checking that the printer is set up correctly.
Power your machine properly
Ensure the machine is turned on. The main menu should be visible on the display, and the LEDs of the machine should be lit.
Connect the power cable at the back of the machine and press the switch to turn on the printer. For S series printers with a Material Station: insert the power cable into the Material Station, and connect the power extension cable between the printer and the Material Station.
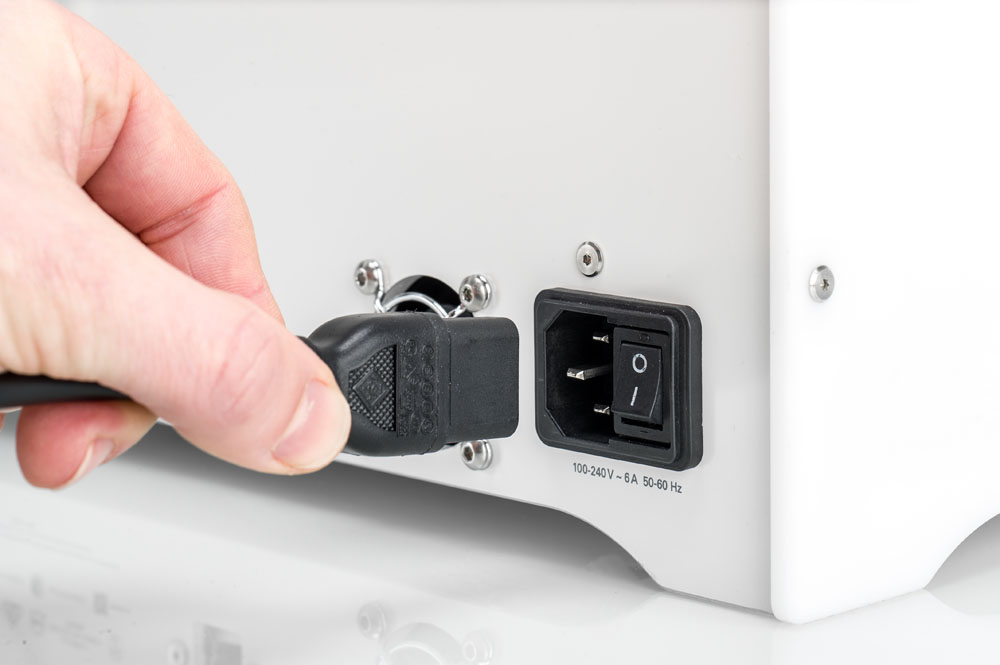
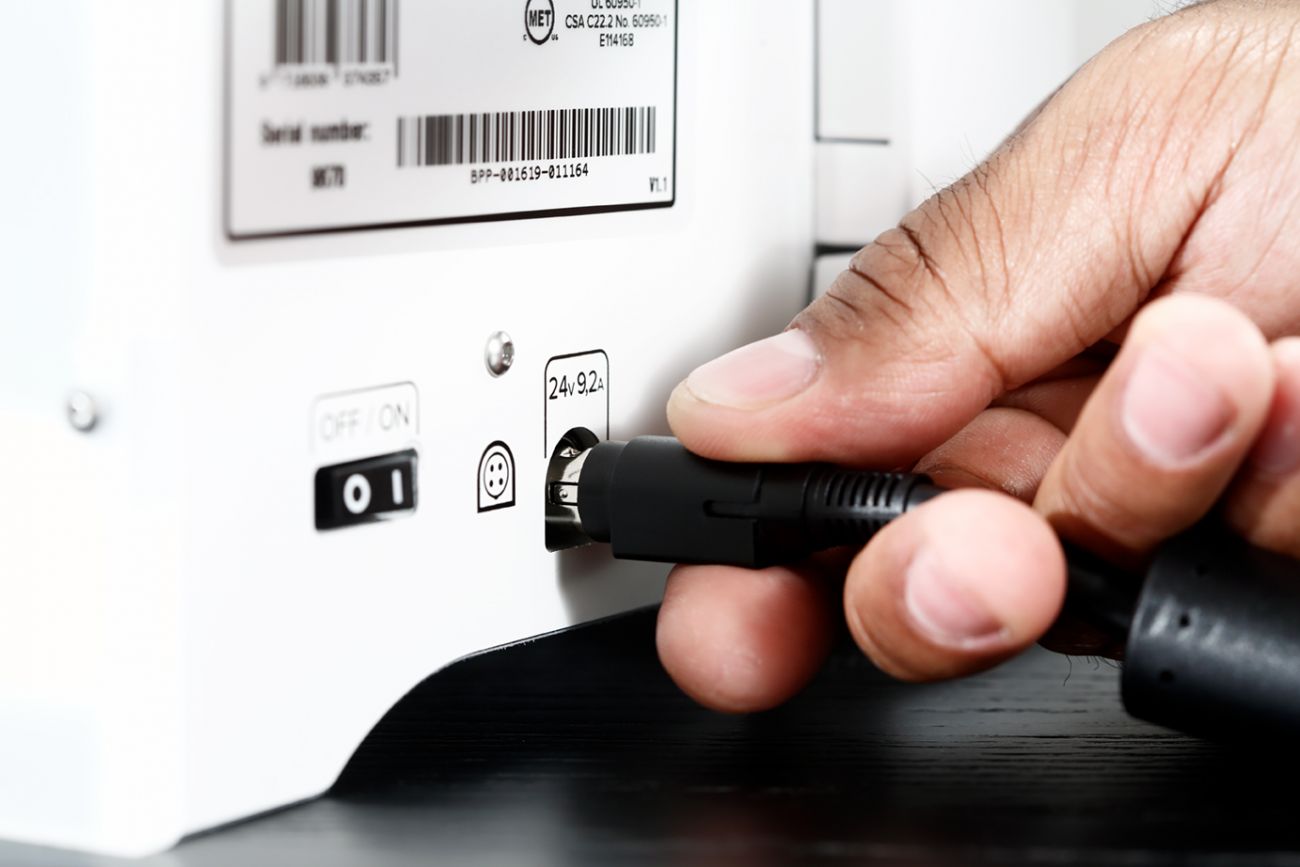
Note: The bootup process may take longer than expected. Please be patient and wait for the printer to boot up completely.
Connect your printer to the local network
Ensure that the printer is connected to a network. Follow the instructions in this article to connect your UltiMaker printer to the network.
If you have already done this, you can check the status in the printer's Network menu. In case of problems, you can reset all network settings (Factor 4, S series) or the printer. Try to connect it again, or use a different method (Wi-Fi, LAN, USB network setup).
Tip: Benefit from additional features by creating a workspace and connecting your printer to the Digital Factory.
Update your firmware
Ensure your UltiMaker 3D printer is running the latest (or most recent stable) firmware. See the links below:
Check your network
Next, let's check the network itself, including the router and if there are any restrictions in place.
Network router
The UltiMaker printers connect to your network router, meaning we are dealing with a lot of different kinds and brands of devices. Most generic routers have few restrictions or security measures and should connect easily. For routers on bigger networks, or within certain companies or schools, it can be more complicated.
Firewalls & Security measures
If you are using your UltiMaker 3D printer in a company environment on a big network, the connection might be refused for security reasons. UltiMaker uses different network ports for discovery, printer control, and the camera feed. See this article for more information: Network requirements - Printing via cloud or local network
Same local network
If you want to use the direct connection to the printer via UltiMaker Cura, the printer must be connected to the same local network as the laptop or computer running Cura. This is an easy mistake to make, especially in environments with multiple available networks. Check your computer's connection, and check the network that your UltiMaker printer is connected to, to ensure they are the same.
Tip: If your UltiMaker 3D printers are connected via the Digital Factory, they are accessible to you from any location or network. Learn how to connect your printers in this article.
Check UltiMaker Cura
The last component is the software, UltiMaker Cura. Try the checks below to establish a connection between Cura and your UltiMaker 3D printer.
UltiMaker Cura version
To get the most stable connection between Cura and your UltiMaker 3D printer, make sure you are running the latest version. Updates are released regularly to improve print quality, add features, and increase experience. Download Cura from the UltiMaker website.
Remove and re-install your machine
The UltiMaker 3D printer information, including the MAC address and the security handshake information, is stored in the printer files on your computer. Sometimes the data in these files gets corrupted or outdated in unforeseen ways. To resolve this, remove the current UltiMaker 3D printer in the Printer Management panel, and add it to Cura again.
Add printer by IP address
If your printer still does not show in the Networked printers overview, you can also connect to it via the printer's IP address. First, find your printer's IP address:
- Factor 4 and S series: Options menu (gear icon) → Network
- UltiMaker 3: SYSTEM → Network → Connection status

- In Cura, select Add printer → UltiMaker → Add local printer. In this screen (if your printer still does not show in the networked printers list), click Add printer by IP.
- Enter the full IP address and click Add.
- If this IP address is found, the Cura panel will confirm the printer type and firmware version. If the information shown is correct, click Connect to establish the connection. The printer will show in Cura with a blue checkmark.
- The printer display may show a popup about the request for access. Confirm on the printer.
- You can now send print jobs and monitor the camera feed via the local network.


