In this article, you will learn:
- What Digital Factory is
- How to create an account and set up your workspace.
- How to add your first printer.
What is Digital Factory?
UltiMaker Digital Factory is the unified cloud platform that serves as the hub of 3D printing for you and your collaborators. It features a seamless workflow to Prepare → Print → Monitor jobs directly from your browser, along with rich collaboration tools. The platform additionally includes:
- Digital Library – secure, version-tracked storage for all your designs, ready to slice in one click.
- Team & Role Management – invite students or colleagues and control who can slice, print, or just comment.
For more details on Digital Factory functionality and subscriptions, see Overview: Subscriptions
Getting Started with Digital Factory
- Create Your UltiMaker Account & Login
- Go to the UltiMaker Digital Factory website and log in using an existing Google or MakerBot account
- If you don't already have an account, click Sign Up to create one
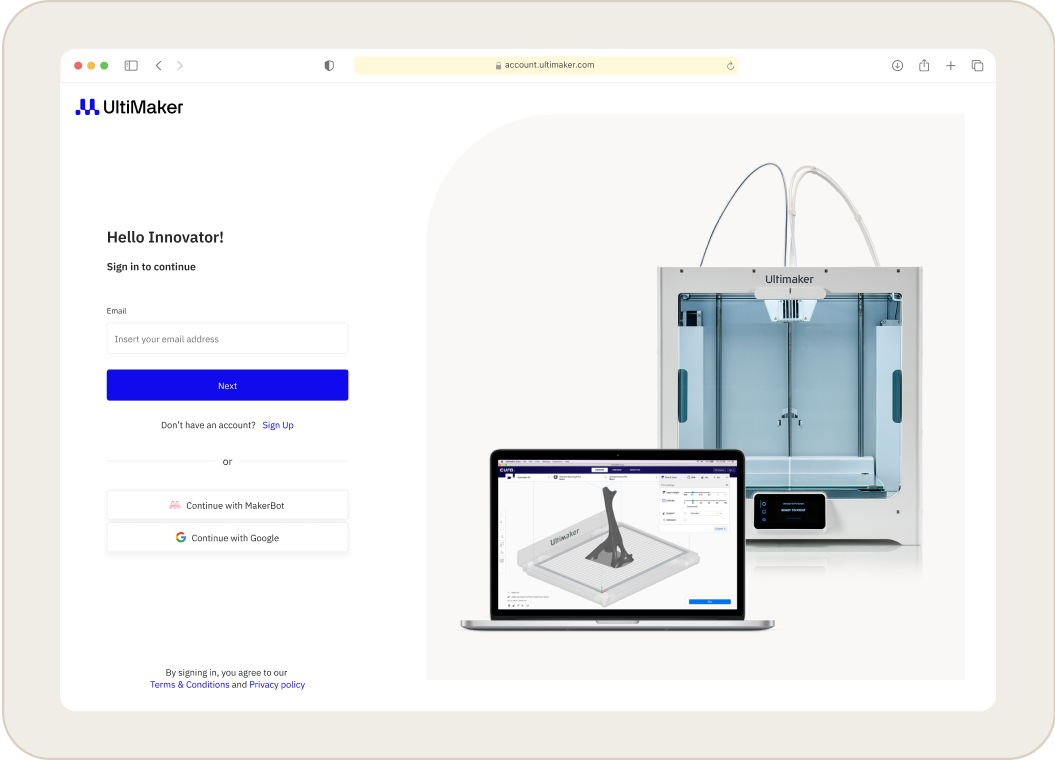
- Set Up Your Workspace
Once your account is activated, you will need to set up your workspace. This is the central hub where you will manage your printers, members, and library projects.
- Name Your Workspace: Give your workspace a name and click Next
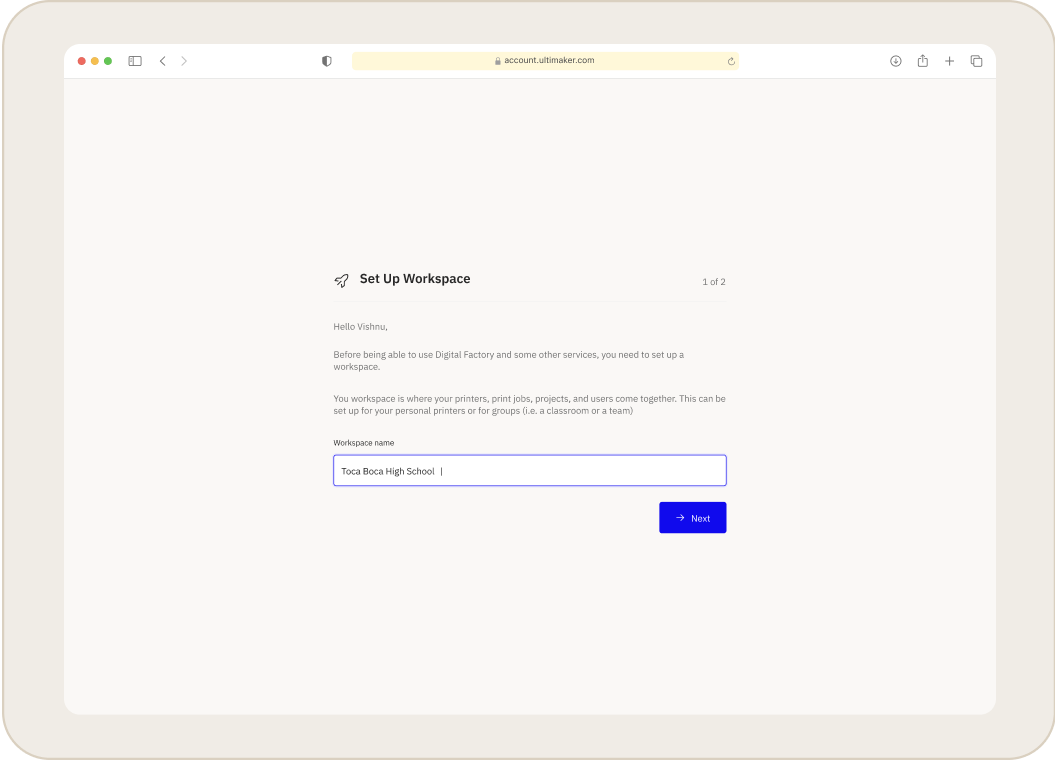
For more info, see Overview: Workspaces and What are Professional and Education Workspaces?
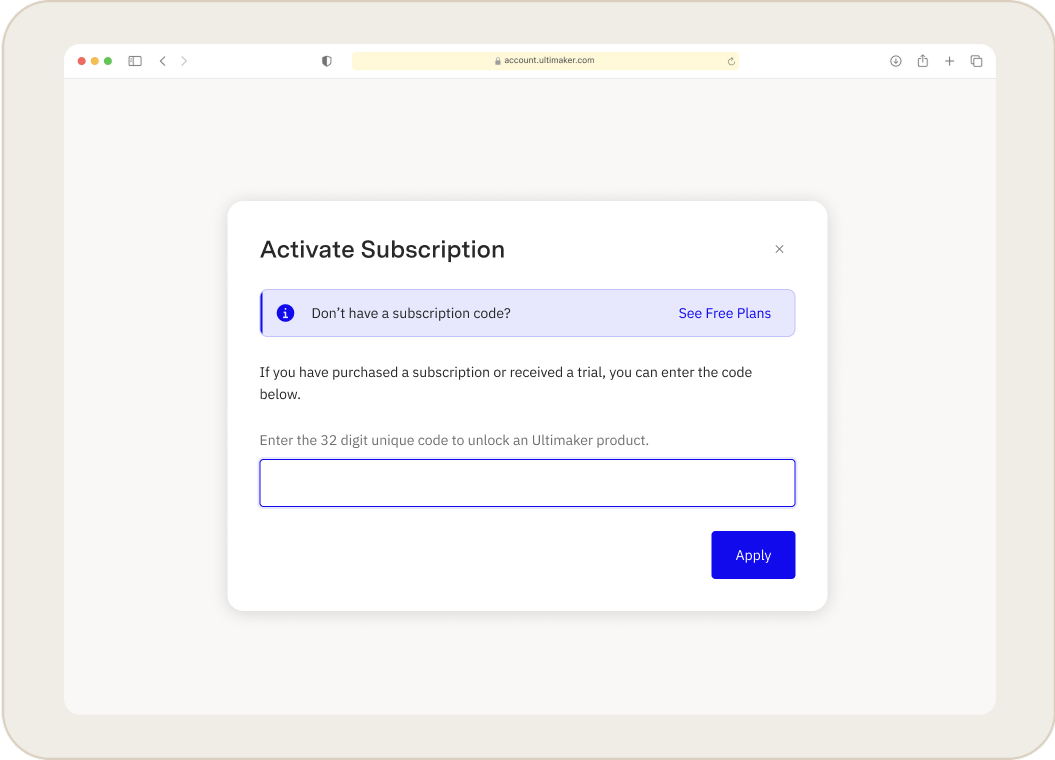
- Activate Your Subscription (Optional): If you received a code (either with your printer or from a sales rep), enter it now. You can also skip this step to proceed with a permanent free account (Free EDU or Free PRO)
- Select Your Workspace Type: If you skipped the subscription activation step, you will be prompted to choose between a Free PRO or Free EDU workspace.
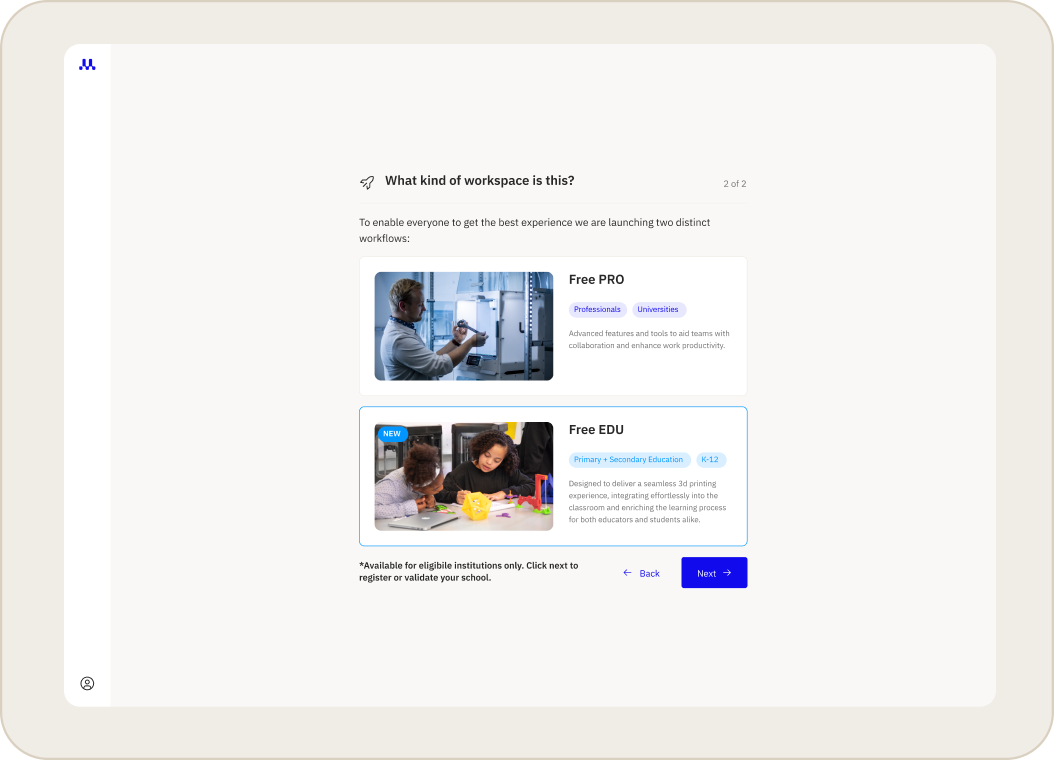
- Register Your Organization (EDU Only): You will be asked to provide details about your educational organization for Free EDU and Classroom subscriptions. This certifies that the workspace is being used for classroom instruction, student learning projects, school clubs, or academic research.
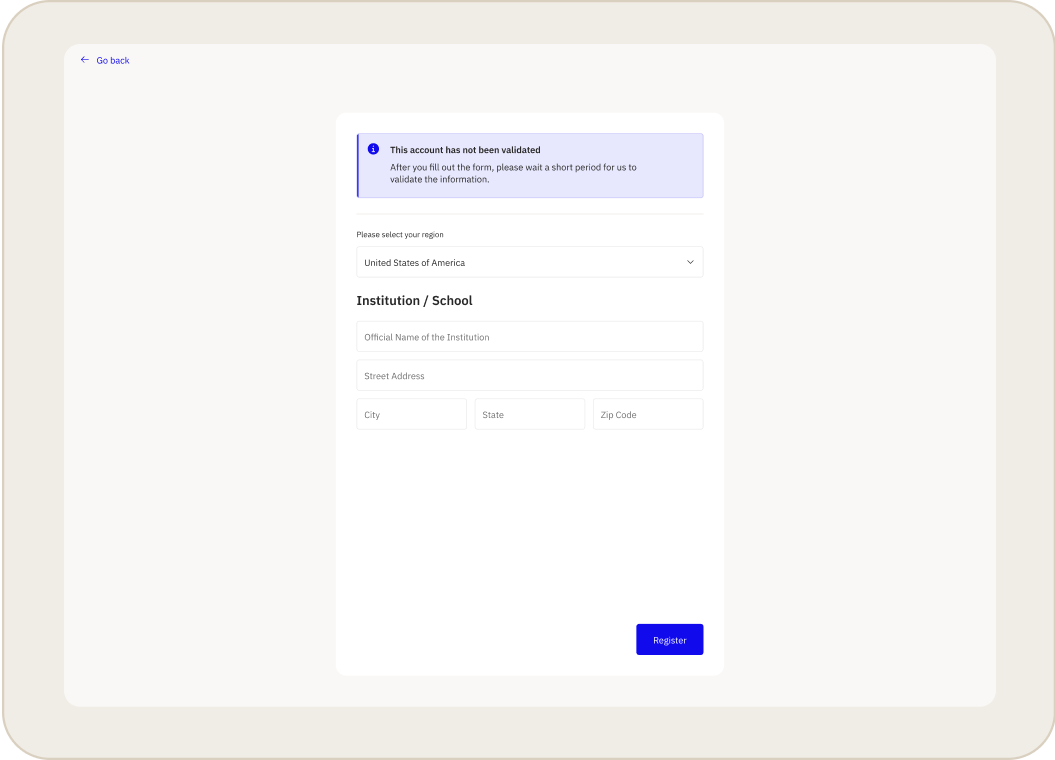
- Add Your Printer(s)
After setting up your workspace, you can add your printers to the new platform.
- Select a printer brand (UltiMaker or MakerBot), then navigate to your printer type for specific instructions.
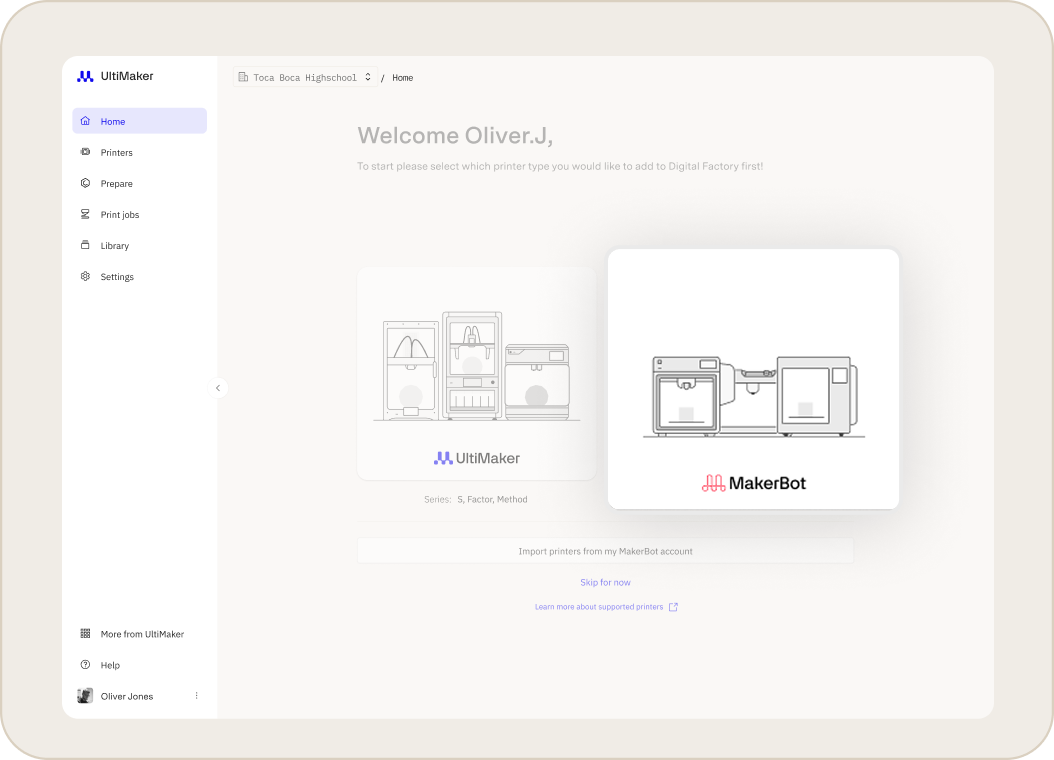
Note: Replicator family of printers are currently not supported to add via codes. For a detailed overview of compatibility for all printers, see Connect your printer to Digital Factory
Congratulations! What's Next?
You are now ready to start printing in UltiMaker Digital Factory!
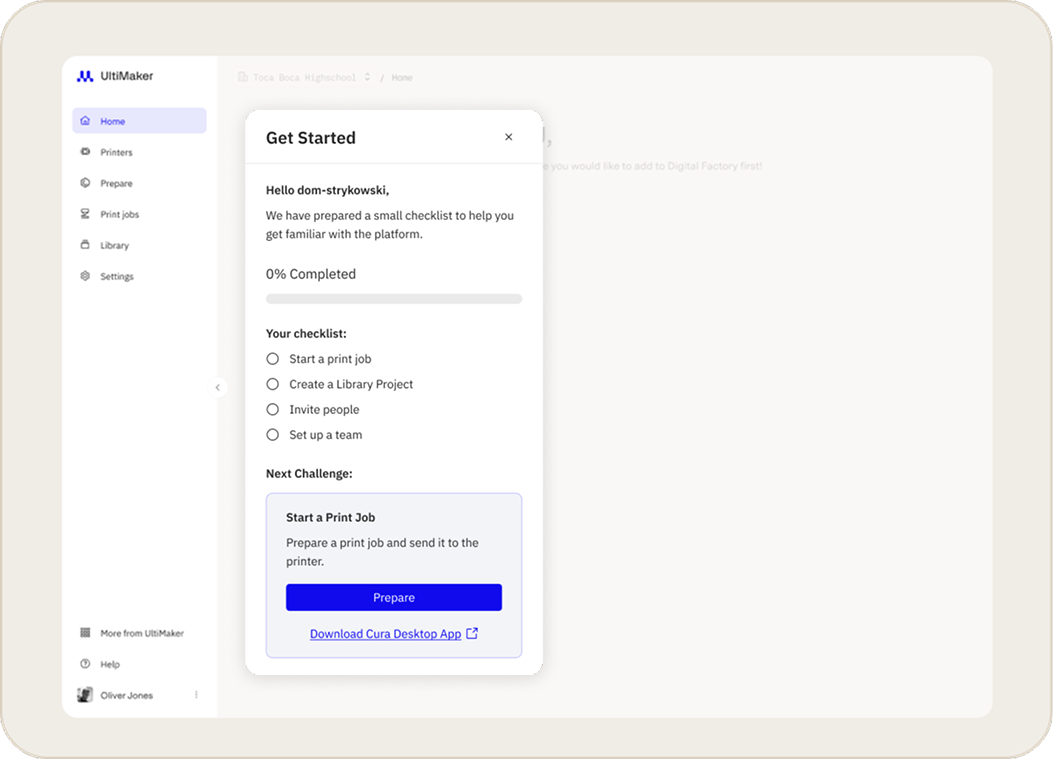
- Finish your setup in-app: Open Digital Factory and complete the Getting Started checklist shown on the home screen.
- Review articles below for a more detailed overview of Digital Factory’s features and workflow.
Related Articles
Article: Getting Started Checklist
Article: Digital Factory Features


