The Ultimaker S-line, Ultimaker 3, and Ultimaker 2+ Connect printers can connect to a local area network using either Wi-Fi or Ethernet. To connect to the network, you can always navigate to the network setting on your printer to view network information or to set up a wireless connection. The printer will also prompt you to connect to a network during the welcome setup.
In this article:
There are three ways to set up a network connection:
- Ethernet setup
- Wi-Fi setup
- Advanced network setup (for multiple printers)
|
Related articles:
|
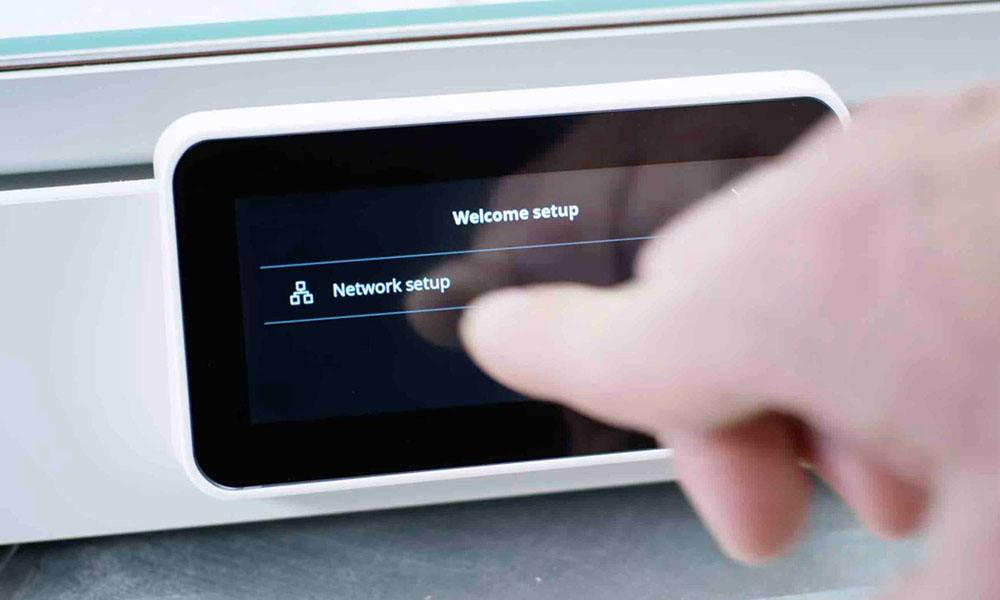
To view the network menu display on your printer shows the current network connection type and IP. You can view the network menu by navigating to:
- Ultimaker S-line: Preferences - Network
- Ultimaker 2+ Connect: Settings - Network configuration
- Ultimaker 3: System - Network
Note: When Ultimaker S-line and Ultimaker 3 printers are connected to the network, they are easily viewable by any device on the local network. The Ultimaker 2+ Connect can only communicate to your devices via the Ultimaker Digital Factory. Thereby only authorized users can make use of the Ultimaker 2+ Connect on a local network. Learn more about printing with the Ultimaker 2+ Connect on this page.
Ethernet setup
You can set up a wired network connection after completing the welcome setup by performing the following steps:
- Connect one end of an Ethernet cable to the Ethernet port at the back of the printer.
- Connect the other end of the cable to a network source (router, modem, or switch).
- Enable Ethernet in the network menu of your printer's touchscreen.
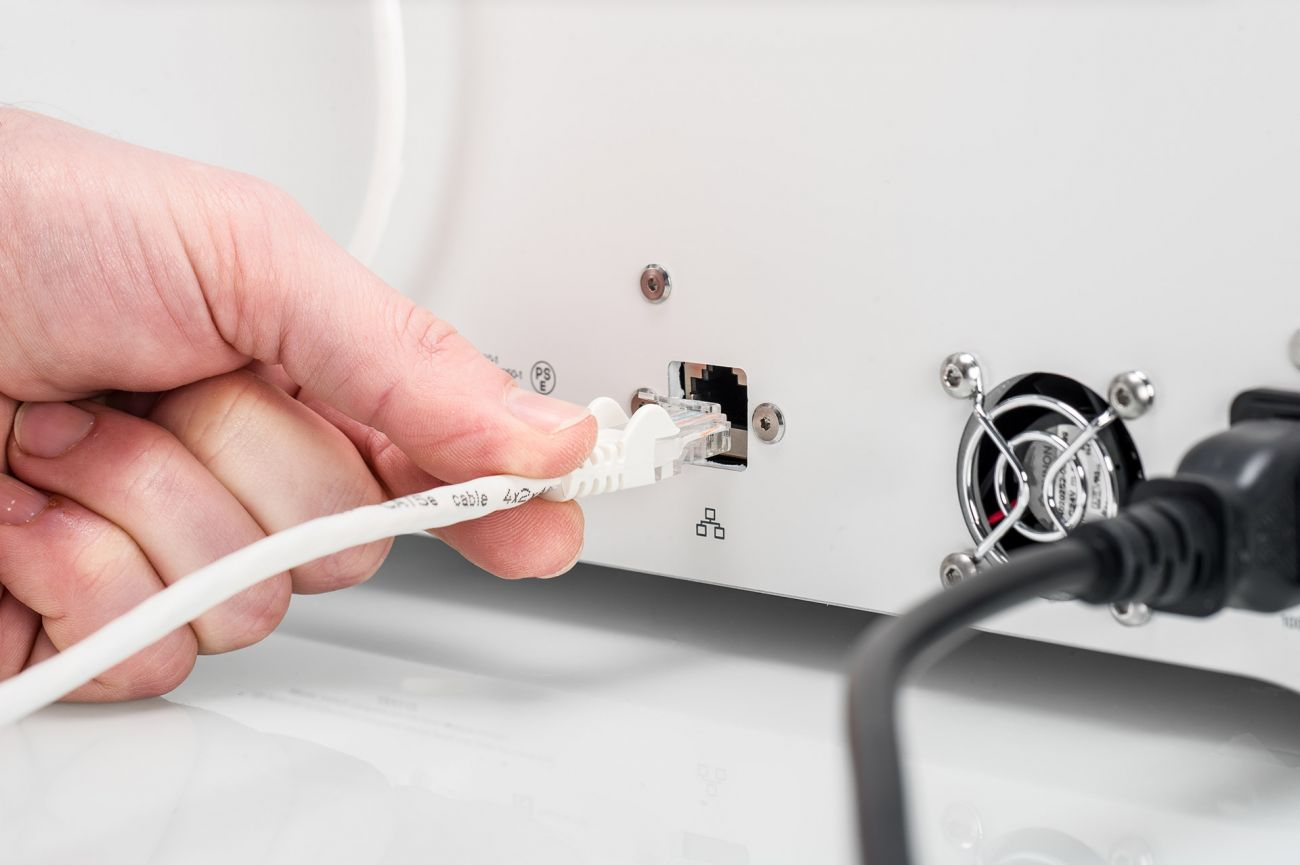
The printer will automatically receive an IP address from your local network.
Wi-Fi setup
To connect your printer to a wireless network, you will need a computer or smartphone. Start the Wi-Fi setup and follow the steps on the touchscreen:
- Wait until your printer has created a Wi-Fi hotspot. This may take a minute.
- Use a computer or smartphone to connect to the printer. The name of the Wi-Fi network is shown on the display of your printer.
- A pop-up will appear on the display of your computer or smartphone. Follow the steps to connect the printer to your local Wi-Fi network. The pop-up will disappear when you have completed these steps.
- Wait until the Wi-Fi setup is finished. Your printer will automatically retrieve an IP address.
Tip: If the pop-up does not appear, open a browser and go to a website that is not yet known by your browser. Within some network environments, the printer may experience difficulties connecting wirelessly. When this happens, repeat the Wi-Fi setup from another computer or smartphone.
Note: If you are experiencing networking trouble, check the network requirements here: Ultimaker Platform network requirements.
Advanced network setup
For connecting multiple printers to the network more easily, you can follow the USB connection guide linked below. This type of connection will also allow you to set a static IP address.
Ultimaker printers network configuration, USB network setup & static IP


