Product notification
This product has been discontinued and the end-of-service date has passed. The information on this page remains available, but is no longer supported.
|
After a lot of printing, the blue tape on the build plate may wear or damage a little bit. This can cause an uneven print surface or bad adhesion of the print. It is recommended to replace the blue tape regularly.
Instructions
| Remove the build plate | Push down on the acrylic build plate and slide it to the side. You can now remove it from the screws and take it out of the printer. |
| Remove the old tape | Peel off the old strokes old the blue tape. If certain strokes are still ok you can leave them in place, but it is recommended to replace the entire layer regularly. |
| Place the new tape | Apply new strokes of blue tape to the build plate. Ensure to place them neatly side by side. Avoid overlaps, and minimize gaps between the strokes. |
| Reinstall the build plate | Place the build plate with the newly applied tape back into the printer. Align it with the screws, push it down, and slide it to the side to lock it in place. |
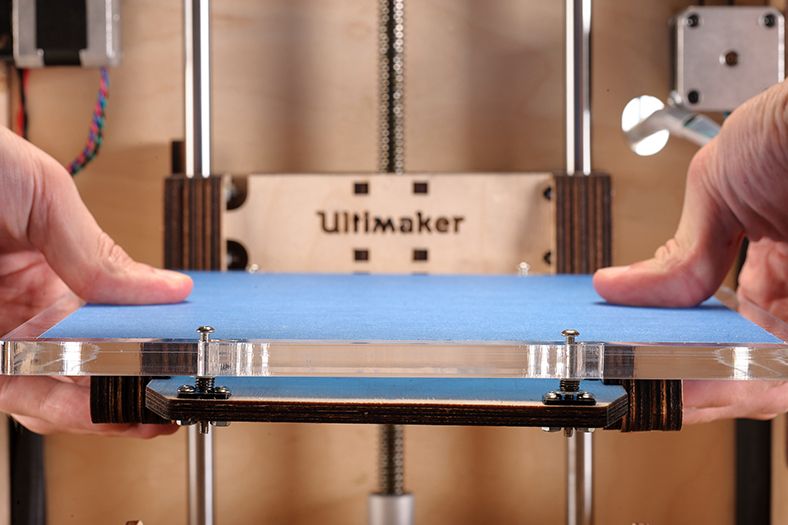 | 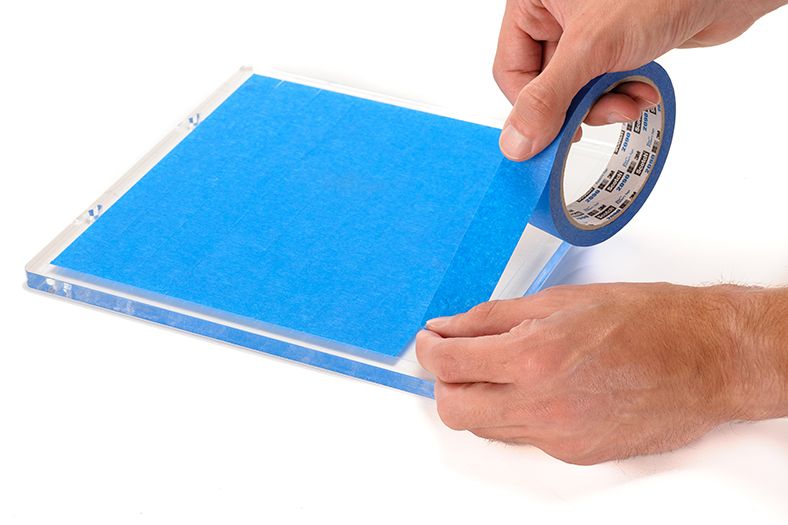 |
| Removing and reinstalling the build plate | Applying the new blue tape |
Tip: To ensure good adhesion of your next print, it is recommended to re-level the build plate after repositioning the acrylic plate.


