The Material Station is compatible with UltiMaker S series printers (S5, S6, S7, and S8). This combination of printer and Material Station is referred to as the Pro Bundle (for the UltiMaker S5 and S6, the Air Manager add-on is also part of the Pro Bundle).
Note: The Material Station is not compatible with the UltiMaker S3 or other printer models. Factor 4 features an integrated Material Station. Although many components and features are similar, this article only specifically applies to the UltiMaker S series Material Station, not the material handling module of the Factor 4.
It is designed to improve the 3D printing workflow and efficiency. With a connected Material Station, UltiMaker S series printers benefit from the following features:
|
Access to up to 6 material spools
|
Load up to 6 material spools from the front of the Pro Bundle. The 6 different material bays are shown on the display, and the configuration menu on the printer changes its user interface to reflect this. When an NFC material is loaded into any bay, the material will automatically be read and displayed. Furthermore, the user can easily see on the display for which extruder the material is loaded.
|
|
Automatic filament switching
|
When an end-of-filament situation is detected by the Material Station during printing, the Material Station will automatically switch to the next available material spool of the same type. For this reason, it is recommended to always load another spool of the same material into the same extruder.
|
|
Humidity-controlled material storage
|
A reliable humidity-controlled storage chamber maintains the loaded spools in optimal condition.
|
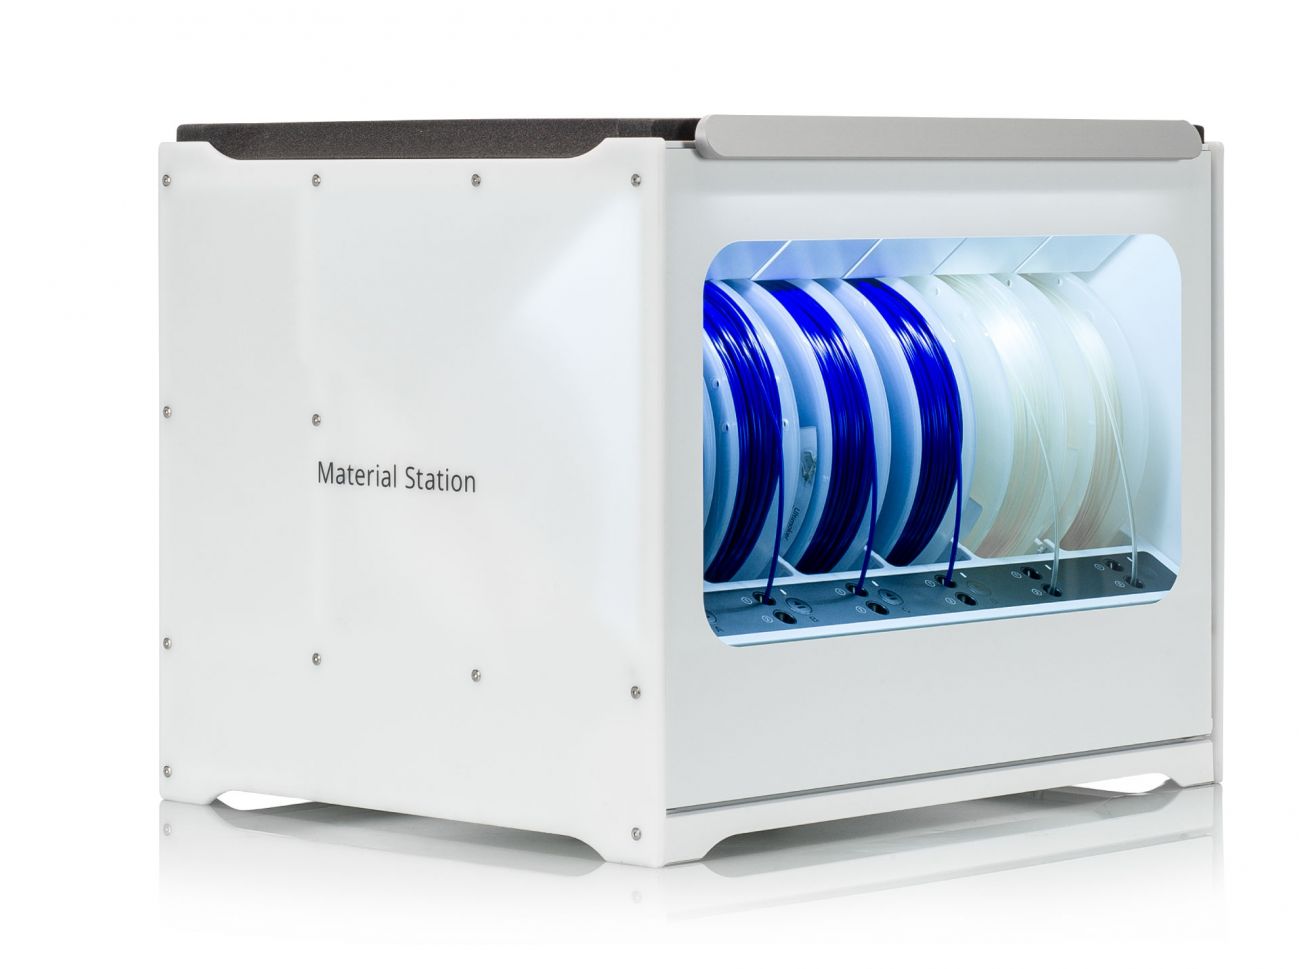
Loading materials
Loading material spools in the Material Station is quick and simple. This can conveniently be done from the front, and at any time, even during printing.
Simply place the material spool into one of the six bays and insert the filament tip into entry port 1 (for extruder 1) or entry port 2 (for extruder 2). For the best results and increased loading reliability, always cut the filament into a nice, sharp tip before inserting the material.
You will feel the filament getting pulled in slightly, then stop. The filament is now in the 'pre-loaded' state in the prefeeder. It will stay in this position until the filament is needed for a print job. When a print job is started, that material will automatically be loaded toward the print head. Manually loading the filament to the print head is not possible.
Tip: For detailed information about loading and unloading spools in the Material Station, please visit this article.
Material compatibility
The Material Station is compatible with all UltiMaker Materials currently available (except PPS CF, this is not supported on S series). It will automatically detect the material type using the NFC tags in the spools.
When using third-party materials, check the Marketplace profiles for compatibility information. Not all third-party materials have a completely integrated workflow with the Material Station. Please look at the Marketplace for the latest compatibility information. Also, take the spool size limitations into account.
Learn more about printing with different materials on the Material Station in these articles:
The extrusion path in the Pro Bundle is longer and has more curves than when the filaments are placed on the spool holder. This can be problematic for stiffer and more brittle materials. Not all materials can be used in the Material Station, as this might lead to the filament breaking.
Tip: It is recommended to load stiff or brittle filaments (such as PVA) in an extrusion path with the fewest curves to reduce stress on the filament. For extruder 1, place the spool in bay A, and for extruder 2, place the spool in bay F.
Note: The metal filament in the Metal Expansion Kit is not compatible with the Material Station because of the extrusion path curvatures and depriming reliability issues. The print profiles and compatibility information of Ultrafuse 17-4 PH can be found on the UltiMaker Marketplace.
Starting a print
It is not necessary (and therefore also not possible) to list the Material Station as an add-on for the S series printer in UltiMaker Cura. The correct settings for the Material Station will automatically be included when slicing your model. The same files can be printed on any compatible S series printer, regardless of the installed peripherals.
If your printer is connected via UltiMaker Digital Factory, you will automatically see an overview of the currently loaded possible configurations in the Configuration panel. You can select a custom configuration as well, but this will require you to change the print core(s) or material spool(s) before the print can start.
All materials remain pre-loaded inside the humidity-controlled Material Station until a material is required for a print. The Material Station and printer will then automatically load the material to the print head.
After a print
When a print is finished, the Pro Bundle will initiate the deprime procedure. This ensures that the material has a clean, sharp tip and no strings, so it can reliably unload back into the Material Station.
The material will not unload straight away. It will remain parked above the print head for a certain amount of time (2 hours for most materials, but 60 hours for PVA), or until the next print job is started. This speeds up loading if a new print is started with the same material. When the timer runs out, or if the next print job requires different materials, the filament will automatically be fully unloaded back to the Material Station.
Tip: It is recommended to timely remove empty spools from the Material Station. When end-of-filament has been detected, a length of material remains. It is possible that this does not coil back on the spool neatly.


