This article contains information about UltiMaker S series printers, including the S3, S5, S6, S7, and S8.
The Bowden tubes guide the filament from the feeders to the print head. Over time, the inside and outside of the tubes may have become scratched. This can cause print quality issues, or the tubes may not be held securely in place anymore.
It is recommended to check the surface of the Bowden tubes once a year. Replace them when necessary to retain optimal print quality and reliability.
Caution: After unloading the material(s), turn off the printer or ensure it is disabled in the UltiMaker Digital Factory to prevent new print jobs from starting remotely.
Requirements and info
The instructions on this page apply to UltiMaker S series printers, but some steps might be different depending on the product model, or if any peripherals are installed, such as the Material Station and the Air Manager. If this is the case, this is highlighted.
| Part(s) |
1× or 2× 80-226572 - Bowden pack L705 (for UltiMaker S3)
This pack contains a single Bowden tube, with two tube coupling collets, one white clamp clip (for the print head side), and one black clamp clip (for the feeder side).
1× 80-227177 - Bowden pack L850 (for UltiMaker S5, S6, S7, and S8)
This pack contains two Bowden tubes, with four tube coupling collets, two white clamp clips (for the print head side), and two black clamp clips (for the feeder side).
|
| Tool(s) | None required |
| Time | 3 - 5 minutes |
| Difficulty level | 1 - Easy |
Tip: The Bowden packs also include tube coupling collets and clamp clips. You can replace these at the same time, or keep them for later.
Disassembly
Follow the steps below to remove the old Bowden tubes. The steps describe replacing both tubes, which is recommended, but you may also choose to replace only one of the Bowden tubes.
Tip: Before you start, ensure that you can reach all components; you need access to the print head (inside the printer) and the feeders (back of the printer). For the S5 or S6 with Air Manager, open the cover. For the S7 or S8, open the glass door.
 |  |
|
1. Unload materials
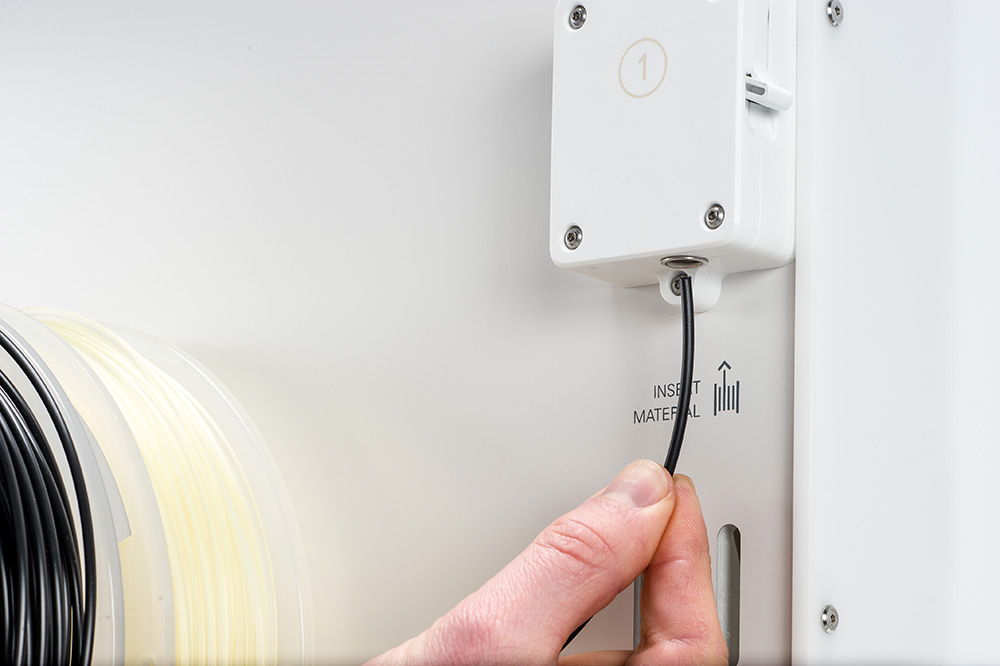
In the Configuration menu, select Unload for both materials. Take the filament out of the feeders. You can, but do not have to, remove the spools from the spool holder. In combination with the Material Station, unload any materials still in the print head back into the Material Station.
|
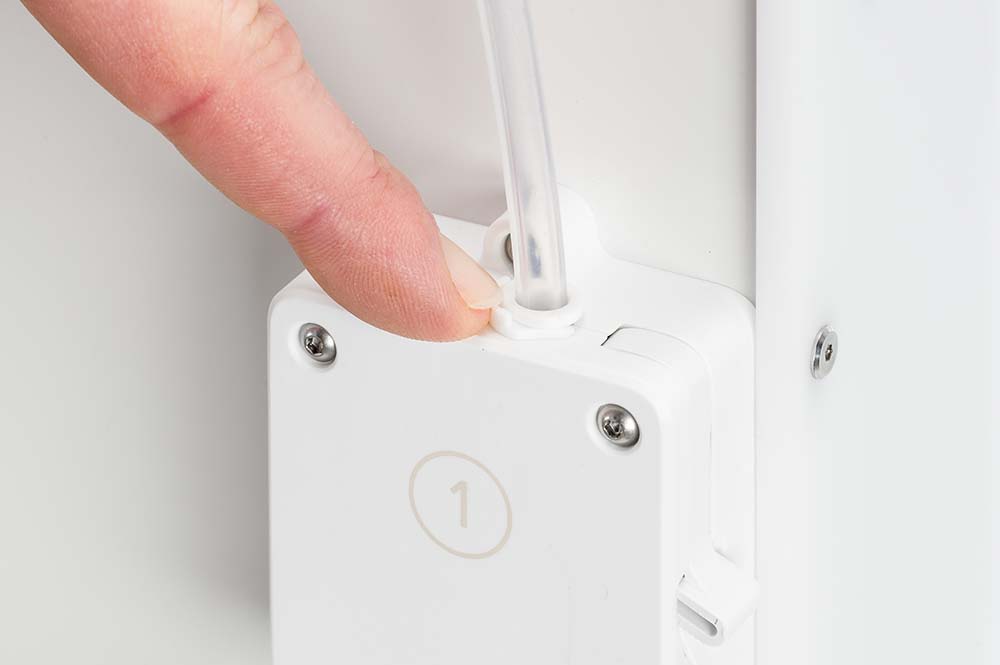
2. Remove feeder clamp clips
At the back of the printer, remove the clamp clip from the tube coupling collet at the top of the feeder. Do this for both feeders.
|
 |  |
|
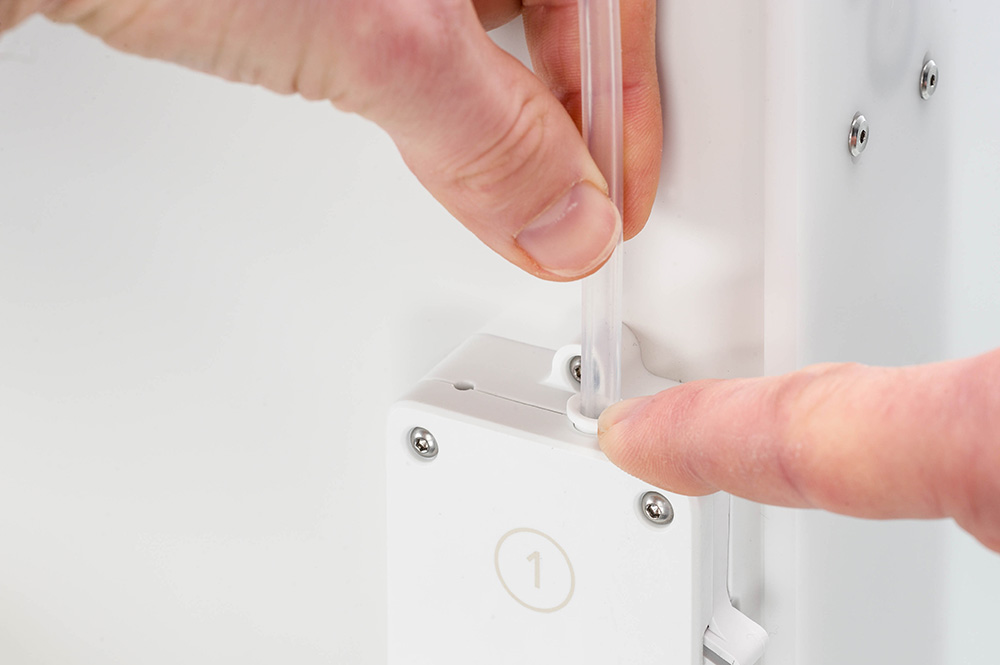
3. Remove feeder Bowden tubes
Press down on the tube coupling collet while pulling the Bowden tube out of the feeder. Do this for both feeders.
|
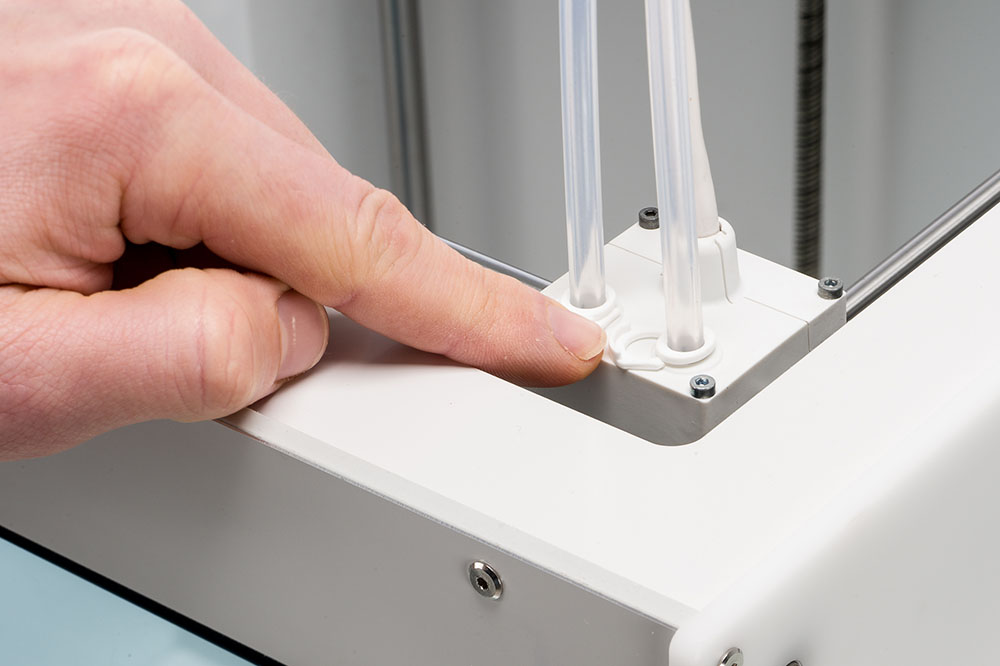
4. Remove print head clamp clips
Move the print head to the front for easier access and remove the clamp clips from around the tube coupling collets.
|
 |  |
|
5. Remove print head Bowden tubes
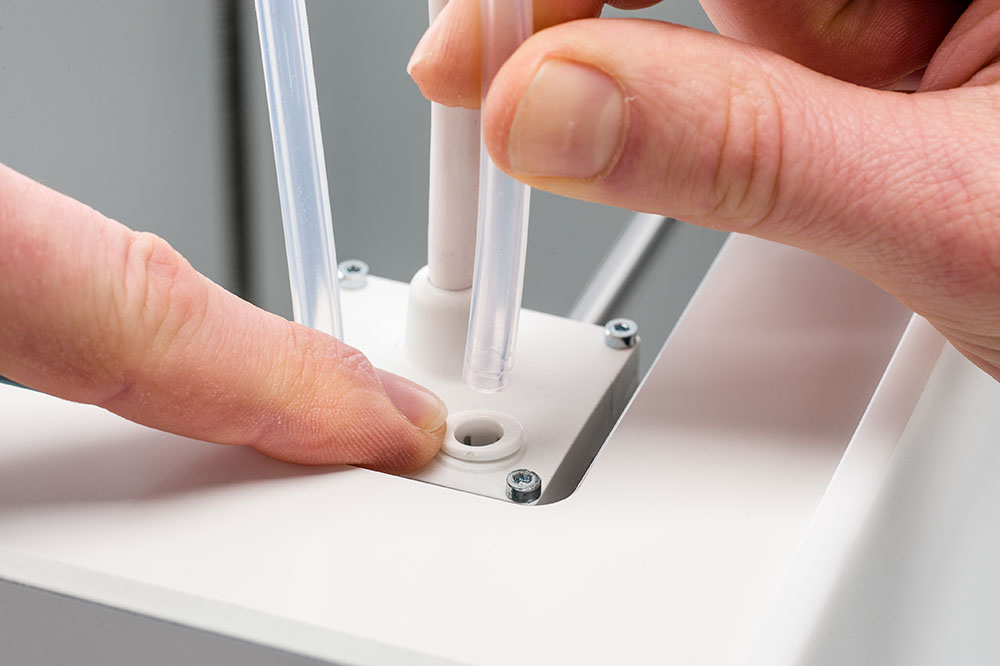
Press down on the tube coupling collet while pulling the Bowden tube out of the print head. Do this for both sides.
|
6. Loosen cable clips
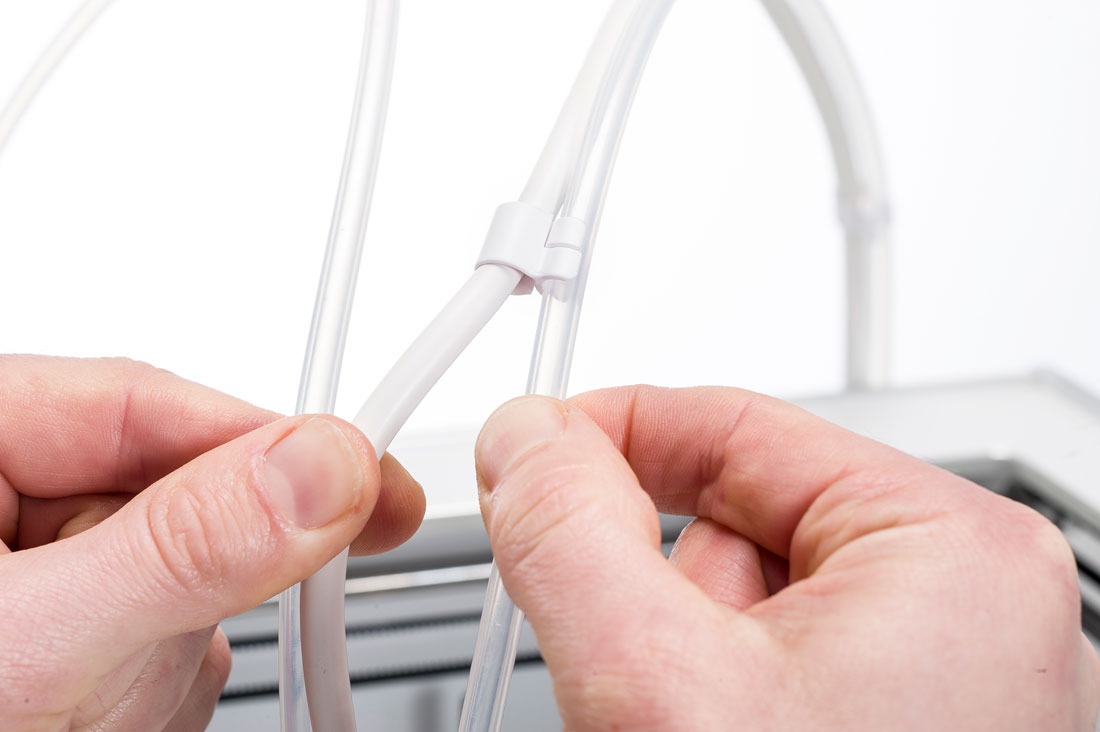
When removing the Bowden tube from extruder 2 (right), loosen the four cable clips from the Bowden tube to remove it completely.
|
Tip: With the Air Manager (add-on), guide the Bowden tube(s) through the slots in the mounting bracket. For the UltiMaker S7 and S8 (with integrated Air Manager), guide the Bowden tube(s) through the Bowden cover(s).
Reassembly
Tip: The new Bowden pack will also contain extra clamp clips, white and black. The white clip is installed on the print head, and the black one is installed on the feeder.
 |  |
|
1. Check the chamfers
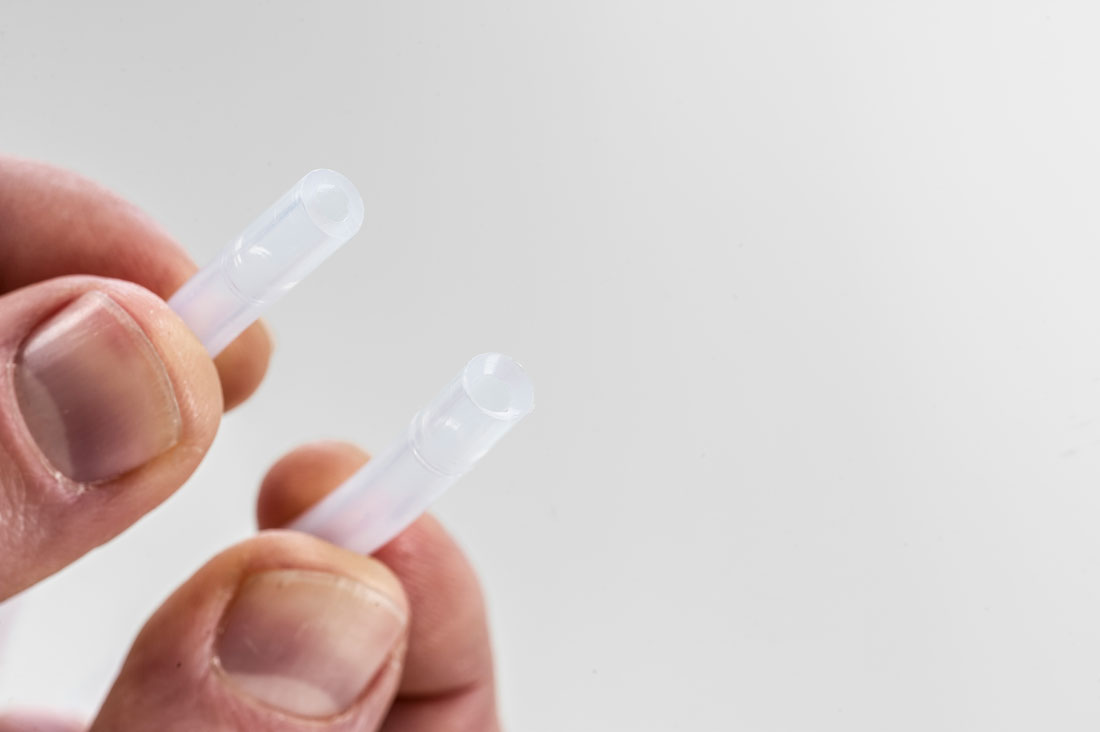
Both ends of the Bowden tubes should be chamfered, so the orientation does not matter. If there is a flat side, this may be an older revision. This is no problem, just ensure to insert the chamfered side in the feeder and the flat side into the print head.
|
2. Insert into feeder
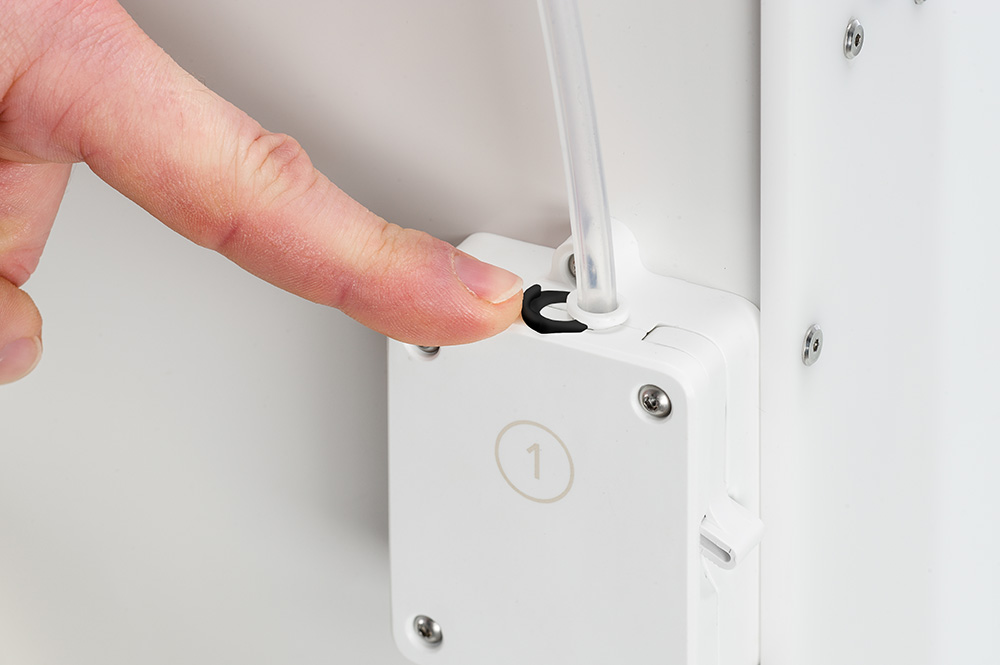
Insert the Bowden tube (chamfered side) into the feeder. Keep the collet pressed down and push the Bowden tube all the way in. Secure the tube with the (black) clamp clip.
Tip: With the Air Manager (add-on), first guide the tube from above through the slot in the mounting bracket. For the S7 and S8, guide the tube through the Bowden cover; this can be done from the inside or the back of the printer, whichever is easier.
|
|
|
|
|
3. Insert into print head
Insert the other side of the Bowden tube into the print head. Keep the collet pressed down and push the Bowden tube all the way in. Secure the tube with the (white) clamp clip.
|
4. Place cable clips
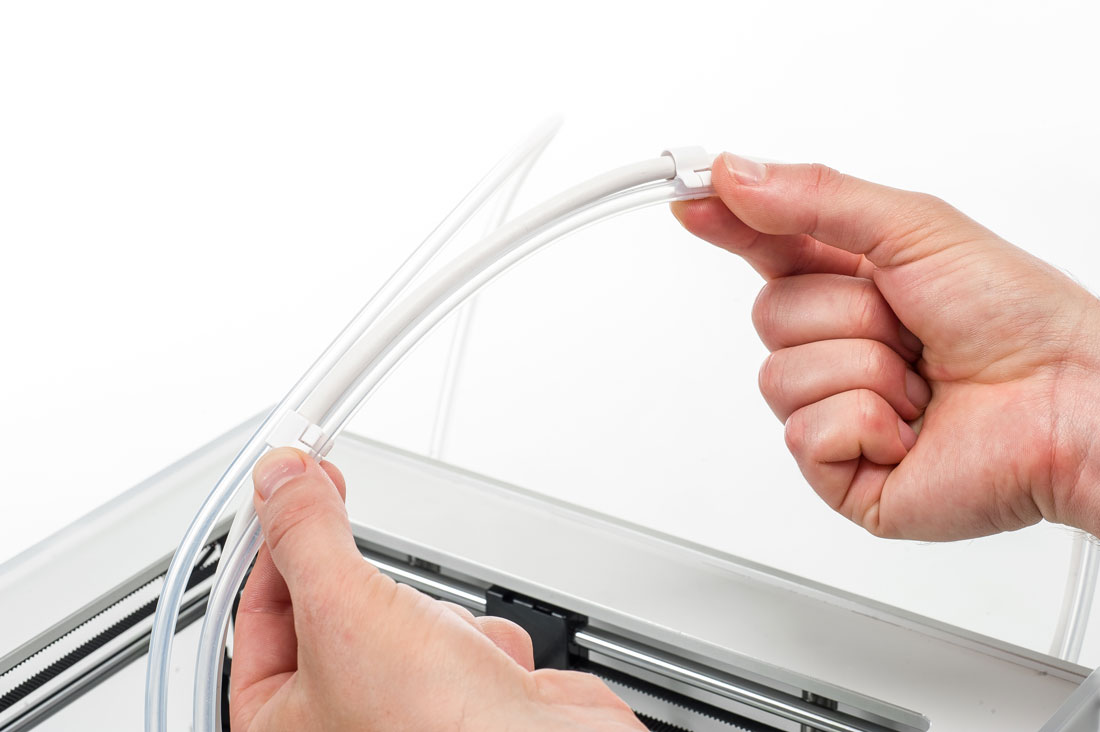
For Bowden tube 2 (right), click the header cable clips from the print head cable onto the Bowden tube. Equally divide the clips over the Bowden tube, starting at ~10 cm above the print head.
Tip: For the UltiMaker S7 and S8, also secure Bowden tube 1 (right) to the print head cable with one clip, 15 cm above the print head.
|
Finished!
You can now turn on the printer again and reload your materials.
Tip: Always cut off the end of the filament in a nice, sharp tip before loading. This prevents scratching or friction inside the Bowden tubes and keeps the tubes in optimal condition.


