Welcome to Cura! This article describes the first steps in getting started with UltiMaker's print preparation software. On this page, you will find information on where to download the software and how to complete the welcome setup, including adding your printer or printers.
Install UltiMaker Cura
To install the latest version of UltiMaker Cura, please visit the Cura product page on the UltiMaker website. When navigating, select Software in the top bar, and click on UltiMaker Cura. On this page, you will find the download links for the latest stable version of the software. Make sure to download the correct file for your operating system.
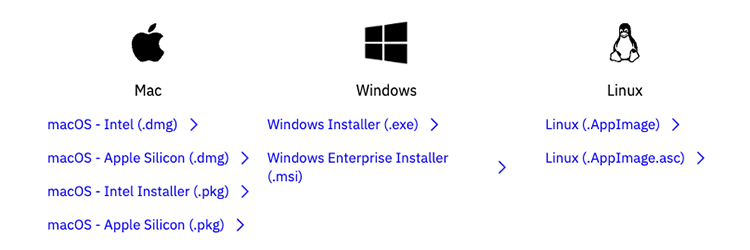
After downloading, run the installation wizard.
Tip: Before you download, first see the lists of supported operating systems and versions and minimum and recommended hardware requirements.
UltiMaker Cura Enterprise
If you prefer to use only security-assessed versions of the UltiMaker Cura software, download UltiMaker Enterprise via the subscription portal.
Note: UltiMaker Cura Enterprise is delivered as a .MSI package. It is intended for organizations that require enterprise-grade software easily deployable by the organization's IT admin. Learn more here.
Welcome setup
When you open UltiMaker Cura for the first time, you will enter the welcome setup. A few simple steps will guide you through the first important Cura configurations.
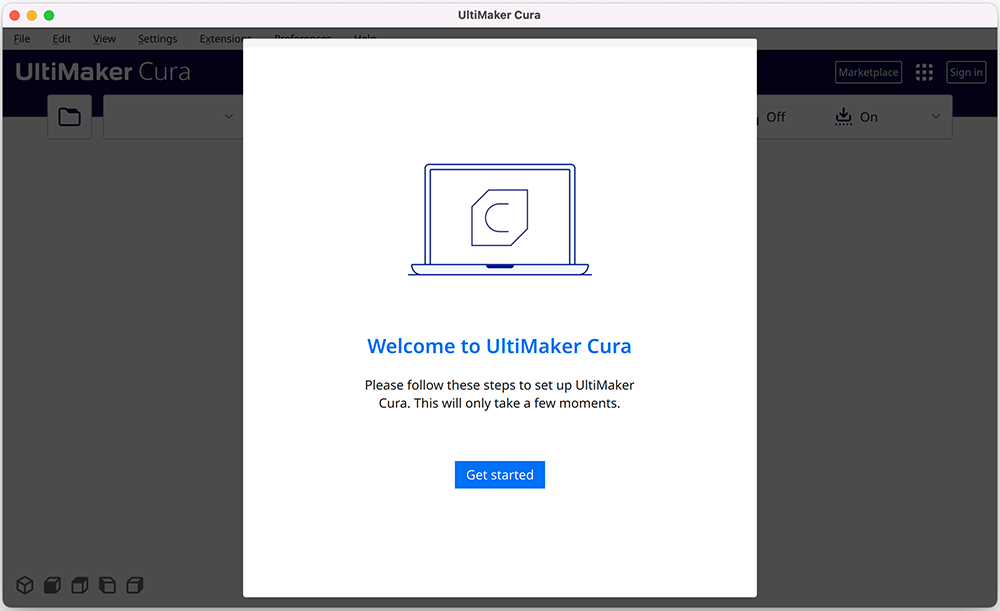
User agreement and data sharing
The first few screens allow you to review and accept the user agreement, and decide whether to allow UltiMaker Cura to collect anonymous user data. Click More information to learn what user data will be shared and provide the option to turn data sharing off.
Sign in to your UltiMaker account
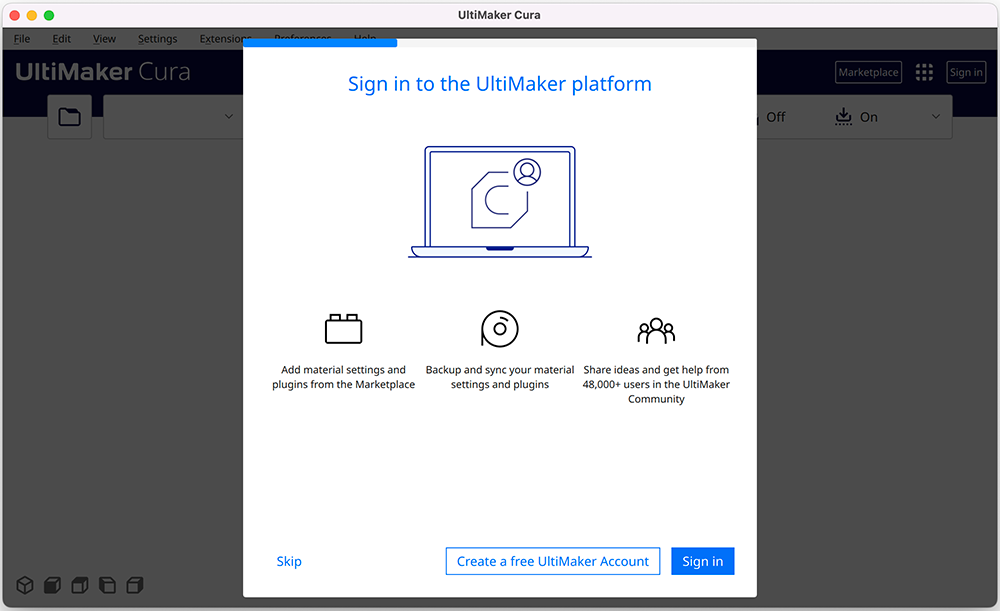
By signing in to your UltiMaker account, you gain access to additional features. If you own one or more UltiMaker printers, connect them to the Digital Factory to easily sync them with UltiMaker Cura.
Tip: If you do not have access to Digital Factory or don't own an UltiMaker printer, you can still use an UltiMaker account to install plugins and material profiles from the UltiMaker Marketplace, and back up your settings.
Sign in to an existing account, or create a free new one. Select Skip if you want to continue to use the software without an account.
Adding printers
You must add at least one printer to Cura in order to use the software. You can connect your UltiMaker printers via cloud, local network, or add one manually. You can also add printers from many other printer brands.
Tip: If you have already connected your printers to the Digital Factory, Cura will automatically add all the printers you have access to in the Digital Factory. After the initial setup, Cura will regularly check for changes in the printers list and inform users when new printers are detected.
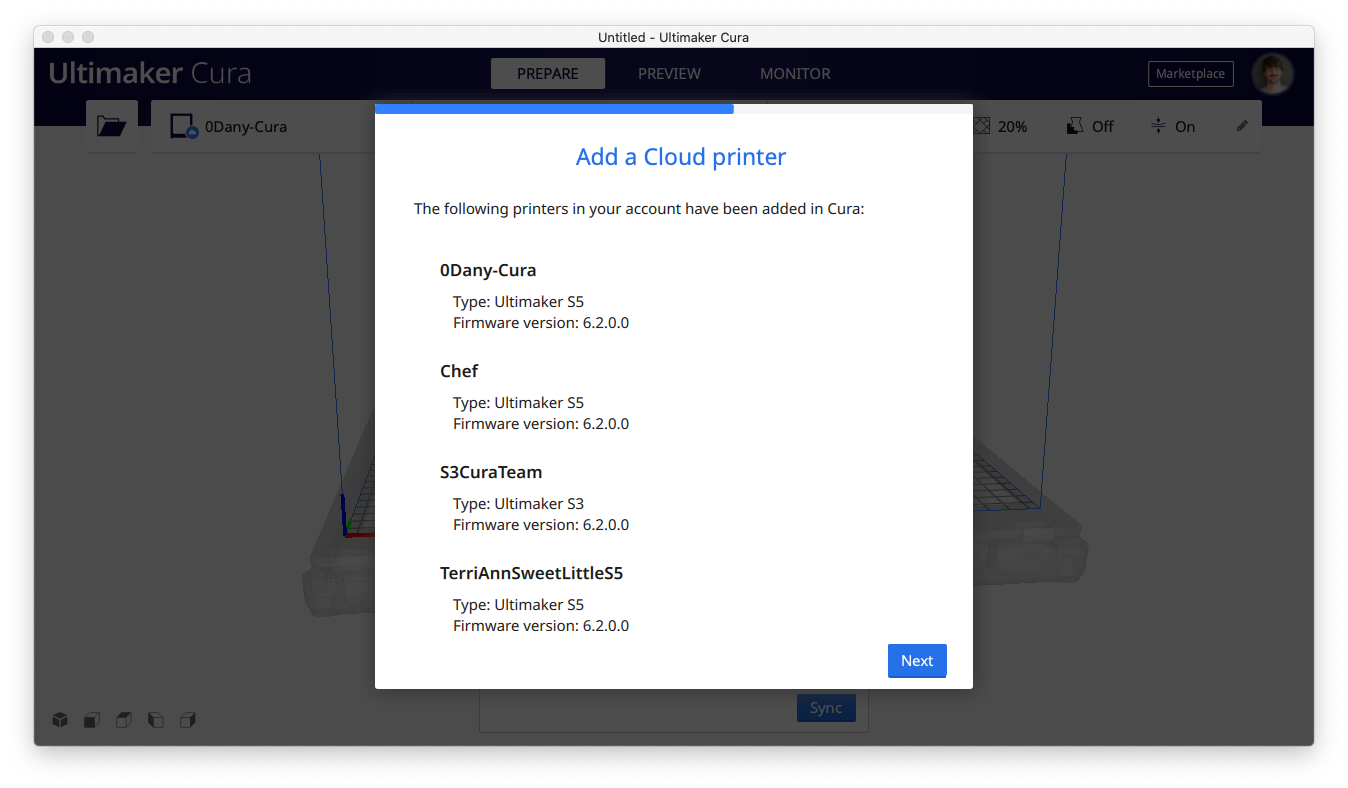
If you added your printers via the Digital Factory successfully, you can skip the next steps (under Adding printers manually) and continue on to the release notes.
Tip: You can always add more printers to UltiMaker Cura after completing the welcome setup, either via Digital Factory or manually. Learn more about adding printers to Cura here.
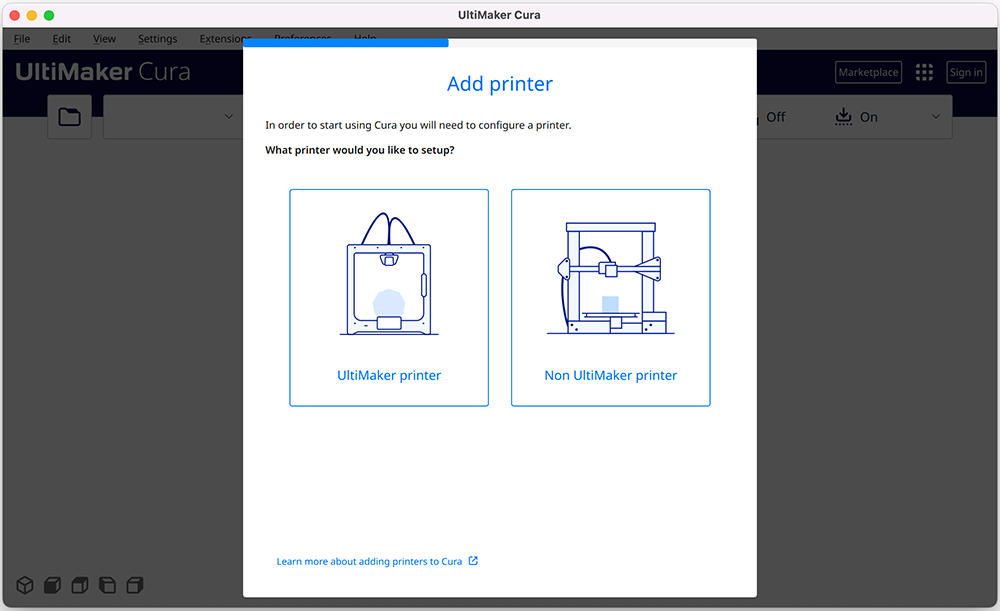
If you have not (yet) signed in to your account or have any UltiMaker printers set up in Digital Factory, you can add printers manually. First, select if you want to add an UltiMaker printer or a different brand.
Add an UltiMaker printer to Digital Factory
If you have selected UltiMaker, you will be prompted to add the printers to the Digital Factory. For UltiMaker printers with network capabilities (Factor Series, S Series, UltiMaker 3, or UltiMaker 2+ Connect), this is highly recommended. Sign in to the Digital Factory and add the printer(s) according to the instructions. Learn more here: How to connect your printers to the Digital Factory.
Once you are done adding the printer to Digital Factory, Cura will detect the printers. In the printer overview, click Next to add all printers to Cura.
Add an UltiMaker printer connected to the local network
If your UltiMaker printer is connected to the local network, it will appear in the list of networked printers. Select the printer and click Next to add the printer to Cura. You can also connect to the printer by entering its IP address.
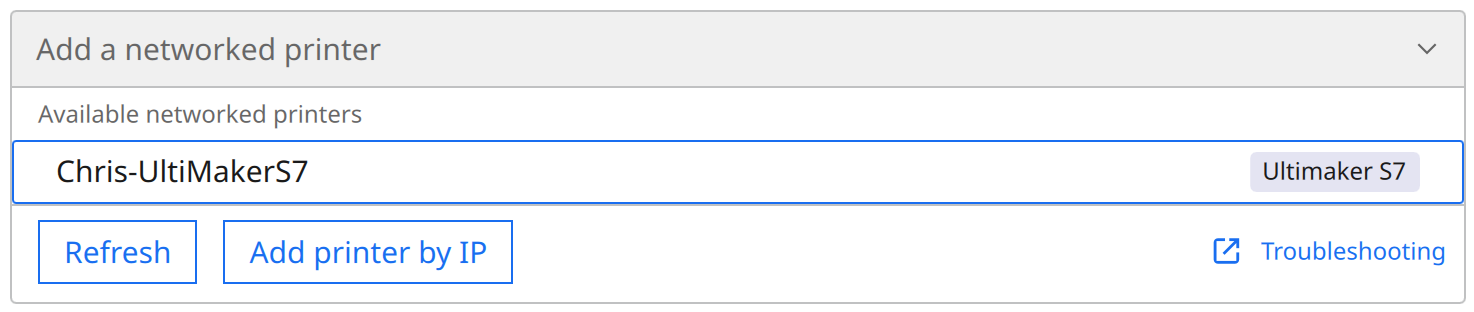
Note: If you are having trouble connecting your printer, please read this network troubleshooting guide.
Add a non-networked printer
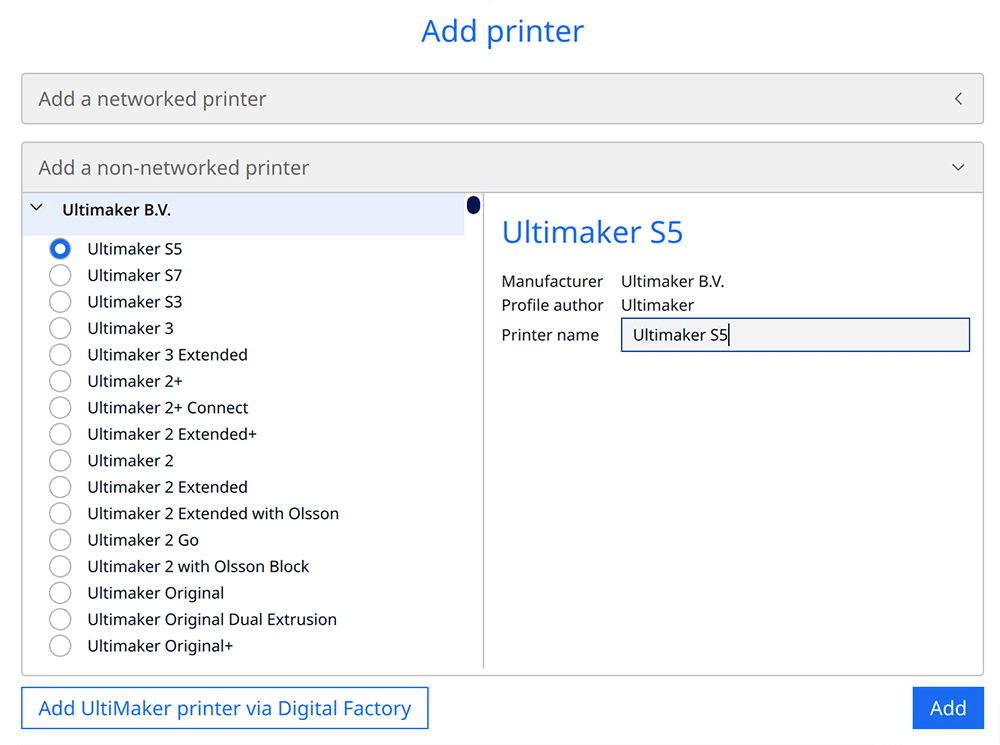
If you cannot connect your UltiMaker printer via the network, or if you own a different printer brand, add your machine to Cura by selecting it from the list under Add a non-networked printer.
Select the correct printer model from the list. For non-UltiMaker printers, you can use the search bar to find your brand quickly. You can give the printer a unique name if you wish. Then, click Next to continue.
Note: For some printer models, you may have to check and update the machine settings first.
Tip: You can add one non-networked printer in the welcome setup, but you can always add more printers later. Learn more about adding printers to Cura here.
Is your printer model not listed?
You can add a custom printer. You may also contact the printer manufacturer and request them to add their printer definition to Cura.
Note: Please do not contact UltiMaker about missing third-party printers. UltiMaker's developers do not manage printer definitions; these are added by the manufacturers or community members.
What's new and release notes
You are almost ready to go. Have a look at the new features and the release notes to stay up to date with the latest Cura development.
You can now click Finish and start using Cura. If you are unsure how to prepare your first print, please read this support article:
How to start your first print in UltiMaker Cura


