This article guides you through all the steps necessary to correctly install the UltiMaker S8. It is important to choose a suitable location for your 3D printer, and some hardware components must be installed before powering on the printer for the first time.
The UltiMaker S8 comes with several accessories. Some need to be installed before first use, while others are intended for maintenance or calibration at a later stage. Keep these accessories in a safe place so they are readily available when needed.
Tip: The UltiMaker S8 is compatible with the Material Station. Some installation steps are different in combination with this add-on. Instructions for both configurations are shown.
In this article:
- Location: Choose a suitable location to install your UltiMaker S6.
- Unboxing: In case you haven't done so already, a link to the unboxing instructions.
- Hardware installation: How to install several of the hardware components, for both configurations:
- Setup without Material Station: How to install the S8 as a standalone printer.
- Setup without Material Station: How to install the S8 with the Material Station.
Location
Choosing the right location for your 3D printer is the first step for a successful setup. The surface, placement, and environment can all affect the reliability of the printer and the quality of the prints. Additionally, good accessibility for general operation and maintenance purposes ensures a positive experience for all who work with the UltiMaker S8. Take the following recommendations into account:
Surface
- The surface must be flat, stable, and level. This ensures a secure and solid placement of the printer and prevents vibrations from affecting the print process.
- Ensure that the desk or workbench is strong enough to support the printer:
- UltiMaker S8: The total weight of the printer, including materials, is up to ~35 kg (55 lbs).
- Material Station: The Material Station, including materials, adds up to 22 kg (48 lbs).
- Take proper precautions to prevent the printer from falling. Especially if the surface is smooth, ensure to place the anti-slip feet on the bottom edges of the UltiMaker S8 panels. Additionally, a higher edge around the desk can prevent the printer from accidentally being knocked down.
Placement
Ensure there is sufficient space around the printer for airflow and material handling:
- Spool holder: If the UltiMaker S8 is used without Material Station, the materials are loaded at the back of the printer. Ensure there is at least 20 cm (8 in) behind the printer to fit the spool holder.
- Material handling: (also without Material Station) Ensure you have good access to the spools and feeders at the back of the printer. It is best to leave enough room behind the printer, but if this is not possible (e.g. the UltiMaker S8 is installed close to a wall), make sure it is possible to rotate the printer on its installation surface to access the back.
- Air Manager: There should be at least 10 cm (4 in) of clearance behind the fan for unrestricted airflow.
- Material Station: If the UltiMaker S8 is used with the Material Station, there should be at least 10 cm (4 in) of clearance behind the dehumidifier exhaust.
Environment
- The UltiMaker S8 must be positioned out of direct sunlight during operation.
- The ambient conditions must be well controlled and never exceed the maximum recommended operating temperature. When the printer is used in ambient temperatures outside of the recommended range, optimal performance cannot be guaranteed.
Unboxing
After choosing the right location, take the UltiMaker S8 out of the box and remove all packaging materials. Detailed instructions can be found in this article:
UltiMaker S8 - Unboxing
Note: Please retain all packaging materials for warranty purposes.
Hardware installation
After unboxing, complete the hardware setup by installing several of the hardware accessories before powering on the printer for the first time. The installation steps are different if the printer will be used in combination with the Material Station. Select your configuration and follow the steps below.
Tip: The print cores and flexible build plate are already installed on the printer.
Setup without Material Station
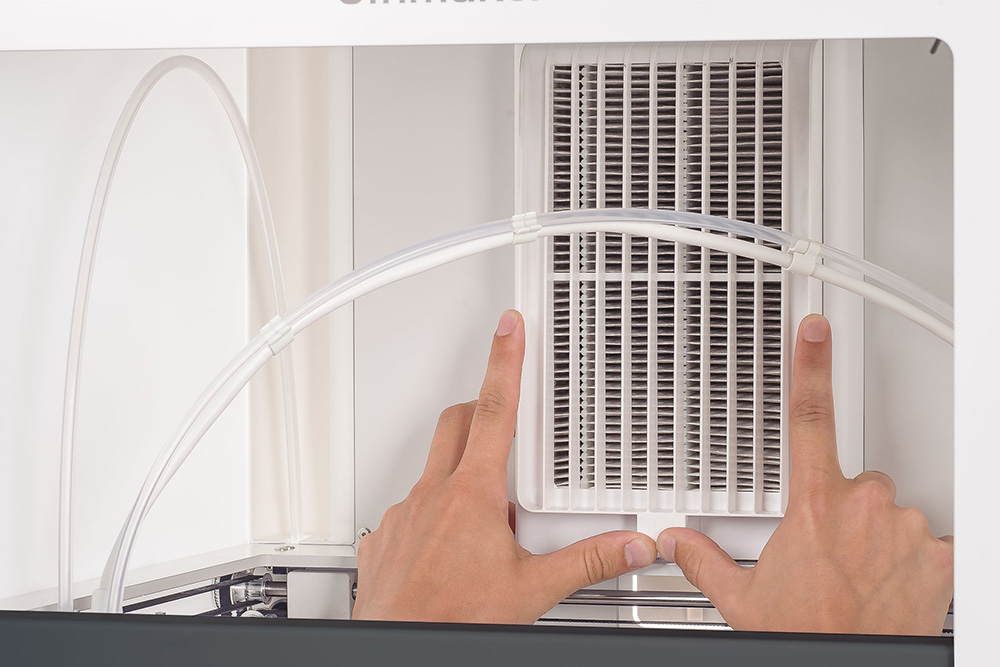
Take the following steps to install the UltiMaker S8 without the Material Station. You will need the anti-slip feet, Air Manager filter, spool holder, and power cable. If necessary, move the printer to its final installation surface. Always lift and move the UltiMaker S8 with at least two people.
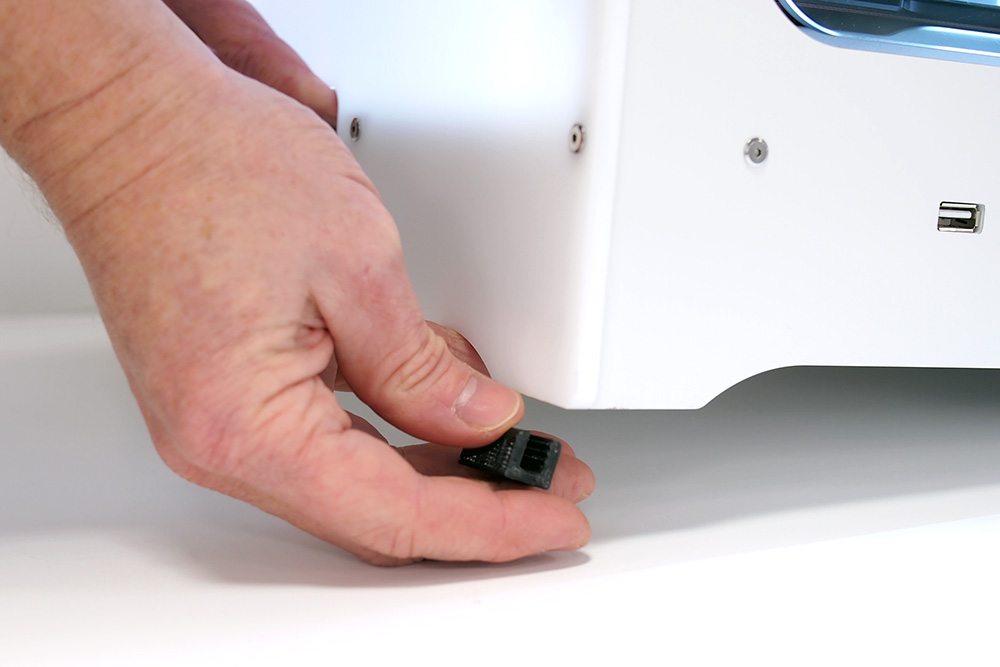 |  |  |
1. Anti-slip feet
Carefully tilt the printer and place the anti-slip feet around the bottom of the frame panels. | 2. Air Manager filter
Open the door, align the Air Manager filter with the housing, and gently push it into place. | 3. Air Manager cable
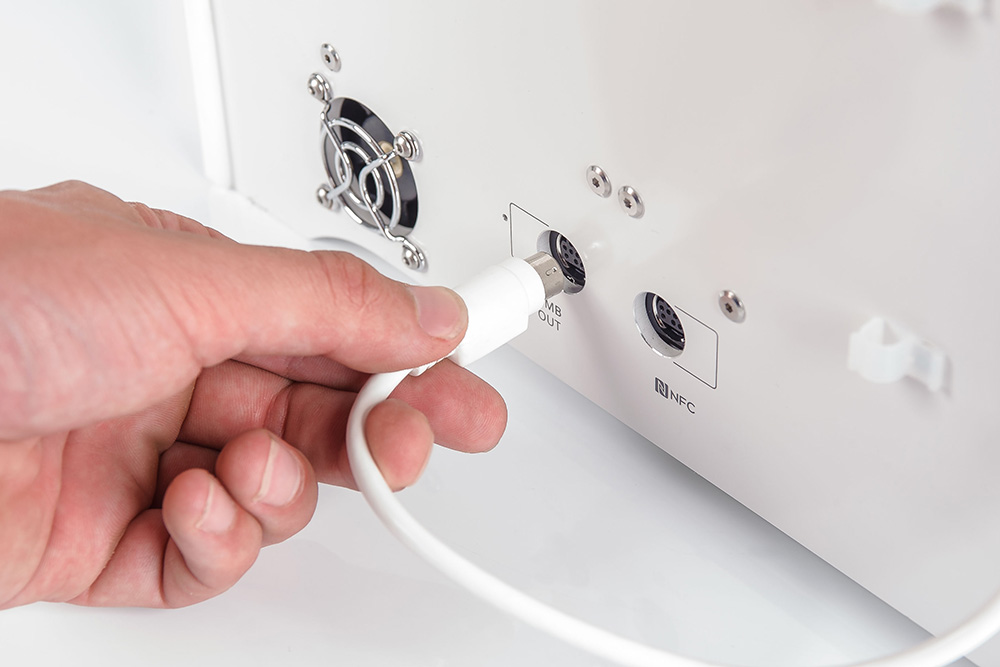
At the back of the printer, connect the Air Manager cable to the UMB OUT port. |
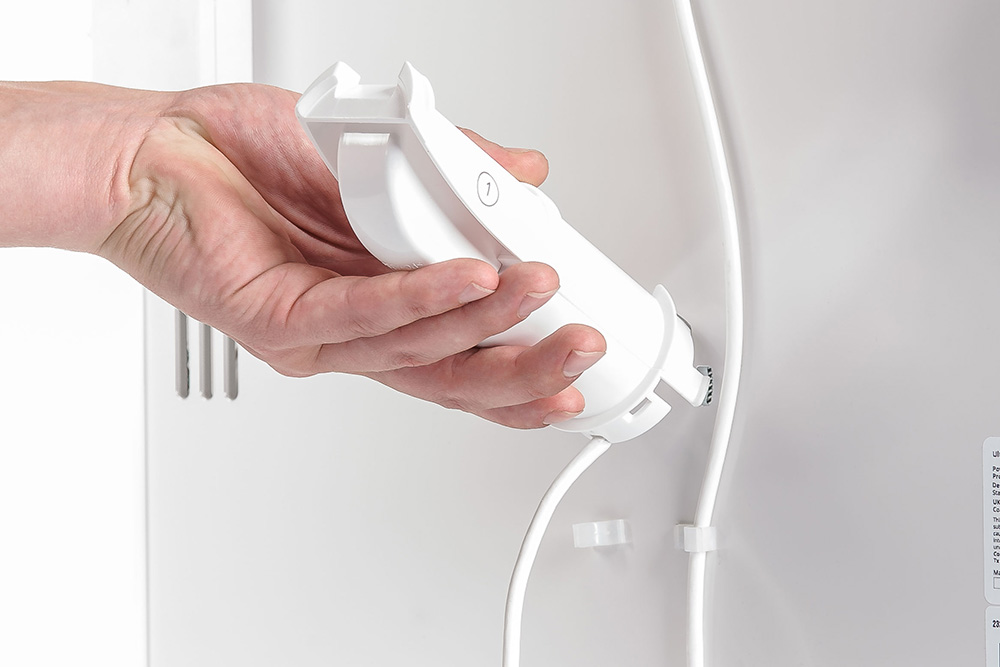 |  |  |
4. Spool holder
Insert the spool holder into the back panel and push until it snaps into place. | 5. Spool holder cable
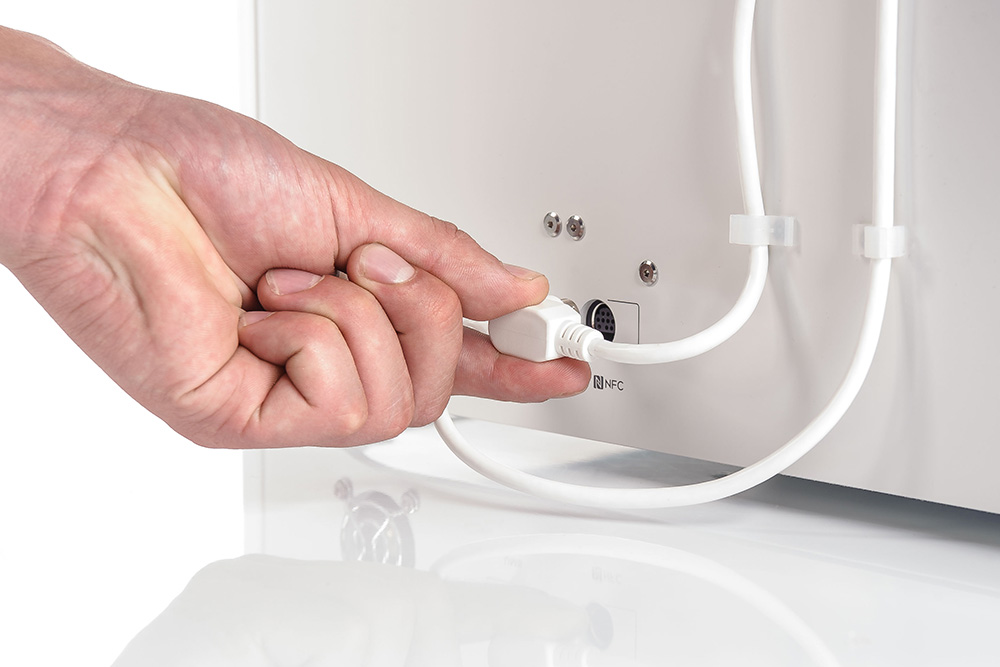
Connect the spool holder cable to the NFC socket and secure it behind the cable clips. | 6. Power cable
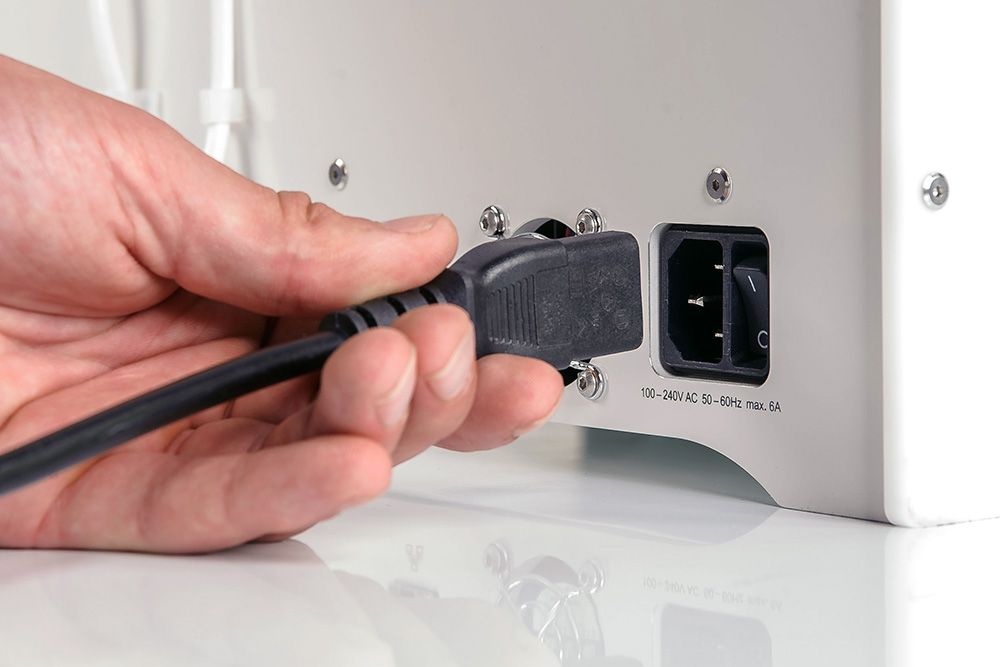
Connect the power cable to the printer and the other end to a power outlet. |
Caution: A mains socket with a protective earth/ground terminal must be used. Make sure that the building installation has dedicated means of overcurrent and short-circuit protection. Use a circuit breaker with a current rating not exceeding 16A (for 220-240 VAC circuits) or 20A (for 100-120 VAC circuits).
Setup with Material Station
If the UltiMaker S8 is going to be used in combination with the Material Station, you do not need the spool holder, but you need several accessories included with the Material Station instead.
Tip: Check the Material Station quick start guide, or visit this page for detailed information about the Material Station installation.
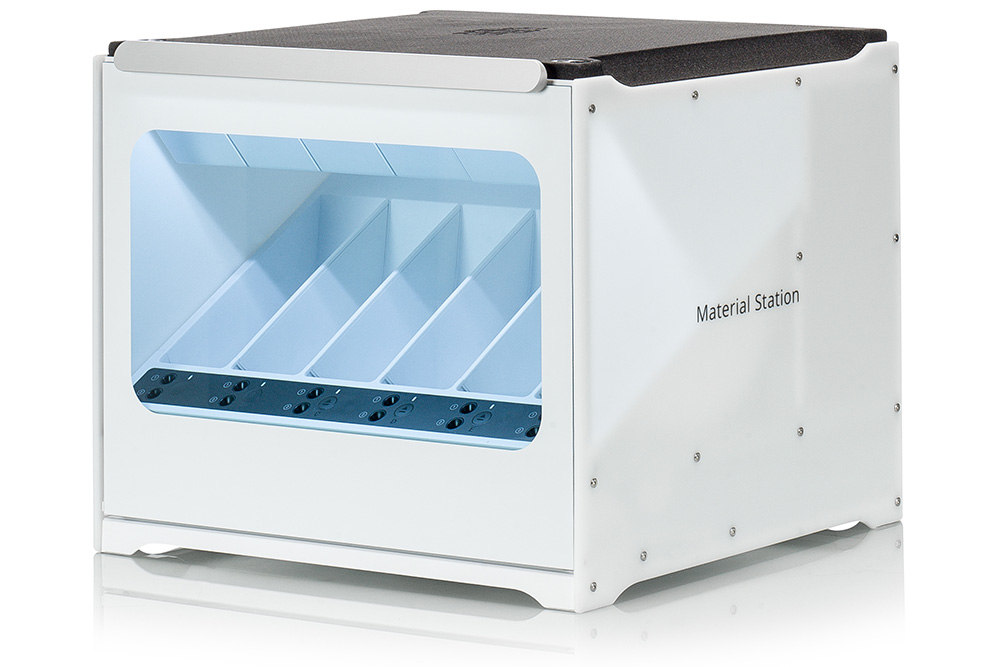 |  | |
1. Place Material Station
First place the Material Station on the installation surface. | 2. Place UltiMaker S8
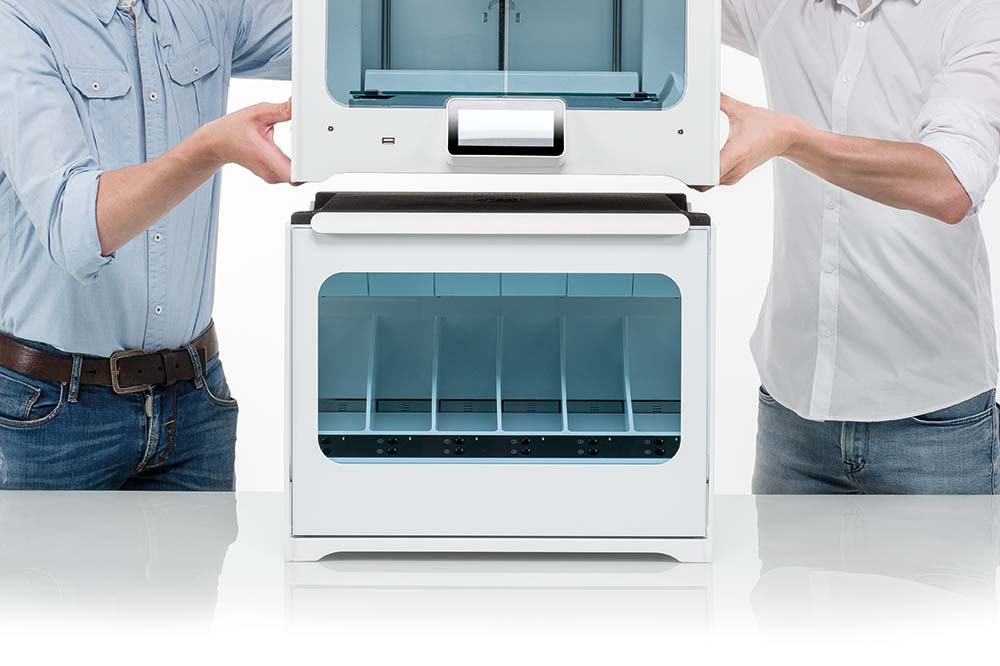
With two people, lift the UltiMaker S8 and place it on top of the Material Station. | 3. Air Manager filter
Open the door, align the Air Manager filter with the housing, and gently push it into place. |
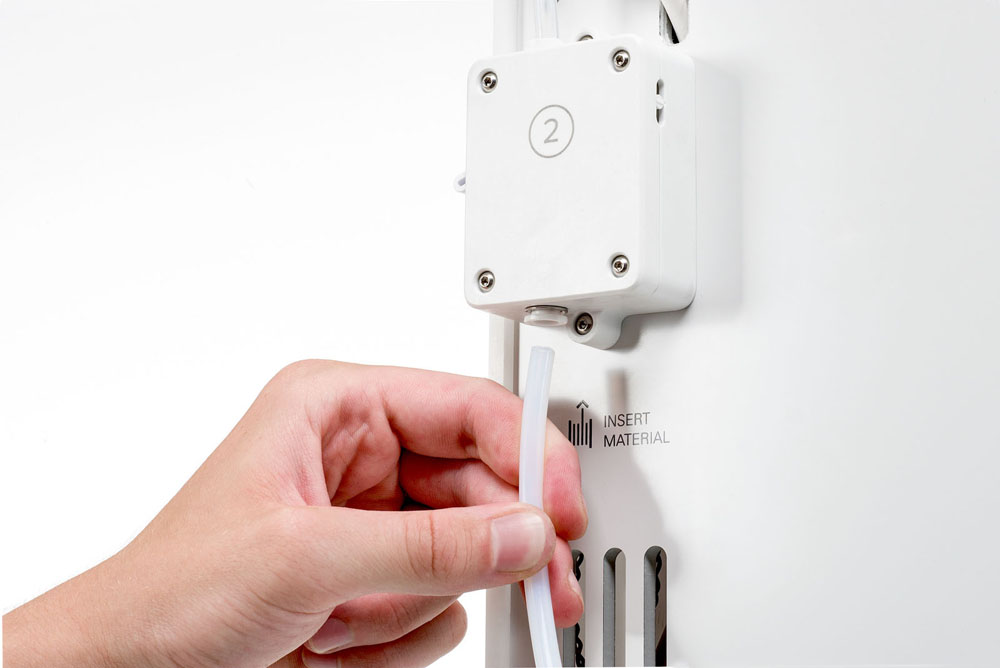 |  |  |
4. Bowden tubes
Insert the tube coupling collets and Material Station Bowden tubes into the UltiMaker S8 feeders. | 5. Spool holder cap
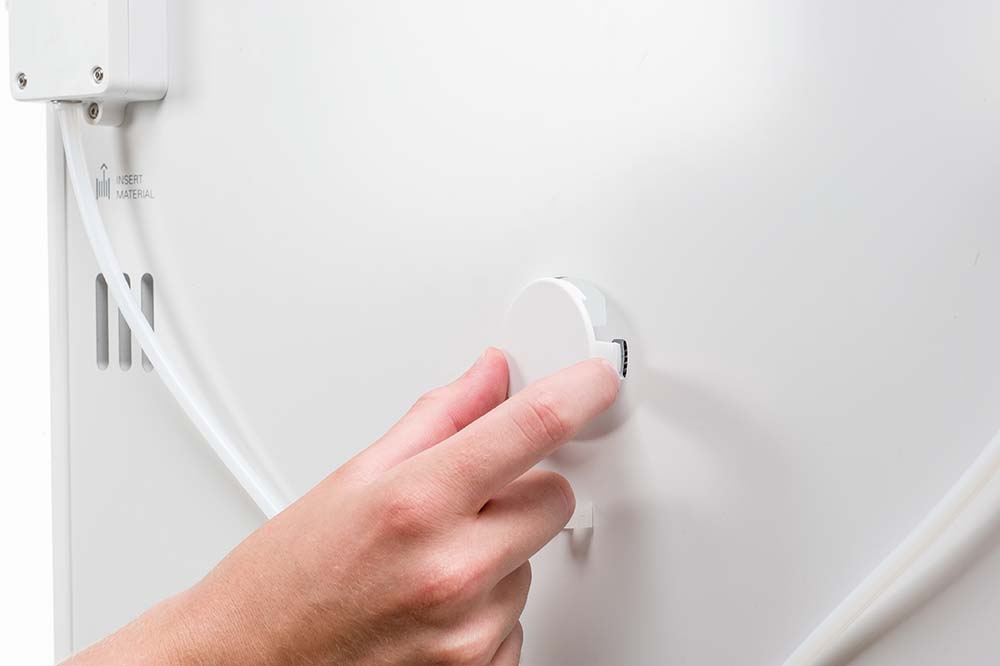
Place the spool holder cap into the hole for the spool holder
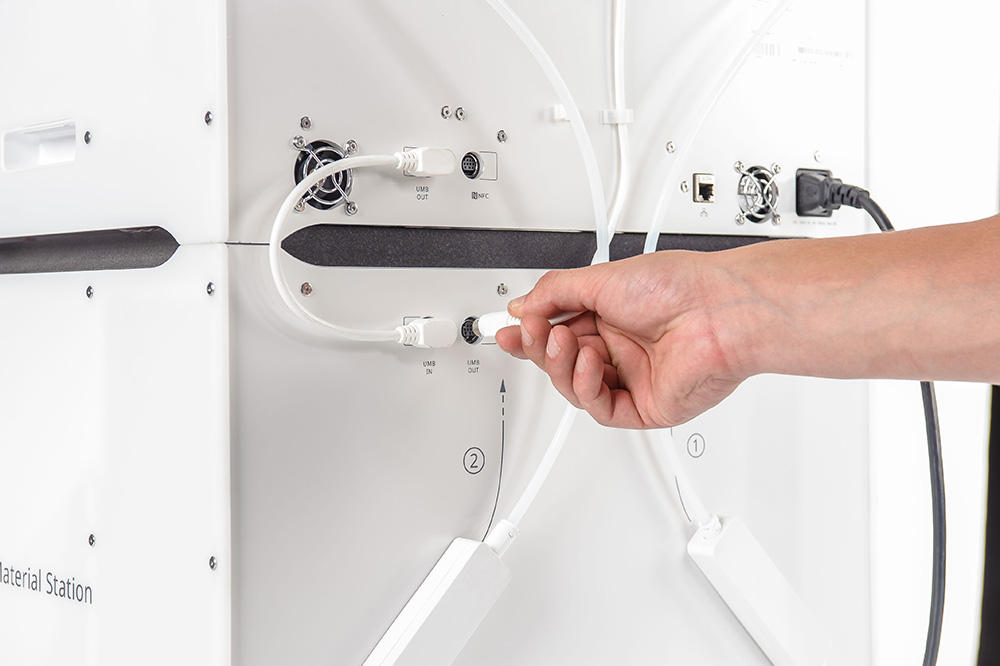
in the S8 back panel. | 6. Material Station cable
Connect the short Material Station cable from UMB IN on the Material Station to UMB OUT on the printer.
|
 | 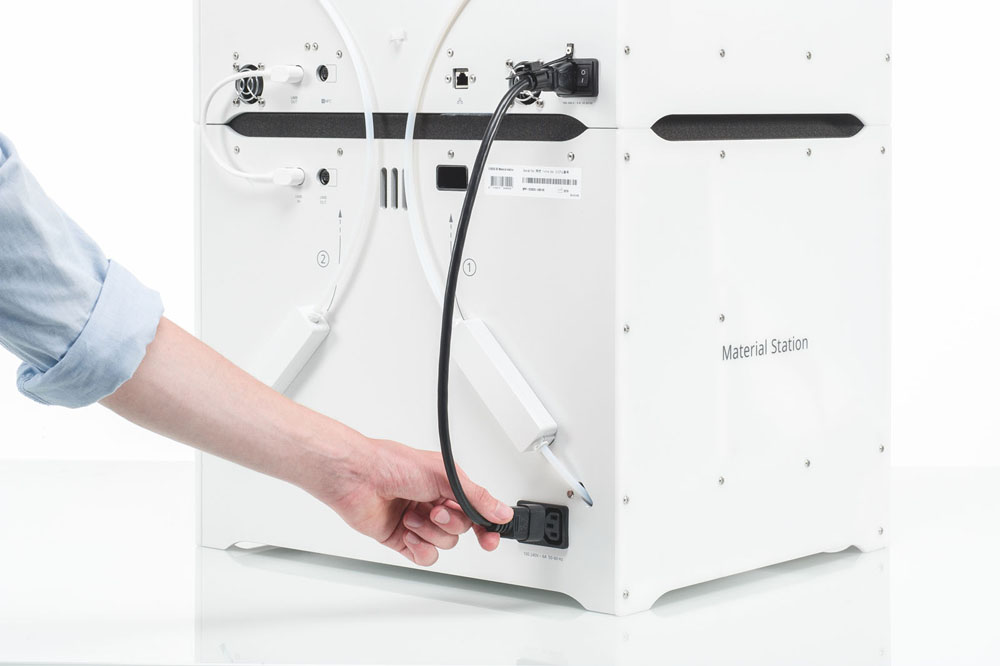 | 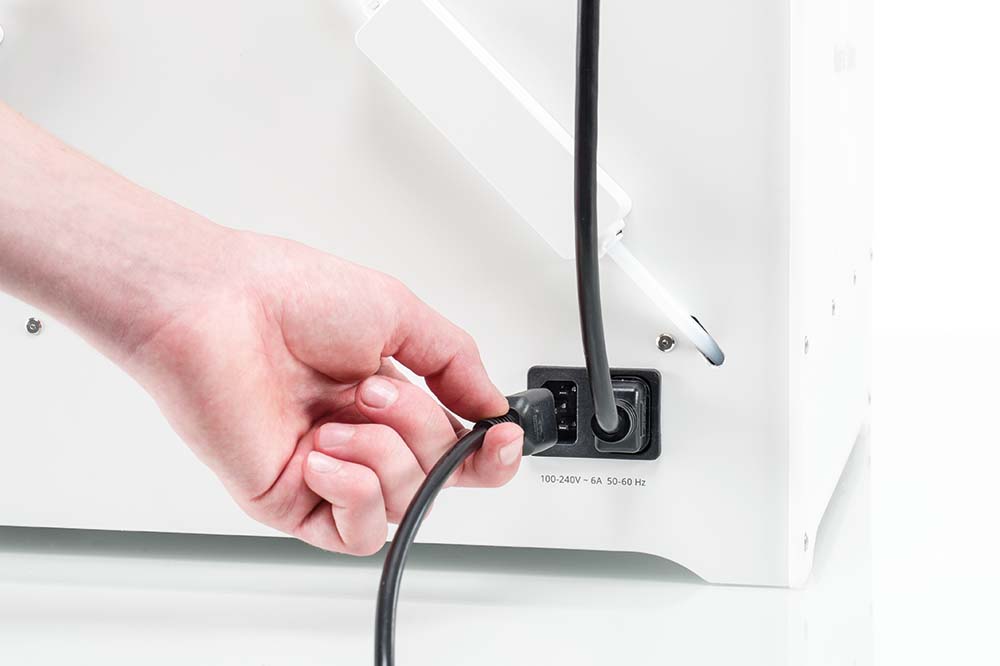 |
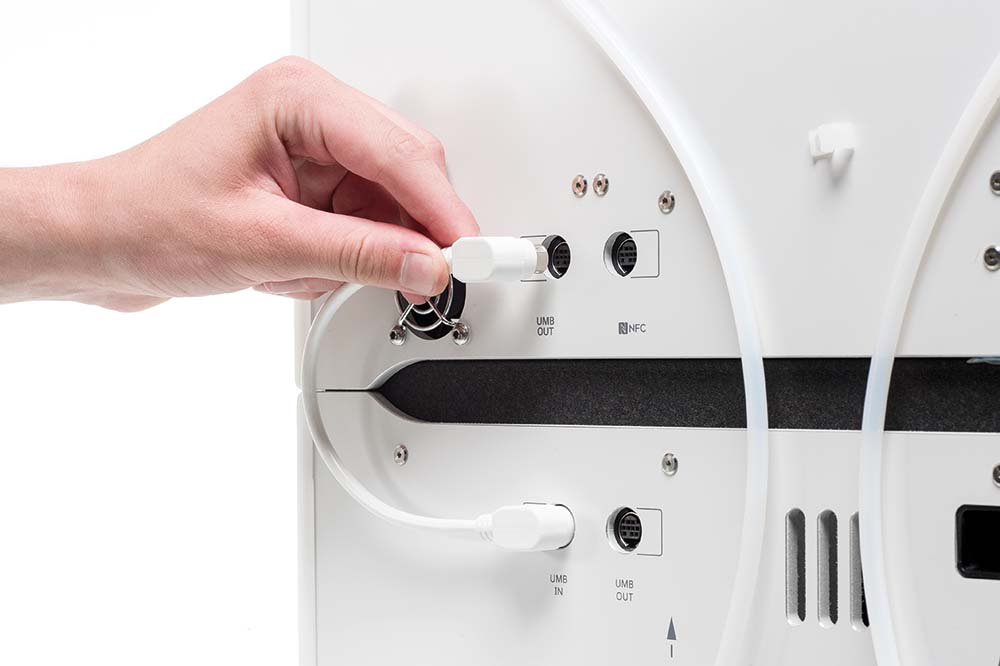
7. Air Manager cable
Connect the Air Manager cable to the UMB OUT port on the Material Station. | 8. Power extension cable
Connect the power extension cable to the UltiMaker S8 and the Material Station. | 9. Power cable
Connect the power cable to the Material Station and the other end to a power outlet.
|
Caution: A mains socket with a protective earth/ground terminal must be used. Make sure that the building installation has dedicated means of overcurrent and short-circuit protection. Use a circuit breaker with a current rating not exceeding 16A (for 220-240 VAC circuits) or 20A (for 100-120 VAC circuits).
The hardware setup is now finished! You can now turn on the printer using the power switch at the back and finish the necessary configuration steps to start printing.
See for more information:


