The feeders on Ultimaker 3D printers are located at the back. They forward the material to the print head during printing. An important responsibility; the movements of the feeder must be accurate to get good print results. It is recommended to always timely perform maintenance on the feeders to prevent any issues with material forwarding. Please refer to the maintenance schedule for your 3D printer for the best advice.
When the feeder does not perform optimally, you will likely see the effects immediately in your prints. One of these effects is under-extrusion, which looks like little holes or missing layers in the printed object.
Tip: Although problems with the feeder may cause under-extrusion, several other factors can be involved as well. For more information, please visit this page.
Feeder problems could show in the following ways:
- The feeder is ticking back/skipping
- Material is slipping inside the feeder
- Material is being ground down by the feeder
- Material is not forwarded by the feeder
- The flow sensor is triggering
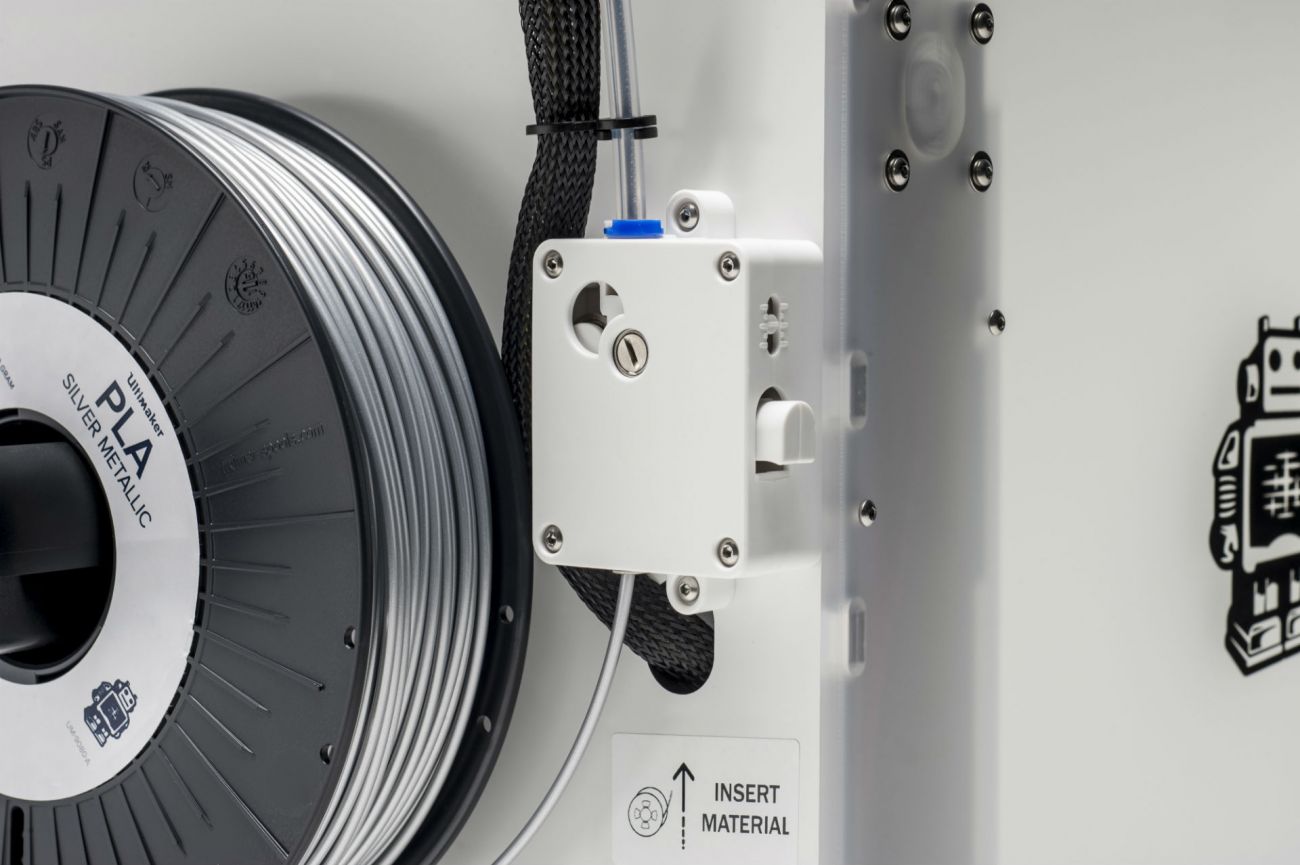
The feeder is ticking back/skipping
Note: This issue mostly affects the Ultimaker 2 series.
When you hear a ticking sound coming from the feeder, the feeder is experiencing too much friction. It cannot push the material further through the printer, so the motor's axle skips back a turn. On the Ultimaker 2 series (not the + versions), the knurled wheel of the feeder is attached directly to the feeder motor. This means the feeder has less torque than the geared feeders of the Ultimaker 2+ model.
Tip: For the Ultimaker 2 and Ultimaker 2 Extended, it is recommended to install the Extrusion Upgrade Kit. This increases the reliability of the printer and extends the printer's service period.
For tips and advice specifically for the Ultimaker 2 series feeder, visit this page: The feeder of my Ultimaker 2 is ticking back/skipping
Material is slipping inside the feeder
This is similar to the feeder ticking back, but can occur on other Ultimaker 3D printer models. If the filament is slipping without being damaged by the feeder (see Material is ground down below), the feeder does not have enough grip on the material.
One possible cause is that the material diameter is too small or inconsistent. Ultimaker 3D printers are intended for use with 2.85 mm filament. They cannot be used with 1.75 mm filament. If you have purchased 2.85 mm filament but suspect that the diameter is incorrect, measure the material in several locations and contact the material supplier.
Another cause for filament slipping is a too low tension inside the feeder. All Ultimaker feeders have a tension indicator. By default, the tension is set to the middle mark. This is the correct setting for all Ultimaker materials. For third-party materials, you may have to adjust the feeder tension. Turn the bolt in the top of the feeder housing until you can see the tension indicator move. The indicator further towards the top is a lower tension, and with the indicator further towards the bottom is a higher tension.
Material is ground down by the feeder
If the feeder cannot forward the material (for example, due to a blockage), the feeder's knurled wheel can start digging into the material. This is called 'grinding'. It will flatten the filament and the filament particles can get stuck inside the feeder. When the material gets flattened by the feeder, the feeder can sometimes get blocked up with small filament particles.
Material grinding can be caused by a feeder issue (for example, when the feeder tension is too high), but often it is a result of a problem further on in the extrusion path (for example, a blockage in the print head). Follow the instructions on this page dedicated to material grinding issues: Material is ground down by the feeder
Material is not forwarded by the feeder
If the material is not forwarded at all, first check if this is because of grinding (see above). Unload the filament and inspect the material for damage. If you do see grinding marks, follow the tips on the page linked above.
Tip: When unloading the material, you may have to pull it underneath the feeder to help it unload.
If the material is not damaged, the material may not be loading for the following reasons:
- Feeder lever open. Ultimaker S-line printers and the Ultimaker 2+ Connect have feeders with a lever that can be manually set to the open position. Always make sure that the feeder lever is closed before starting a new print.
- Bowden tube not correctly installed. If the material hits the edge of the Bowden tube, it cannot exit the feeder. Always ensure that the Bowden tube is installed with the chamfered side inserted into the feeder.
- Feeder motor not functioning. If it seems there is no movement at all in the feeder, check if the feeder is turning properly. For most Ultimaker printer models, this is easiest to observe with the feeder removed from the back panel. Take the feeder off, start the Load or Unload material procedure, and observe if the feeder motor is turning. If not, the motor, motor wires, or the stepper driver could be defective. Please contact support for further assistance.
The flow sensor is triggering
The Ultimaker S-line printers have a flow sensor inside the feeder. This sensor measures if the amount of material passing through matches with what is expected from the print job. If the flow sensor detects no more material, or a much lower flow rate, the print job will be paused with a message on the display. Check the material spool and load a new material if necessary.
For more information about the flow sensor, please visit this page: The flow sensor has triggered
Need further support?
If the tips on this page have not helped to resolve the feeder issues, if you are experiencing a different problem, or if you suspect you may need replacement parts, please contact support for further assistance. List your printer model, clearly explain the issues you observe, and include relevant information such as videos, log files, and error messages (if applicable).


