Available on: All plans
Note: The amount of jobs in print history and certain functionality is dependent on your subscription plan.
This article explains how to use the Jobs or Printer Details page in the UltiMaker Digital Factory to manage your print queue, monitor active jobs, and review your print history.
In this article, you will learn:
- How to view prints that are in progress.
- How to manage your print queue.
- How to review your print history.
The Jobs Page
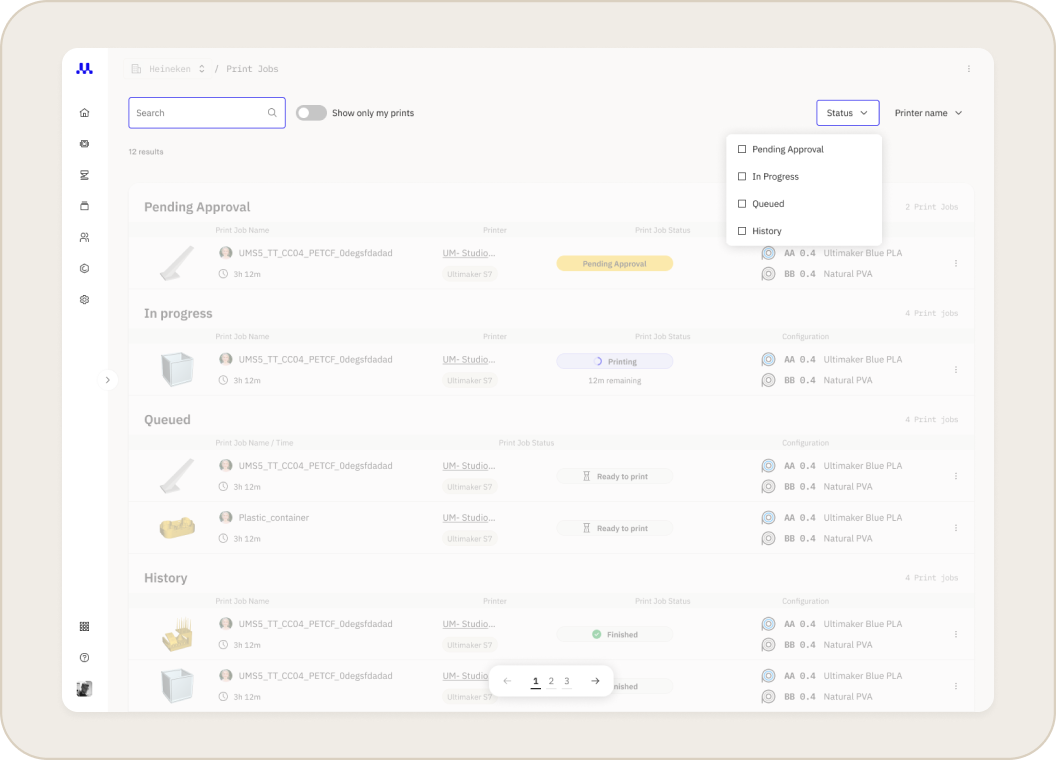
You can keep track of all print jobs sent to a connected printer from the Jobs section of the Digital Factory. This page is divided into three tabs.
- Manage Pending Approvals
The Pending Approvals section shows any print job that requires approval to start printing
-
- Jobs sent by “Guest” or “Student” roles if setting has been applied
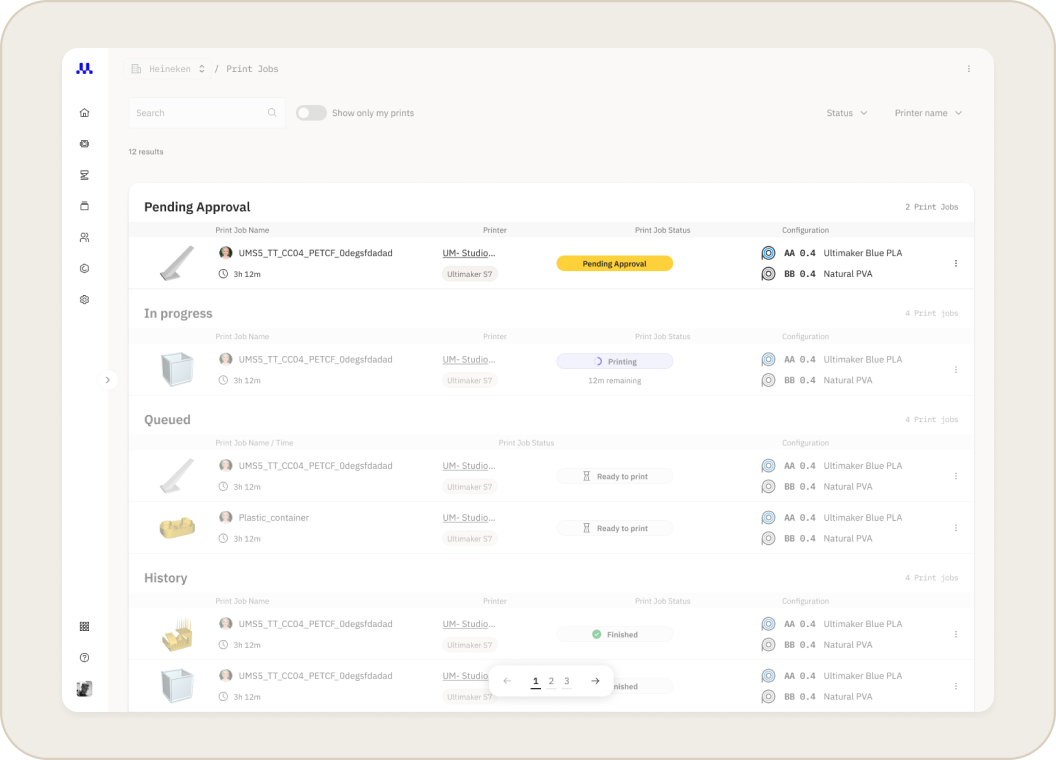
Note: For more details, see Manage Print Job Approvals
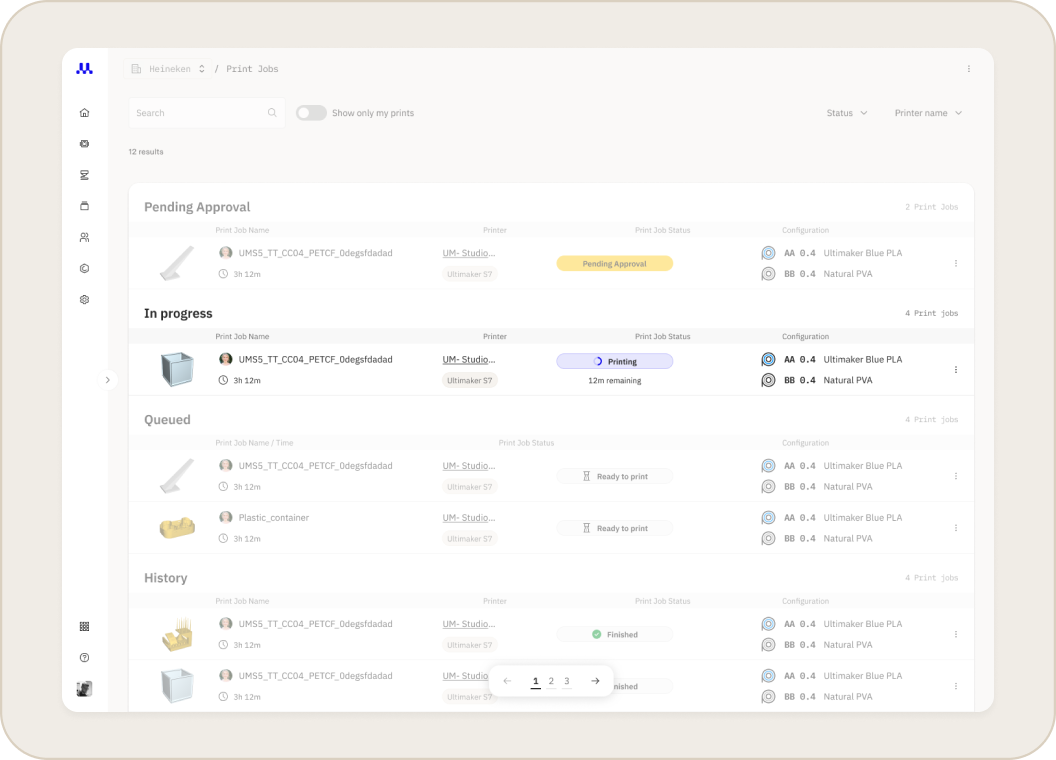
- View In-Progress Jobs
The In Progress section shows any print job that is currently printing.
-
- You can see the real-time status, including the estimated time remaining.
- Finished or aborted prints will also remain on this list until the part is physically removed from the printer's build plate.
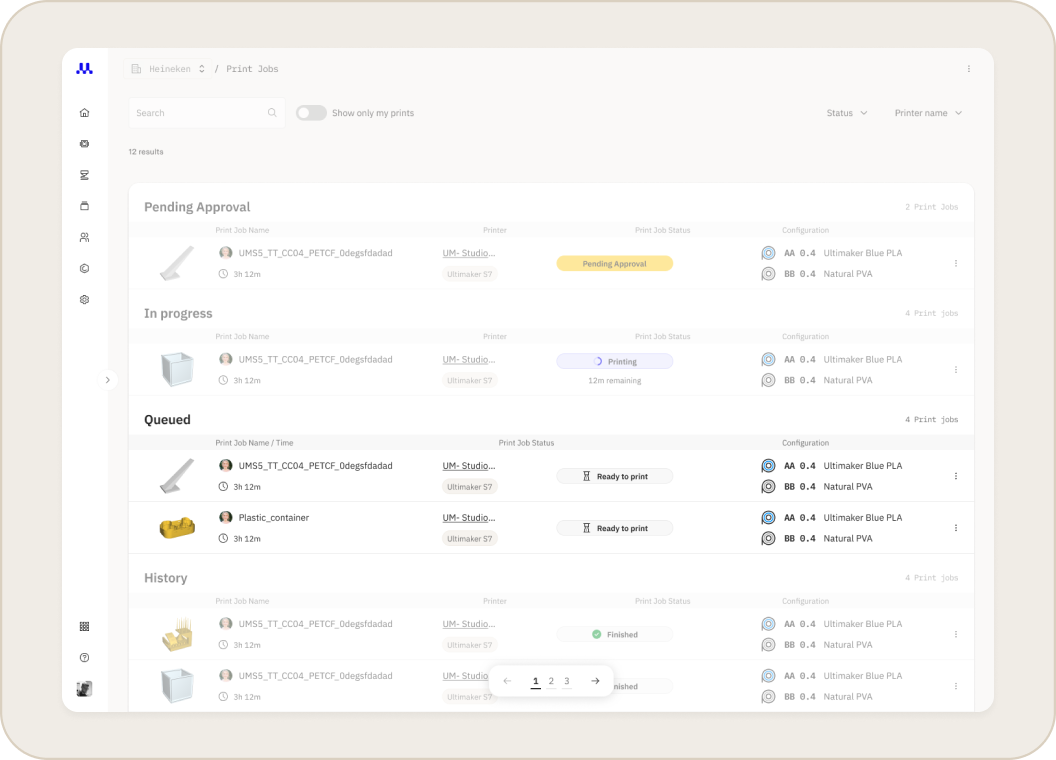
- Manage the Print Queue
The Queued section shows all jobs that have been sent to a printer but have not yet started.
-
- A job is placed in the queue if the printer is already busy with another print.
- Jobs are also queued if they require a material or configuration change before printing can begin.
- You can reorder jobs in the queue to prioritize urgent prints or remove jobs you no longer need.
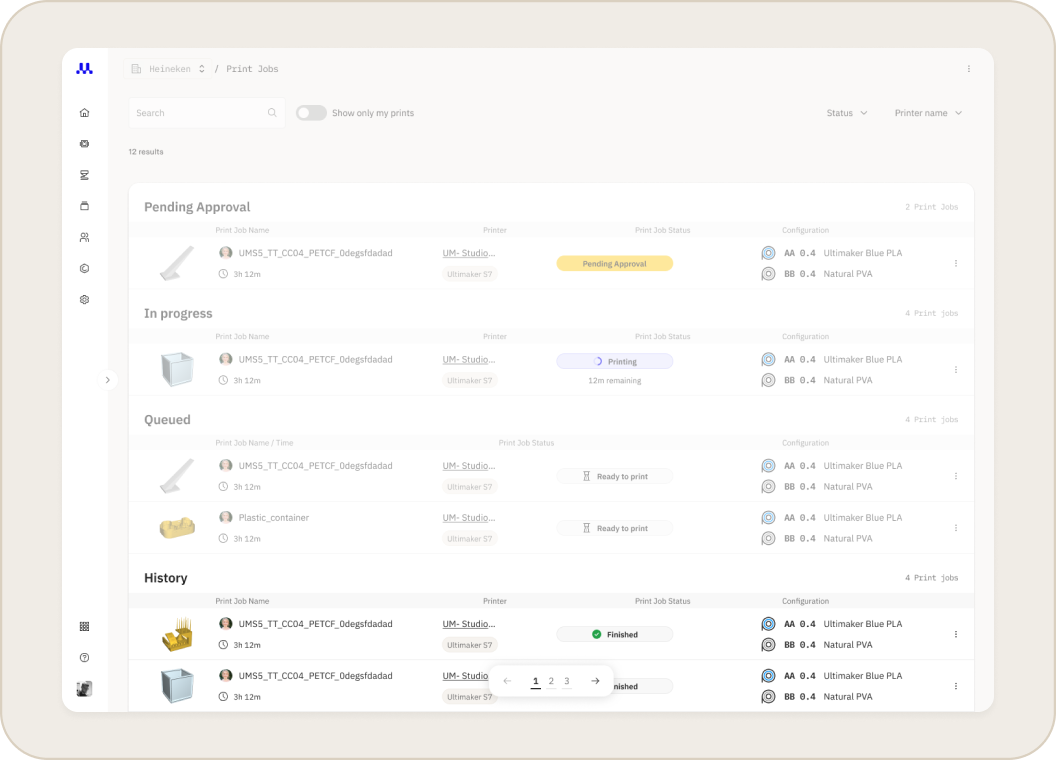
- Review Your Print History
The Print History section contains a record of all previously completed, aborted, or failed print jobs.
-
- Free PRO/EDU: The history shows the last 20 prints for each printer.
- Paid Plans (Studio, Classroom, Business, School) : Unlimited print history is stored.
Search and Filter (Paid Tiers only)
You can search for individual jobs or filter by owner, status, or printer name
The Printer Details Page
You can keep track of all print jobs sent to an individual connected printer on the Printer Details page on the Print Jobs Tab
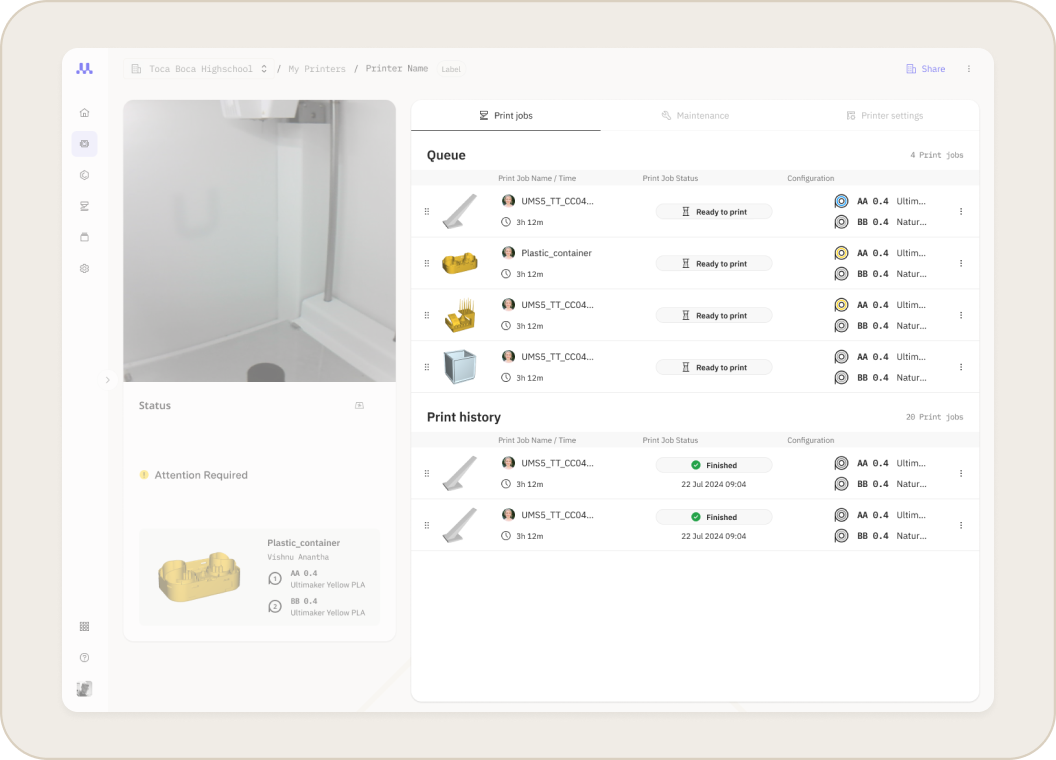
Tip: For the most detailed print reports, always send jobs to your printer from the Prepare section or the Print via Cloud workflow from Cura. Jobs sent via USB will have limited information in the history.
Related Articles


