Available on: All free and paid plans
Note: Cura Cloud is not available on legacy Digital Factory subscriptions (Personal, Essentials, Professional, Excellence). See Migrate from a Legacy Subscription
This article provides an overview of the different ways to send a prepared print job to your printer and how to monitor its progress using the UltiMaker Digital Factory.
In this article, you will learn:
- The different methods for starting a print job.
- The benefits of printing through the Digital Factory.
- An introduction to monitoring your active prints.
Ways to Start a Print Job
Once your model has been sliced into a print file, you can send it to your printer using one of the following methods:
- From the Prepare section: After slicing a model with Cura Cloud, you can send the job directly to a connected printer.
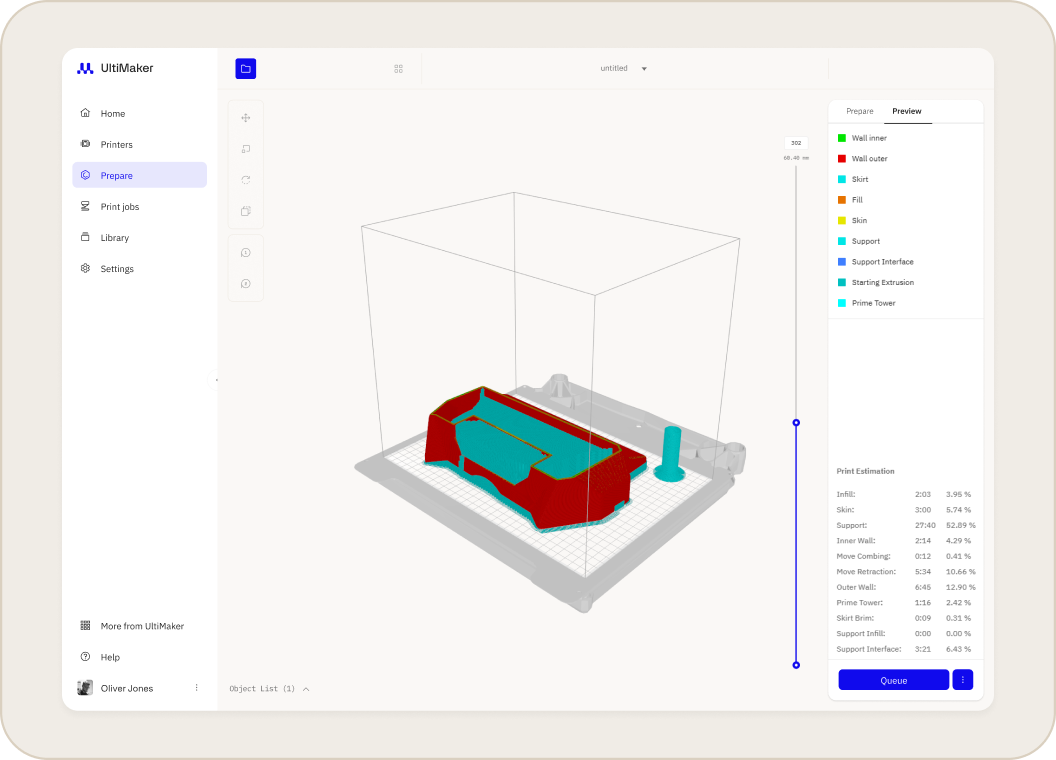
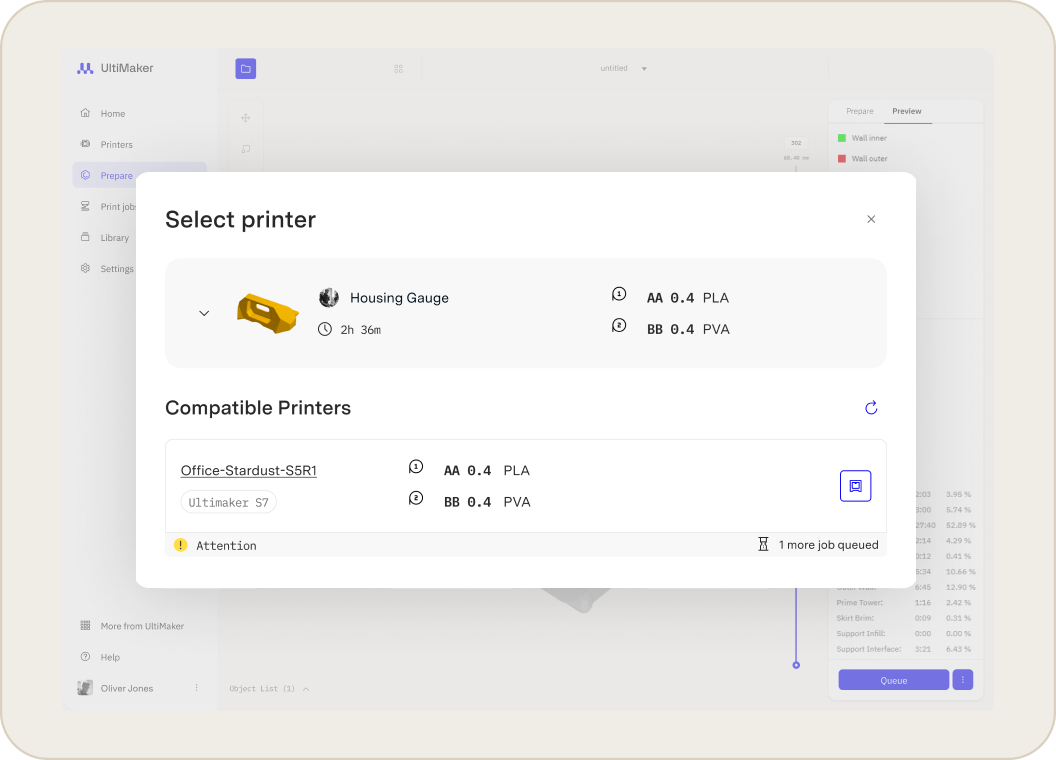
- From Library: You can select any pre-sliced
.ufp file in your Library and send it to any compatible printer in your workspace. This is perfect for reprints or running jobs prepared by team members. - From Cura Desktop: When using UltiMaker Cura, clicking Print via Cloud sends the job directly to the printer through the Digital Factory.
- From a USB Drive: For offline printing, you can load a file from a USB drive directly at the printer.
Why Print via the Digital Factory?
We strongly recommend using the Digital Factory (Print via Cloud or from the Library) for your printing workflow.
- Full Job History: Prints sent via the Digital Factory are stored in your print job history with complete data, including material usage and print time estimates.
- Easy Reprints: You can easily find and reprint any previous job from the Jobs page.
- Save to Library: You have the option to save any print job to your Library for future use.
Jobs sent via USB or a direct local network connection will not be stored in your Library and will have limited information available in your print history.
Related Articles


