The information in this article applies to UltiMaker S series printers, including the UltiMaker S3, S5, and S7.
Note: The process and instructions for the UltiMaker 2 and 3 series are very similar, but may be different for the Method and Sketch series. For the most accurate information, visit the section for your specific printer type.
To ensure that the feeders forward the filament smoothly and accurately, the gears are lubricated. After many hours of printing, it is recommended to reapply this lubrication. Based on 1,500 printing hours per year, we recommend reapplying the grease once a year.
Tip: It is also recommended to clean the feeders every three months and to replace the Bowden tubes after one year. Work efficiently by combining these maintenance actions.
Instructions
Caution: Before you start, turn off the printer or ensure it is disabled in the UltiMaker Digital Factory to prevent new print jobs from starting remotely.
Tip: For UltiMaker S5 and the UltiMaker S7 in combination with the Material Station, only start this maintenance action when all materials have retracted back into the Material Station. Active or parked materials cannot be manually unloaded.
The following steps need to be performed for both feeder 1 and feeder 2.
Disassembly
First, unload the materials and remove the feeder:
| Unload material | First, unload the materials from the printer. In the Configuration menu, select Unload for both materials. Take the filament out of the feeders. You can, but do not have to, remove the spools from the spool holder. Next, turn off the printer. |
|---|
| Remove the Bowden tube | Remove the Bowden tube from the top of the feeder. First remove the clamp clip, then press down on the tube coupling collet while pulling out the Bowden tube. |
|---|
| Remove the feeder | Use the hex screwdriver to loosen the two bolts that hold the feeder to the back panel. Carefully move the feeder away from the back panel and disconnect the filament detection cable from the flow sensor. |
|---|
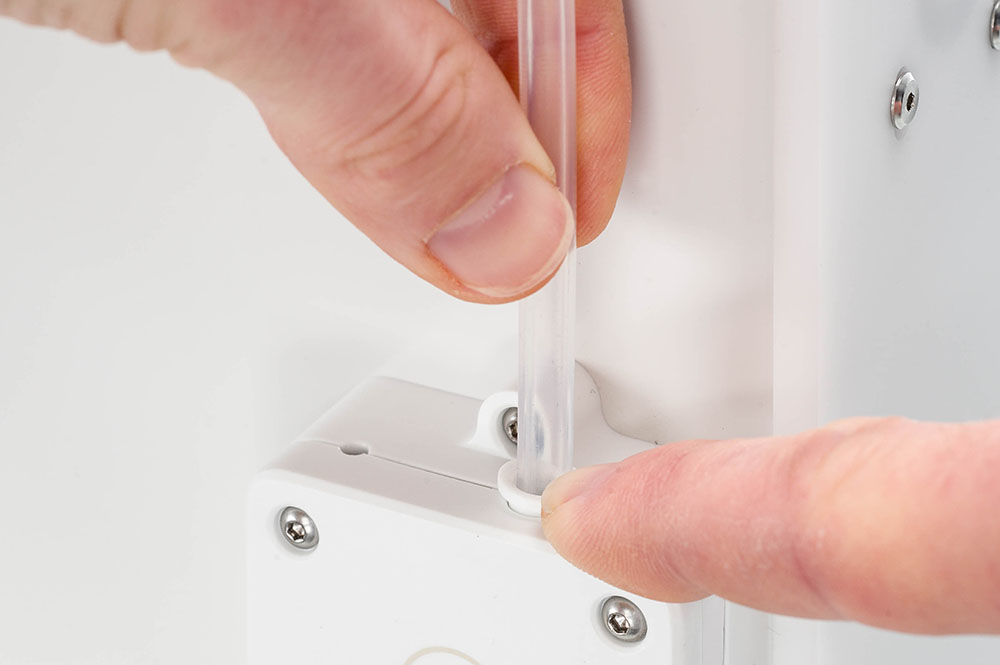 | 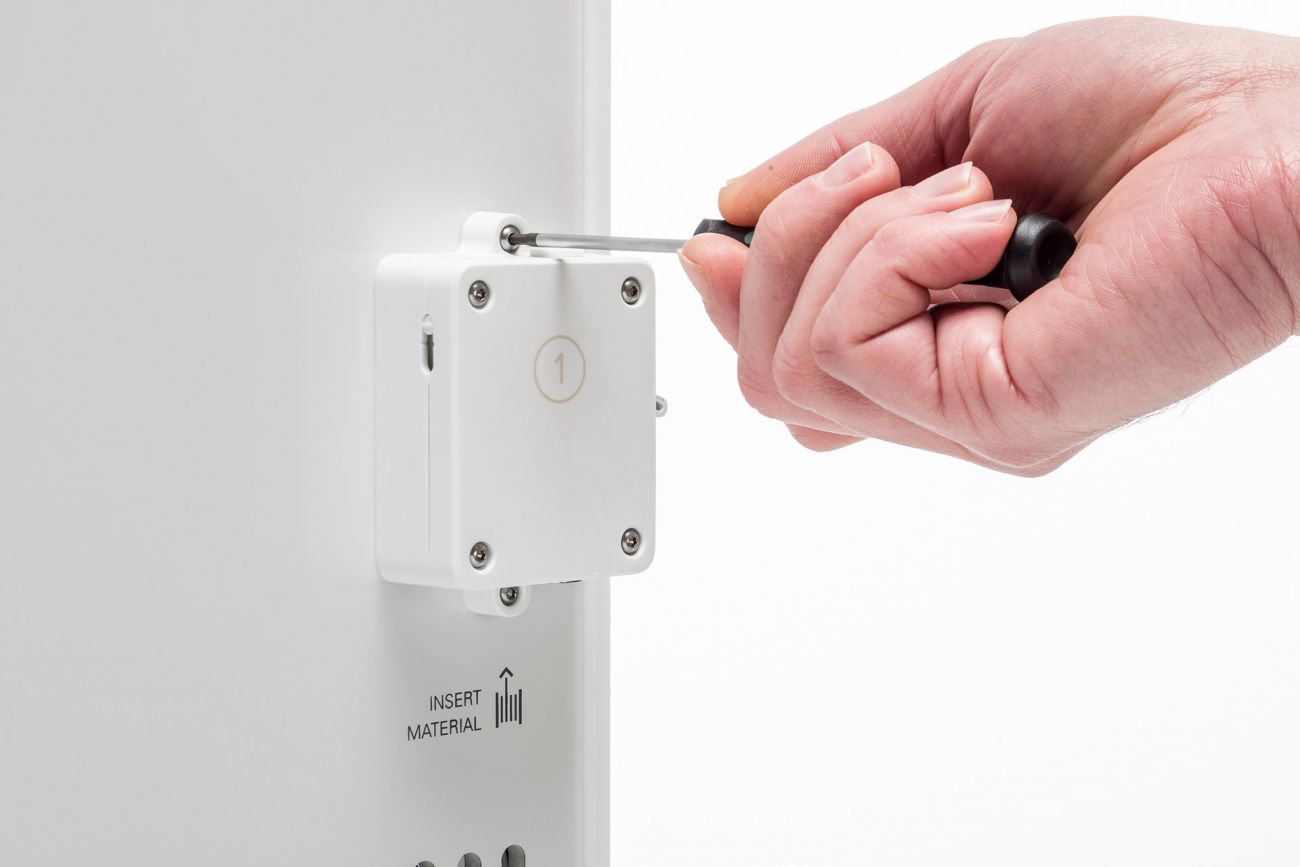 | 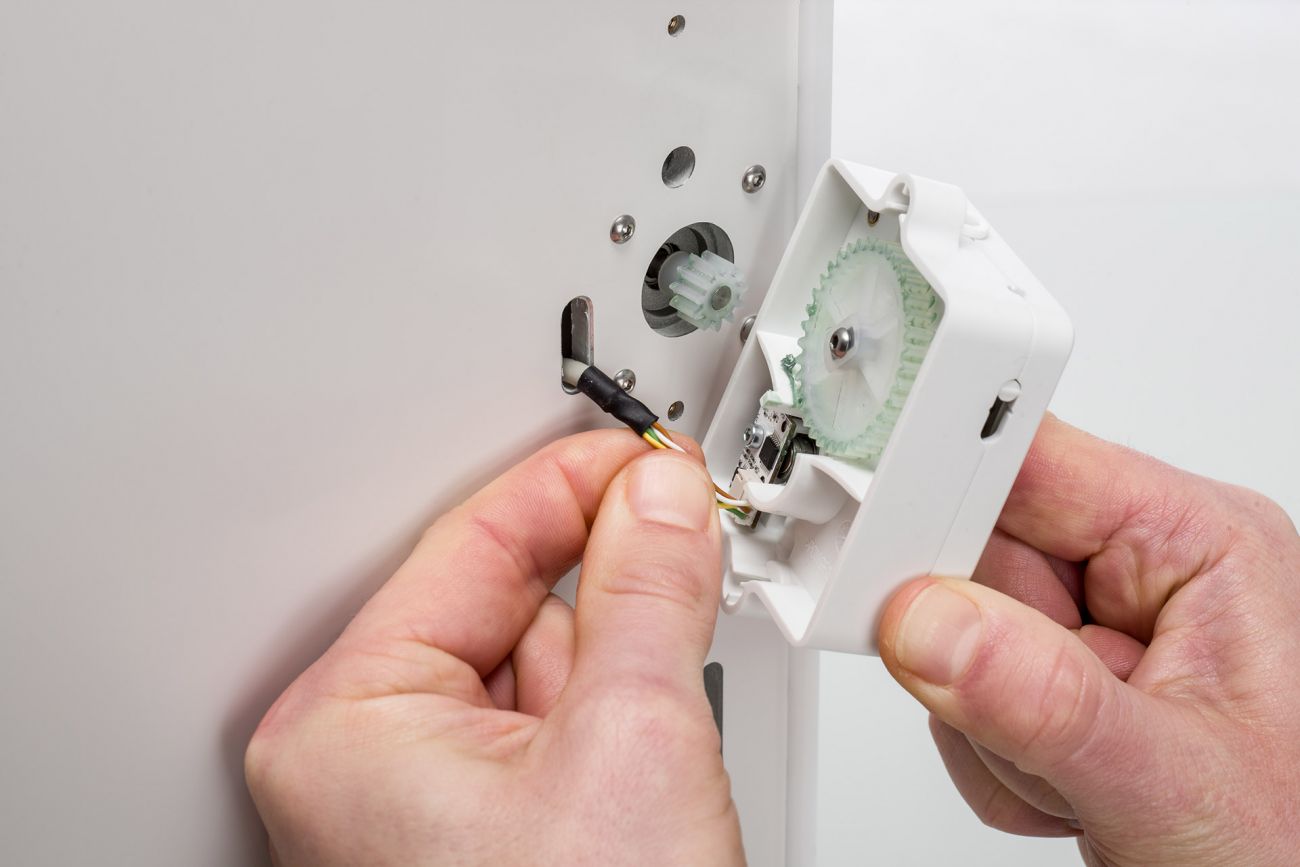 |
| Remove the Bowden tube | Loosen the feeder bolts | Disconnect the flow sensor |
Maintenance
Clean the feeder gears before reapplying the lubricant:
Small filament particles may have accumulated on the gears. Use a clean cloth, tissue, or cotton swab to wipe all filament particles and grease residue from the feeder gears. Clean both the gear connected to the motor and the larger gear at the back of the feeder.
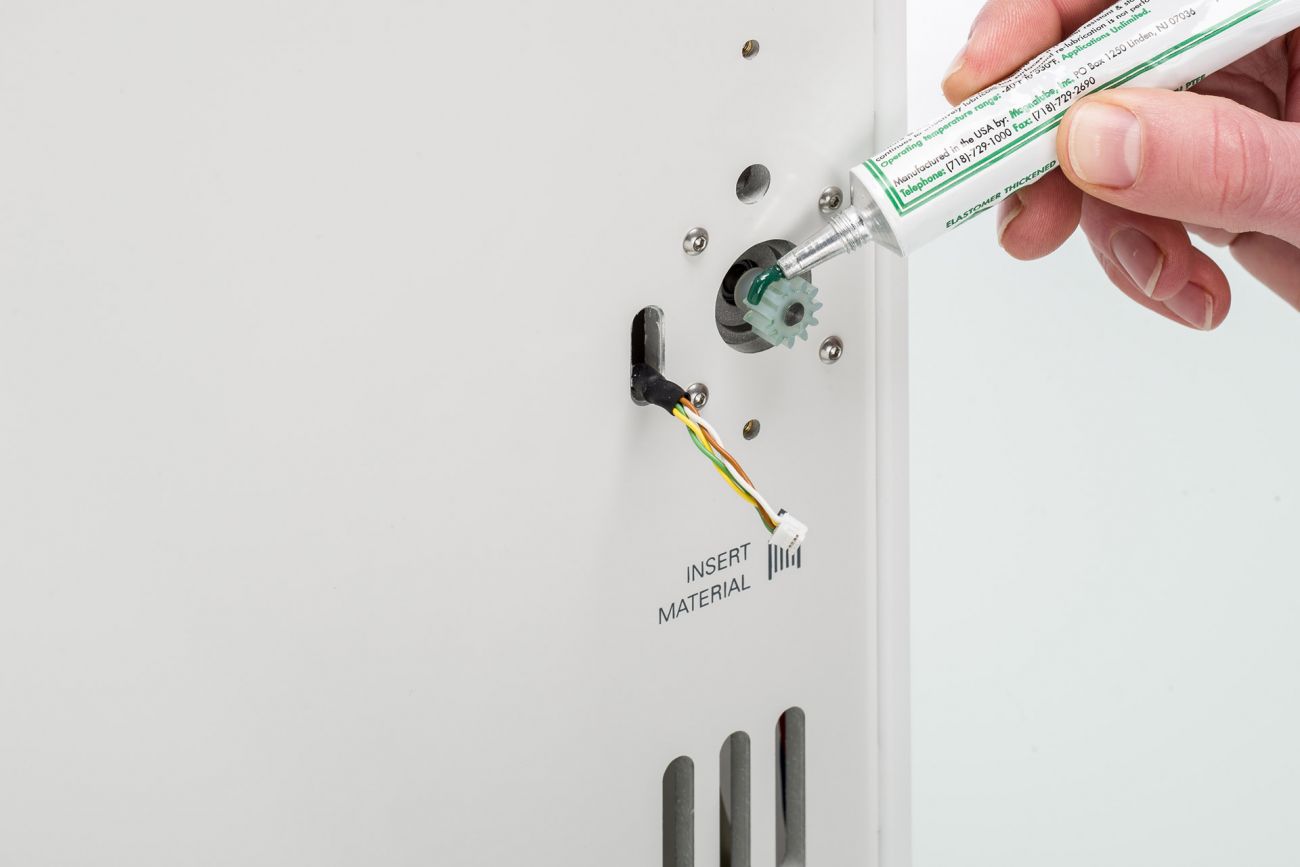
After cleaning, apply a small amount of grease to the gear attached to the feeder motor. There is no need to spread this out; the feeder will do this automatically when it turns.
Reassembly
Now that maintenance is completed, reinstall the feeder on the printer:
- Hold the feeder close to the back panel and connect the filament detection cable to the flow sensor.
- Place the feeder back on the printer and secure it with the two bolts.
- Push the Bowden tube all the way into the tube coupling collet at the top of the feeder.
- Secure the tube with the clamp clip.
| | 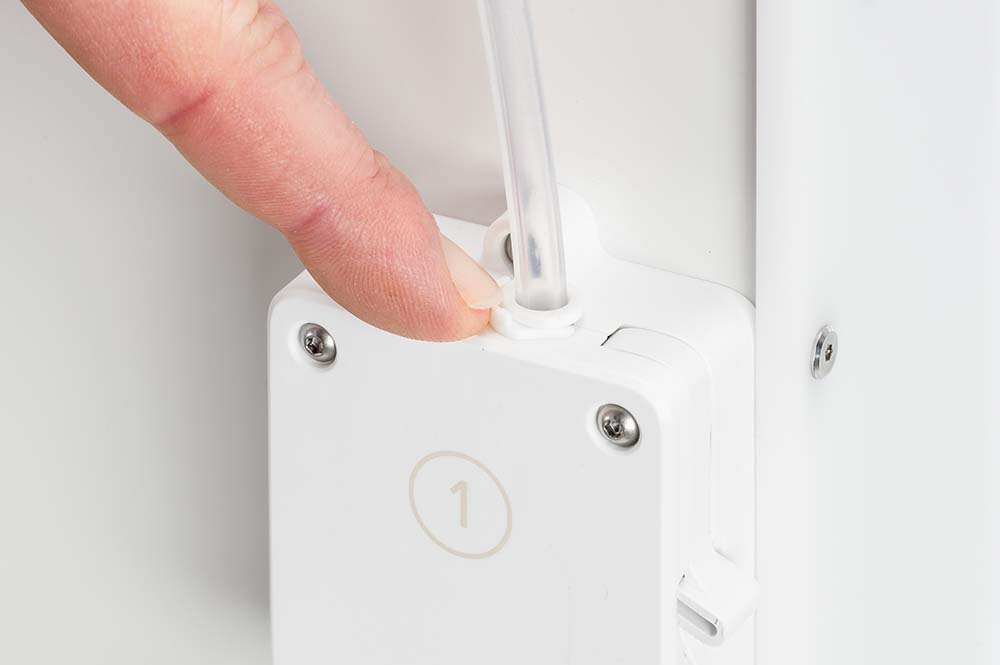 |
| Reconnect the flow sensor | Secure the feeder | Place the clamp clip |


