Available on: All Plans
Note: Storage limits and certain advanced features are dependent on your subscription plan.
This article explains how to create projects in the Digital Library and add files to them.
In this article, you will learn:
- How to create a new project in the Library.
- How to add files to a project.
How to Create a New Project
Follow these steps to create a new project.
- Navigate to the Library
- Log in to your UltiMaker Digital Factory account.
- In the left-hand navigation menu, click on Library.
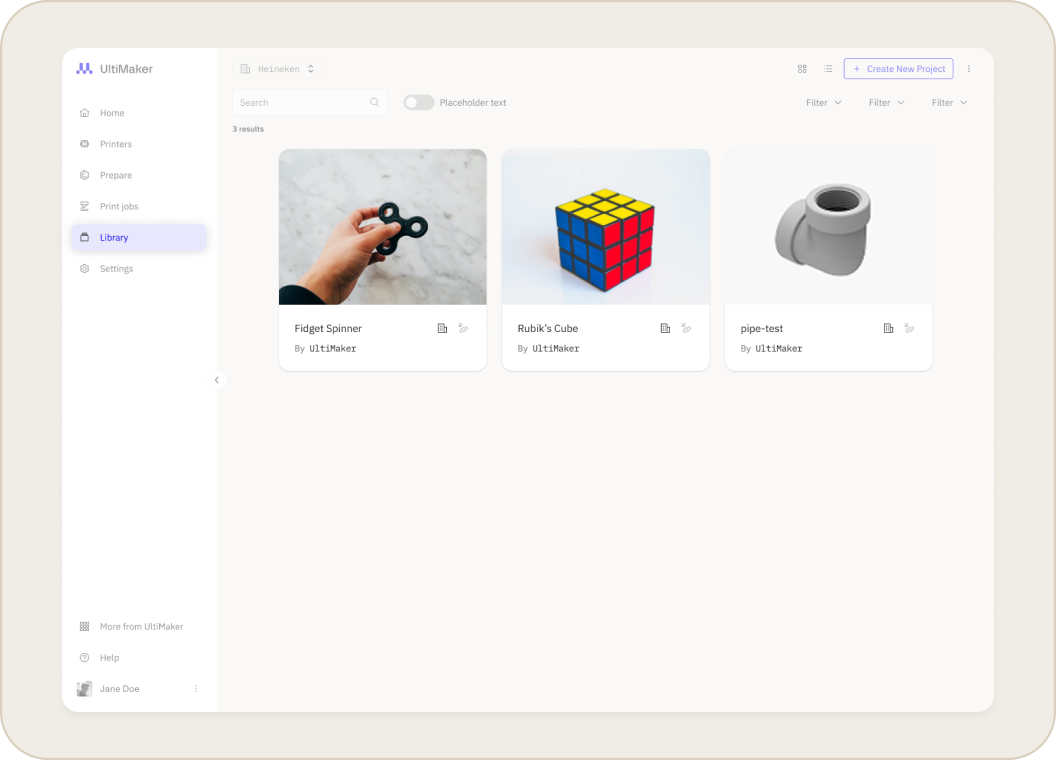
- Start a New Project
- In the Library, click the
+ Create New Project button.
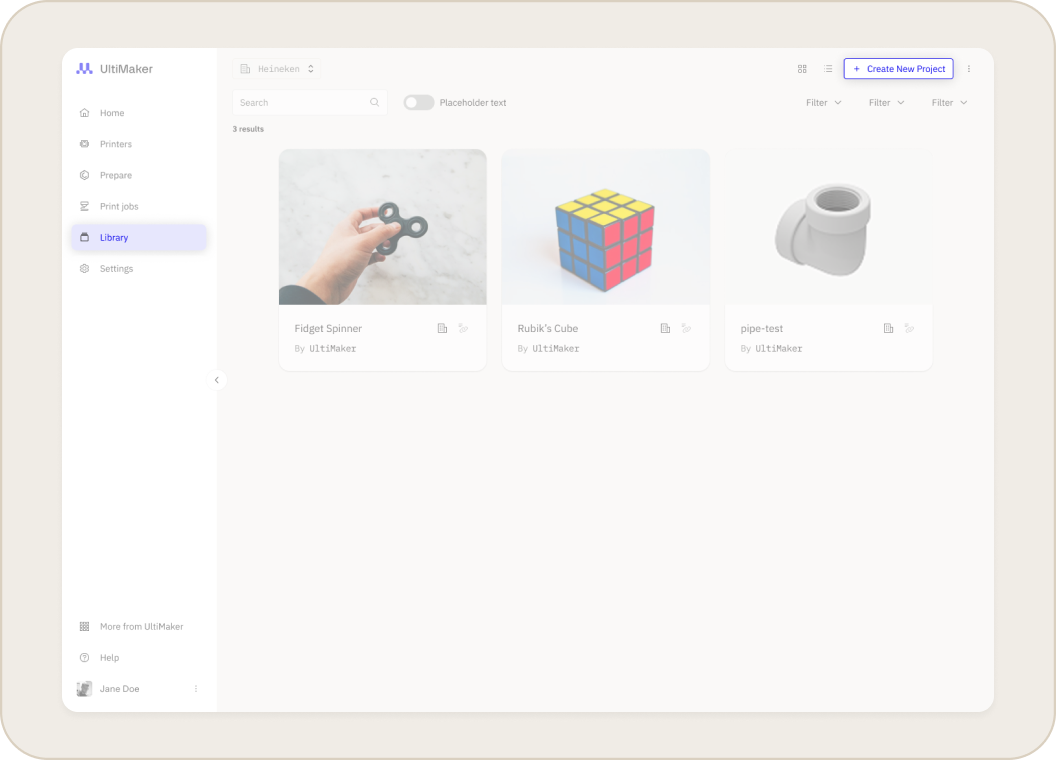
- Enter Project Details
- Give your project a clear Name that describes its purpose (e.g., "Gearbox Prototype v2").
- You can also add a Description or select tags to help organize the project.
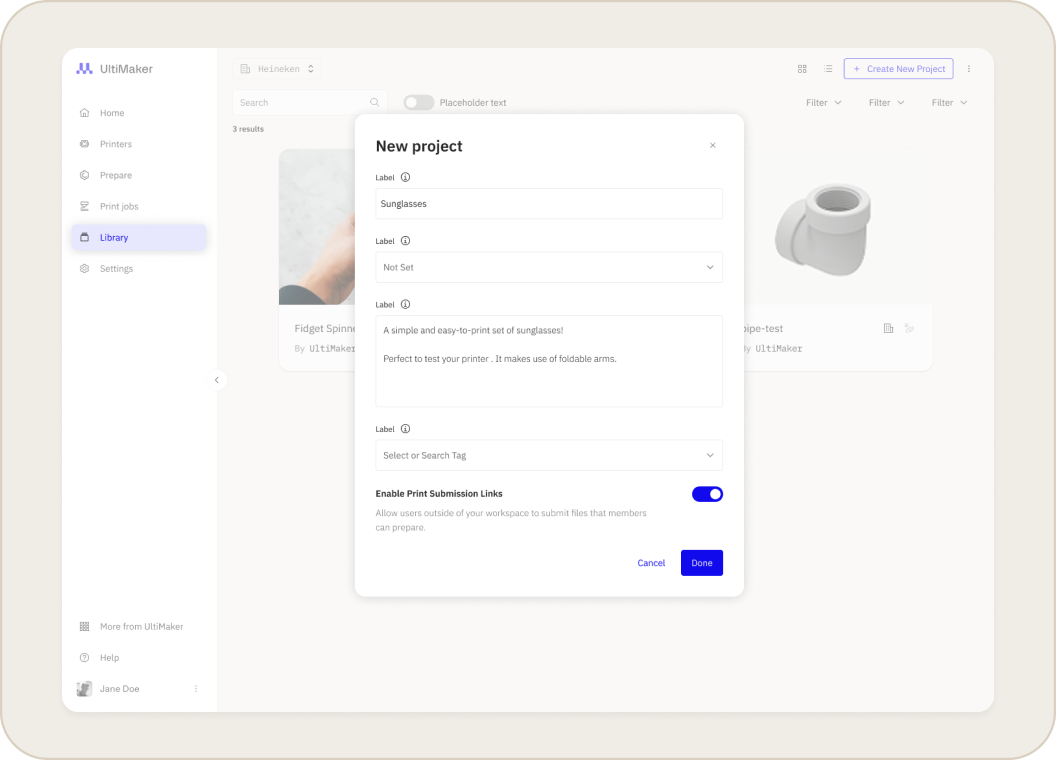
- Create the Project
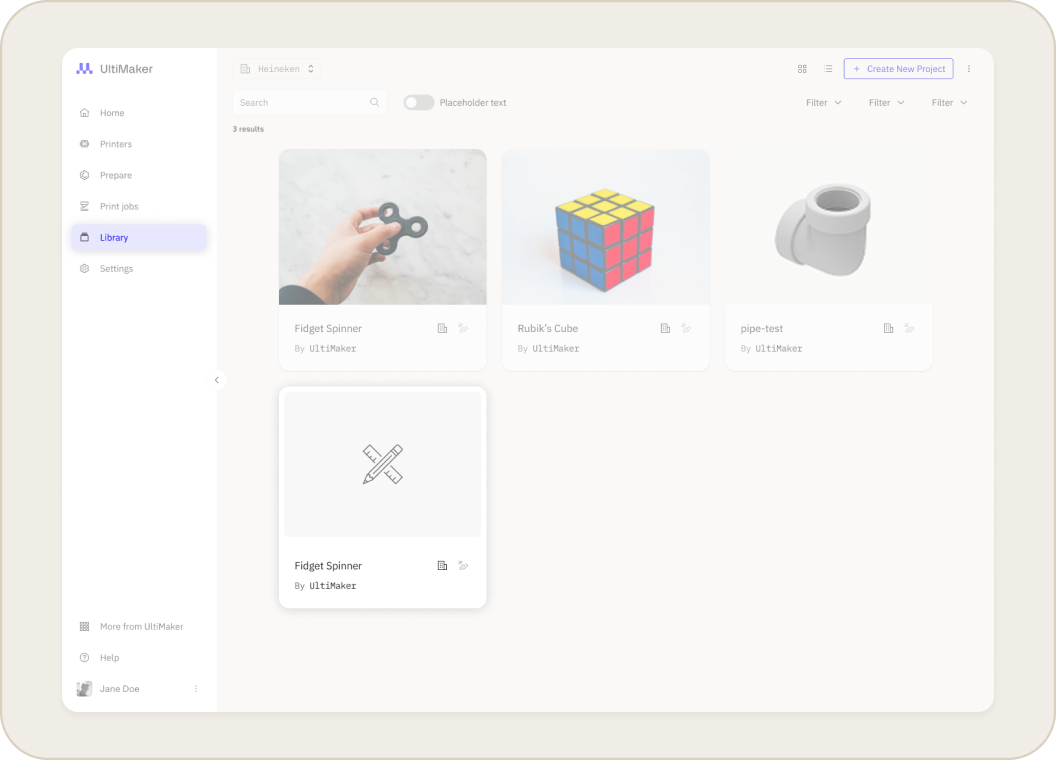
- Click (Done or Save).
- The new, empty project will now appear in your Library.
Set Sharing Options (Paid Plans)
- On Free plans, all projects are automatically shared with workspace.
- On Studio/Classroom plans, you can choose to share the project with others in your workspace or keep them private.
- On Business/School plans, you can additionally share with specific teams or the whole workspace.
How to Add Files to a Project
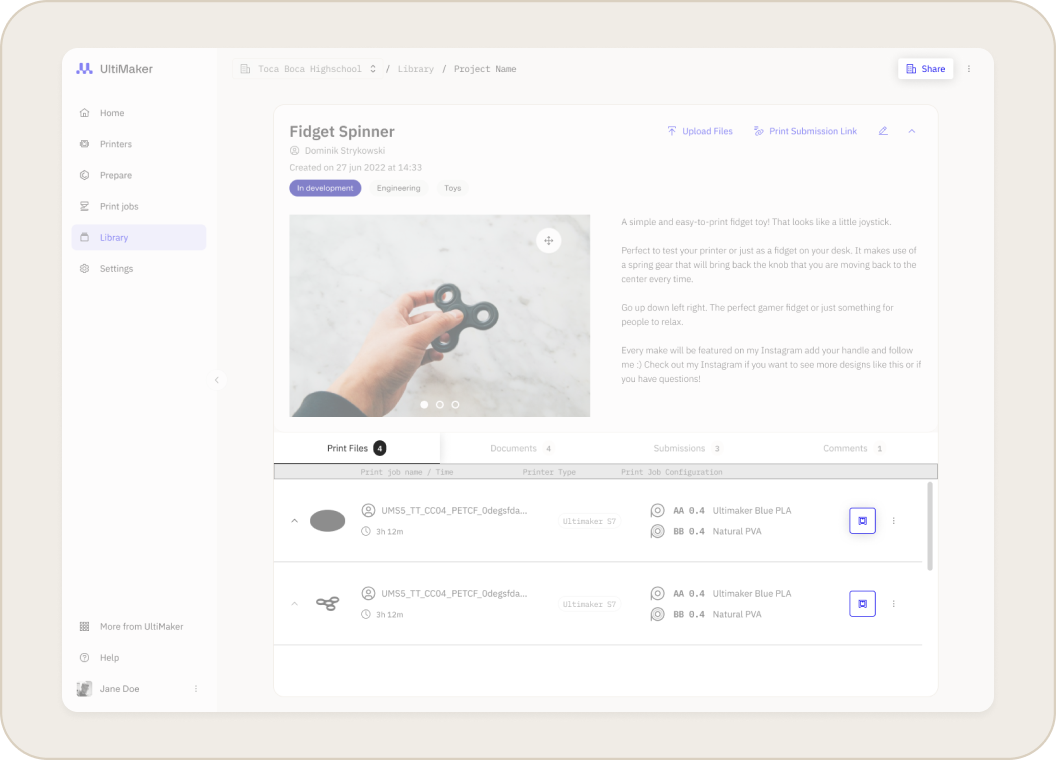
When you add files to a project, it's important to understand where different file types will appear.
- Upload Files
- Inside the project, click the Upload Files button or drag in files from your computer.
- Select one or more files to upload.
- Understand File Locations
- 3D part files (like .STL, and .OBJ files) will appear in the Documents tab alongside PDFs
- Print files (like .UFP and .MAKERBOT files) will appear in the Print files tab.
- Prepare Files for Printing To use a 3D part file for printing, you must first prepare it. You can do this via the Prepare section or Cura (desktop) and then uploading the resulting print file to your project.
Related Articles


