Available on: All plans
This article explains how to start a print job using a pre-sliced file stored in your Library. This workflow is ideal for reprinting models without needing to slice them again.
In this article, you will learn:
- How to navigate to your Digital Library.
- How to select a print file.
- How to send the file to a connected printer.
How to Print from the Library
Follow these steps to print a file from a Library project.
- Navigate to the Library
- Log in to your UltiMaker Digital Factory account.
- In the left-hand navigation menu, click the Library tab.
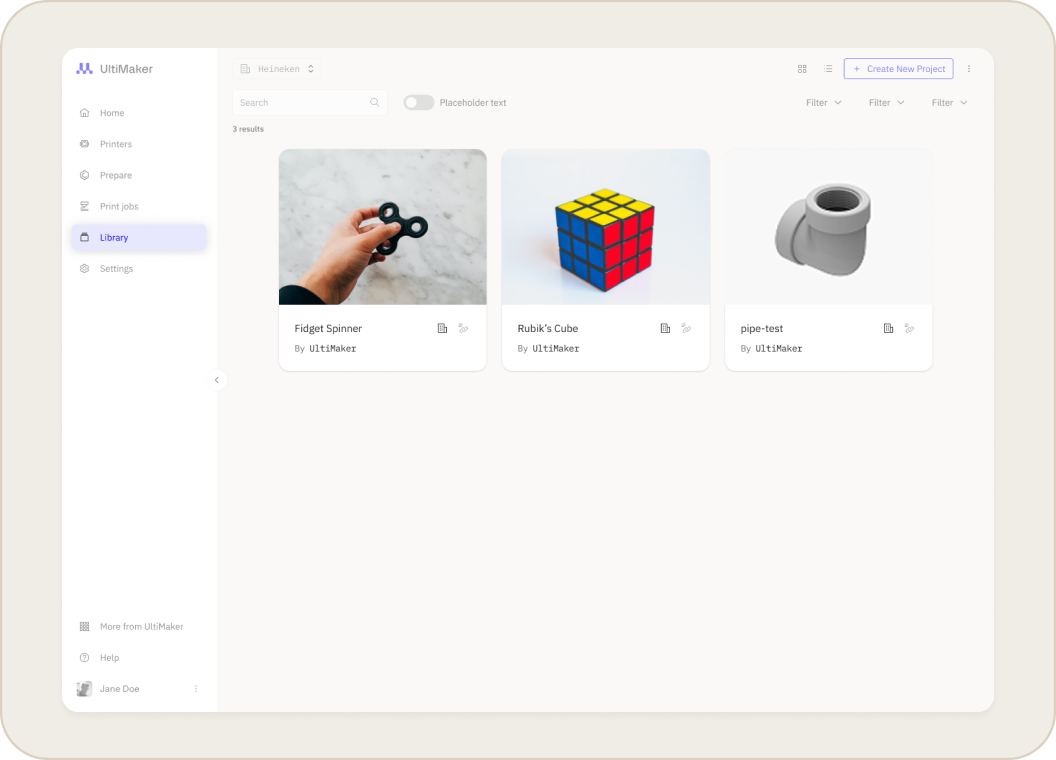
- Select a Project and Print File
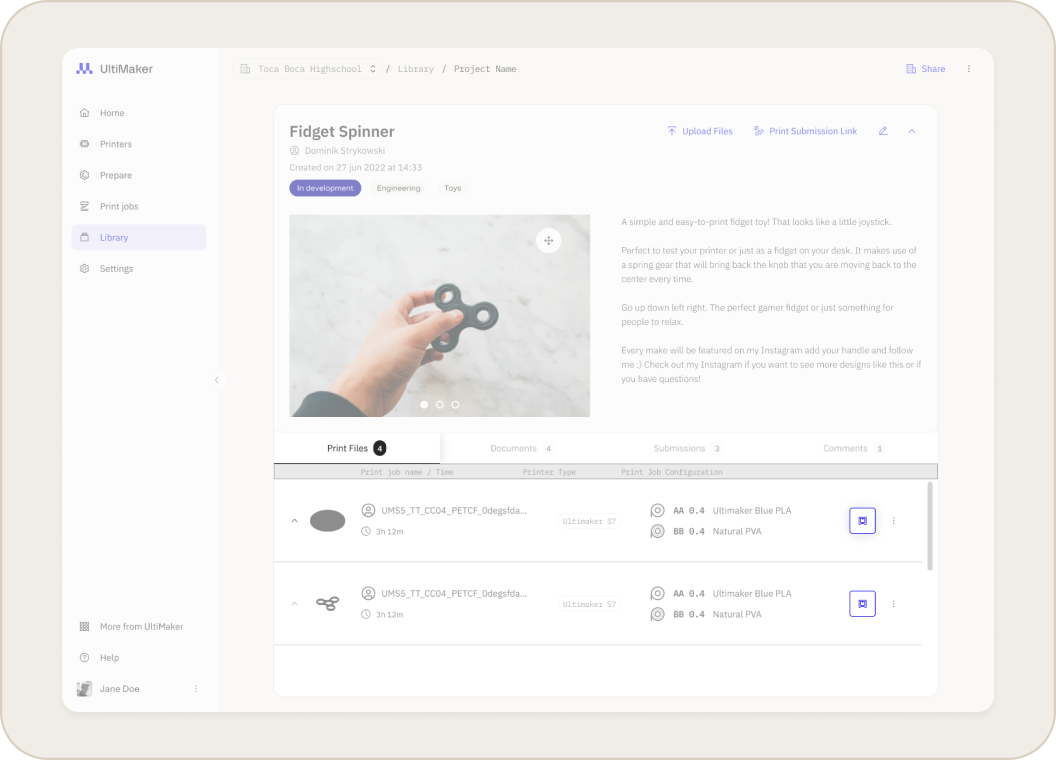
- Open the project that contains the file you wish to print.
- In the Print Files section of the project, locate your pre-sliced print file (this will have a
.ufp or .makerbotfile extension) and click the Print icon next to it.
- Send the Job to Your Printer
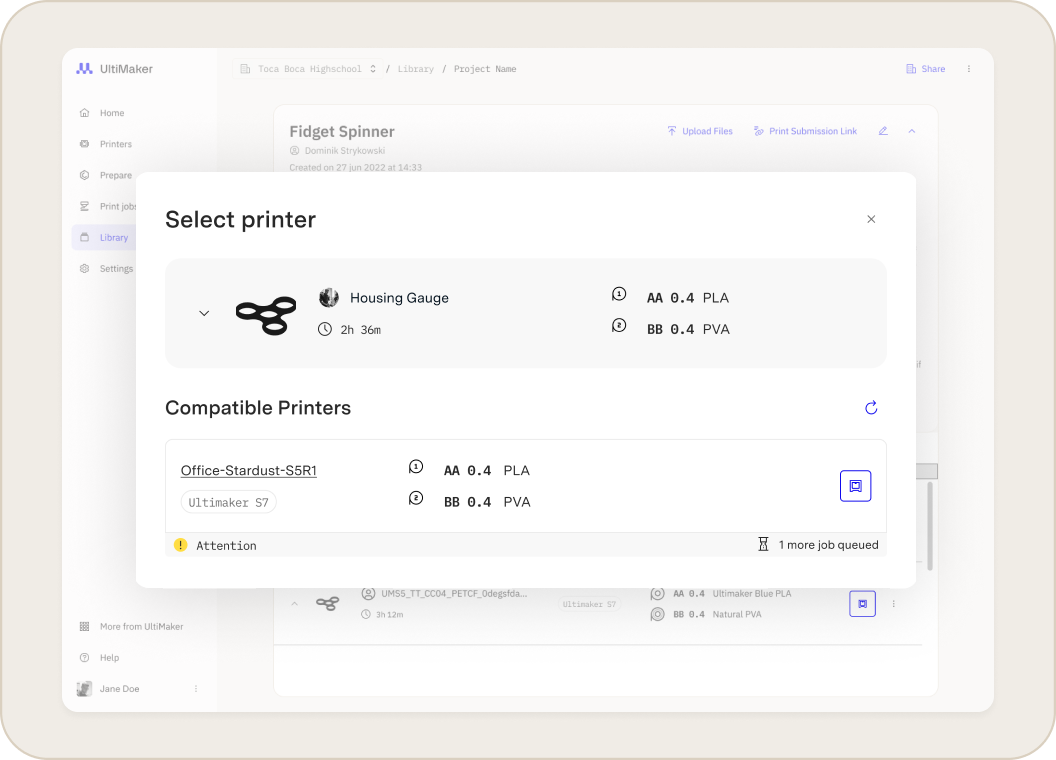
- A dialog will appear showing a list of compatible, connected printers in your workspace.
- Click the Print icon button on your selected printer to send the job to the printer's queue.
Related Articles


