Applies to: School and Business plans. For more details, see Subscriptions Overview
This article explains how to add multiple user accounts to your Digital Factory workspace at once using a CSV file. This feature is especially useful for administrators who need to onboard a large number of users efficiently, as it bypasses the need for individual email invitations.
In this article, you will learn:
- What bulk account creation is and when to use it.
- The requirements for using this feature.
- How to prepare your CSV file for a successful import.
- Step-by-step instructions for uploading your user list.
- How to resolve common errors that may occur during the process.
What is Bulk Account Creation?
Bulk account creation allows workspace administrators to add multiple users to Digital Factory simultaneously by uploading a spreadsheet. This process creates accounts for all users listed in the file without requiring them to accept an email invitation, streamlining the onboarding process and reducing the administrative burden of managing lost invitations or forgotten login credentials.
Requirements and Notes
Before you begin, please take note of the following requirements:
- Federated Single Sign-On (SSO): This feature is only available for workspaces with federated SSO enabled. This means that user authentication is managed by your organization's identity provider, not UltiMaker's account service. This option is available for the School and Business plans.
- Admin Role: You must have an Admin role in your Digital Factory workspace to perform this action.
- New Users Only: This function cannot be used to update the records of existing users. Individual users can update their own names and email addresses from their account pages.
- Data Integrity: To prevent errors, we strongly recommend exporting the required user information directly from your domain controller (e.g., Active Directory).
How to Prepare Your CSV File
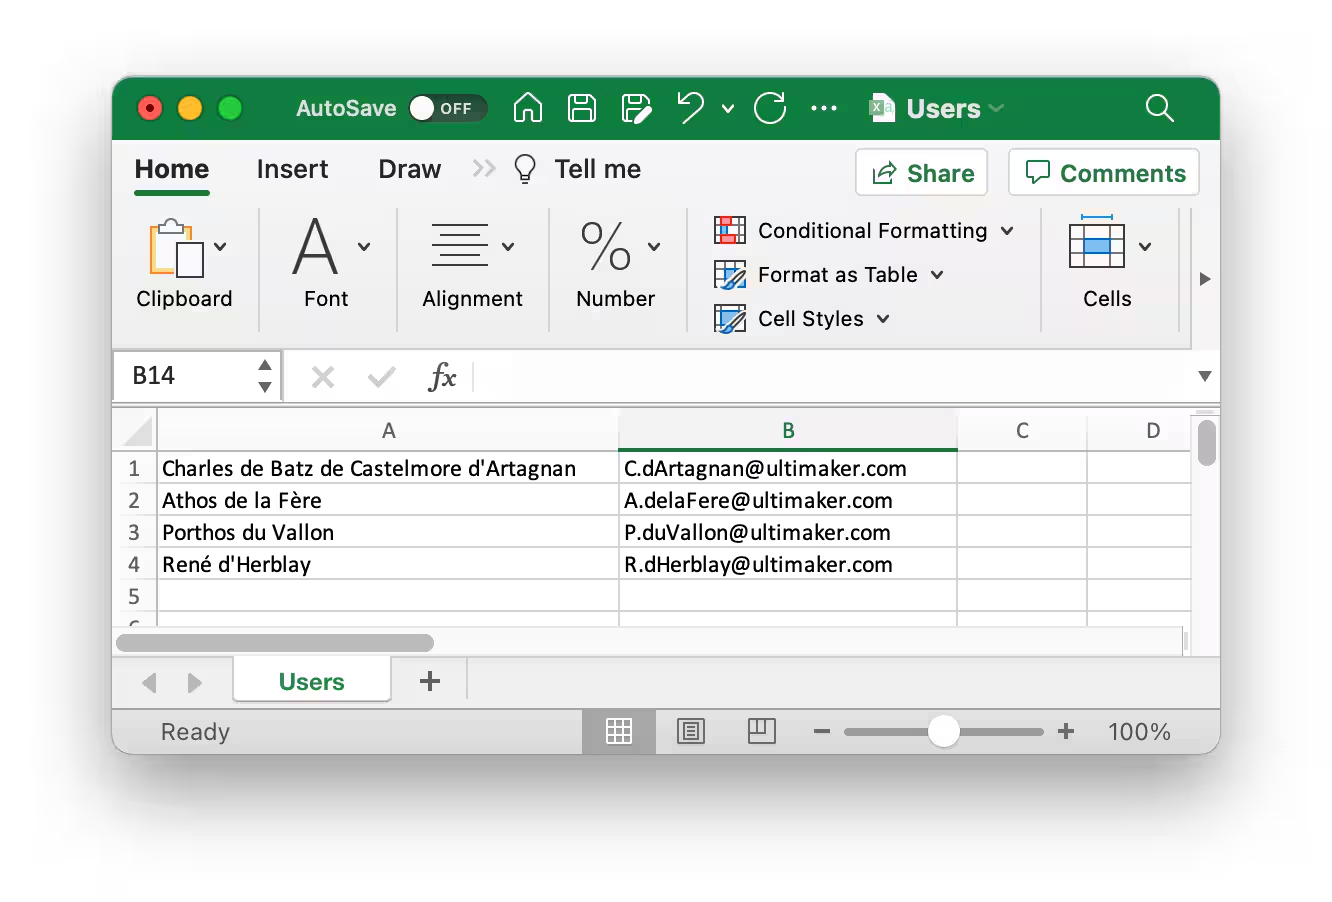
A CSV (Comma-Separated Values) file is a plain text format that can be created and edited in any spreadsheet program. Follow these steps to prepare your file for upload:
- Open Your Spreadsheet Program
- Create a new spreadsheet in your program of choice (e.g., Microsoft Excel, Google Sheets).
- Enter User Data
- In the first column, enter the users' full names.
- In the second column, enter their corresponding email addresses.
- Note: Digital Factory assumes the file does not contain a header row. If your file includes a header, you will receive an error for the first line, but the remaining accounts will still be created.
- Save as CSV UTF-8
- Save the spreadsheet in the CSV UTF-8 format. In Excel, you can do this by navigating to File → Save As... and selecting CSV UTF-8 from the file format options.
- The columns can be separated by a comma, semicolon, or tab. Ensure that only one type of separator is used throughout the file.
How to Add Users via Spreadsheet
Once your CSV file is prepared, follow these steps to upload it to Digital Factory:
- Navigate to User Settings
- In Digital Factory, go to the Settings tab.
- Select Users from the menu.
- Initiate Bulk Creation
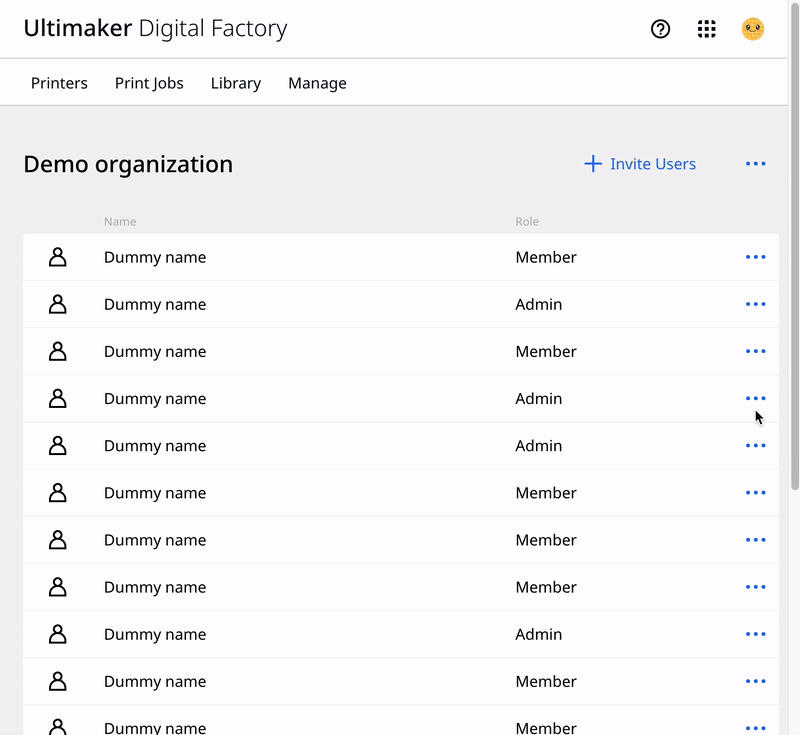
- Click the + Invite users button.
- In the pop-up dialog, toggle the switch for Bulk account creation.
- Upload Your File
- Drag and drop your CSV file into the provided field or click to select it from your computer.
- Review and Confirm
- After the file is processed, a summary will appear, showing the number of:
- Valid accounts to be created.
- Existing accounts that will be skipped.
- Invalid lines that cannot be processed.
- You can then choose to Proceed with the changes, upload a new CSV file, or Cancel the operation.
- When you proceed, user accounts will be created for all valid entries, and each user will receive an "Account created" email.
Resolving Common Errors
If you encounter issues during the upload process, refer to the table below for common errors and their solutions.
Errors uploading CSV file
| Error | Cause / Solution |
| File did not upload correctly | There may have been an issue with your internet connection during the upload. Please try again. |
| File is not formatted correctly | Ensure the CSV file is saved in UTF-8 format to ensure all characters are readable. |
Errors in the CSV file
| Error | Cause / Solution |
| Missing name | The Name field is missing or not filled in. |
| Invalid name | The Name field contains invalid characters. |
| Missing email | The Email field is missing or not filled in. |
| Invalid email | The Email field contains an invalid email format (e.g., missing the @ sign). |
| Email not in the organization domain | Bulk account creation is limited to email addresses within your company's domain. For example, if your domain is example.com, only emails ending in @example.com will be accepted. |
| Account already exists in the workspace | The email address you are trying to add is already a part of your workspace. |
| Duplicate email in CSV | The email is listed more than once in the CSV file. This is a warning to help you keep track of the number of accounts that are created. |
Tip: If you continue to experience problems with bulk account creation, please contact our support team for further assistance.
Related Articles


