This error can occur on printer systems using the Material Station: UltiMaker S5, UltiMaker S7, and Factor 4. It indicates that the decouplers of the Material Station are not calibrated.
Affected system
The material handling system with the Material Station consists of several parts which all help guide the filament to the print cores. The end of the filament first passes through the prefeeder, which is located right below the material bay. The prefeeder is connected to the mergers via Bowden tubes. The merger guides the material toward the correct extruder (6-to-1 connection). Next, it reaches the decoupler. Its spring-loaded slider provides information about the position and tension of the filament. The feeder then picks up the material which controls the extrusion process during loading and printing.
Issue
The decouplers on the Material Station are pre-calibrated at the factory. If ER66 appears, the calibration has not been done, the decoupler has somehow lost its calibration values, or the values have become corrupted. In this case, the decoupler can be (re)calibrated without the need for special tools or software.
If the decoupler cable is disconnected, the Material Station electronics are not able to check the calibration values. In this case, ER66 can also appear. If you suspect this is the case (for example, if the error appears after shipping of the machine or a repair procedure), check the connection before performing the decoupler calibration. The procedure will fail if the cable is disconnected.
Tip: To check the connections, first disconnect the power cable. On Factor 4, remove the back cover panel to access the decouplers. On the S series Material Station, use the decoupler replacement guide as a reference. Reconnect the cable(s) if necessary.
A decoupler calibration may also be performed in case of persistent material loading issues, if all other potential causes have already been checked.
Tip: You can also download the step-by-step decoupler calibration instructions as a PDF document (S series instructions only; a Factor 4 calibration guide will be available soon).
Calibration explanation
As mentioned above, the decoupler contains a spring-loaded slider with magnets. The 'extreme' positions of this slider must be calibrated so that the Material Station understands these limits and can respond accordingly. These positions are:
- Tension IN (0 mm) - The slider is fully pressed into the decoupler with tension on the spring.
- Free IN (4 mm) - The slider is pressed into the decoupler without compressing the spring.
- Free OUT (21 mm) - The slider is pulled out of the decoupler without compressing the spring.
- Tension OUT (25 mm) - The slider is fully pulled out of the decoupler with tension on the spring.
Note: On the S series Material Station, the sliders are at the top of the decouplers. On Factor 4, the sliders are at the bottom of the decouplers. Instead of the previously used 'UP' and 'DOWN' positions, this article now refers to 'IN' and 'OUT' positions.
Preparation
The decoupler calibration process is built into the Material Station. For the S series Material Station, this calibration can be performed on the assembled Pro Bundle, or on just the Material Station without a printer installed. On Factor 4, the calibration can only be done with the Material Station module installed in the printer, as the module does not have its own power supply. You will need to remove the back cover panel in order to access the decouplers.
The calibration is performed by manually adjusting the slider position on the decoupler at the back, and each step is confirmed by pressing an eject button at the front.
Ensure that the decouplers are connected properly. If the decoupler cable is loose (at the decoupler or electronics) or damaged, the calibration process can be started but will not be able to complete.
Note: There is a timeout on the calibration process. If this takes too long (> 5 min), the calibration will be aborted and normal operation will resume. This will likely lead to the ER66 error message again.
Tip: Make sure you have access to both the front and the back of the Material Station. You can also perform this calibration with two people. This is highly recommended on Factor 4 due to the size of the machine.
Entering calibration mode
The calibration is started by a special boot-up cycle. First, remove the power cable from the printer (Factor 4) or the Material Station (S series). The decouplers must be calibrated one by one. Push and hold the two left eject buttons (for bays A and B) to start the calibration of decoupler 1. Push and hold the two right eject buttons (for bays E and F) to start the calibration of decoupler 2.
Wait at least 10 seconds before reconnecting the power cable. Ensure to keep holding the two eject buttons on the Material Station interface for the corresponding decoupler. Wait until you hear the Material Station power on and release the eject buttons. The frame lights will now flash once (every 10 seconds). This indicates that the Material Station has entered the decoupler calibration mode.
Calibration
As mentioned above, the sliders in each decoupler have four positions that must be calibrated. Manually put the slider in the correct position, and confirm each step by pressing one of the eject buttons. It does not matter which of the buttons is pressed. Make sure to push and pull on the slider itself, not the Bowden tube connected to it.
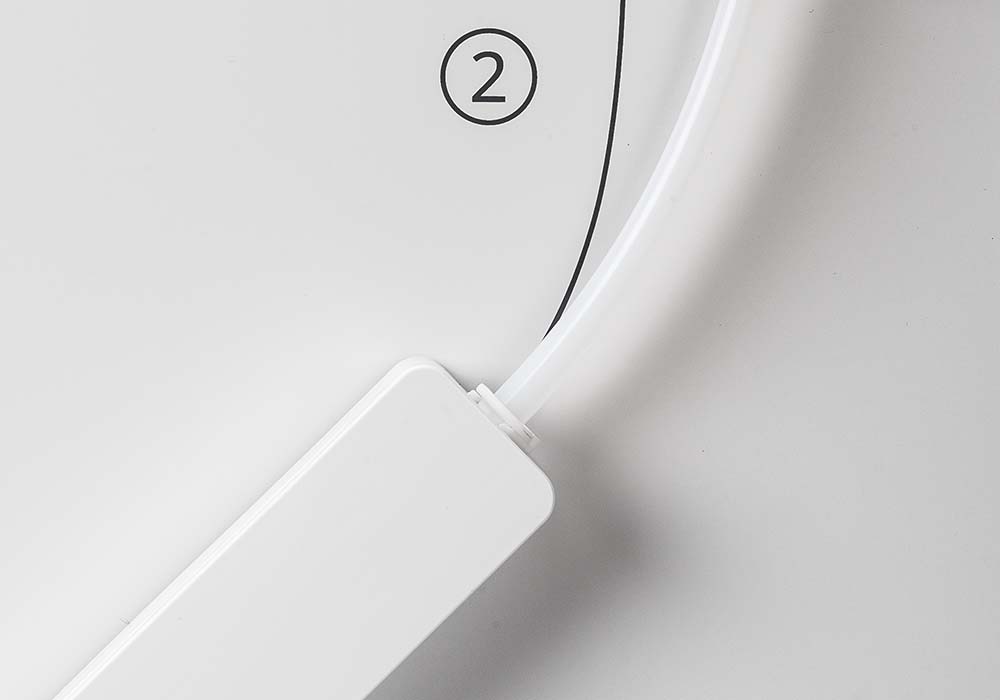
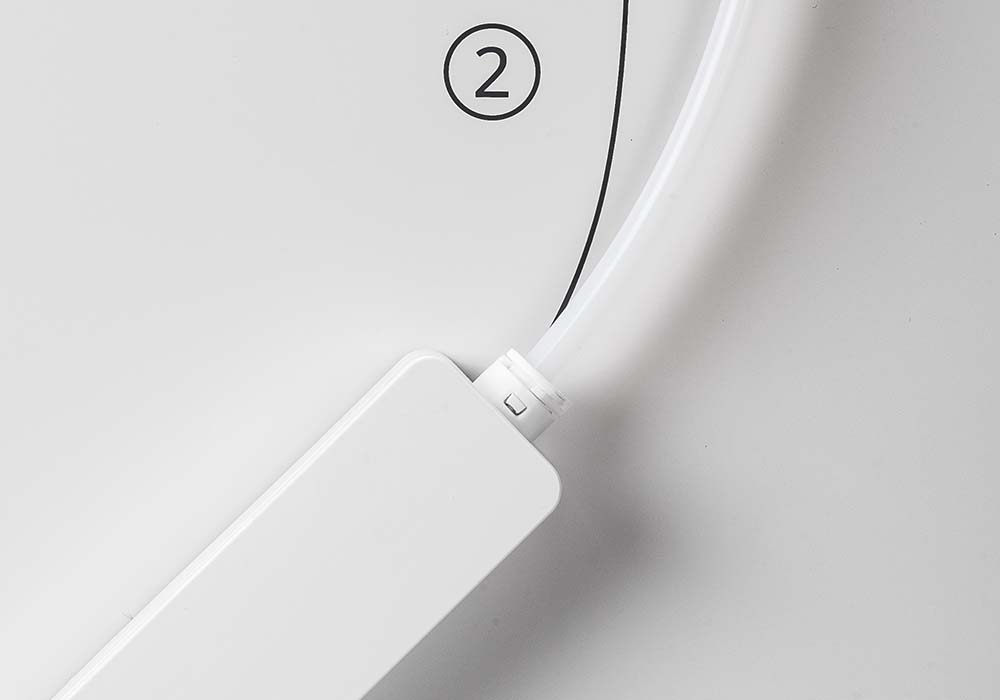
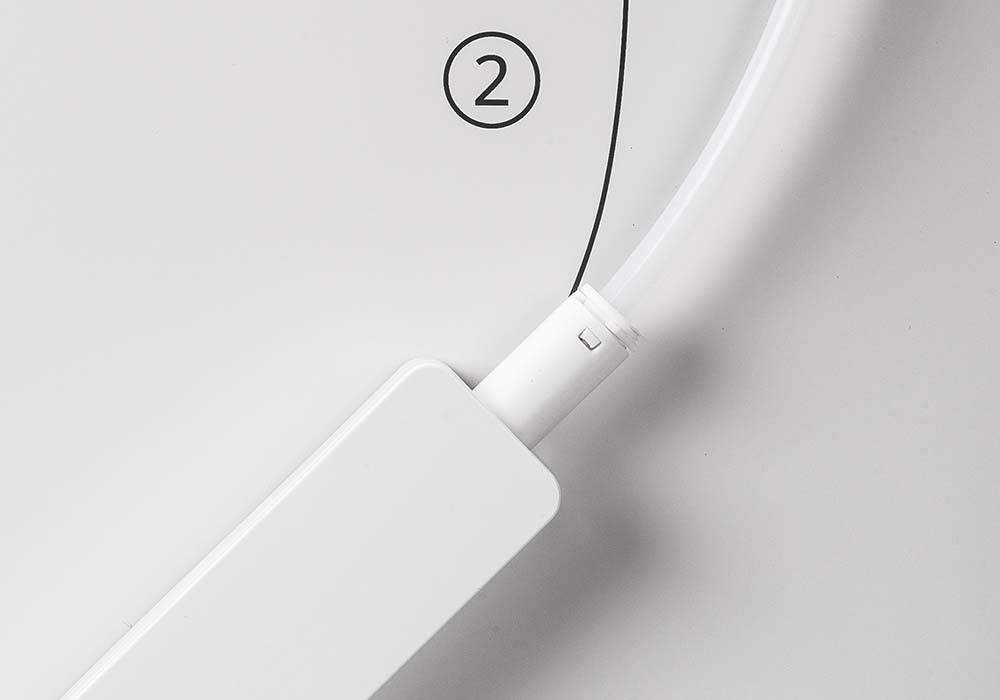
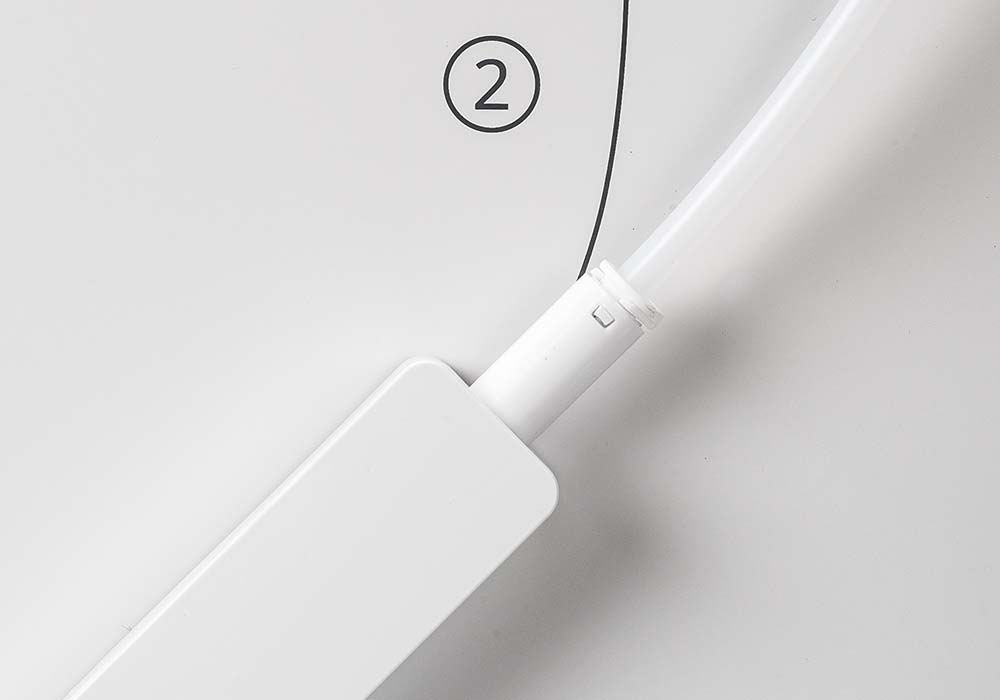
Note: The images below show the decouplers for the S series Material Station. On Factor 4, the decouplers have the slider at the bottom. For the steps described below, the IN position is DOWN for S series and UP for Factor 4, and the OUT position is UP for S series and DOWN for Factor 4.
 |  |
|
Position 1 – Tension IN
Push the slider of the decoupler all the way into the decoupler with the spring fully compressed. You will feel some resistance. This is the 0 mm position.
Press one of the eject buttons; the Material Station will flash two times.
|
Position 2 – Free IN
Hold the slider in the decoupler, but without compressing the spring (relaxed). This is the 4 mm position.
Press one of the eject buttons; the Material Station will flash three times.
|
 |  |
|
Position 3 – Free OUT
Pull the slider out of the decoupler, until you feel some resistance. Make sure the slider is relaxed; do not compress the spring. This is the 21 mm position.
Press one of the eject buttons; the Material Station will flash four times.
|
Position 4 – Tension OUT
Pull the slider out of the decoupler as far as possible. You will feel some resistance from the spring tension. This is the 25 mm position.
Press one of the eject buttons to confirm.
|
If the calibration was successful, the Material Frame lights will stay on.
Note: If the Material Station goes back to flashing just once during or after this procedure, the input was invalid. The procedure will start over from step 1. Make sure you hold the slider in the correct position for each step until you have pressed the eject button to confirm.
Need further support?
If you have performed the calibration procedure successfully, but the ER66 error still persists, there could be a hardware problem. Possibly affected parts can be the decoupler assemblies, the decoupler cables, or (for S series) the UMB cable which connects the Material Station to the printer.
Also, if you have tried the calibration procedure multiple times and the Material Station continues to flash once after completing step 4, one of the decouplers may not be connected securely or is defective. See the guides linked above to check the connections, or contact support to receive further assistance.
Tip: Include your printer's log files for more efficient troubleshooting.


