This error can appear on S series printers and indicates an issue with the Z limit switch.
The Z limit switch is located beneath the build plate at the bottom of the printer. It is used for 'homing' the build plate: it stops the Z stage movement when it has reached the bottom of the Z axis.
When this error occurs, it means that the Z limit switch is not triggered properly. This could be caused by a problem with the movement of the build plate or by a problem with the limit switch itself.
The error may indicate one of the following conditions:
- The limit switch remains activated when it should be released.
- The limit switch fails to activate when it should.
To resolve this issue, follow the troubleshooting steps outlined below.
Check for obstructions
Objects under the build plate, such as printed parts or tools, can prevent the build plate from lowering completely, meaning the Z limit switch will not be activated at the end of a print or when selecting Lower build plate via the Maintenance menu.
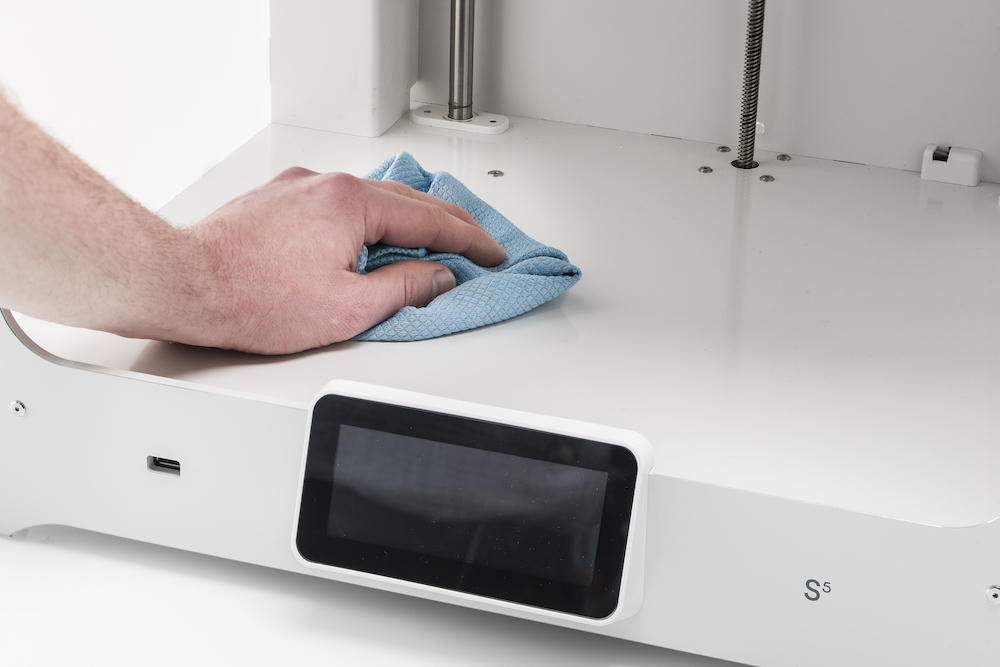
Clear the bottom of the printer of all objects and debris. Never store items inside an UltiMaker printer.
Remove any loose strands of filament from the priming process. This is especially important if the printer is used in combination with the Material Station. If these accumulate, they can prevent the Z stage from reaching the bottom or get stuck in the lead screw, causing movement issues.
Tip: Always keep your printer clean for the best print results and highest reliability. For accurate Z movement, also ensure to regularly clean and lubricate the Z motor's lead screw. Please refer to the S series preventive maintenance schedule.
Check the cover
Small pieces of filament or debris can get stuck around the Z limit switch, keeping it activated and leading to an ER32 error message.
Inspect the area around the Z switch and remove any debris. Ensure that the switch cover is properly seated. If the error appears after installation, the cover may have shifted during shipping.
To check and reseat the cover:
- Manually raise and support the build plate.
- Locate the small tab at the top securing the cover.
- Press the cover on both sides and pull it forward to remove it.
- Align the tab at the bottom with the switch and gently push the cover back into place.
Check the limit switch
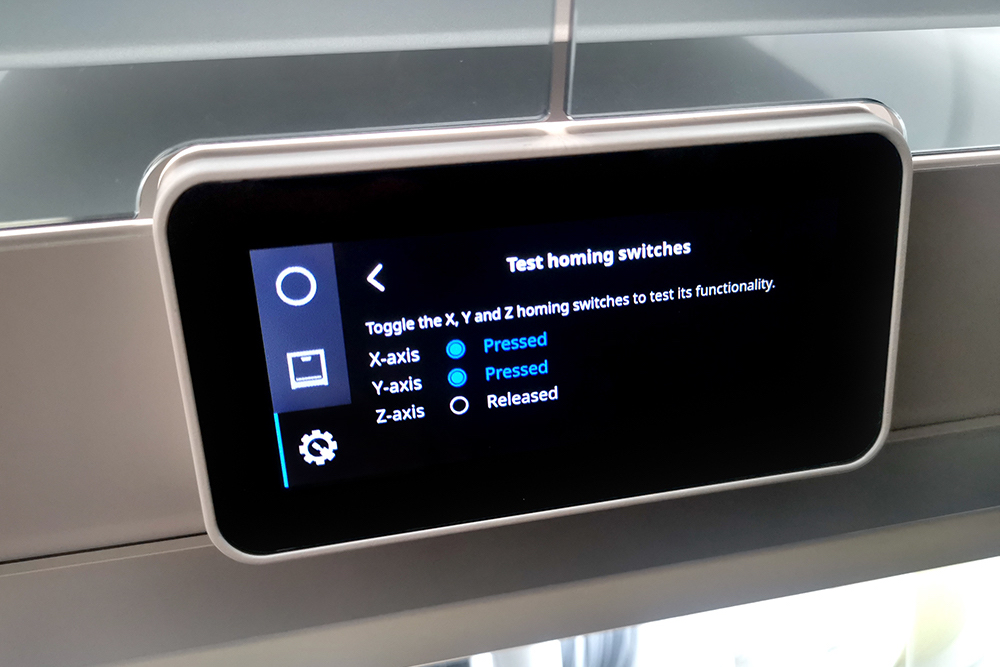
You can test whether the Z limit switch is working correctly using the printer's diagnostic feature. In the Options menu (gear icon), navigate to Maintenance → Diagnostics → Test homing switches.
- Manually raise the build plate and check if the switch shows as Released.
- Press the Z limit switch and verify that the status changes to Pressed on the display.
Note: This diagnostics feature does not work on Ultimaker S6 and S8 with firmware version 11.2. This is a known issue and will be fixed in a next release.
If the switch shows the correct activation states, it is properly connected and functional. The problem is not with the switch. The error may have been caused by an obstruction. Check if all objects are cleared. Drop the build plate back to the bottom and verify that the switch status changes to Pressed again. Another cause could be a movement issue; please continue troubleshooting.
If the switch does not respond as expected, try removing the switch cover and manually toggling the switch again. If the printer still does not show the correct status on the display, the switch is faulty or disconnected. Please contact support for further assistance.
Check the motor movement
Another possible cause for the Z switch error message is if the Z motor is not moving at all. After making sure that the limit switch is functional and not obstructed, try moving the build plate via the menu.
In the Options menu, navigate to Maintenance → Build plate → Move build plate and try the options Raise build plate and Lower build plate. If there is no response from the Z motor, the ER32 message will be triggered after some time. This indicates a hardware problem with the Z motor or the motor drivers.
Please contact support for additional troubleshooting advice. Include the error number (ERXX) and your printer's log files.
Note: Firmware versions prior to 8.1 (for S3, S5, and S7) did not offer optimized stepper driver protection in case of errors. It is always strongly recommended to keep the firmware up to date to benefit from new features and reliability upgrades.
Need further support?
If you were unable to resolve the ER32 error message after following all the troubleshooting steps on this page, or if the steps indicate faulty hardware, please contact UltiMaker support for further assistance. When filling out the support case form, please ensure to include the following information:
- Your printer model and serial number
- The error code displayed
- The troubleshooting steps you performed and their results
- Your printer's log files
- Photos and/or videos showing the issue
Providing this information upfront will allow our support team to diagnose the issue and offer a solution as quickly as possible.


