Product notification
This product has been discontinued, and its end-of-service date has passed. While it is no longer supported, the information on this page remains available for your reference.
|
The nozzle cover shields the print cores from cold airflow from the fans, which helps the print cores to maintain a stable temperature while printing. The cover also helps to prevent backflow of material into the print head when something goes wrong during printing.
The heat of the nozzles may cause wear on the nozzle cover over time. It is recommended to check the quality of the cover at least once every three months. This may be necessary more frequently when printing with high-temperature materials.
Checking instructions
Examine the bottom of the print head to see if the holes where the nozzles come through are still round and if the cover still forms a good seal. Also gently open the fan bracket to check the other side of the silicone nozzle cover.
If the nozzle cover looks burnt, frayed, or damaged, it is recommended to replace it. Follow the instructions below.
Replacing the nozzle cover
There are two different versions of the UltiMaker 3 print head, with notable differences between the nozzle covers. Before ordering a replacement, check which version you need.
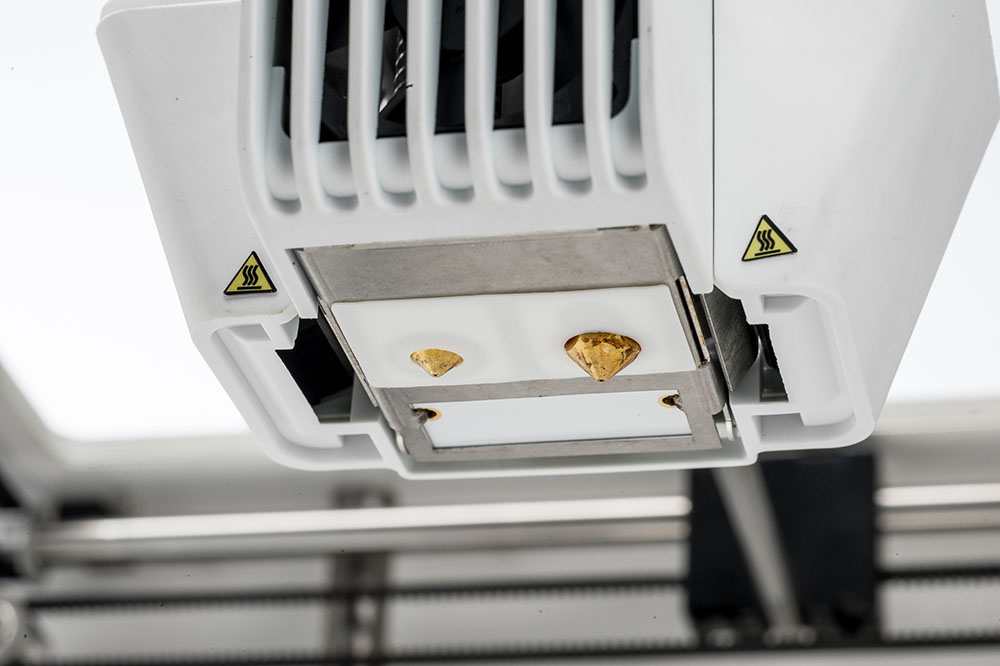 | 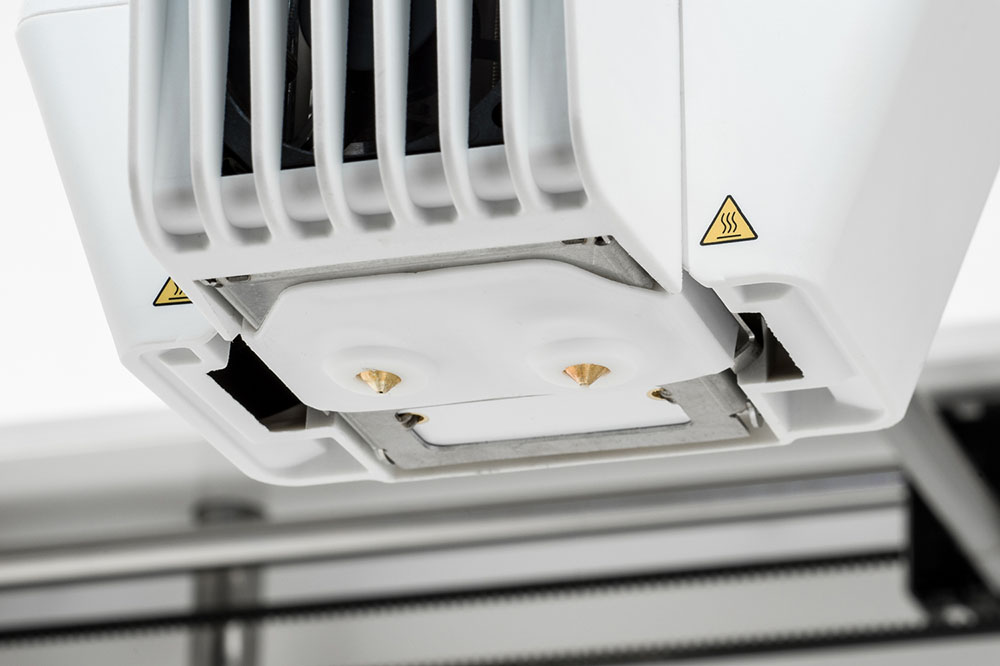 |
| Old-style nozzle cover | New-style nozzle cover |
Caution: Make sure that the print cores have completely cooled down before starting this maintenance action. Turn off the printer or ensure it is disabled in the Digital Factory to prevent new print jobs from starting remotely.
The sections below show a quick summary of how to replace the two types of nozzle covers. For detailed, step-by-step instructions, please visit this page: Replace the Ultimaker 3 nozzle cover.
Old-style nozzle cover
Part number: 2161
Examples of nozzle cover states. The cover on the left must be replaced. It is advisable to replace the cover in the middle. The one on the right is in perfect condition.
To replace the nozzle cover, gently open the fan bracket. Pull the old cover out of the print head. Take the new cover and align it behind the fan bracket. Insert the tabs at the top and bottom through the square holes in the metal bracket. From the underside of the bracket, push against the cover until all the cover's edges have nicely folded around the metal bracket. Close the fan bracket again and check the underside of the print head: the cover should be completely flat.
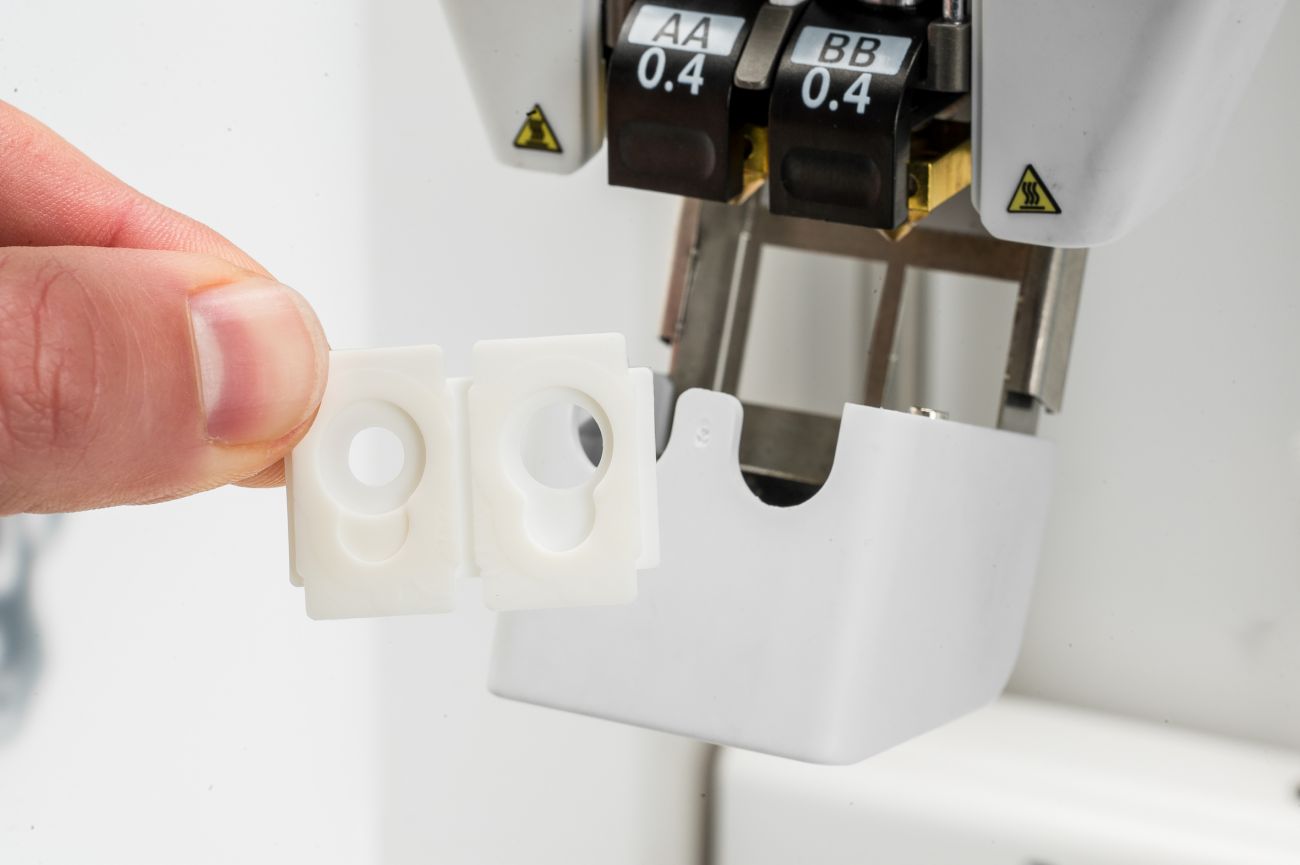 | 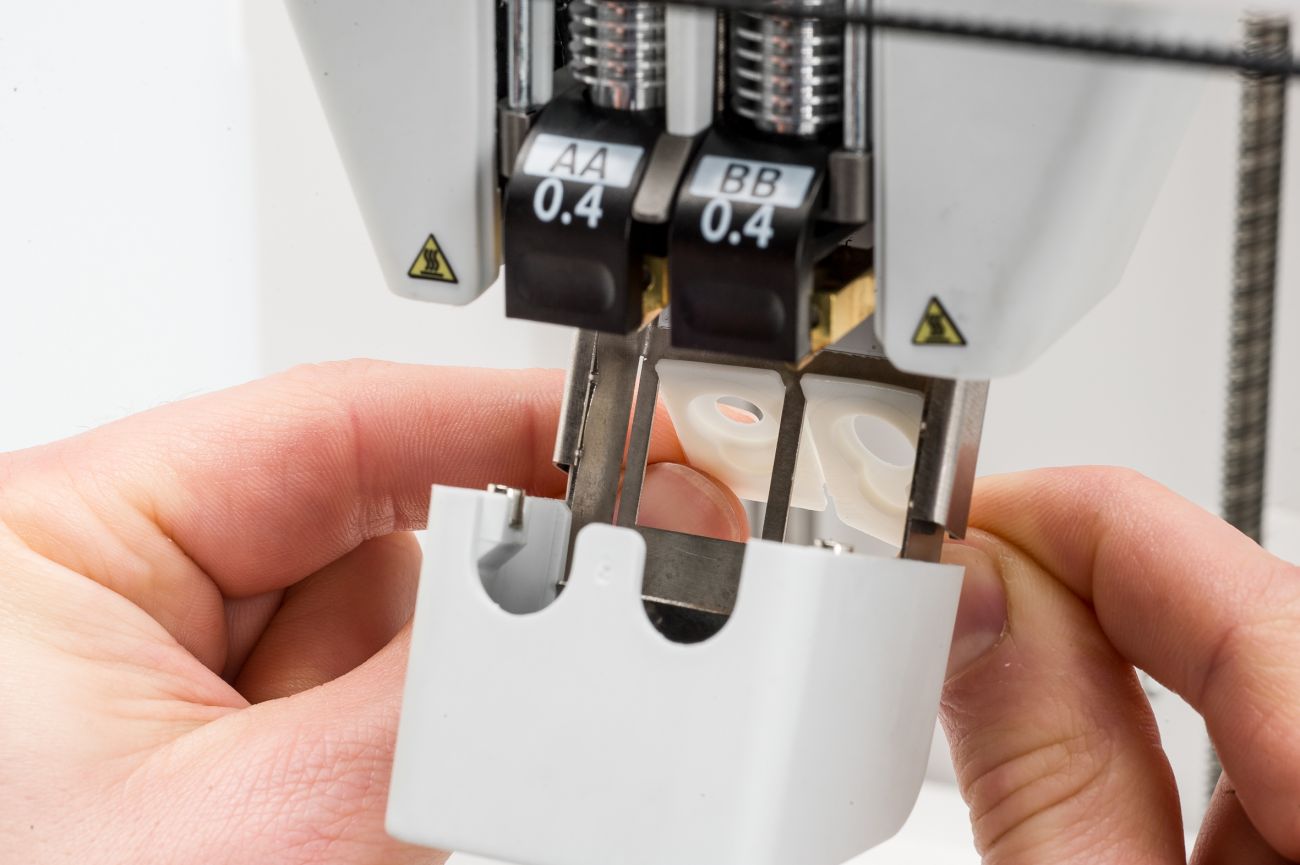 | 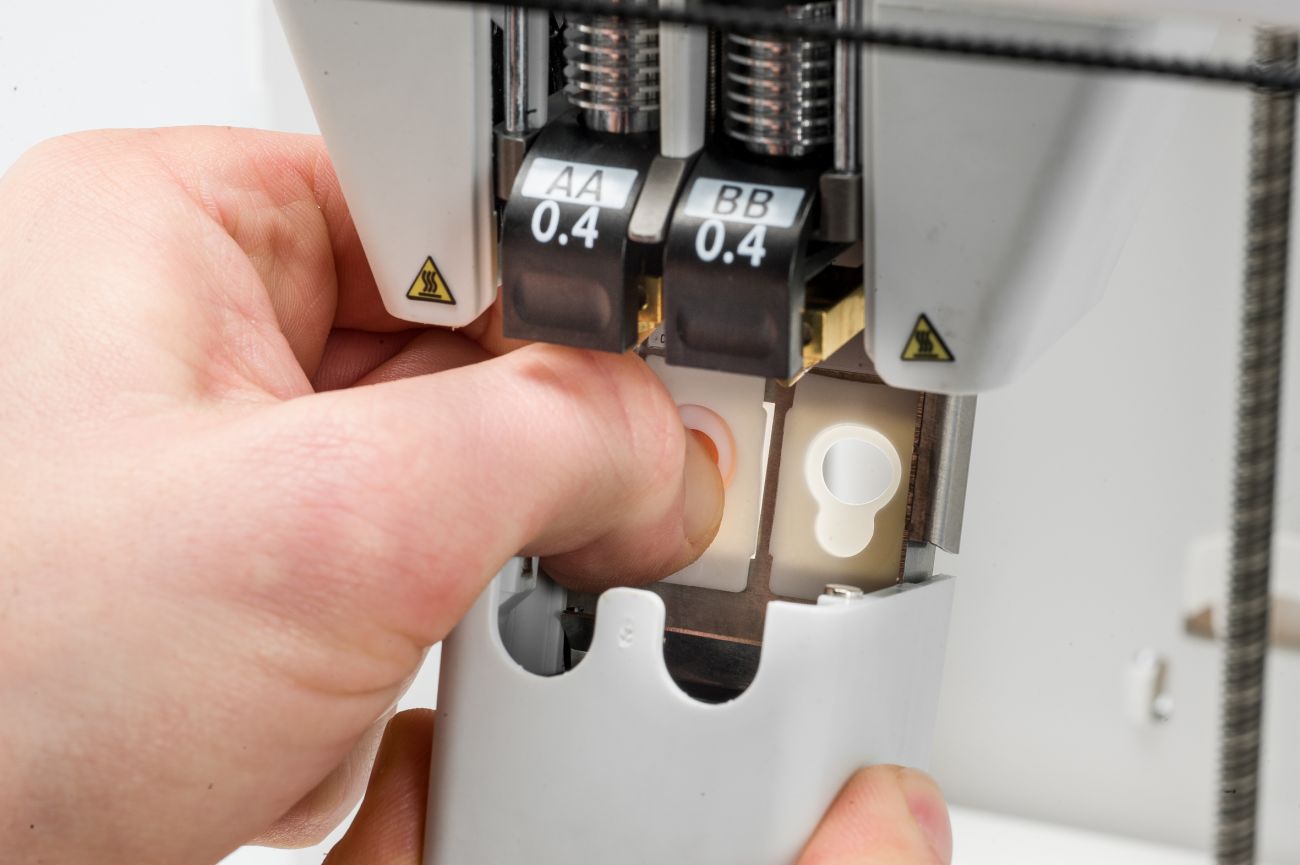 |
| Correct orientation | Insert top tabs | Align all edges |
Note: Because the UltiMaker 3 is discontinued and no longer supported, the availability of spare parts is not guaranteed. UltiMaker may not be able to supply replacement nozzle covers of this type.
New-style nozzle cover
Part number: 210542
The newer style nozzle cover provides a better seal, but it is a bit more complicated to install. Please see the video below for step-by-step instructions. Note that the video shows the UltiMaker S5, but the steps for the UltiMaker 3 are the same. The S series and UltiMaker 3 nozzle covers only differ in size.
Alternatively, follow the detailed instructions on this page: UltiMaker 3 - Replace the nozzle cover
Note: The new-style nozzle covers are still available as spare parts (81-210542), as this is a common part also used on Factor 4. This cannot be installed on an old-style UltiMaker 3 print head; it requires a different front fan bracket, too. The part number for this fan bracket assembly was 221579, but note that the availability of this part cannot be guaranteed because the UltiMaker 3 is no longer supported. Check with your local reseller if this item is still in stock.


