If it is necessary to completely remove the Material Station, for example, for repair or warranty purposes, disassemble the Pro Bundle as described below.
Tip: If you have to perform a repair to the Material Station that requires access to the bottom cover, or if you have to pack the Material Station for transport, first remove all material spools. Use the eject button to unload all preloaded materials.
- Turn off the printer using the power switch at the back.
- Remove the power extension cable between the printer and the Material Station.
- Disconnect the power cable from the Material Station.
- Remove the clamp clips from the bottom of each feeder.
- Take the Material Station's Bowden tubes out of the bottom of each feeder.
- Disconnect the Material Station cable from the UMB OUT port in the back panel of the printer.
Note: If you have an Air Manager, also disconnect the Air Manager cable from the UMB OUT port of the Material Station.
Carefully lift the printer off the Material Station and (temporarily) place it on a flat, level, and stable surface. Be careful, as the printer is heavy. The UltiMaker S series printer must be lifted by at least two people.
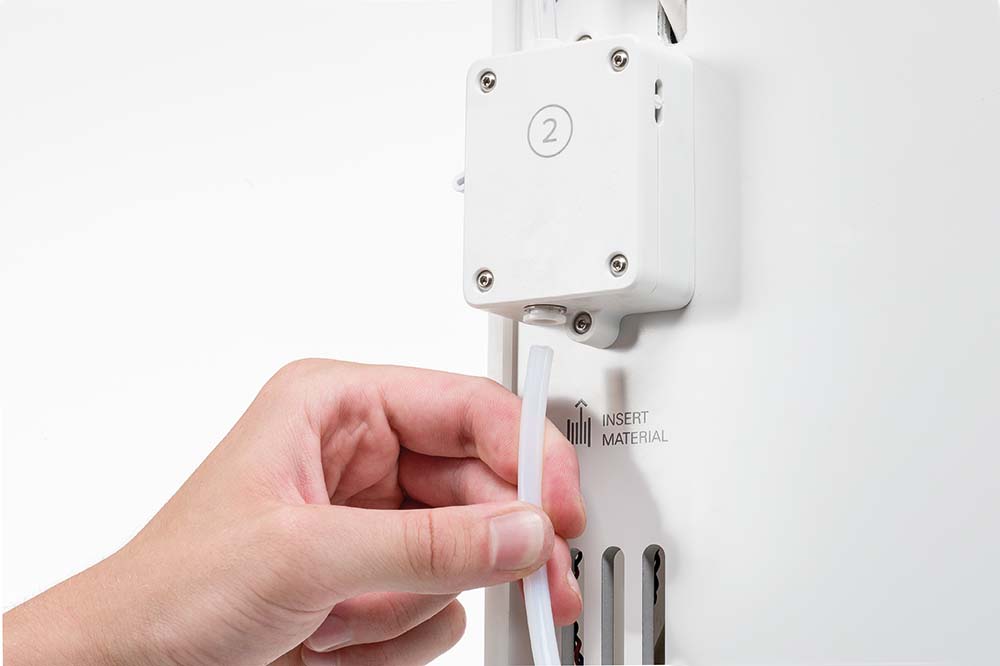
Remove the Bowden tubes | 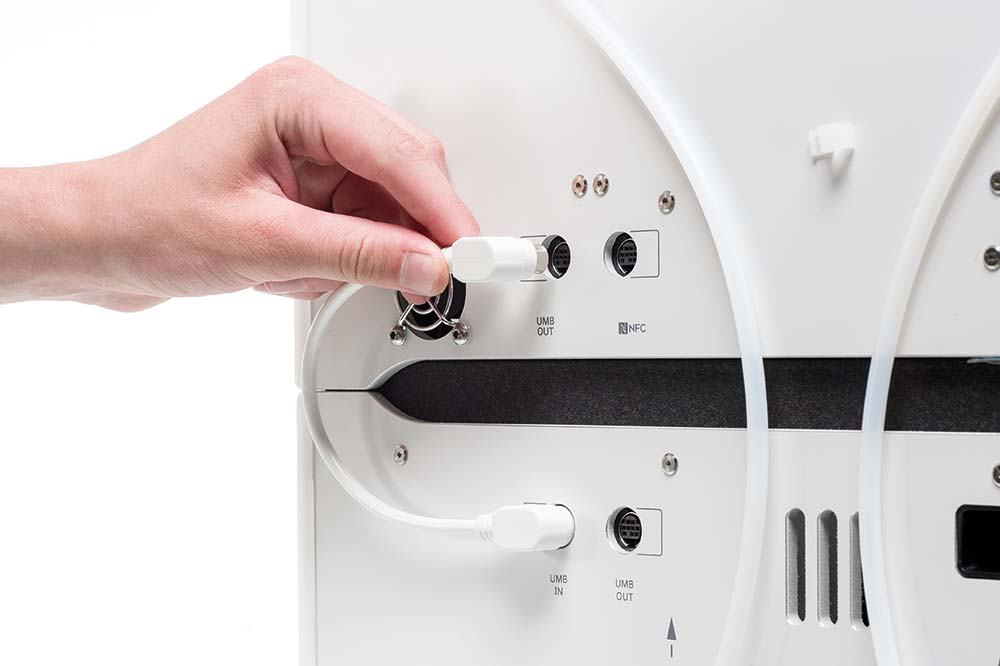
Disconnect the UMB cable | 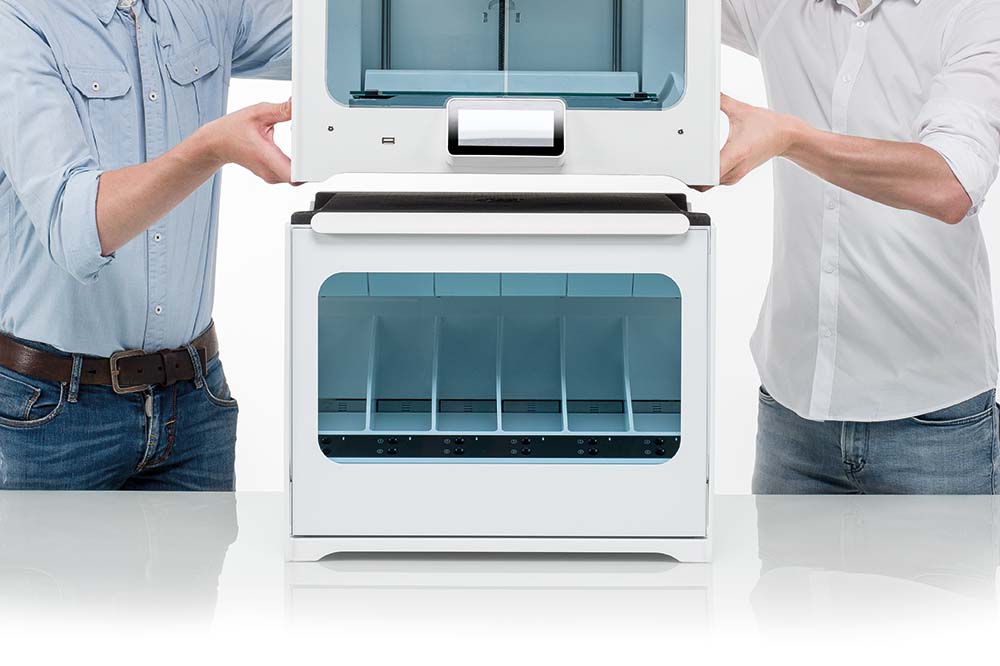
Lift the printer off the Material Station |
If you want to continue printing with the UltiMaker S series printer after removing the Material Station, install the spool holder and load materials directly into the printer.
- Remove the spool holder cap from the back panel of the printer.
- Insert the spool holder into the back panel and push down until it snaps into place.
- Connect the spool holder cable to the NFC socket in the back panel of the printer.
- Place the material spools on the spool holder and load them into the printer via the Load material process on the printer.
Tip: Learn more about loading materials into the printer (without a Material Station) on this page.


