Product notification
This product has been discontinued, and its end-of-service date has passed. While it is no longer supported, the information on this page remains available for your reference.
|
The Ultimaker 2+ has a heater block with easily swappable nozzles. A 0.4 mm nozzle is already installed, and additional nozzle sizes (0.25 mm, 0.6 mm, and 0.8 mm) are included in the accessories. Additional nozzle packs for all sizes or a mix can be purchased separately.
Install a different nozzle size for faster prints, or to achieve more detail. To change the nozzle, use the 7 mm wrench that is included in the accessory box.
Tip: Before removing the nozzle, perform a cold pull to remove material residue from the inside of the nozzle. This ensures that the nozzle is easier to remove, and it is clean and ready to use if you want to install this nozzle again later.
Note: The Ultimaker 2+ and the 2+ Connect use the same nozzles. The process to change the nozzles is the same, but the interface and temperature control are different. For the UltiMaker 2+ Connect, follow the instructions on this page.
Requirements
To change the nozzle, you can use the 7 mm wrench that is included in the accessory box. Because this procedure requires handling the nozzle while it is warm, protective (thermal) gloves are advised.
Instructions
| 1. Remove material | First, remove the material from the print head. The filament only has to be partially unloaded, until it is visible above the print head. Use the Change material procedure or raise the nozzle temperature via the Maintenance menu and unload the filament manually. |
|---|
| 2. Place the print head | Manually place the print head in the middle or front-center of the gantry. This gives you good access to the nozzle. |
|---|
| 3. Raise nozzle temperature | In the Maintenance menu, select Set nozzle temperature. Increase the temperature to 100 °C and wait for the nozzle to heat up. This makes it easier to loosen the nozzle. |
|---|
| 4. Remove the nozzle |
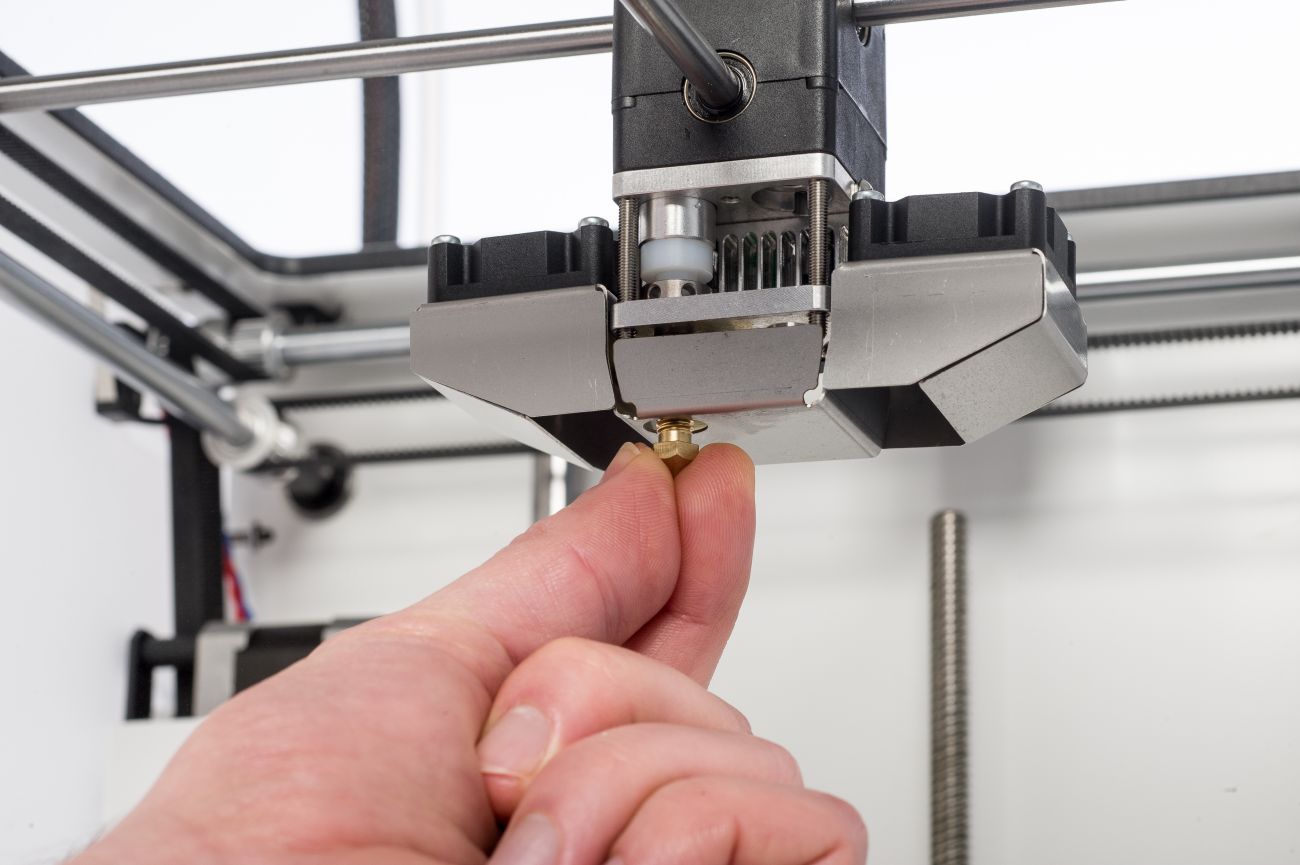
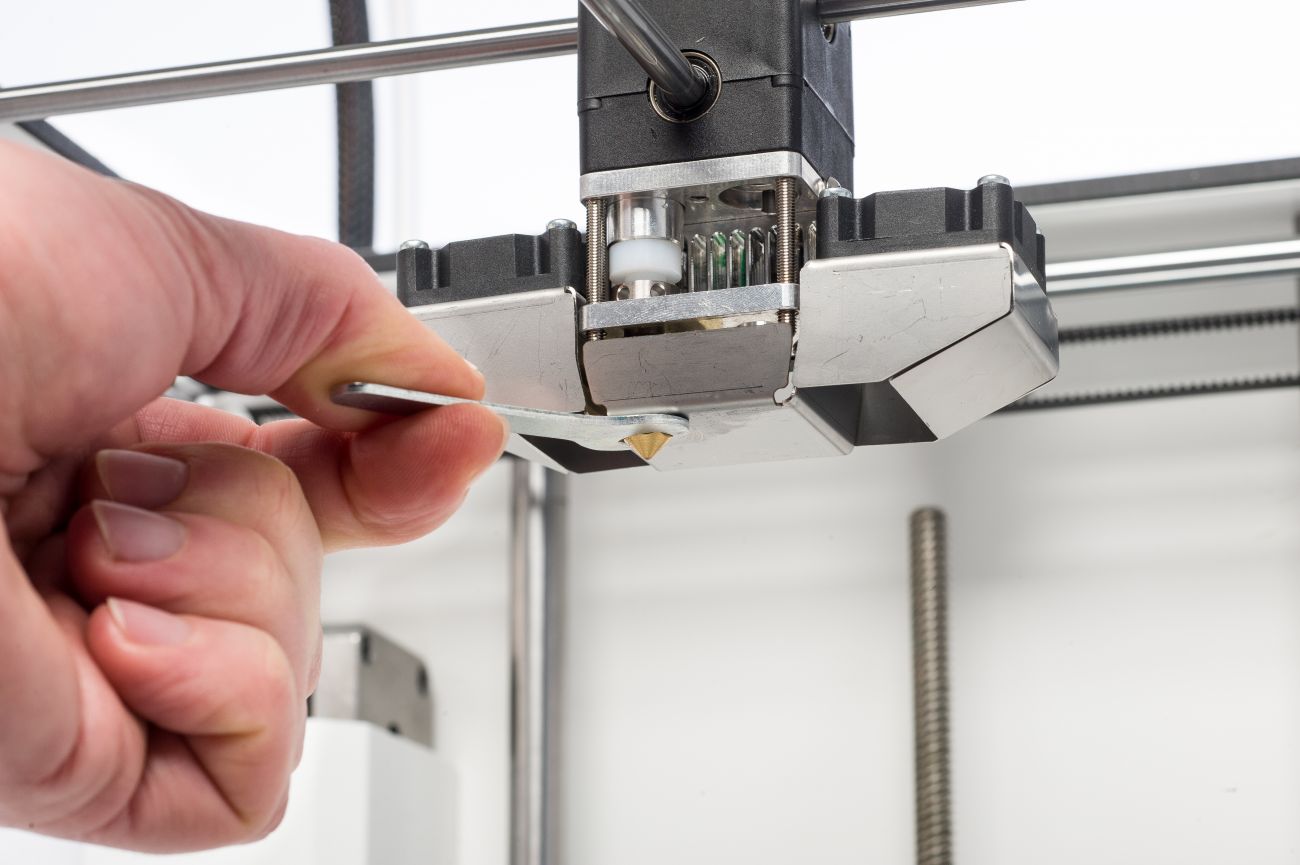
Use the 7 mm wrench to unscrew the nozzle from the heater block, in a clockwise direction
Caution: The nozzle is warm. Take proper measures to catch the nozzle when it is loosened from the heater block. Protective (thermal) gloves are advised.
|
|---|
| 5. Install the new nozzle |
Select the desired nozzle and manually screw it into the heater block until it is hand-tight. Finally, use the wrench to fully tighten the nozzle
Caution: Be careful, as the heater block is still warm. Protective (thermal) gloves are advised.
|
|---|
|
|
|
When the new nozzle is installed, exit the Set nozzle temperature menu. You can now reload the material.
Note: If you choose not to reload your material straight away, don't forget to lower the nozzle temperature back to 0 °C in the Set nozzle temperature menu; otherwise, the nozzle will stay hot.
Settings
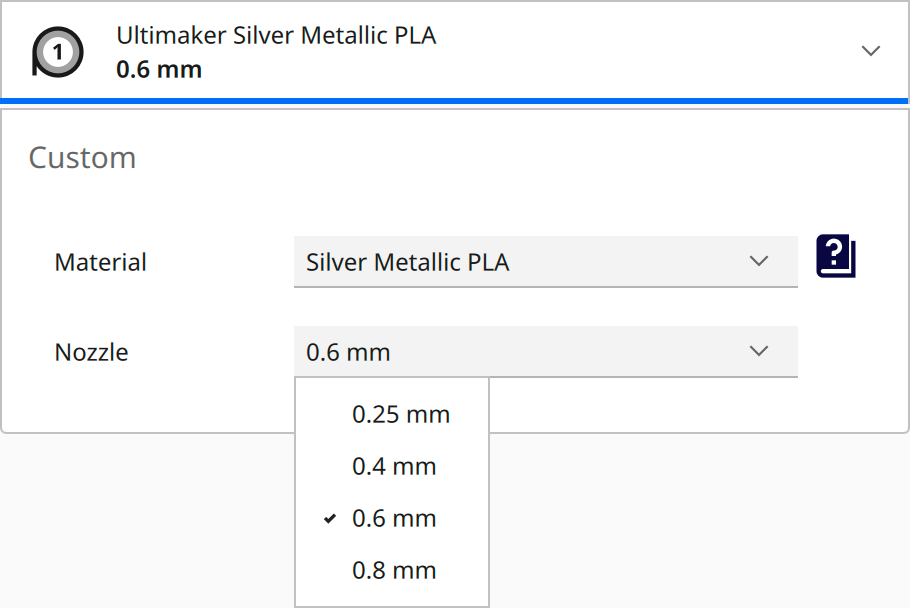
If a different size nozzle was installed, change this setting in Ultimaker Cura to prepare your next print job. This ensures that all profile settings, such as line width and layer height, are optimized.