Product notification
This product has been discontinued, and its end-of-service date has passed. While it is no longer supported, the information on this page remains available for your reference.
|
Cleaning the inside of the nozzle of your Ultimaker 2+ or Ultimaker 2 Extended+ can improve your printing results. When dirt or carbonized material accumulates inside the nozzle, you may have extrusion problems, or these burnt parts can show in your printed model.
You can replace the nozzle, but extrusion problems can often be resolved by cleaning the inside of the nozzle. There is a simple process for this that does not require disassembly of the print head. You will only need to remove the Bowden tube. This is called the hot and cold pull method, or, as it was previously known, the Atomic method.
Tip: This method can be used as corrective maintenance when the nozzle is clogged. It is also recommended to perform this process as a preventive action when switching between materials that have very different printing temperatures.
Safety notes
- Use pliers when handling filament to avoid injury if the material breaks unexpectedly.
- Make sure the print head is positioned at a comfortable working height, ideally below shoulder level.
- The cleaning process involves high temperatures. Never touch the nozzle while it is hot, and avoid placing your hands below the nozzle while inserting filament, as hot material may drip and cause burns. Consider wearing protective (thermal) gloves to prevent injury.
- During the hot pull, use a quick but steady upward motion. Avoid sweeping or flinging movements, as this could cause small flakes or drops of hot filament to scatter. While the risk is minimal, wearing safety glasses is recommended to protect your eyes from any unexpected residue.
Preparation
|
1. Unload the material
|
Remove the material from the printer by going to Material → Change. Wait for the material to unload. After this, select Cancel instead of loading a new spool.
|
|---|
|
2. Place the print head
|
Manually place the print head in the front-right corner of the printer. This gives you easy access to the print head and prevents damage to the print head shafts.
|
|---|
|
3. Remove the Bowden tube
|
Remove the clamp clip from the print head. Push down on the white tube coupling collet and pull the Bowden tube up and out of the print head.
|
|---|
|
4. Cut some filament
|
Cut off a length of filament, approximately 20 cm. You can use PLA for this, but other (non-flexible) materials will also work. UltiMaker also offers pre-cut cleaning filament.
|
|---|
|
5. Heat up the nozzle
|
Go to Maintenance → Advanced → Heatup nozzle to manually select the nozzle temperature. For PLA, choose 200 - 220 °C. For ABS, cleaning filament, or other more high-temperature materials, choose 240 - 260 °C.
|
|---|
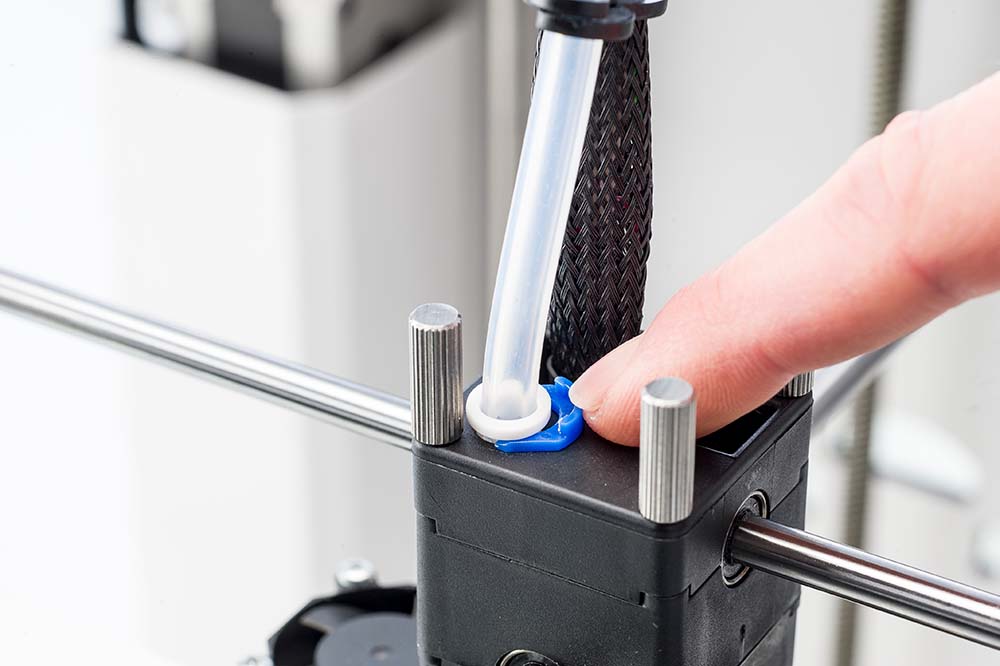 | 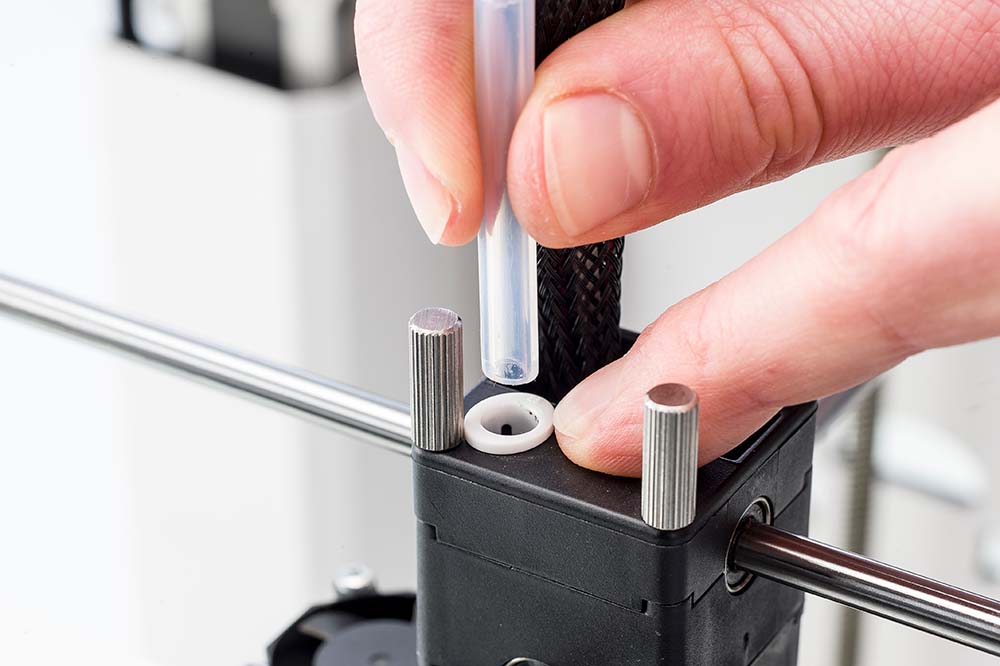 |
| Remove the clamp clip | Pull out the Bowden tube |
Cleaning
|
1. Insert the filament
|
When the nozzle has reached its target temperature, insert the piece of filament into the print head. It is recommended to hold the filament with pliers.
|
|---|
|
2. Hot pull
|
Apply some pressure to the filament and immediately pull it out again. This removes the majority of carbonized material.
|
|---|
|
3. Cut and repeat
|
Cut off the tip of the filament that you have just pulled out. Repeat steps 2 and 3 several times until the tip comes out fairly clean. Insert the filament into the print head again and keep it there.
|
|---|
|
4. Lower the nozzle temperature
|
Via the Heatup nozzle menu, lower the nozzle temperature. For PLA, choose 80 - 100 °C. For ABS, cleaning filament, or other high-temperature materials, choose 140 - 160 °C. Continue to apply pressure to the filament until about 50 °C above the target temperature.
|
|---|
|
5. Cold pull
|
When the nozzle has reached the target temperature, pull the material out of the print head with a quick, firm pull. Make sure to use pliers for this.
|
|---|
|
6. Inspect
|
Check the tip of the filament. It should come out clean and cone-shaped (like the inside of the nozzle). If it is not clean, raise the temperature again and repeat steps 3 - 6. See the examples below.
|
|---|
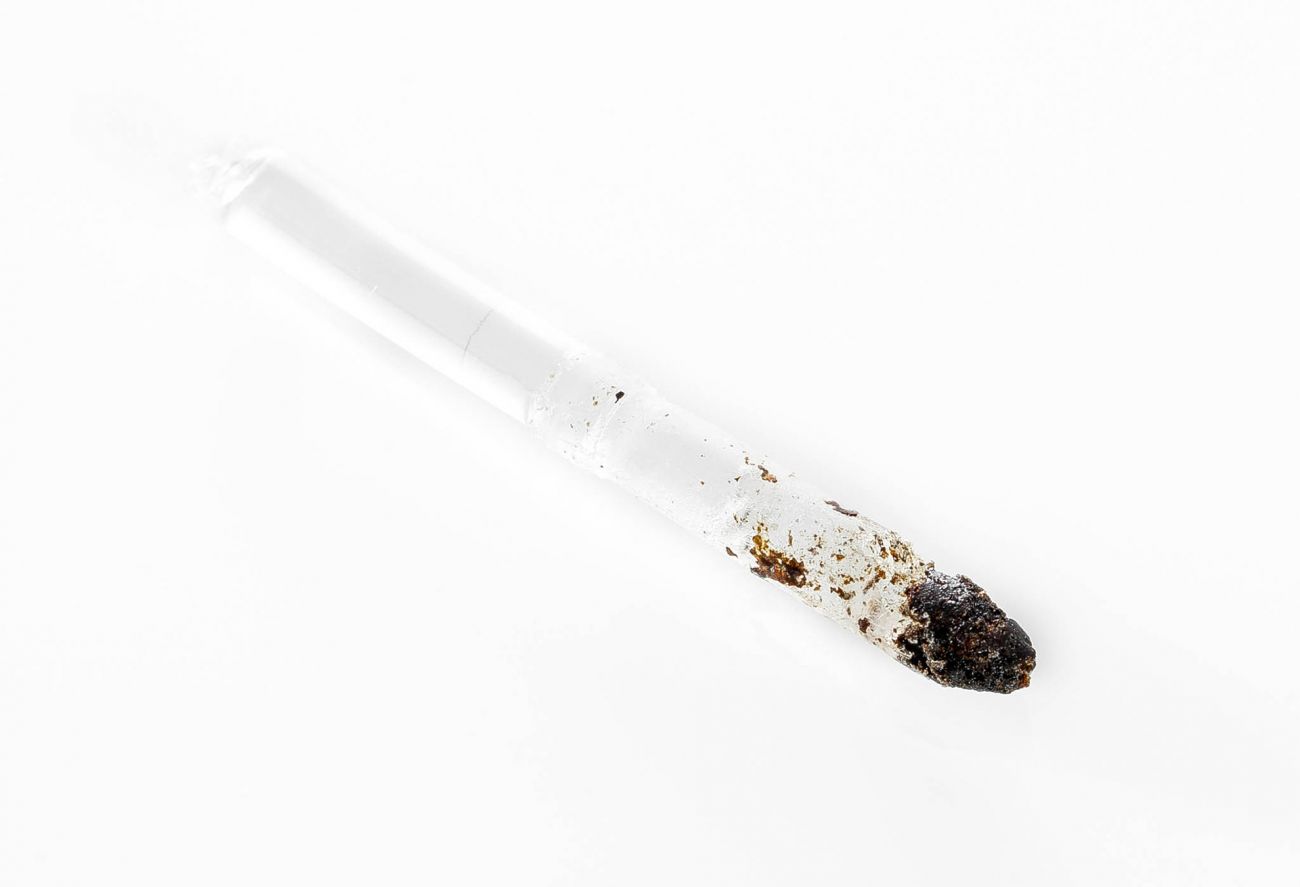 | 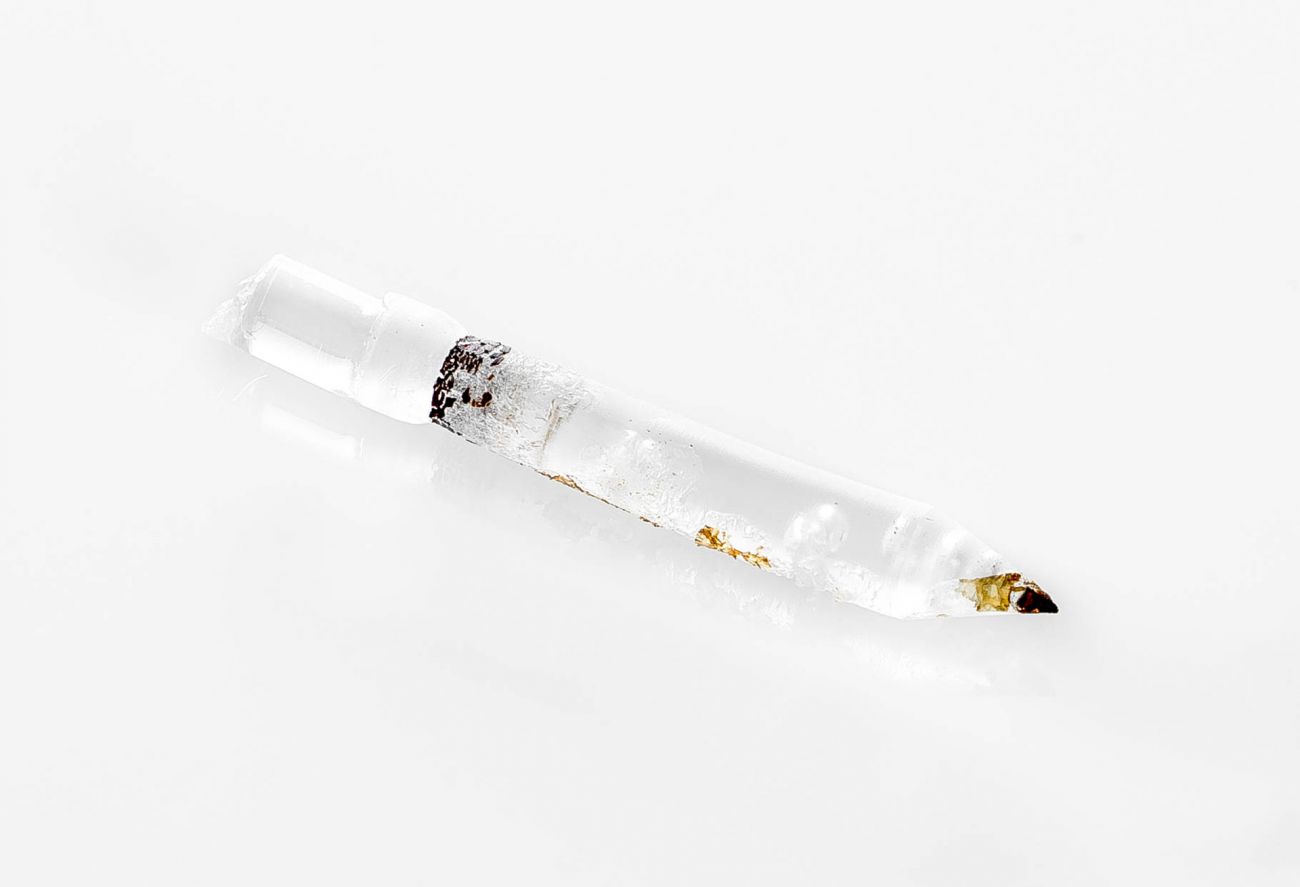 | 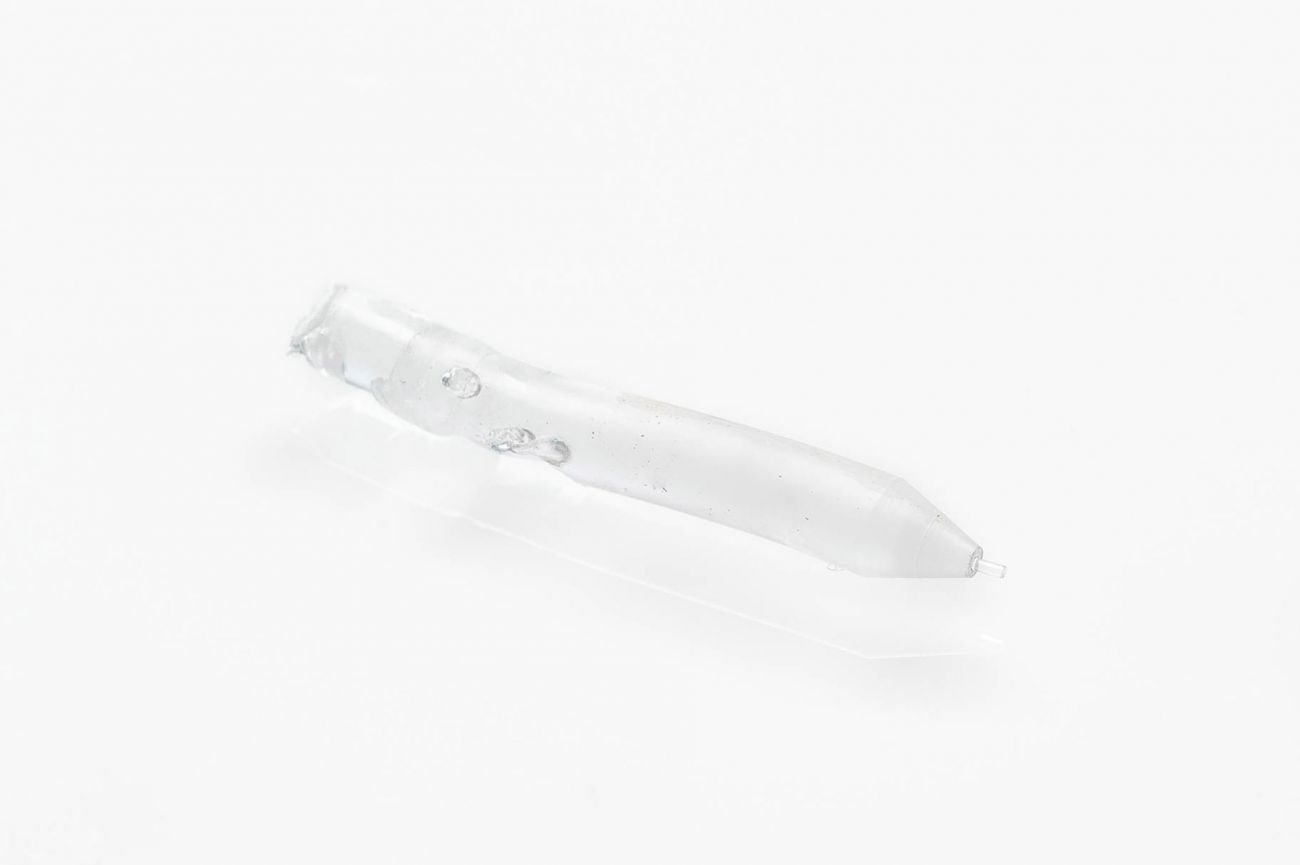 |
| Too much carbonized material, repeat the cleaning process | Almost clean, perform one more cold pull | The tip of the filament is completely clean, proceed to reassembly |
Reassembly
|
1. Insert the Bowden tube
|
Push the Bowden tube back into the print head. Make sure it is fully inserted. Secure it with the clamp clip.
|
|---|
|
2. Load the material
|
Via the Maintenance → Advanced menu, select Insert material. Follow the steps on the display to reload your filament.
|
|---|
|
3. Check the extrusion
|
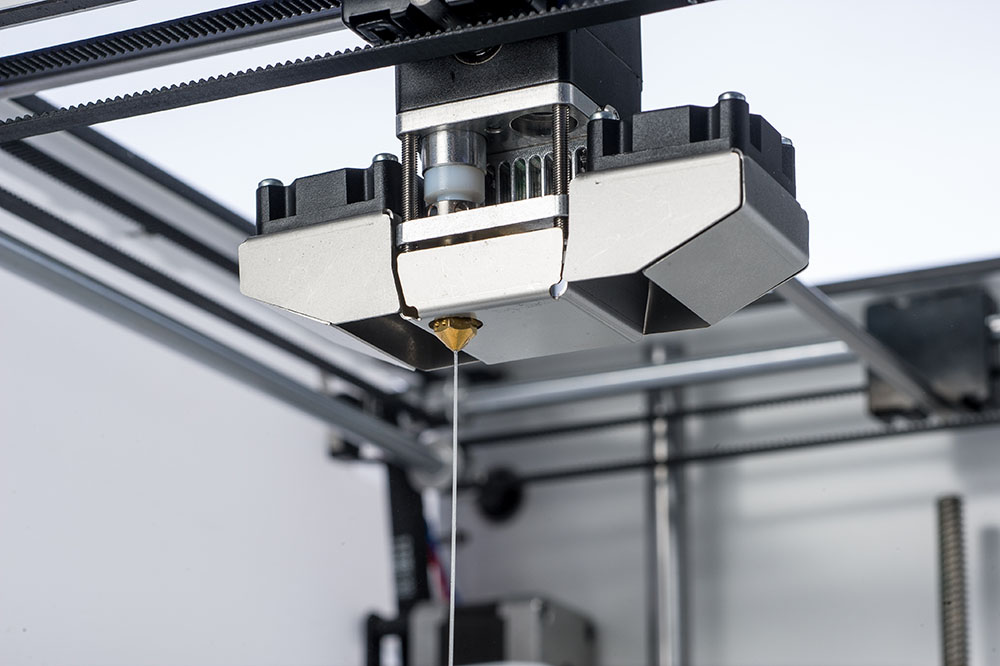
If the hot and cold pulls were performed correctly, the filament should be flowing smoothly from the nozzle again.
|
|---|
Note: The instructions for the original Atomic Method were contributed by Atomic Bob and 3D Verkstan.


