Let's get ready to unpack your printer. The UltiMaker S5 comes in reusable, durable packaging, specially designed to protect your 3D printer during transport.
In this article
- Unboxing instructions: A video and step-by-step guide for removing the packaging materials
- What's in the box: An overview of the included components and accessories
Note: Due to several changes to the packaging, it is possible that the packaging materials on your UltiMaker S5 look slightly different than shown in the video.
Tip: We recommend removing the packaging with the box placed on the floor for safety. Please retain all packaging for warranty purposes.
Follow the steps below properly to unpack your UltiMaker S5:
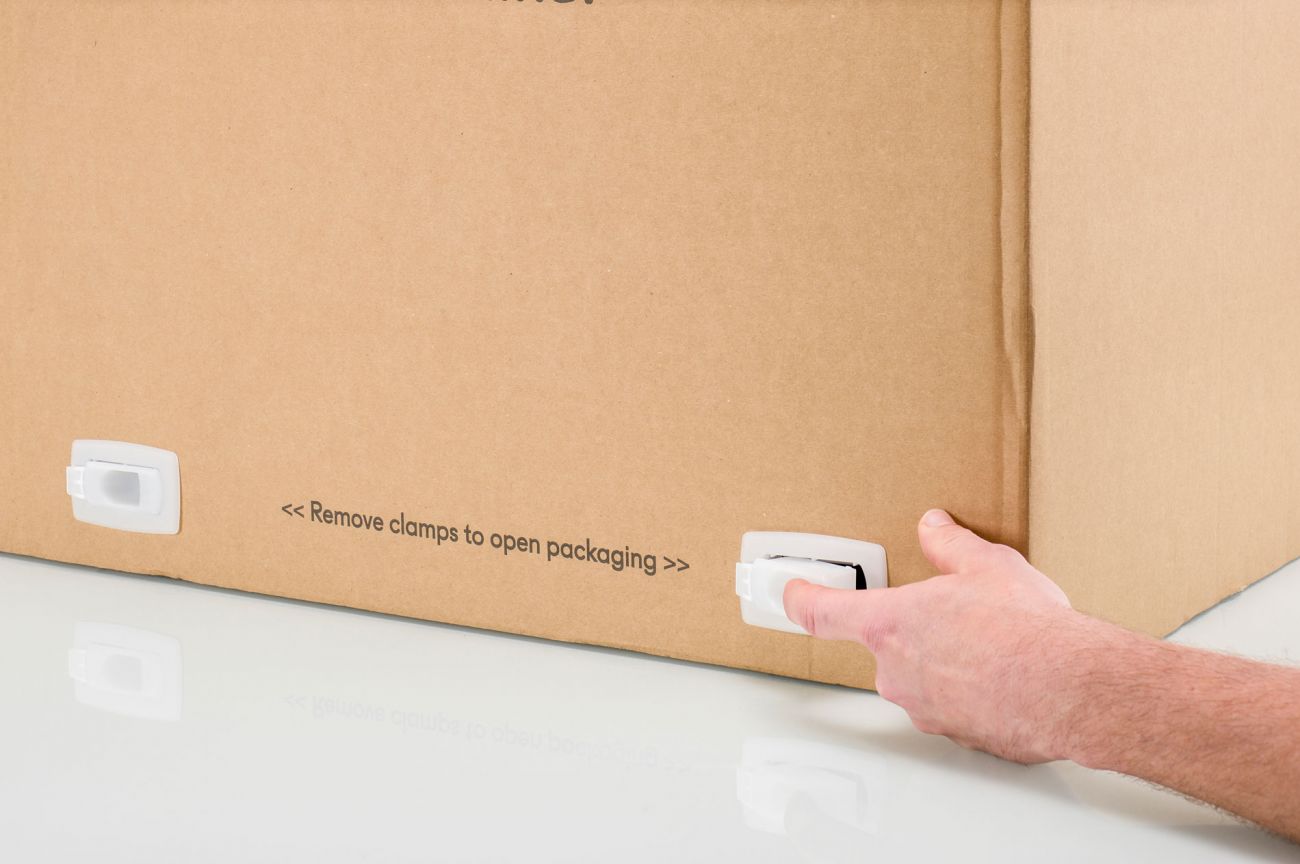
- Remove the plastic locking clips from the lower section of the box.
- Holding the handles, lift the upper section of the box to reveal the printer.
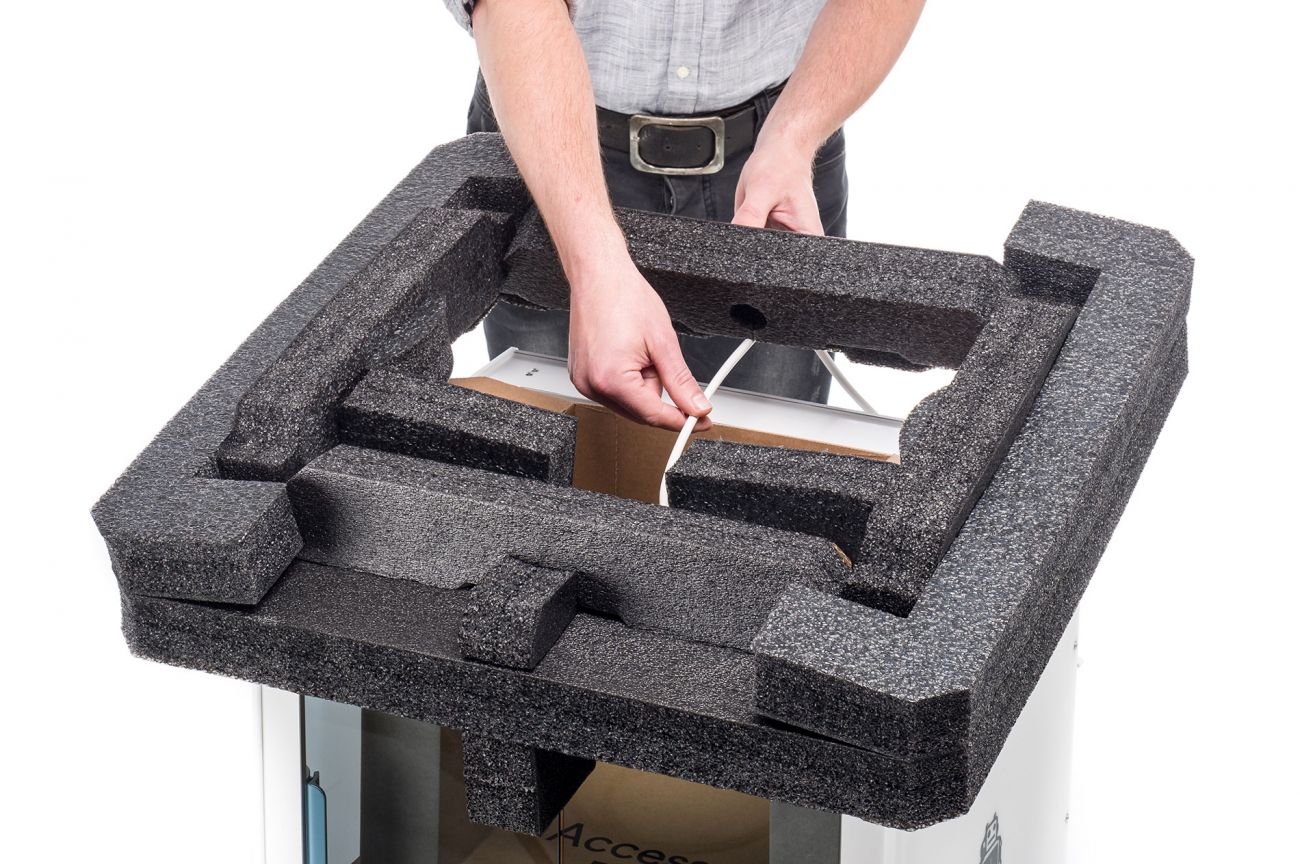
- Lift the top foam section away from the printer, pulling the print head cable free.
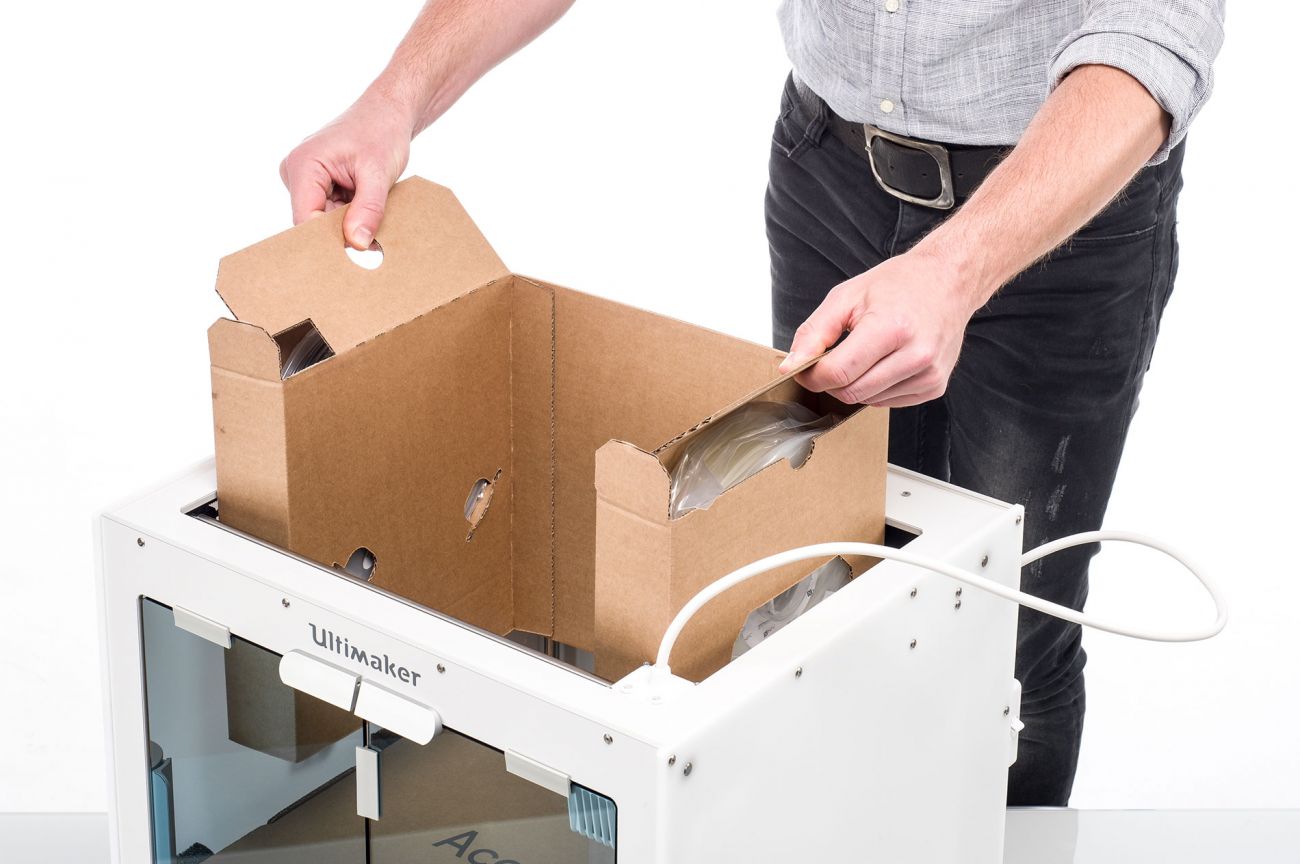
- Remove the cardboard insert with the materials from the top of the printer.
- Place the printer on a flat surface.
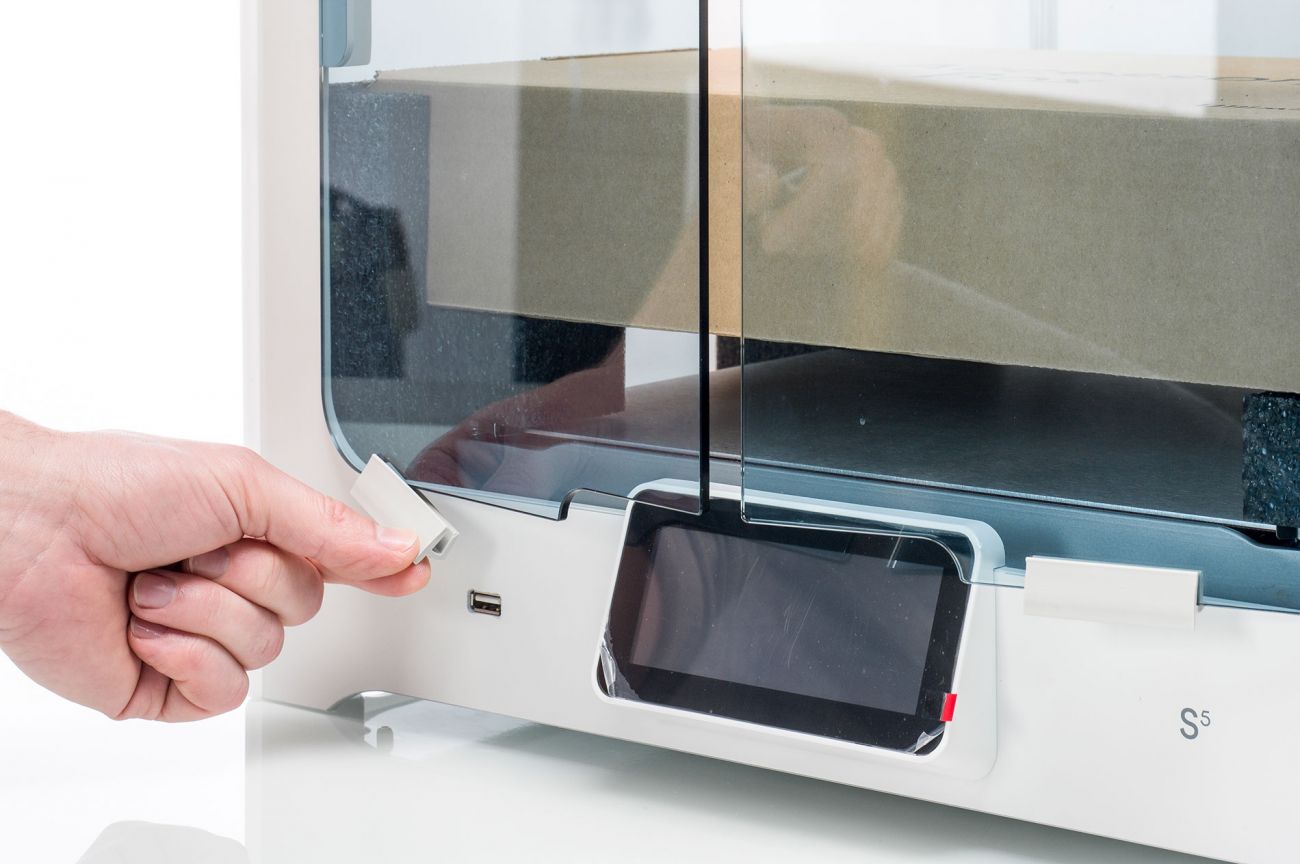
- Slide the center seal at the bottom of the glass doors to one side, and then remove all of the remaining seals.
- Carefully open the glass doors and take out the accessory box and foam pieces from inside the printer.
- Remove the plastic protection from the touchscreen.
Caution: When placing the printer on a shelf or table, take proper measures to prevent the printer from falling.
Note: Due to the size and weight of the printer, it is recommended that the UltiMaker S5 is always lifted by at least two people during unboxing and installation.
|
|
|
|
Remove the locking clips
|
Free the print head cable
|
|
|
|
|
Remove the materials
|
Remove the rubber door seals
|
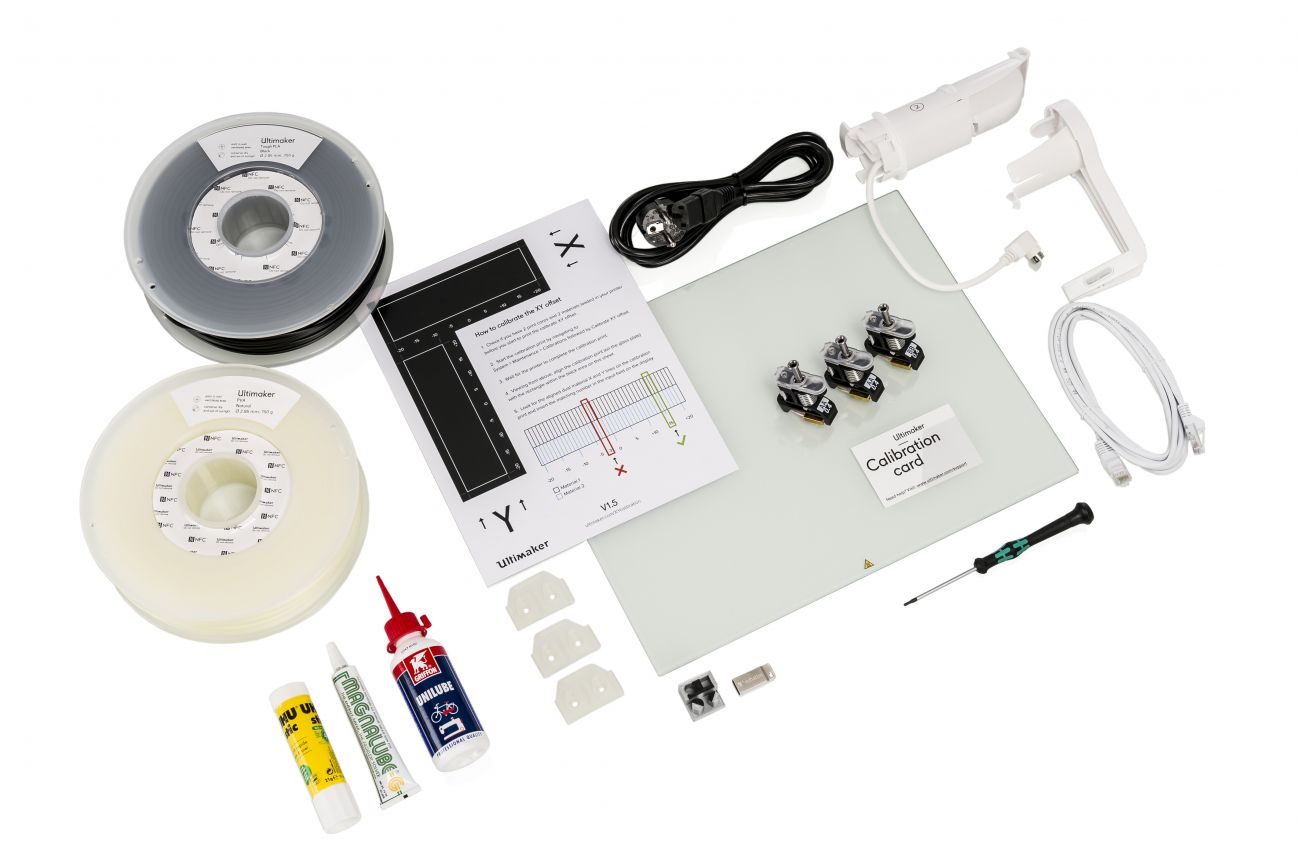
What's in the box
Let's take a look at the items that are included with your UltiMaker S5. The UltiMaker S5 is shipped with several accessories, tools, and consumables. Check if all these items are included before continuing.
| Accessories | Consumables | Tools | Documentation |
|---|
- Glass build plate
- Spool holder with material guide
- Power cable
- Ethernet cable
- USB stick
- Print core AA 0.4*
- Print core BB 0.4
- Nozzle cover (3x)
|
- Tough PLA (750 g)
- PVA (750 g)
- Glue stick
- Oil
- Grease
|
- Hex screwdriver 2 mm
- XY calibration sheet
- Calibration card
|
- Quick start guide
- Safety and warranty information
|
Tip: Another print core AA 0.4 is placed in print head slot 1 of the UltiMaker S5.
After unboxing, you can proceed with setting up your new UltiMaker S5. A few components need to be installed before you can start printing. Follow the instructions on this page:
Installing the hardware accessories on the UltiMaker S5


