For optimal adhesion of your prints to the glass build plate, it is important that the glass is thoroughly clean, or has a nice even layer of glue applied to it. It is recommended to clean the glass plate after several prints, or at least once a month.
Caution: Always make sure that the build plate has cooled down. Ensure the build plate is lowered to the bottom of the Z axis. Turn off the printer or ensure that the UltiMaker 2+ Connect cannot start a new print job before removing the build plate.
Before starting a new print, always check the surface of the build plate. At least once a month, clean the build plate thoroughly by taking the following steps:
| 1. Remove the glass plate | Ensure that the build plate is at the bottom of the printer. Open the two build plate clamps at the front and slide out the glass plate. |
|---|
| 2. Clean with water | Use lukewarm water and a non-abrasive sponge to clean the build plate and remove any adhesives. If necessary, some detergent can be used to remove adhesives, or alcohol gel can be used to get rid of any fatty substances. |
|---|
| 3. Dry the plate | Leave the plate to air dry, or wipe it down with a (microfiber) cloth. Ensure that the plate is fully dry before reinstalling it in the printer. |
|---|
| 4. Apply adhesive | For most materials, it is recommended to apply a thin layer of glue to the glass plate. This improves the adhesion of printed models to the build plate. Alternatively, an adhesion sheet can be used. |
|---|
| 5. Reinstall the glass plate | Slide the glass plate back into the printer until it snaps into the build plate clamps at the back. Close the front two build plate clamps to secure the glass build plate. |
|---|
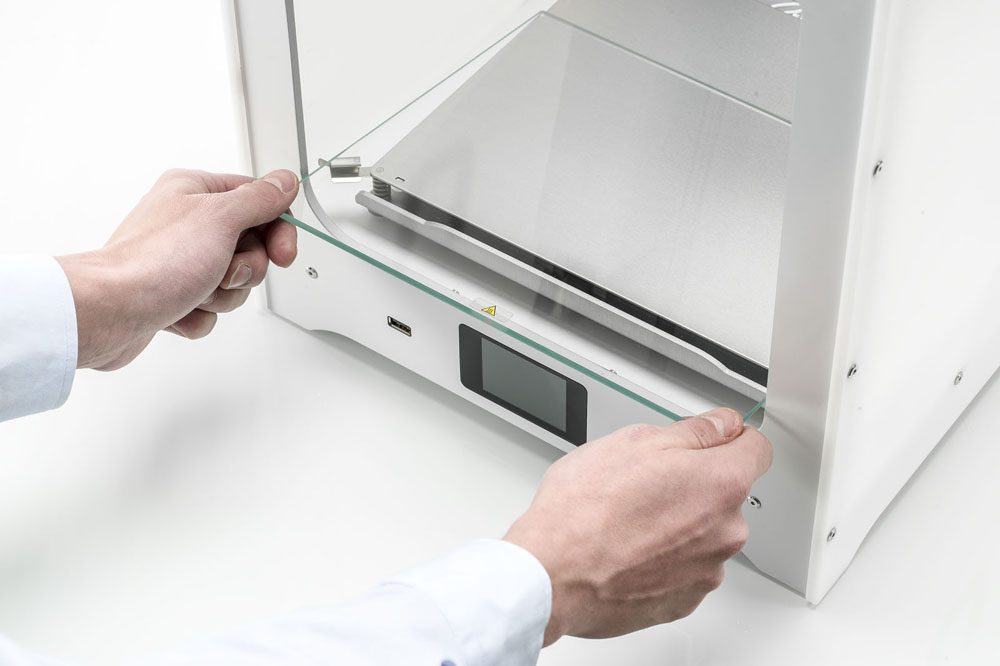 | 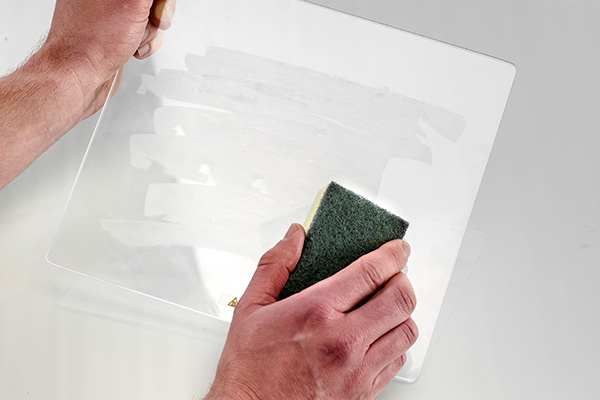 |
| Remove the glass plate from the printer | Clean the glass with a sponge |
Tip: To ensure good adhesion of your next print, it is recommended to re-level the build plate after repositioning the glass plate.


