Before turning the UltiMaker S7 on for the first time, install the relevant hardware accessories and connect the cables.
Install the flexible build plate
Unpack the flexible build plate and open the UltiMaker S7 glass door. Hold the build plate at the tabs at the front, align it with the base plate, and lower it so it snaps into place. When the build plate is lowered, ensure it is correctly aligned with the pins at the front and back of the build plate. This ensures a flat surface and that the build plate detection sensor (at the back of the base place) is correctly activated.
For more detailed information about installing the flexible build plate, visit this page.
Place the Air Manager filter
Unpack the Air Manager filter and ensure that the UltiMaker S7 door is still open. You can move the print head to a corner at the front of the printer to keep it out of the way. Align the Air Manager filter with the housing, with the tab at the bottom. Gently push the filter completely into the filter housing.
Connect the Air Manager cable
Now close the door and move to the back of the printer. The Air Manager cable is already connected at the top, and the cable is fixed behind the cable clips in the back panel. Remove the bottom end of the Air Manager cable from the clips and connect it to the UMB OUT port.
 | If the UltiMaker S7 is installed in combination with the Material Station, the cable routing is different. Connect the Air Manager cable to the UMB OUT port at the back of the Material Station. Connect the short Material Station cable to the UMB IN port on the Material Station and the other end to the UMB OUT port on the UltiMaker S7. (image on the right) |
Place and connect the NFC spool holder
Take the spool holder, insert it into the back panel, and push it down until it snaps into place. Secure the cable behind the two cable clips in the back panel directly underneath the spool holder. Connect the cable to the NFC socket at the back of the printer.
| The spool holder is not used if the UltiMaker S7 is installed in combination with the Material Station. Instead, place the spool holder cap from the Material Station accessories in the hole in the back panel. |
Connect the Material Station Bowden tubes
| This section describes how to connect the Bowden tubes of the Material Station to the feeders of the UltiMaker S7. If you do not have a Material Station, skip this section. |
Insert a tube coupling collet in the bottom of each feeder of the UltiMaker S7. Insert the left Bowden tube of the Material Station into the left feeder, and the right Bowden tube into the right feeder. Secure the Bowden tubes with clamp clips.
Connect the power cable
Lastly, take the power cable and insert it into the power socket at the back of the printer. Plug the other end of the cable into a wall outlet.
Caution: A mains socket with protective earth/ground terminal must be used. Make sure that the building installation has dedicated means of over-current and short-circuit protection.
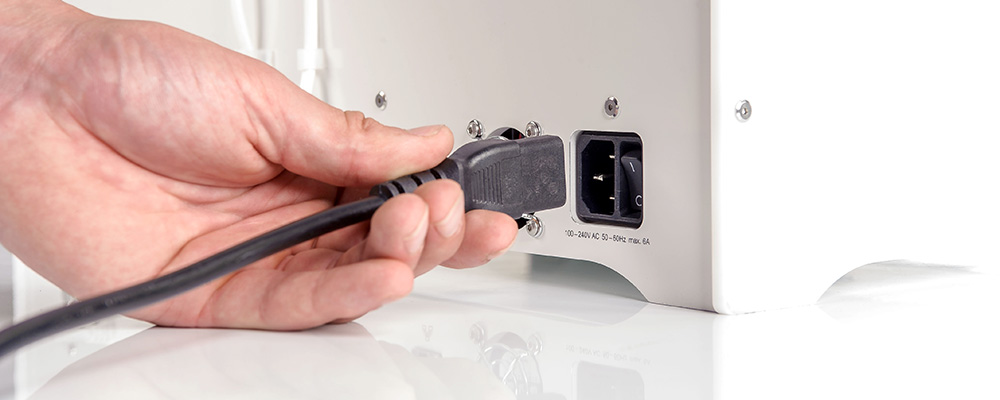
| If the UltiMaker S7 is installed in combination with a Material Station, first connect the power extension cable. Connect one side to the printer and the other to the double power entry port of the Material Station. Connect the power cable to the Material Station and the other end to a power outlet. |
Now, you are ready to turn on the printer for the first time and go through the welcome setup.


