The information in this article applies to the UltiMaker Factor Series 3D printers: the Factor 4 and Factor 4 Plus.
The large HEPA filter at the top of the build chamber ensures that particles from the printing process are properly filtered and ensures a safe work environment.
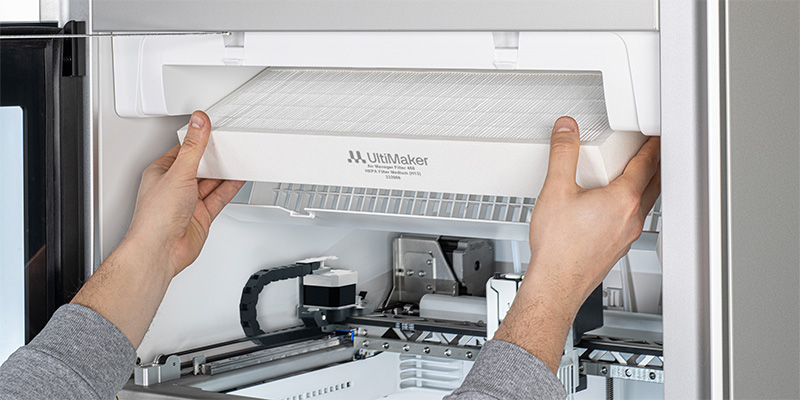
Replacement instructions
The filter is a consumable part. For optimal performance and safety, this filter should be replaced after 3000 printing hours. The printer tracks the filter usage and will notify you when replacement is due. To replace the filter, take the following steps:
- Open the Options menu (gear icon), navigate to Maintenance, and scroll down to Air Manager filter.
- Select Replace to start the filter replacement procedure.
- Open the build chamber glass door.
- Press the tabs at the front of the filter box to release the latch and open the filter box.
- Carefully take out the used filter.
- Directly place the used filter in a (resealable) bag and close it.
- Place the new filter in the filter box, and push upwards to close the filter box. It should firmly click into place.
- Press Confirm on the display to finish the procedure.
Tip: The filter replacement procedure will automatically reset the usage hours. If you have replaced the filter without selecting the Replace option, you can reset the counter manually using the Reset option.
Filter disposal
When removing the used filter, handle it carefully to prevent spreading particles from the printing process that are caught in the filter. Directly place it in a (preferably sealable) bag and close it.
The used filter in the sealed bag can be disposed of with your regular (household) waste. However, it is recommended to check local waste disposal regulations.


