|
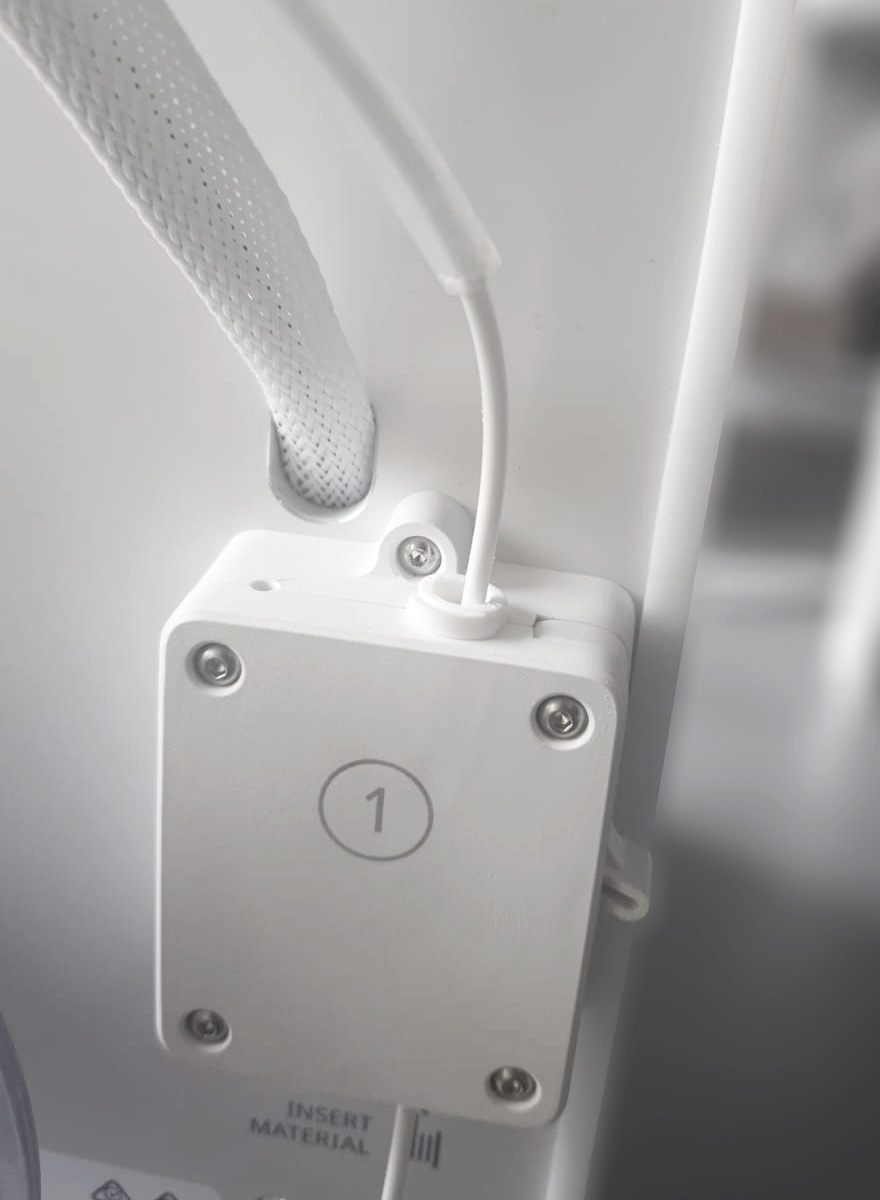
Under certain circumstances, it can happen that the Bowden tube slides out of the feeder during printing. When this happens, the material continues to feed but will no longer extrude properly. Unfortunately, the printers have no means to detect this failure mode.
If this happens and it is not detected early, the material will coil up behind or inside the printer. This results in a failed print and possibly a clogged print core or nozzle, as material degrades in the hot end due to lack of extrusion.
UltiMaker has investigated the root cause of this problem. The Bowden tube can slide out, while the tube coupling collet and clamp clip remain in place in the feeder. This indicates insufficient clamping force on the Bowden tube. There are two main factors involved: the clamp clip, which secures the tube coupling collet, and the feeder housing, in which the collet is placed.
|  |
Note: Although this can occur on all UltiMaker 3D printer types, it was most commonly observed on S series printers and the UltiMaker 2+ Connect. The feeders of the UltiMaker 2+ and 3 series are different, so the feeder housing section does not apply.
Clamp clip
One of the hardware changes to resolve this issue is a thicker clamp clip.
|
|
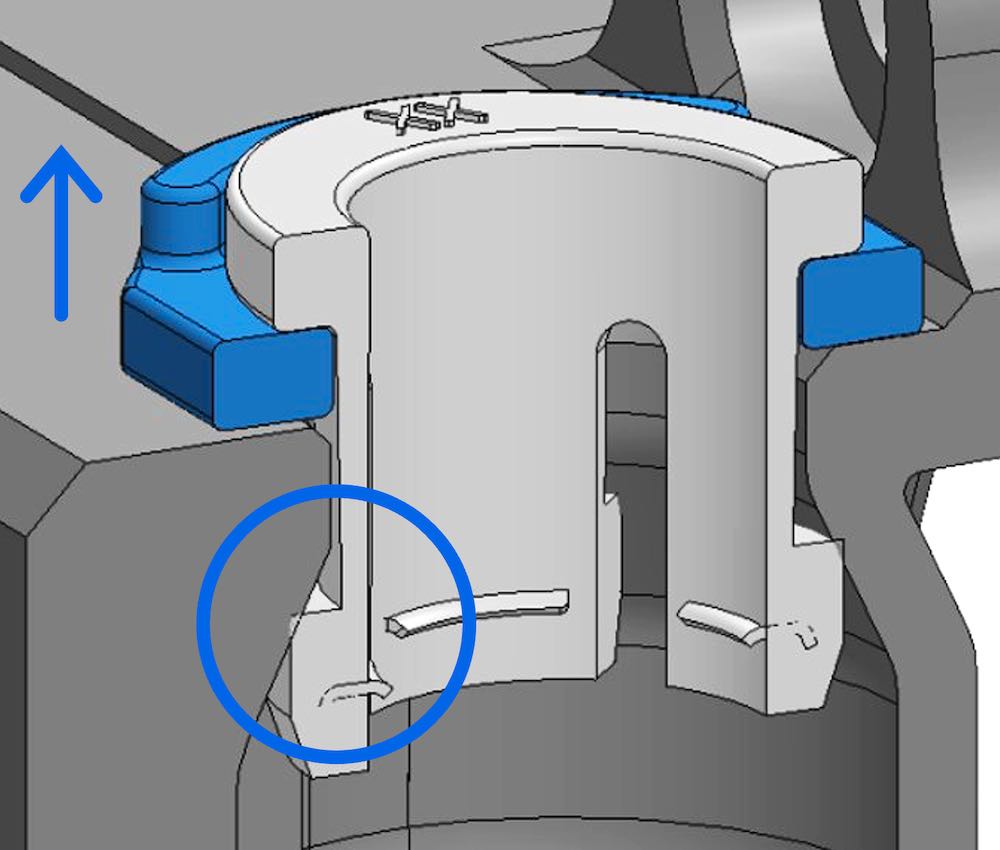
The clamp clip locks the tube coupling collet in place; the collet’s legs are pressed slightly inwards by the inside conical surface of the feeder. The blades of the collet now grip into the Bowden tube’s outer surface.
The thicker clamp clip gives more pressure. By increasing the thickness of the clip, the collet is held in place a little higher in the feeder assembly. Due to the conical shape on the inside, the clamping force is increased.
|
This thicker clamp clip is now the new standard part on all feeder assemblies. It is also used on the top of the Material Station decoupler and is included in all Bowden packs. You can also print this clip yourself using the STL file, which can be downloaded here. See the section below for printing advice.
Note: These clips are recommended to be used on the top of the feeder for any UltiMaker 3D printer type. We have also seen some cases whereby the Bowden tube comes out of the print head, and (on the Pro Bundle) whereby the Bowden tube slides out of the decoupler. The thicker clamp clip can also be installed in the print head or decoupler when issues are encountered.
| The thicker clamp clips can be used on several parts of the printer or Pro Bundle: |
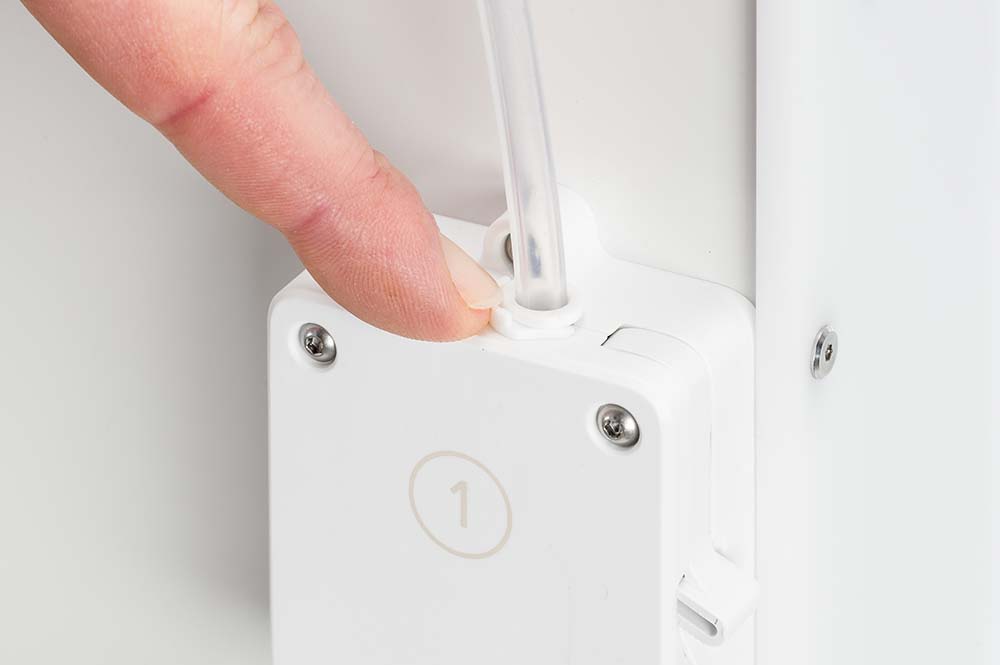
Feeder | 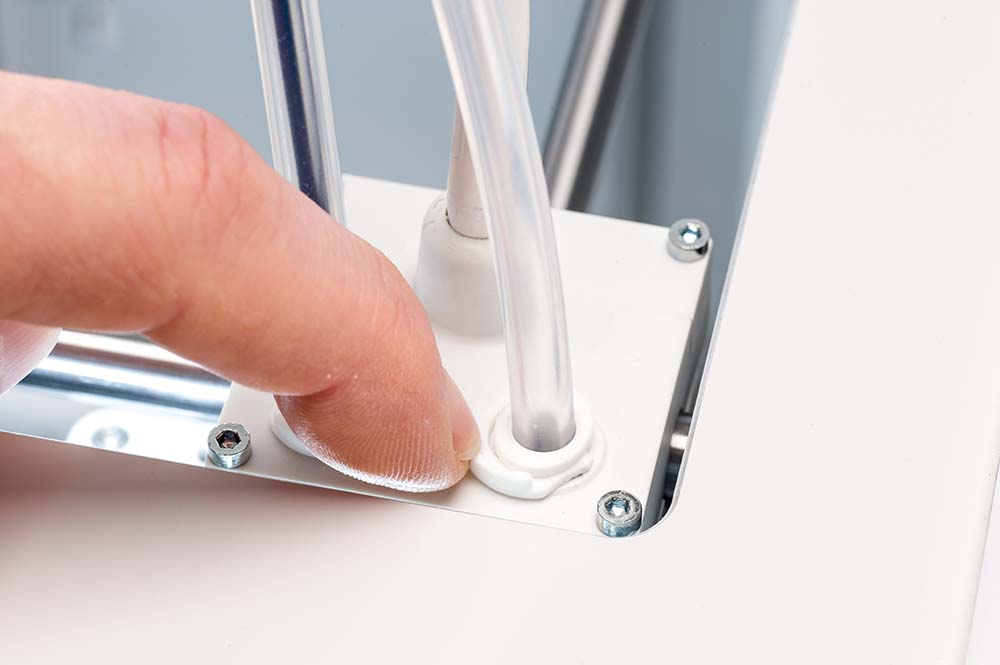
Print head | 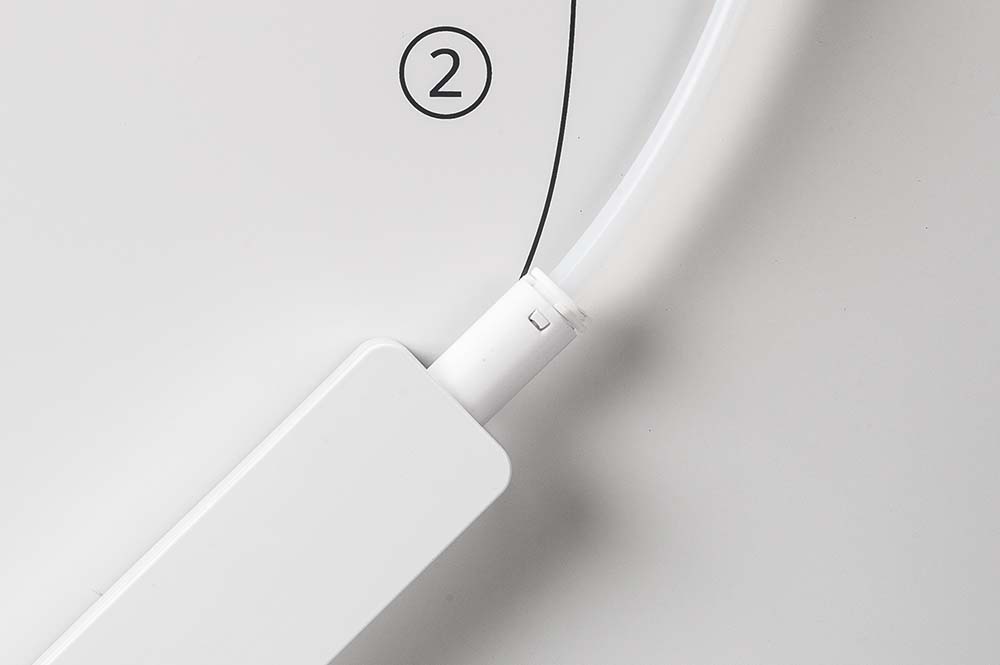
Decoupler (Material Station) |
Printing advice
The thicker clamp clips do not require complicated printing strategies and are simple to print. The following tips can help you to improve the results:
- Material type. The clips can be printed with most UltiMaker materials. PLA, Tough PLA, or PETG would be good choices as they are easy to print.
- Material color. Although the color of the clips won’t influence their function, it is recommended to print them in a different color than white. The printed clips look very similar to the default ones; printing them in a contrasting color will help to keep them apart and prevent mixups.
- Print core / nozzle size. Use a 0.4 mm nozzle or smaller. The print core AA 0.4, or the 0.4 nozzle on an UltiMaker 2+ (Connect) can achieve sufficient detail for the clips. The 0.25 nozzle size may be used as well but this will increase print time. Using a bigger nozzle size will reduce the accuracy of the clip.
- Profile settings. A layer thickness of 0.1 mm or smaller is recommended. Do not use too thick layers, as this may affect the accuracy of the height of the printed model. For S series printers, the Engineering Fine profile can be selected for good results.
- Adhesion. The only recommended change to the default profile is to turn off build plate adhesion. A skirt is sufficient for such small prints and removing the brim will be difficult. Apply a thin layer of glue to the build plate to ensure optimal adhesion.
- Print more than one. For the best results, print multiple clips at once. The lip at the top of the clamp clip is very small, meaning fast layers. This may not leave sufficient time to cool, or the print speed slows down a lot. Printing multiple clips at once prevents this problem.
Feeder housing
UltiMaker has also implemented a small change to the feeder housing. On one side (the back), the space where the tube coupling collet is inserted is a continuous conical surface. The front part of the feeder housing had a rib that keeps the collet in place.
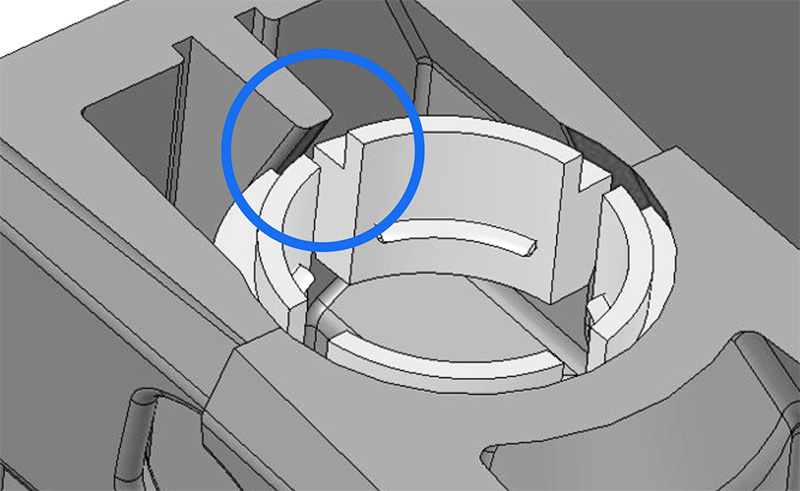
Previously, there was a single rib. In some cases, if the collet rotated, the rib aligned with the gap between the collet's prongs. This leads to insufficient pressure on the collet and tube.
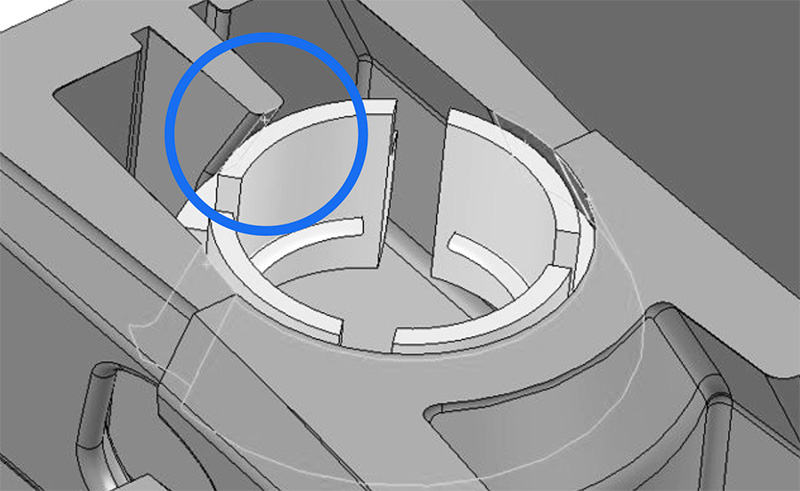 |  |
Collet at 0° position, rib activates prong
With the tube coupling collet in this position, the fin in the feeder housing pushes against the tube coupling collet’s prong, correctly pushing it inwards and ensuring a good clamping force. | Collet at 45° rotation, rib does not activate prong
With the tube coupling collet rotated into this position, the rib in the feeder housing can be aligned with the gap between two of the collet’s prongs. This does not push the prongs against the tube properly. |
With a small update to the feeder hardware, two additional ribs were added. This increases the contact surface with the collet, and reduces the chance of a sudden loss of grip, even if the collet is rotated.
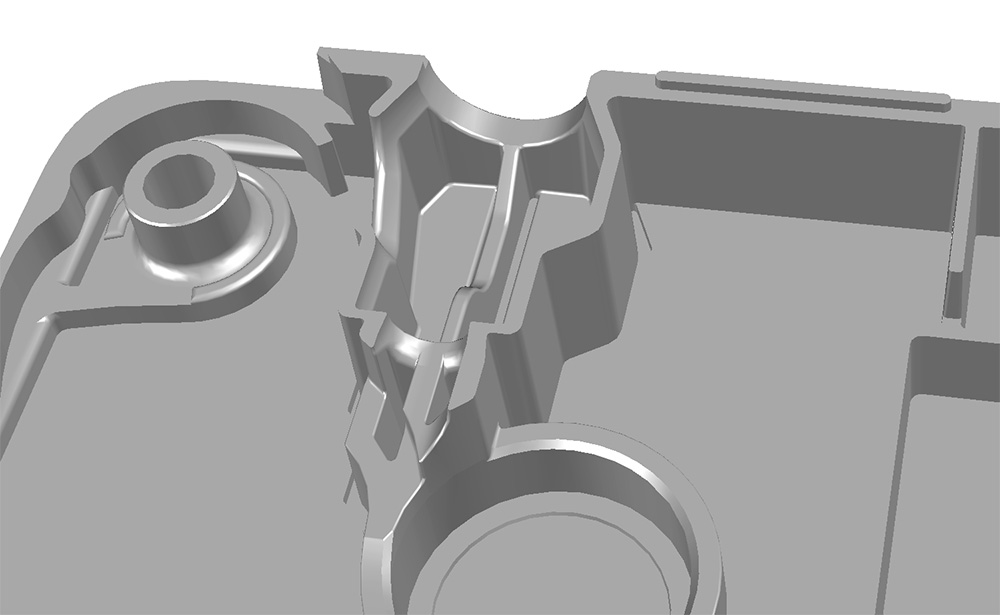
Old feeder housing part with 1 rib | 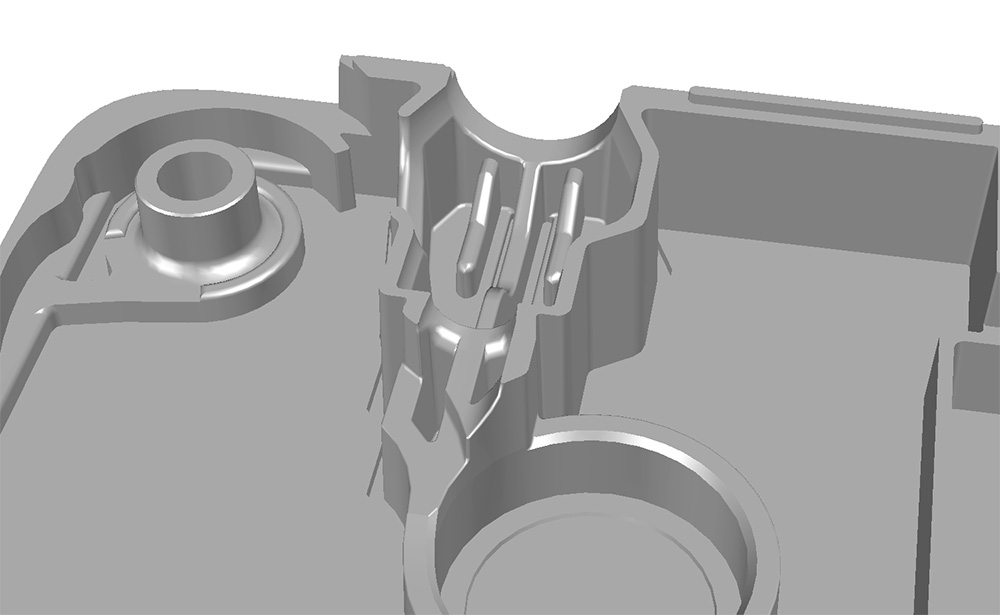
New feeder housing part with 3 ribs |
These parts are now the new default on the feeders for UltiMaker S series printers and the UltiMaker 2+ Connect.
Note that the thicker clamp clips have resolved the issues with the Bowden tubes in the majority of the reported cases. If you are experiencing persistent problems even with the new clamp clips installed, you can check the version of the feeder housing by removing the front part. If your feeder has the single rib, contact support or your local reseller about the new version.
The front part of the feeder housing (with bearing pre-installed) is available as a set of two (left and right) for S series printers with part number 234924, and a single one for the UltiMaker 2+ Connect with part number 234925.
Maintenance advice
As in all cases, always ensure to perform proper and timely maintenance on your printer. This helps to prevent problems, and the Bowden tube issue is no different.
The Bowden tube can get scratched over time. This is due to the metal edges inside the tube coupling collet gripping onto the tube. After removing the tube multiple times, retraction-heavy prints, or simply a high number of printing hours, the outer surface of the Bowden tube gets worn out and the grip is not as secure anymore. It is recommended to check the Bowden tube(s) at least once a year and replace them if necessary. Additionally, ensure that the feeders are cleaned regularly, as well as the inside of the Bowden tube and the hot end.
Tip: Please check the complete recommended maintenance schedule for your printer model for additional information and instructions.
Need further support?
If you have installed the thicker clamp clip(s) and checked the feeder housing, but you are still experiencing problems with the Bowden tube coming out of the feeder or decoupler, please contact support. Please share your printer type, where the problem occurred (for example: 'Feeder 2'), and include some photos.


