Product notification
This product has been discontinued, and its end-of-service date has passed. While it is no longer supported, the information on this page remains available for your reference.
|
Maintaining correct tension on the short belts is important to ensure good print quality. The short belts transfer the movements of the X and Y motors to the print head. If the belts on the UltiMaker 2+ are too loose, print head movement may not be accurate, which can cause print inaccuracies such as:
- Layer shifts: A sudden shift in the X or Y direction
- Leaning prints: Gradual shifting in the X or Y direction, making the print look like it's leaning.
- Incorrect angles: Acute or obtuse instead of straight angles, affecting the accuracy and how parts fit together.
- Ovals instead of circles: Similar to incorrect angles, a circle can come out as oval (too wide/narrow) in one direction.
Over time, the belts may become slack. Checking the belts is part of the UltiMaker 2+ maintenance schedule. It is recommended to check the tension of the short belts at least once every three months or when you notice inaccuracies in your prints.
Checking instructions
Pluck the two short belts to check their tension. They should resonate, like guitar strings. It should not be possible to press the belt against itself. Furthermore, the tension of the two belts should be equal.
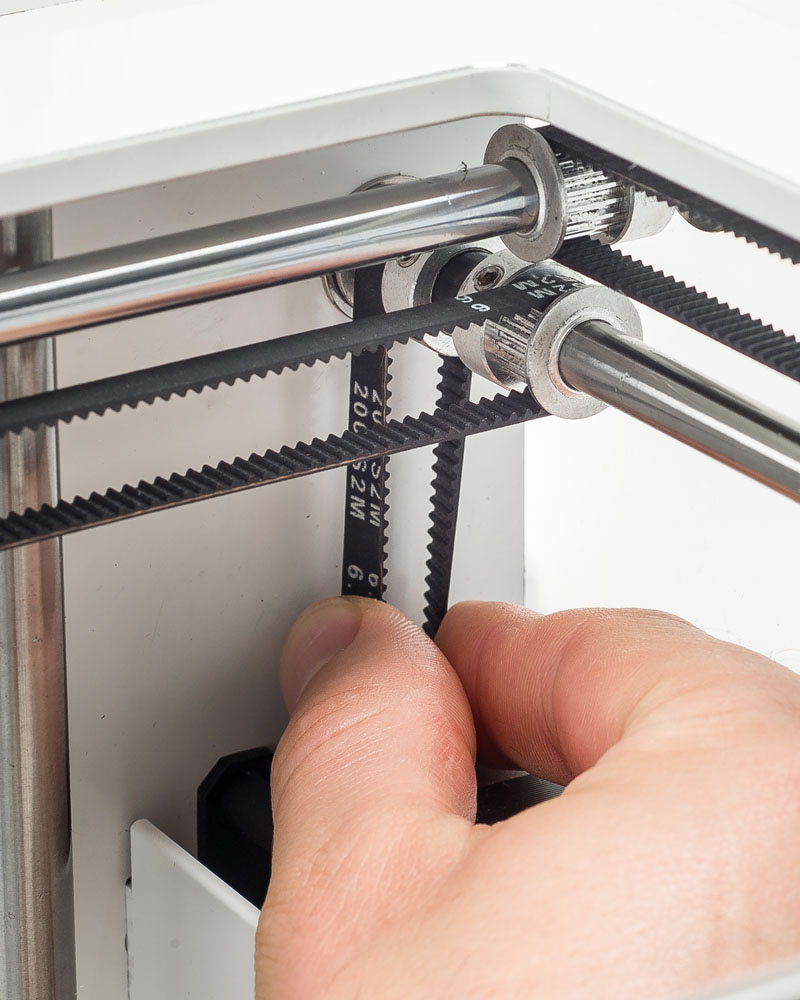 | 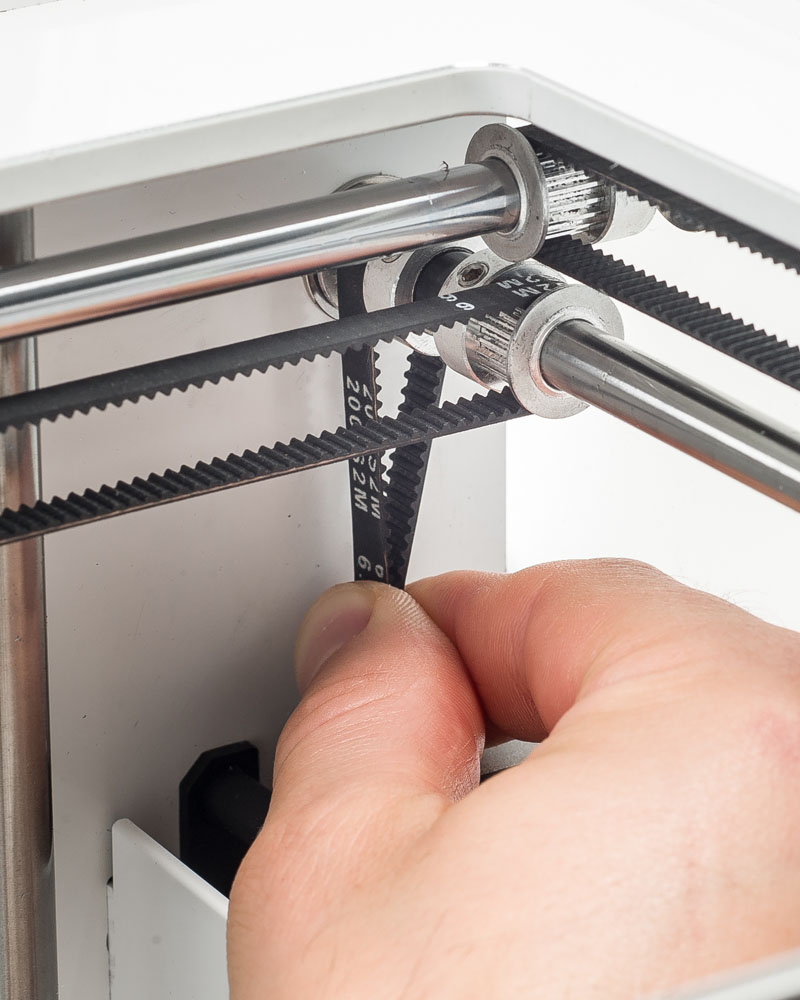 |
| Correct belt tension | Belt too loose |
Tightening the short belts
To restore the tension, adjust the motor position, following the steps below. Use a 2 mm hex screwdriver or the hex key from the Ultimaker 2+ accessory box.
- Loosen the Y motor by using the hex screwdriver to loosen the four bolts that hold the Y motor to the left panel. Only loosen the bolts; do not remove them. The motor should be able to slide up and down.
- Firmly press down on the motor with one hand. This ensures maximum tension on the short belt.
- While still pressing the motor down, tighten the four bolts of the Y motor in a cross pattern. First, tighten the top-left bolt, then the bottom-right, followed by the bottom-left, and ending with the top-right. This ensures that the motor is attached straight.
- Perform the above steps for the X motor that is attached to the back panel. Afterwards, check the tension of both belts again.
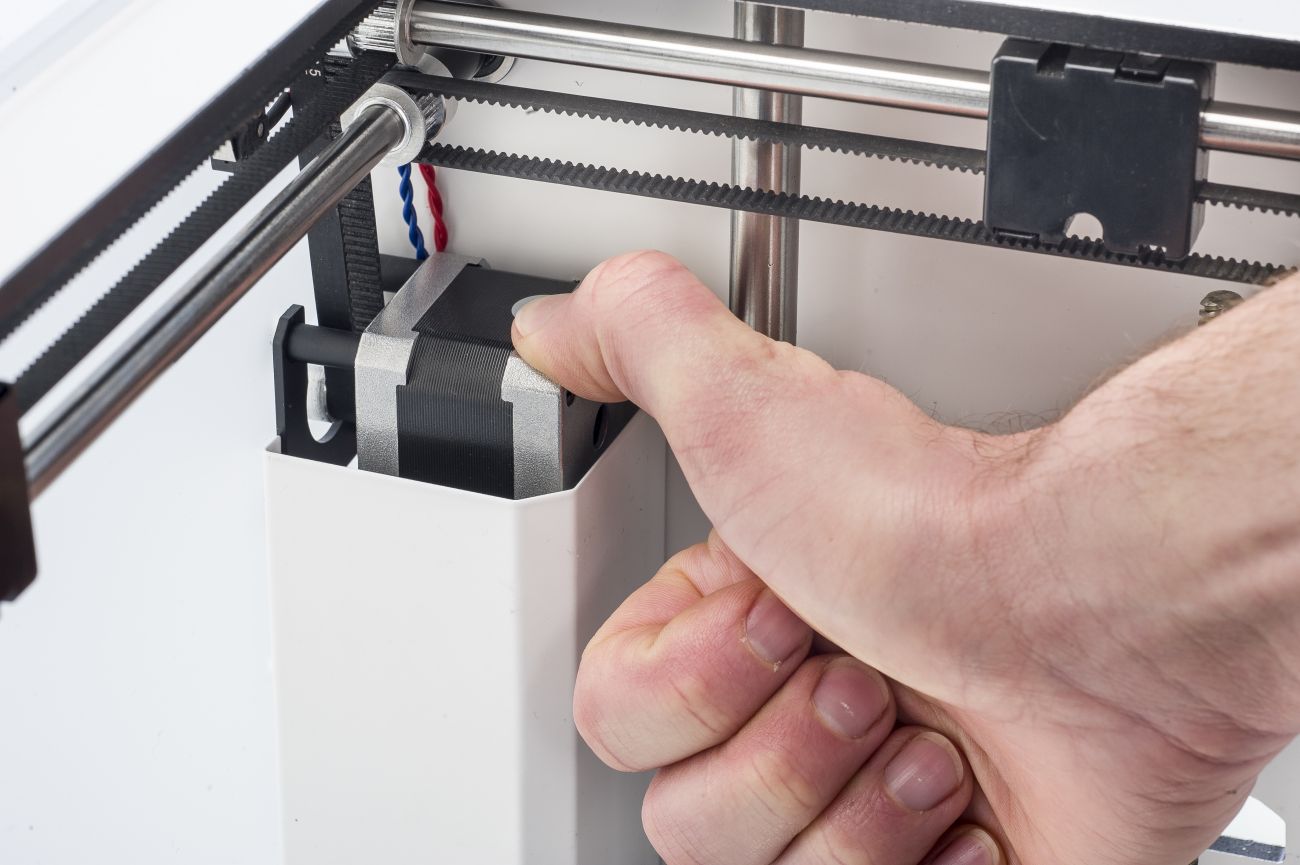 | 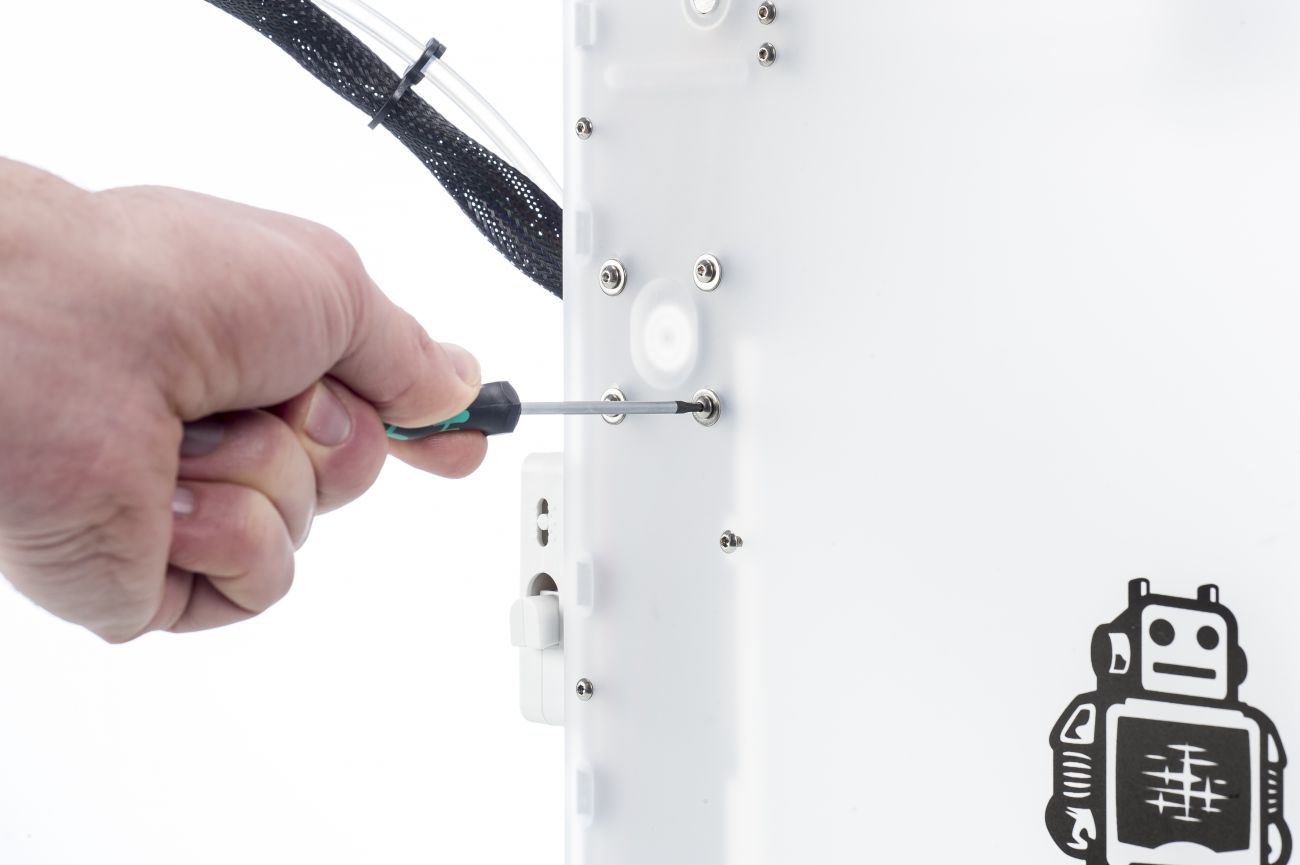 |
| Firmly push down on the motor | Tighten the motor bolts in the frame |


