The information in this article applies to the UltiMaker 2 series printers. This includes the UltiMaker 2, 2 Extended, 2 Go, 2+, and 2 Extended+.
Note: This does not apply to the UltiMaker 2+ Connect; its electronics and firmware are very different.
The UltiMaker 2 series printers (listed above) use "UltiGCode". This means that the material settings are not in the gcode itself but stored on the machine. This allows printing a single gcode with different materials. There are two methods to add or change material settings on UltiMaker 2 series printers.
Tip: If you want to add more UltiMaker materials that are not supported by default on the UltiMaker 2 series, check the material properties in UltiMaker Cura for the recommended print settings. For third-party materials, check the box or consult the filament manufacturer.
Method 1 – Change material settings in the printer menu
This is the easiest way of changing material settings. It is done completely on the machine, without needing a computer or anything else.
- Turn on the printer using the power switch at the back.
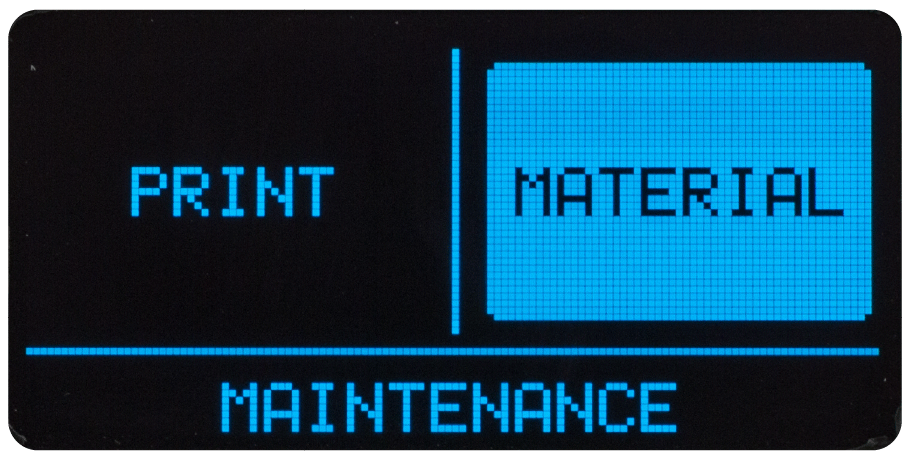
- Use the button to select the Material menu and click to enter.
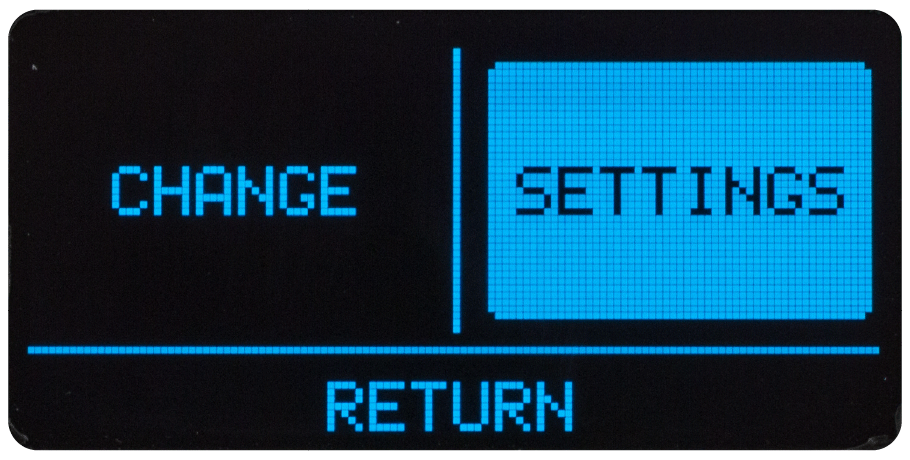
- In the Material menu, select the option Settings.
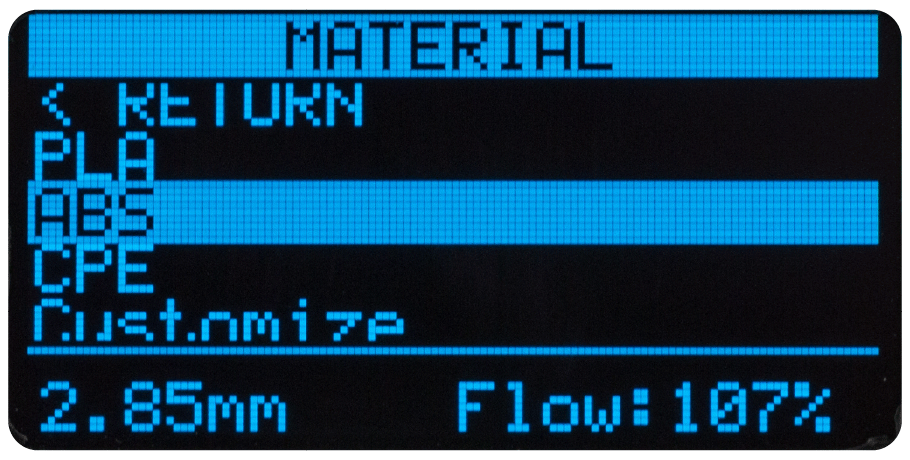
- The Settings menu shows a list of available materials in the machine. This list shows all supported materials by default.
- Scroll down the list to the Customize option and click to select it.
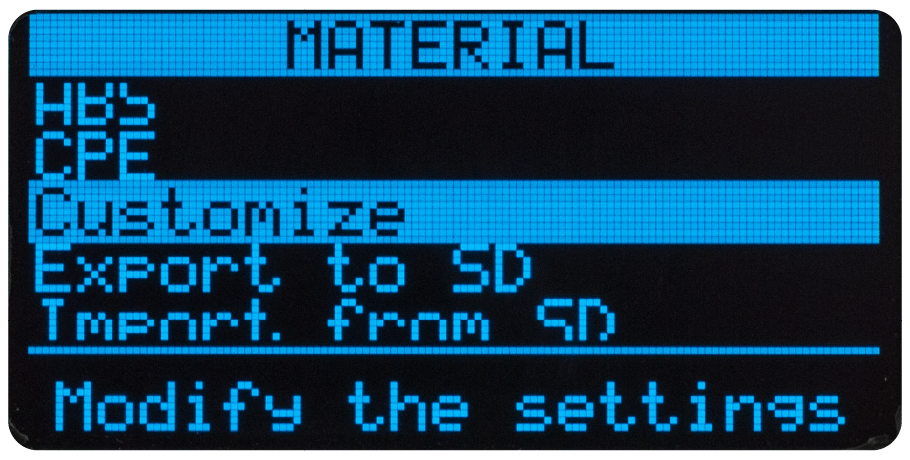
- This menu shows all material settings that can be adjusted: (nozzle) temperature, build plate temperature (this is not available on the UltiMaker 2 Go), filament diameter, fan speed, and flow rate. Click on one of the settings to start editing it.
- Rotate the button to change the selected setting. Note that the previous setting is visible at the bottom of the screen. Click the button to confirm the new setting value and return to the settings list.
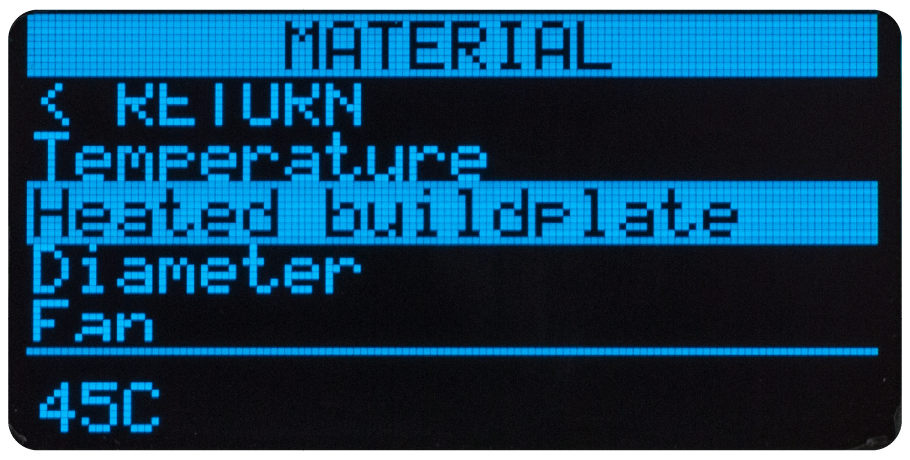
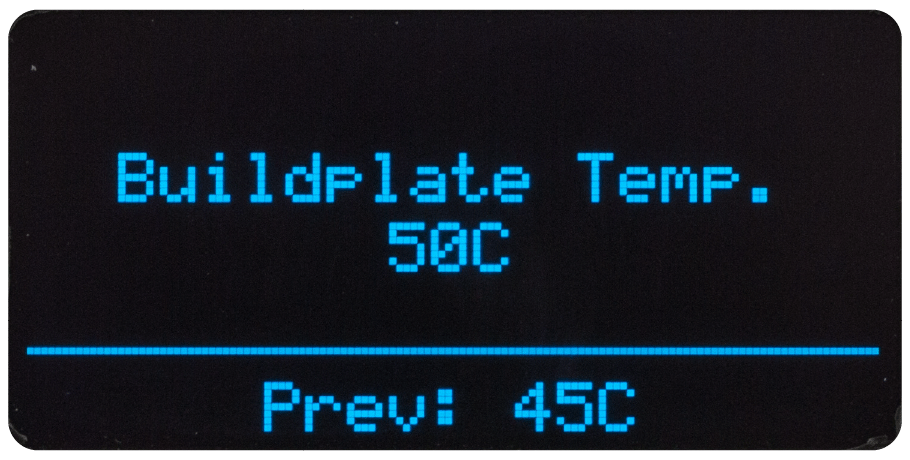
- To save the settings, click Store as preset.
- Overwrite one of the existing materials by selecting them, or create a new material by clicking New preset. The name of the new profile will be Custom_#. When you overwrite one of the existing materials, the name will stay the same.
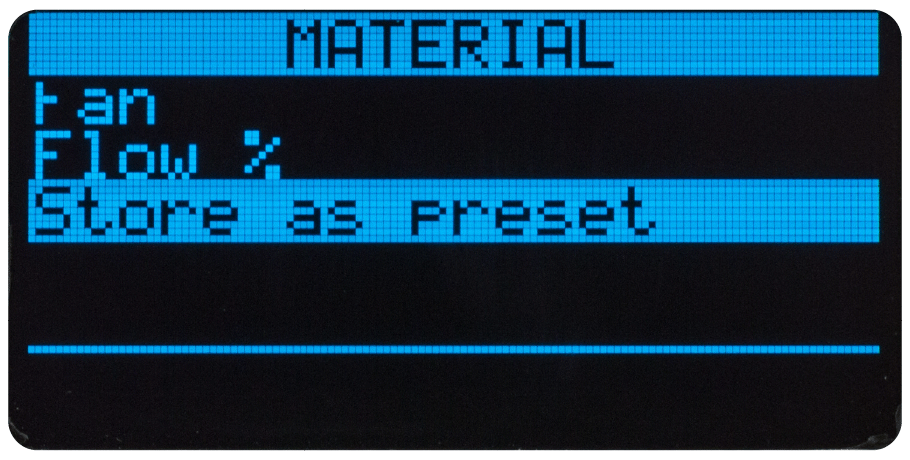
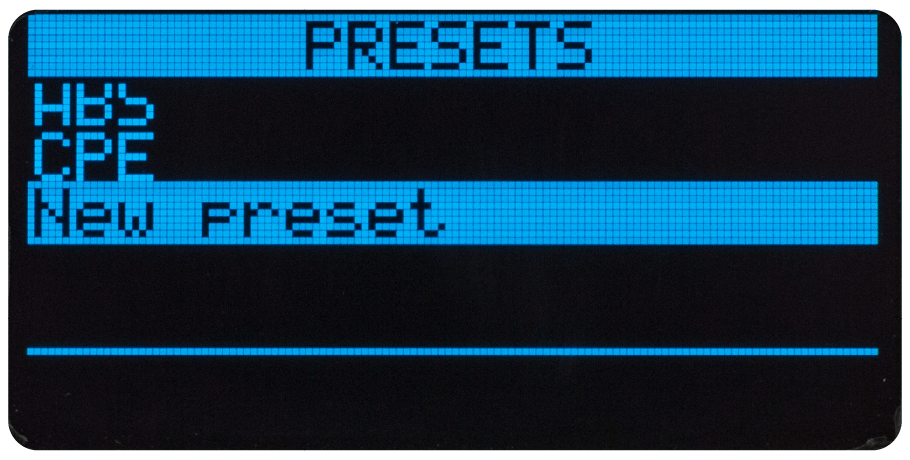
- After saving the settings, scroll all the way up and click the return button
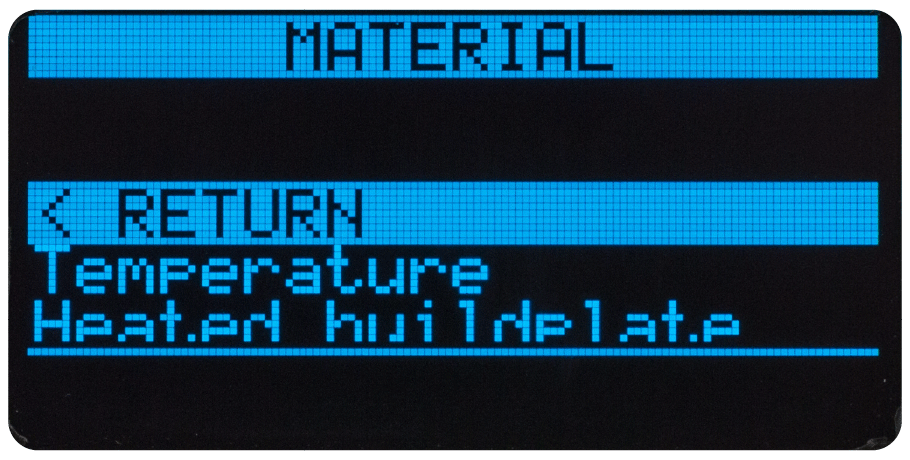
Congratulations, the new material profile is now adjusted and saved!
Method 2 – Export and import material profiles
This second method is more advanced than the first, but it provides an easy way to add or change multiple material profiles at once. It also allows you to give the profiles custom names. To perform these steps, you need a computer with an SD card reader. Ensure that an SD card is inserted into the slot at the front of the printer before you begin.
- Turn on the printer using the power switch at the back.
- Use the button to select the Material menu and click to enter.
- In the Material menu, select the option Settings.
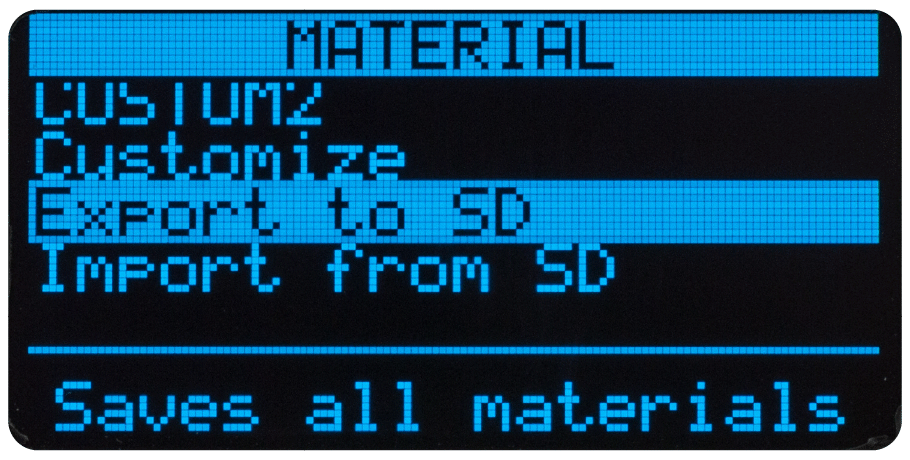
- At the bottom of the list are two options: Export to SD and Import from SD. Start by exporting the current list of materials.
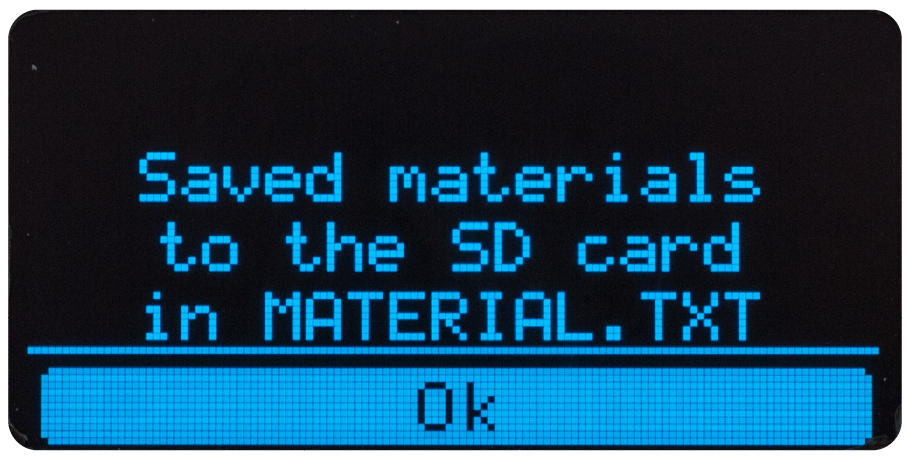
- A message appears: Saved the materials to the SD Card in MATERIALS.TXT. This indicates that the materials were exported successfully.
- Eject the SD card from the printer and insert it in a computer
- A file is created on the SD card, named MATERIALS.TXT. Open the file with any text editing program. The contents of the file look something like this:
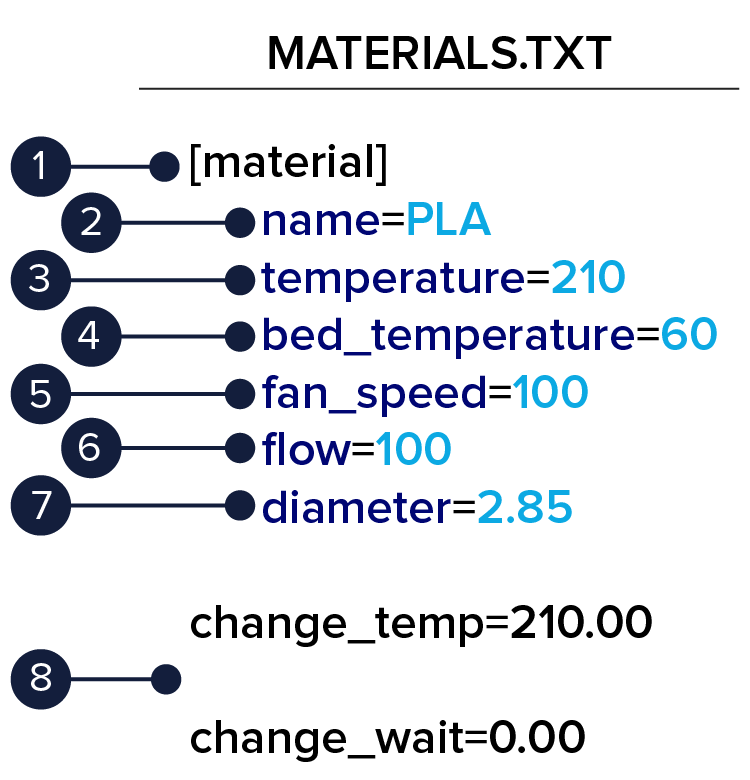 | 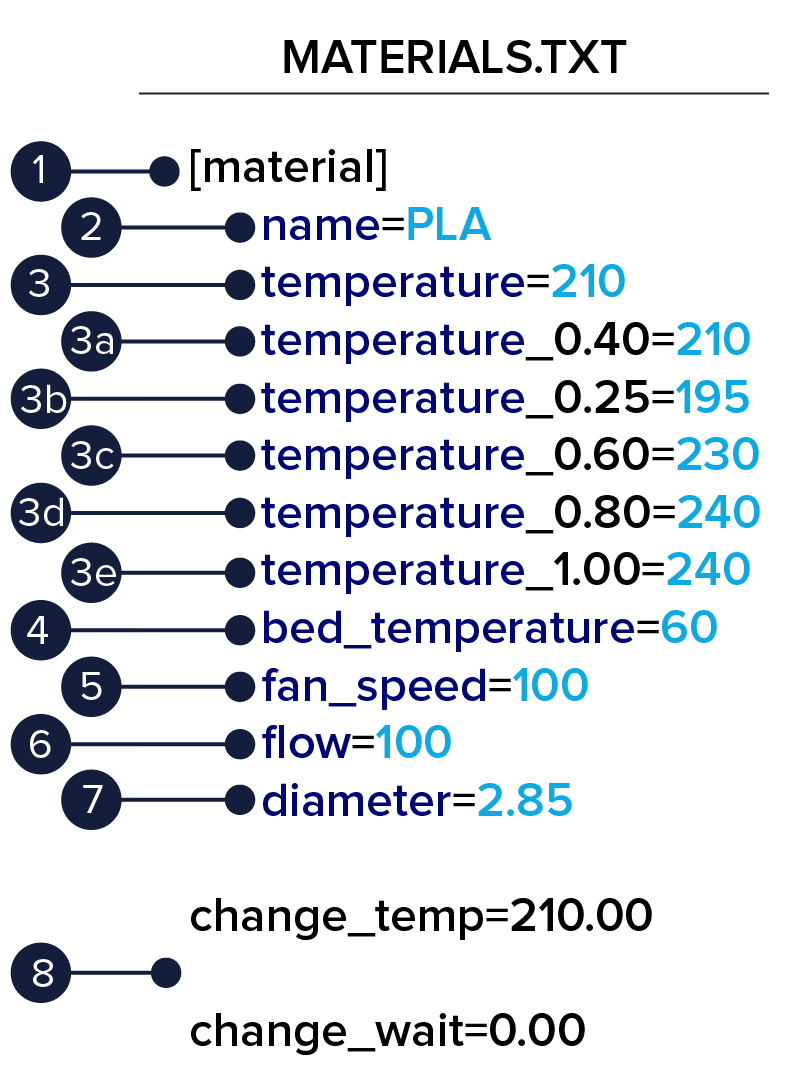 |
- This indicates that the following information is a new material profile.
- The name of the material. Note: Max. 8 characters.
- The temperature of the nozzle. Note: For the UltiMaker 2+, you can set the printing temperature for each nozzle size.
- The temperature of the heated bed, in degrees Celsius (°C)
- The fan speed, as a percentage.
- The material flow, as a percentage.
- The filament diameter, in mm. Note: The printer supports 2.85 mm materials, but you may see some small variations in third-party materials.
- These parameters are not used; if present, leave them as-is.
|
- Edit the values as desired. The values that can be changed are shown in light blue in the images above. You can add as many new materials as you want by copying and pasting the material settings in the file.
- Save your changes and make sure the file is saved to the SD card. Note that the name must not be changed; the file name must be MATERIALS.TXT for the printer to recognize it.
- Eject the SD card (safely) and insert it into the slot at the front of the printer.
- In the menu, navigate to Material → Settings.
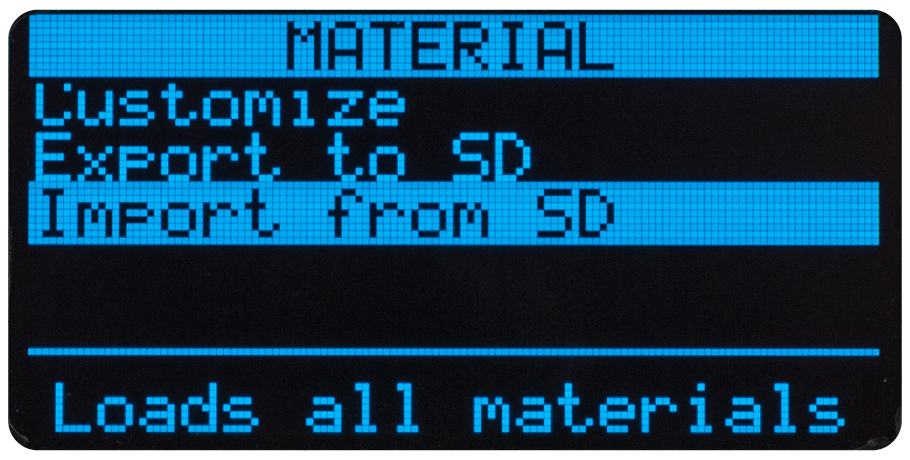
- Scroll down and click Import from SD.
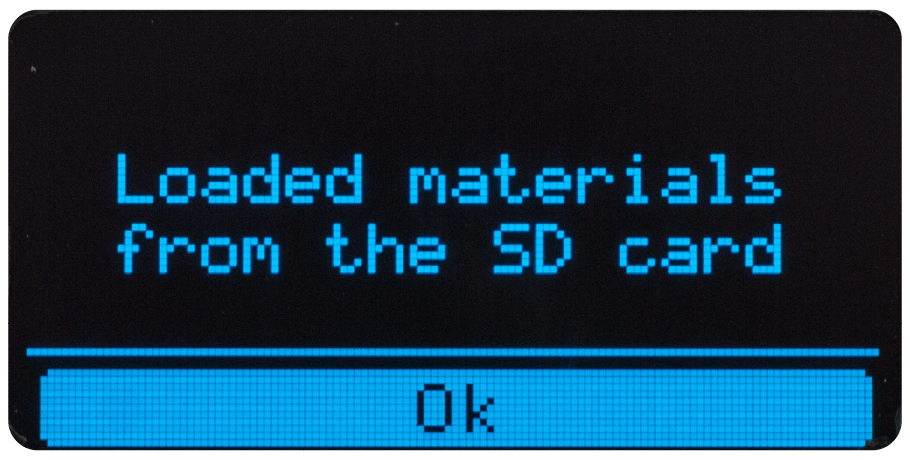
- A message is displayed: Loaded materials from SD card. Click Ok.
Scroll through the list of materials to verify you correctly imported your material new settings. You can now continue printing with your updated settings and/or new materials!


