Product notification
This product has been discontinued, and its end-of-service date has passed. While it is no longer supported, the information on this page is still available for your reference.
|
The UltiMaker 3 and UltiMaker 3 Extended come in reusable, durable packaging, specially designed to protect your printer.
Watch the unboxing video below or follow the steps described in this article to properly unpack your printer.
Tip: It is recommended to remove the packaging with the box placed on the floor for safety. Please retain all packaging for warranty purposes.
Unboxing instructions
Unboxing the UltiMaker 3 or 3 Extended can be done in a few simple steps:
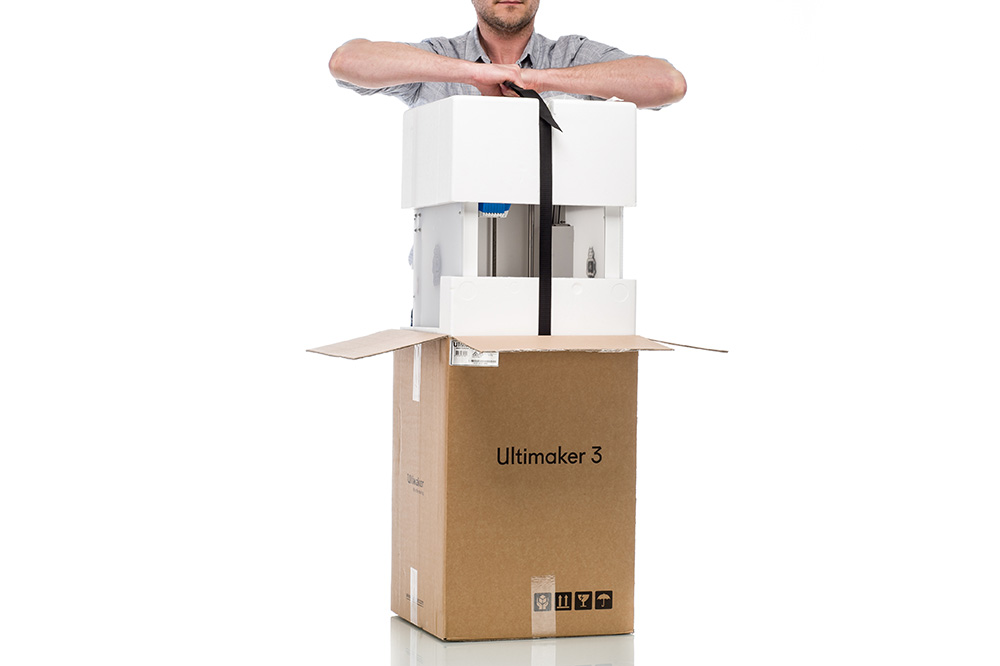
| Outer box |
- First, open up the outer cardboard box in which the UltiMaker 3 was delivered.
- Cut the cardboard flaps at the top and open them up.
- Lift the printer out of the cardboard box.
- Firmly pull at the belt while keeping the box down.
|  |
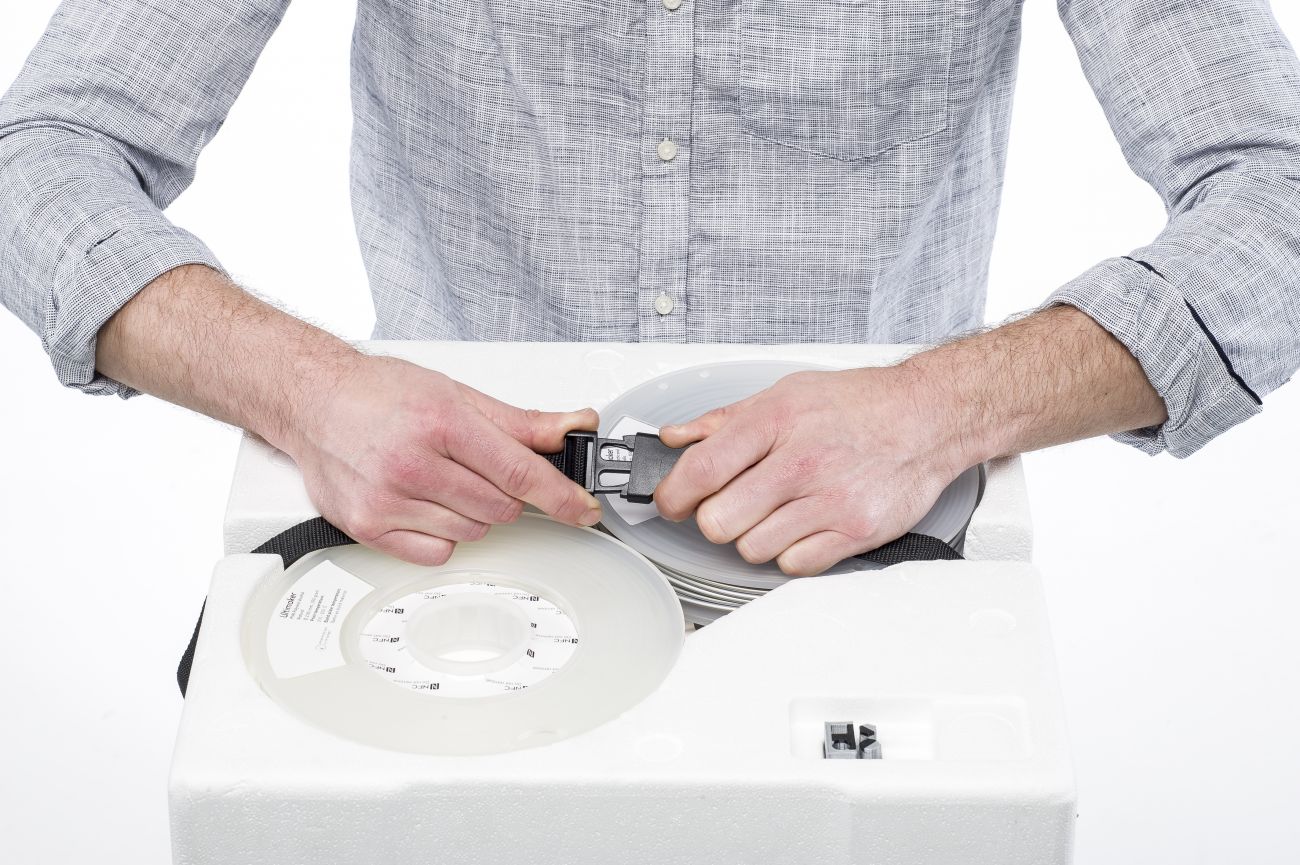
| Belt & top foam |
- Loosen the belt from the foam pieces by opening the buckle.
- You can now remove the spools of filament from the top foam piece.
- Lift the top styrofoam part off the printer and place it aside.
|  |
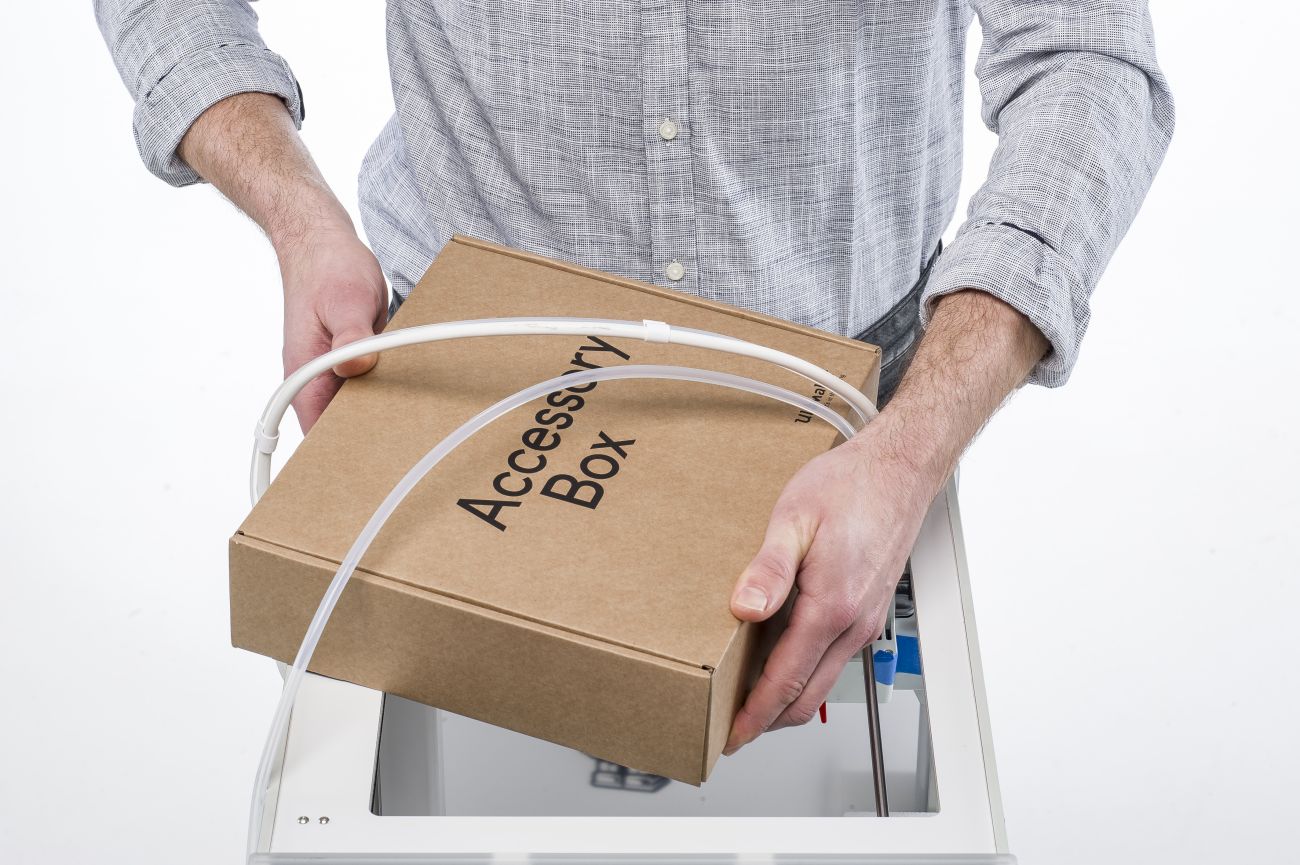
| Accessory box |
- The accessory box is placed on the printer's top panel.
- Remove the accessory box from under the Bowden tubes, being careful not to damage the tubes and print head cable.
|  |
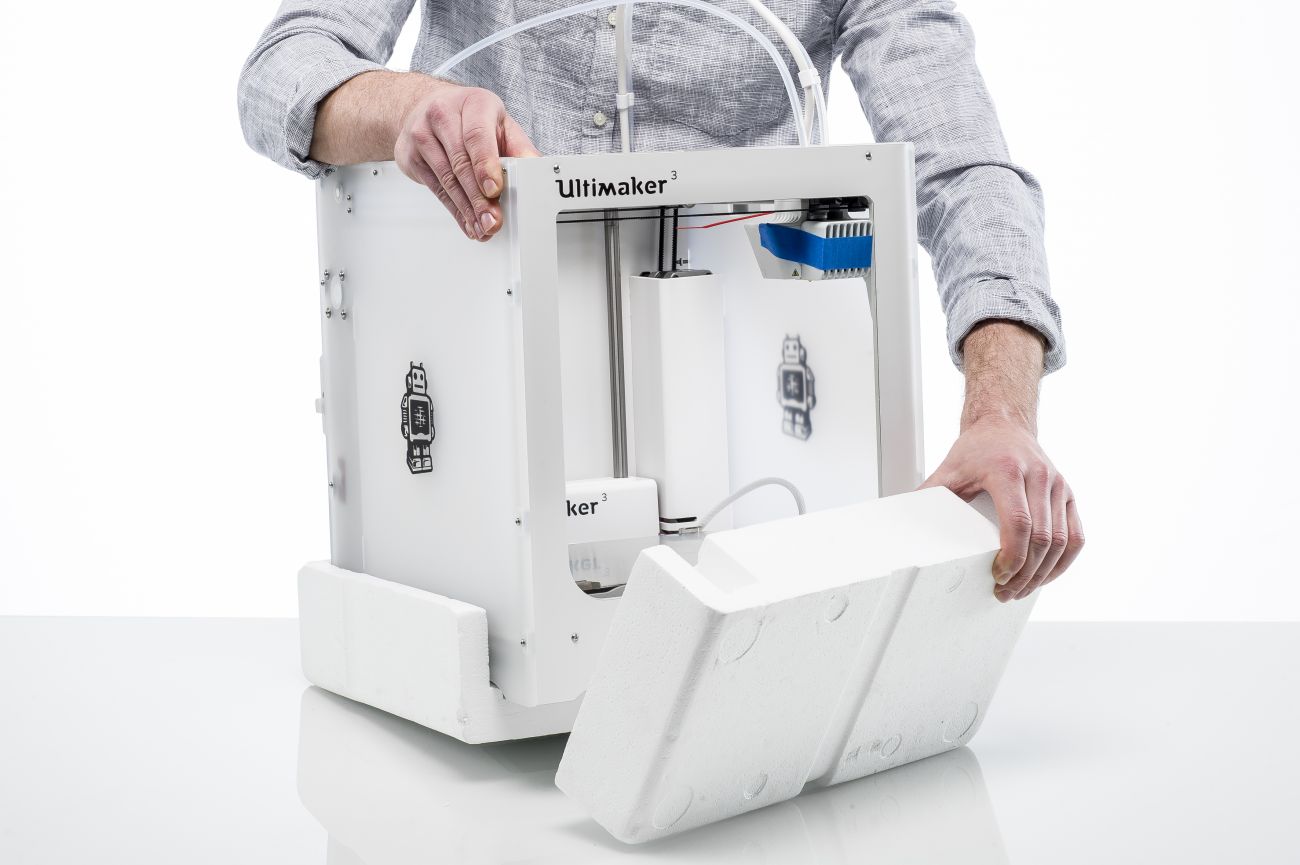
| Bottom foam |
- Gently tilt the printer backward to remove the styrofoam part that is placed at the front side of the UltiMaker 3.
- Lift up the printer and remove the bottom styrofoam part
- Finally, place the UltiMaker 3 on a flat and stable surface.
|  |
Note: Choose a suitable location for your UltiMaker 3. Ensure the surface is capable of carrying the printer's weight and take measures to prevent the printer from falling. There must be sufficient space behind the printer for the spool holder.
Print head
During transport, the print head is secured with a cable tie and tape. This must be removed before powering on the printer. Use pliers or wire cutters to cut the cable tie from the axles, and remove the piece of tape from the print head.
Note: There may also be some protective material underneath the build plate. Manually lift up the build plate and remove this material before powering on the printer.
What's in the box
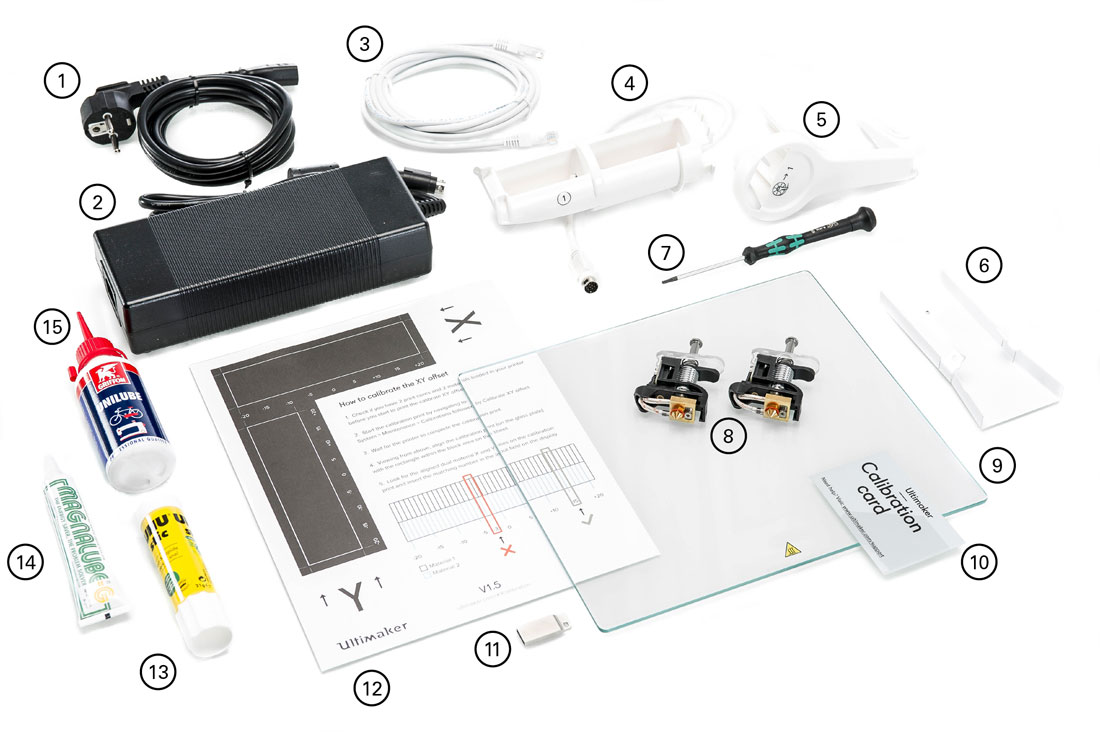
In addition to the spools of PLA and PVA, the UltiMaker 3 and 3 Extended are supplied with several hardware accessories. Check if all these items are included before continuing.
- Power cable
- Power adapter
- Ethernet cable
- Spool holder with NFC cable
- Material guide
|
- Cable cover
- Hex screwdriver
- Print cores (AA 0.4 and BB 0.4)
- Glass plate
- Calibration card
|
- USB stick
- XY calibration sheet
- Glue stick
- Grease
- Machine oil
|
Note: Another AA 0.4 print core is placed in print head slot 1 of the UltiMaker 3.


