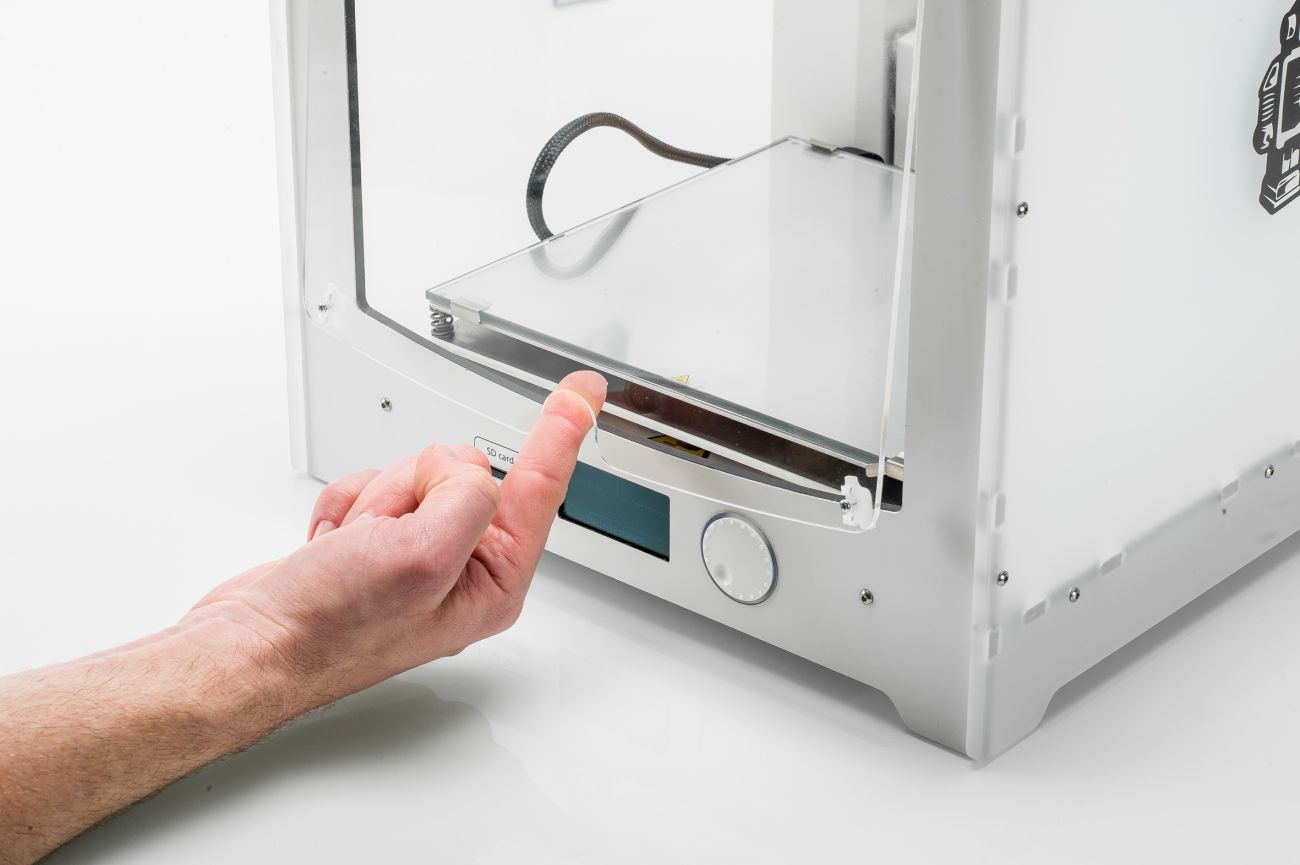
The front enclosure is one of the most effective methods of creating a stable printing environment inside your Ultimaker 2+. The front enclosure protects the print from external drafts. Additionally, it will keep the warmth from the heated build plate inside the printer, resulting in a constant temperature of 45 °C.
To install the door, follow these steps:
- Remove the front enclosure from the packaging and hold it in front of the Ultimaker with the curved side facing down.
- Slide the top clips behind the front panel.
- Push the front enclosure flat against the Ultimaker, then slightly lower the door until the bottom clips hook behind the front panel.
After printing, to remove the door simply lift it up with your finger through the notch in the bottom and pull it towards you.