In the UltiMaker Marketplace, you can find more than 200 material profiles that are compatible with UltiMaker printers. Using these profiles will optimize print settings for the best results.
Caution: This article is specifically written for Marketplace materials, to synchronize custom materials added to UltiMaker Cura, please follow this guide closely.
Why do I need to sync material profiles with my printer?
Although all print settings are chosen in UltiMaker Cura, it is also recommended to install the material profiles on your printer. This allows you to select the right material to prevent configuration mismatch warnings. Additionally, the temperature information in these profiles will have an impact on loading and unloading materials, active leveling, depriving, and changing print cores. When the correct material profile is selected, your printer will automatically set the right temperature values.
Tip: Before loading the new material on the printer, first install the material profile as described on this page. During loading, you can then select the correct material manually from the list.
Requirements to synchronize via the cloud:
Requirements to synchronize via USB:
How to synchronize your Marketplace materials
You can easily synchronize the material profiles to your printers that are successfully connected via the Digital Factory or USB stick.
 |  |
| 1. Download material | 2. Connect to Digital Factory |
|
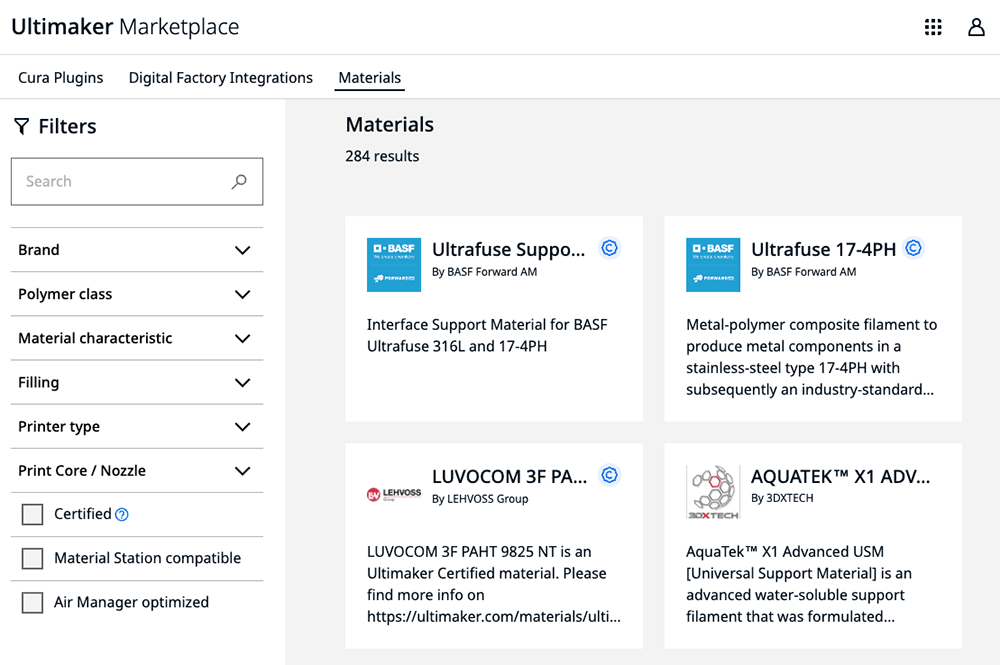
Go to the Marketplace and download your preferred material profile(s).
|
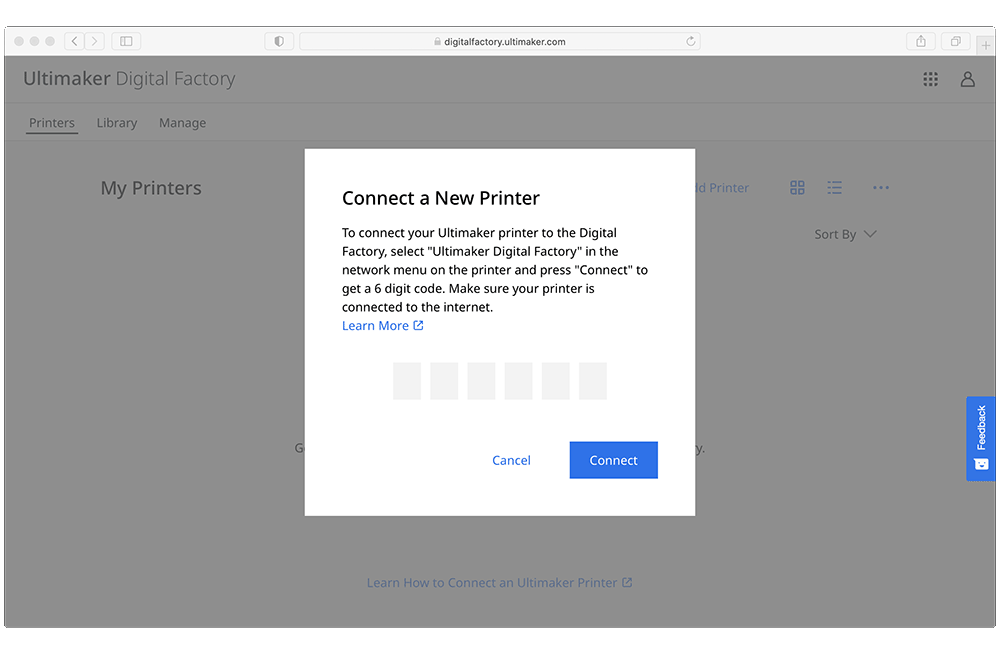
Connect your printer to the UltiMaker Digital Factory. If your printer was already connected, restart UltiMaker Cura.
|
 |  |
| 3. Pop-up notification | 4. Start process |
|
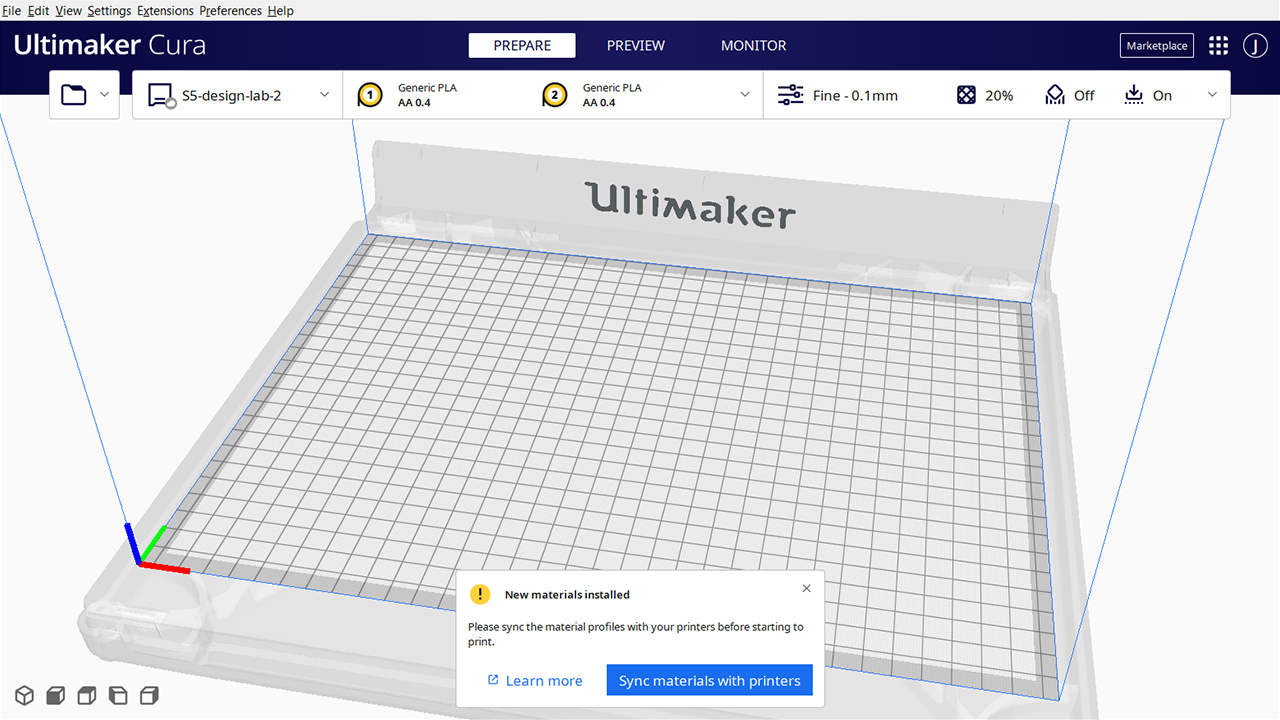
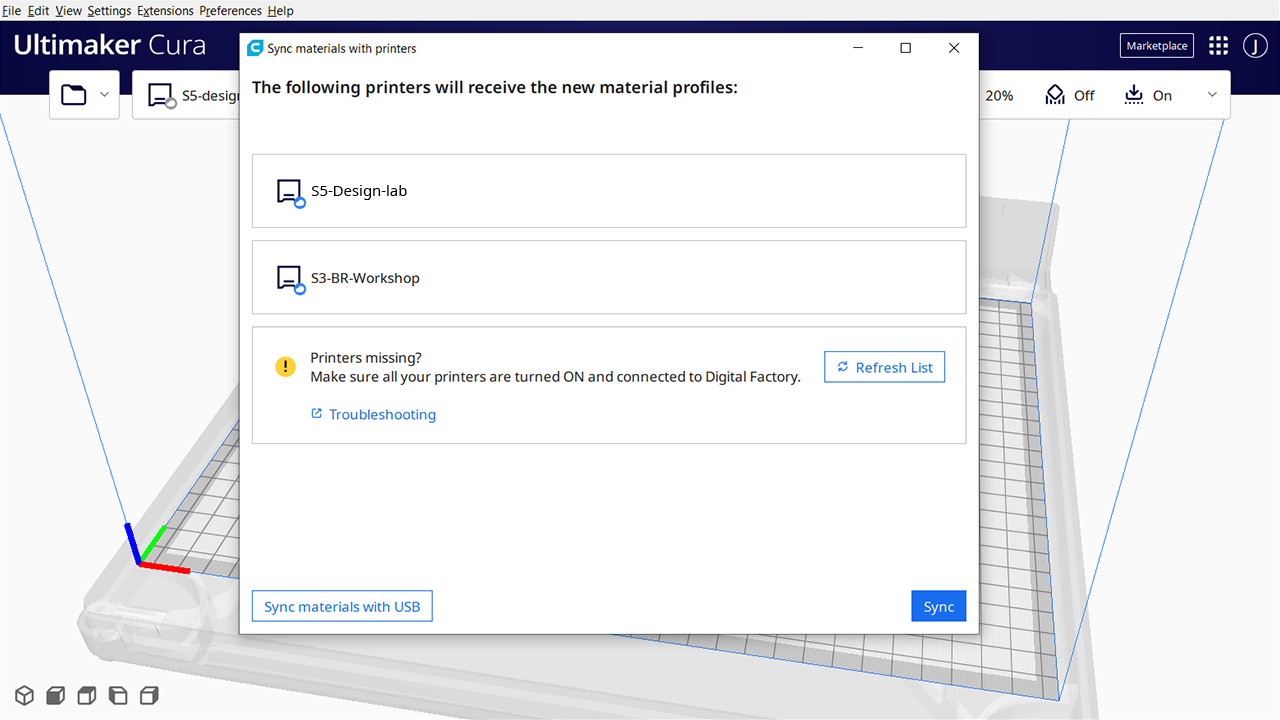
When UltiMaker Cura starts, you will see a pop-up notification about the new materials. Click 'Sync materials with printers'.
|
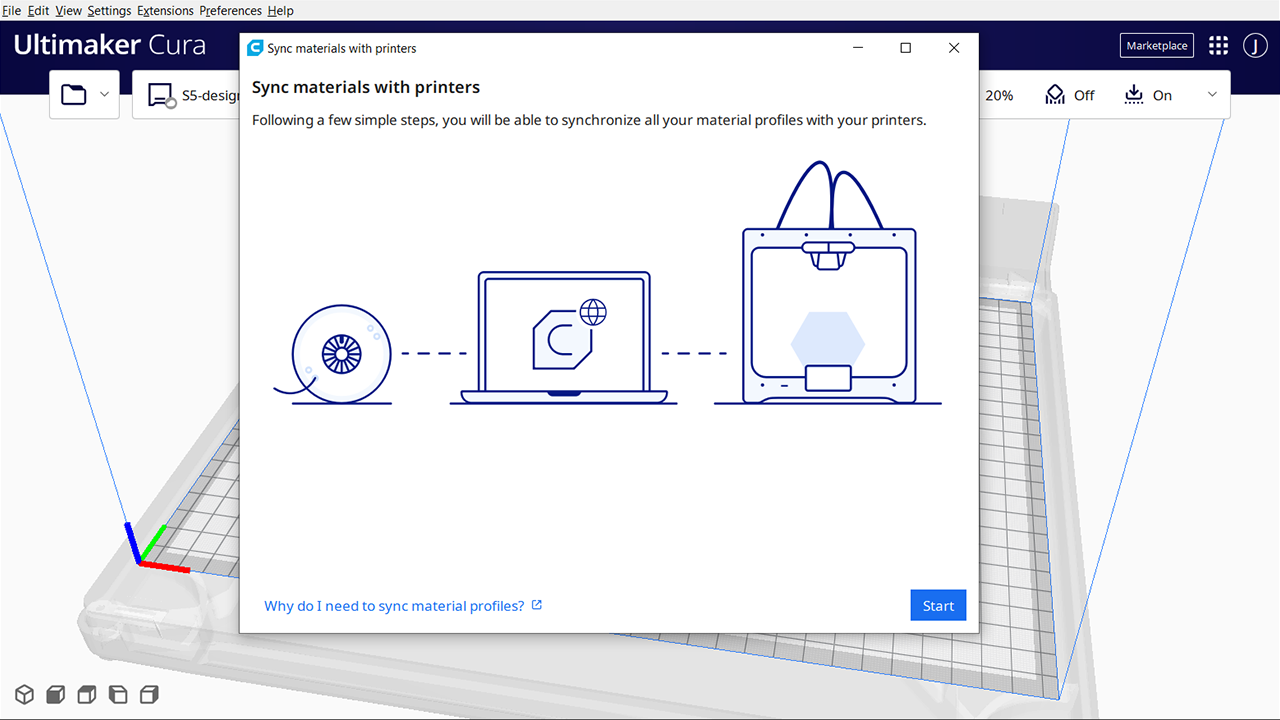
In the next screen, click 'Start' to begin the process.
|
|
|  |
|
5. Printer overview
| 6. Syncing |
|
You will now see all your connected printers to the Digital Factory with firmware version 7.0.1 or higher which can receive the material profiles.
|
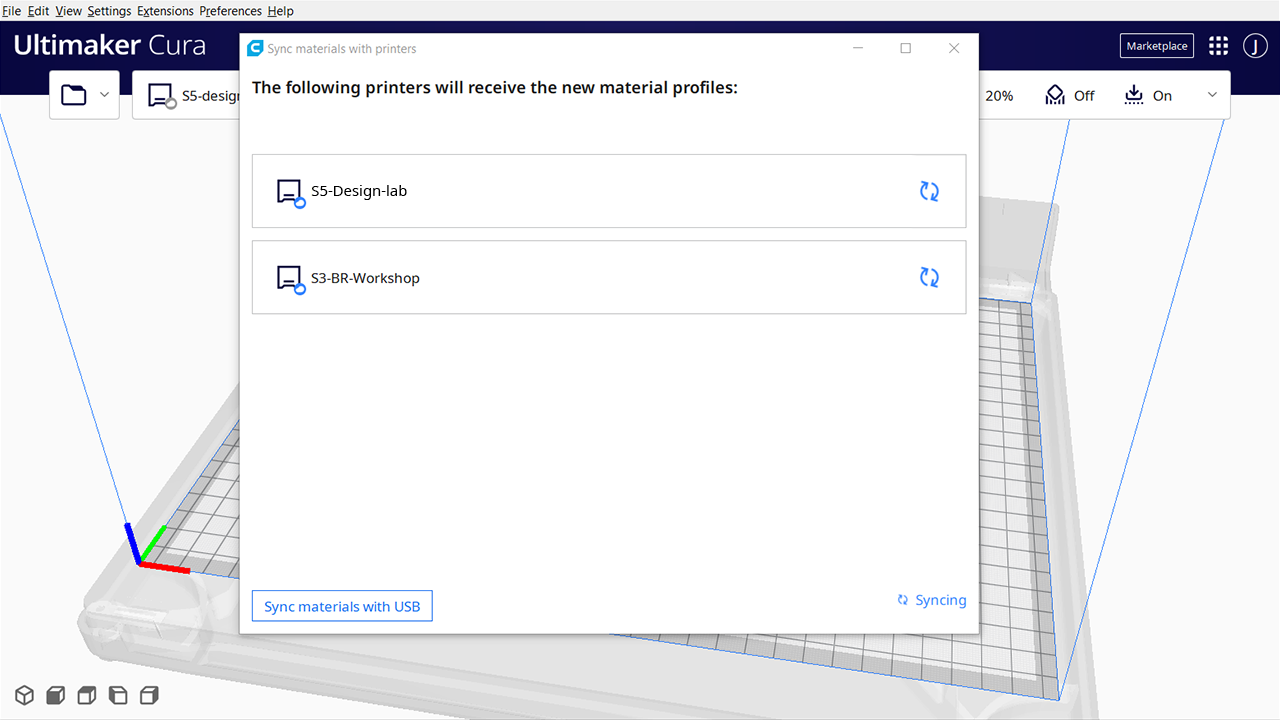
Click 'Sync' to send the material profiles to the selected printers.
|
|
|
|
|
7. Done
|
|
|
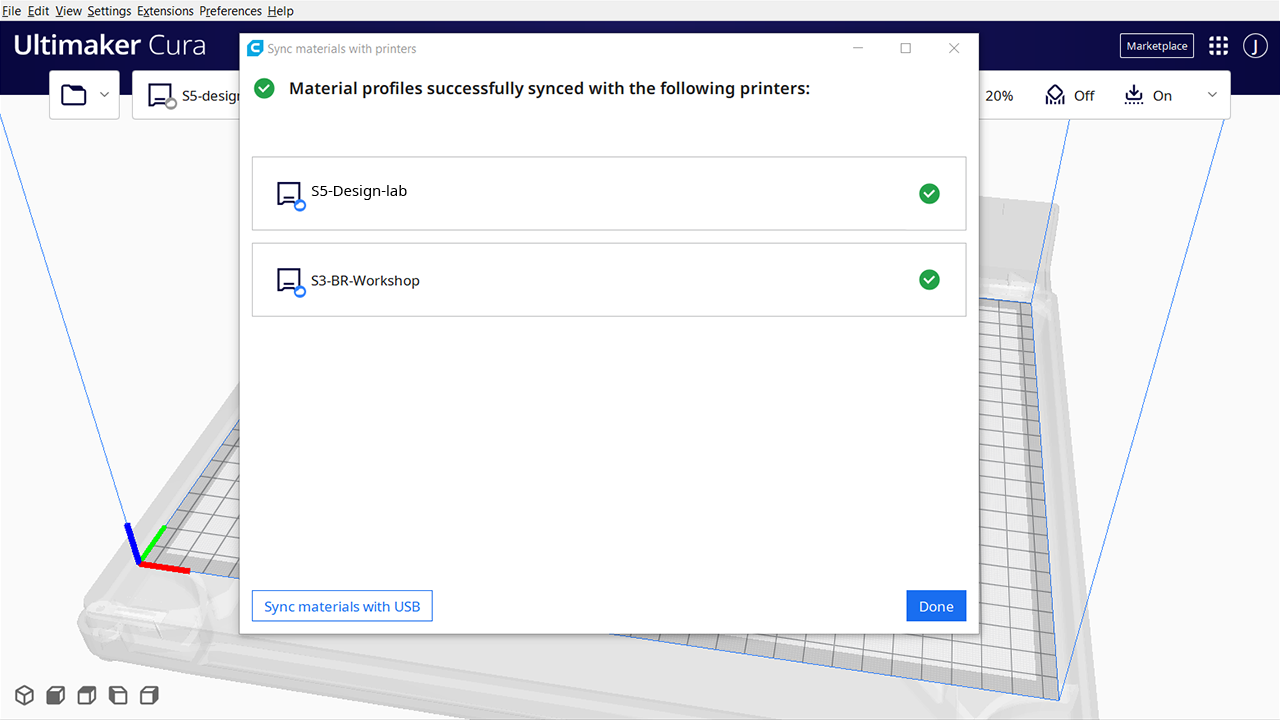
When the syncing is finished, click 'Done' to exit the synchronization screen.
|
|
USB synchronization workflow (optional)
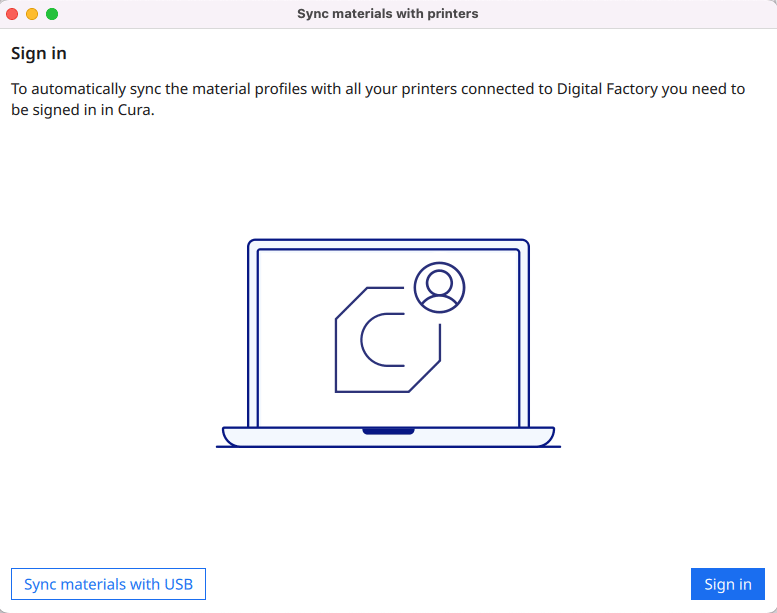
If you prefer or rely on synchronizing the materials via USB, follow the steps above to step 5 to show the 'printer overview', then continue with USB synchronization as described below.
 |  |
| 1. Start synchronization wizard | 2. Sync with USB |
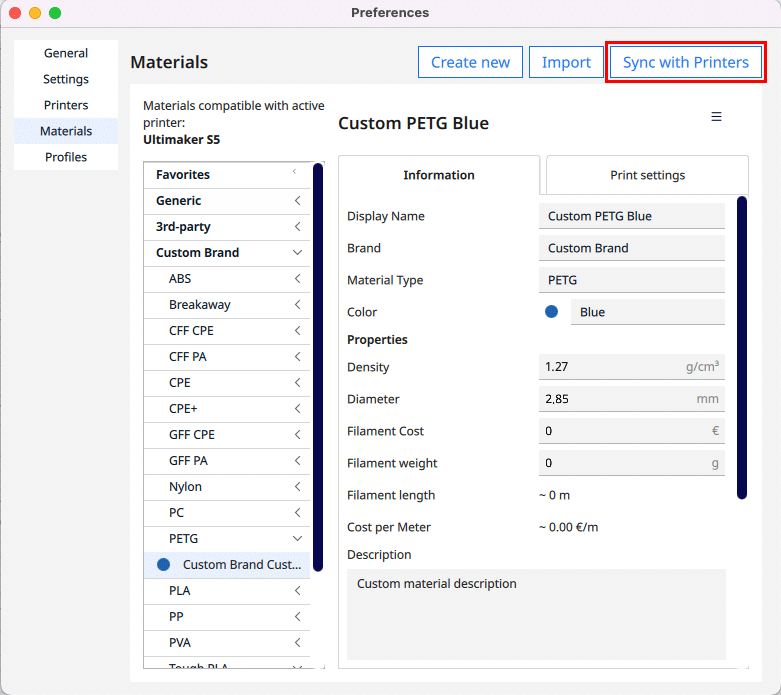
| In the Cura 'preferences' > 'materials' menu, select 'sync with printers' in the top right corner. In the next screen, click 'start' to begin. | Select 'sync materials with USB'. |
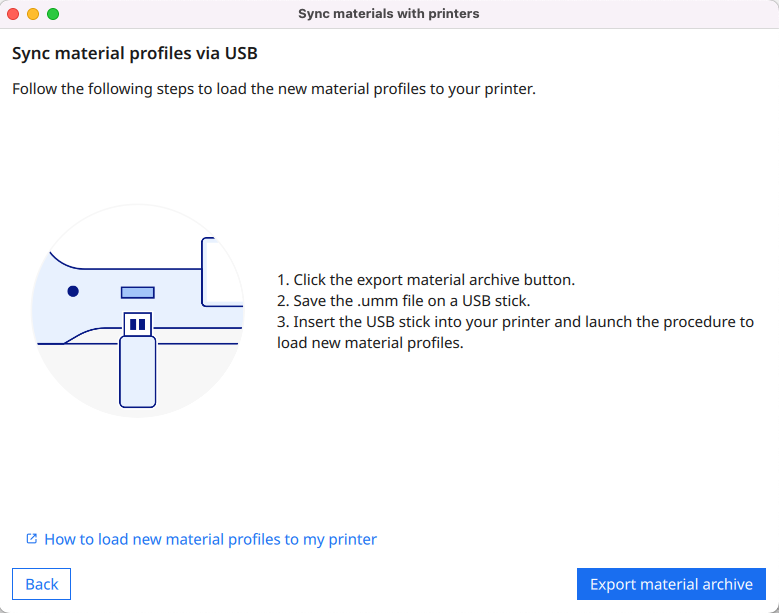 | |
| 3. Export material archive | 4. Load the materials on your printer |
| This will create a material archive file. Save it directly on the USB stick (without putting it into sub-folders) | On the UltiMaker S-line printers or UltiMaker 2+ Connect, go to 'Maintenance' and 'Import material profiles'. The printer will acknowledge that your materials have been added to your printer. |
Synchronize materials of a print job, as 'ufp file' (optional)
Tip: This feature is only available for the UM2+Connect from firmware 1.3 and up and for the S-line printers from firmware 7.0.1 and up, we always advise to run the latest firmware version.
UltiMaker Cura print jobs contain the material profile information, that can be imported via the printer menu using a sliced UFP file on a USB drive:
- Create a print job for your printer, using your custom material profile(s).
- Save the .UFP file to your USB stick
- Insert the USB stick in the UltiMaker printer
| Ultimaker S-line | Ultimaker 2+Connect |
| Go to 'Maintenance' > 'import material profiles'. Any new profiles found in UFP files are automatically imported. | Go to 'Set material' and select 'Add new material'. In this menu, choose the option 'Import from USB'. Any new profiles found in UFP files are automatically imported. |


